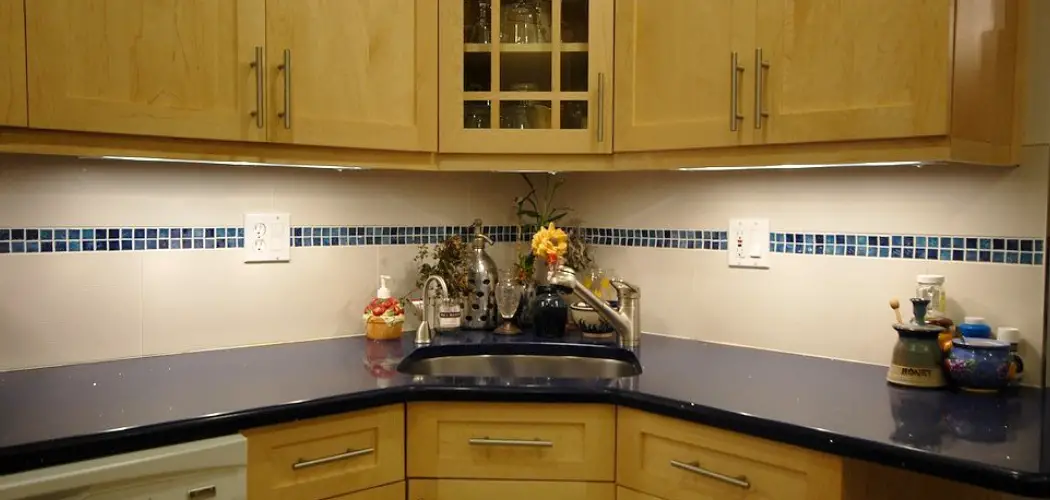
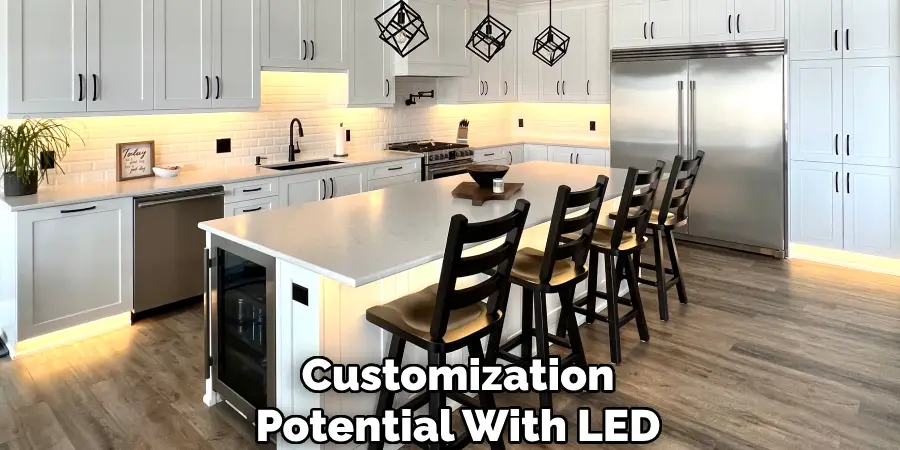
LED cabinet lights offer a sleek, modern way to illuminate kitchen and storage spaces, adding both functionality and aesthetic appeal. These lights are renowned for their energy efficiency and longevity, making them a cost-effective solution for enhancing home decor. One of the notable benefits of LED cabinet lights is their customization potential. Homeowners can tailor their lighting to suit personal preferences by selecting from various colors and brightness levels and choosing different control methods such as dimmers, remote controls, or smart home integration.
This article aims to provide a comprehensive step-by-step guide on how to customize LED cabinet lights, allowing you to create a seamless blend between lighting design and personal style. Whether lighting up a shadowy corner or setting the perfect ambiance for an evening meal, customizing LED cabinet lights represents an opportunity for creativity and enhanced living spaces.
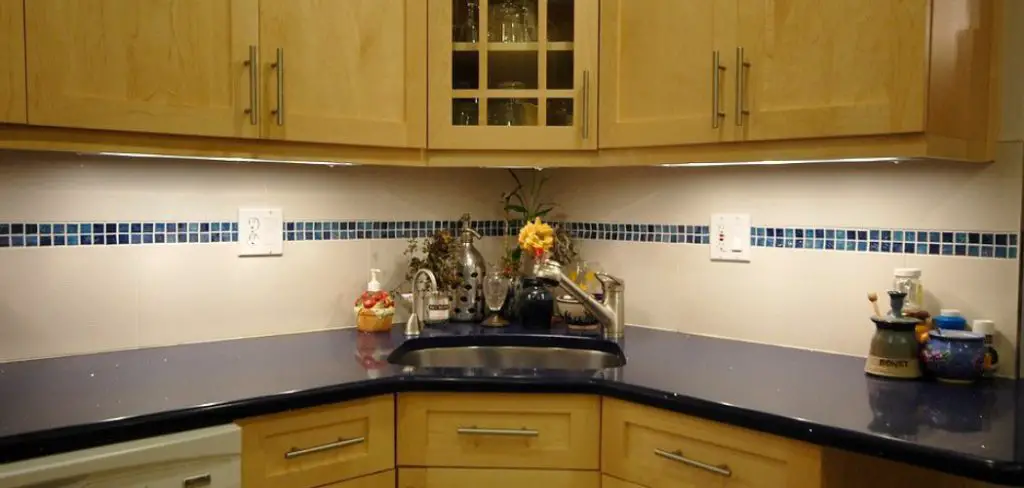
Understanding LED Cabinet Lights
Types of LED Cabinet Lights
LED cabinet lights come in various forms to suit different needs and preferences. Common types include strip lights, puck lights, and recessed lights. Strip lights are flexible, allowing for easy installation along surfaces, and are ideal for providing consistent illumination across cabinet spaces. Puck lights, which are small and circular, offer targeted lighting, making them perfect for highlighting specific areas or objects.
Recessed lights provide a clean, streamlined look as they are integrated into the cabinet structure. However, each type has its pros and cons; strip lights are easy to install but may require cutting for customization, puck lights often provide intense brightness but involve more complex installation, and while recessed lights deliver an elegant finish, they might require professional installation.
Benefits of LED Lights
LED lights are celebrated for their energy efficiency and long lifespan, significantly outlasting traditional incandescent bulbs. They emit minimal heat, making them a safe choice for enclosed areas such as cabinets. Furthermore, LEDs offer versatile design and application options, allowing homeowners to experiment with various lighting styles and placements.
Customization Options
The customization potential with LED cabinet lights is extensive. Users can choose from different color temperatures, such as warm white for a cozy feel or cool white for a crisp, modern look. Brightness levels can be adjusted to match the mood or functionality of the space.
Many LED systems also provide remote control features, including dimmer switches and smart integration, allowing lights to be controlled via apps or integrated into broader home automation systems. This flexibility facilitates tailored lighting experiences in any home setting.
Materials and Tools Needed
Essential Materials
- LED Light Strips or Fixtures: Selecting the appropriate type and length of LED lights is crucial for a seamless fit within your cabinet dimensions. Consider whether strip lights or individual fixtures best suit your needs, as well as the overall aesthetic you aim to achieve.
- Power Supply: Ensure you have the correct power adapter for your chosen LED lights, typically either 12V or 24V, to ensure consistent illumination and safety.
- Connectors and Clips: These are necessary for effectively connecting and securing the LED lights, allowing for a tidy installation without loose wires or uneven placements.
- Control Options: Consider your preferred method of control, such as a remote control, dimmer switch, or smart hub, to provide flexible lighting adjustments tailored to your lifestyle.
Tools Required
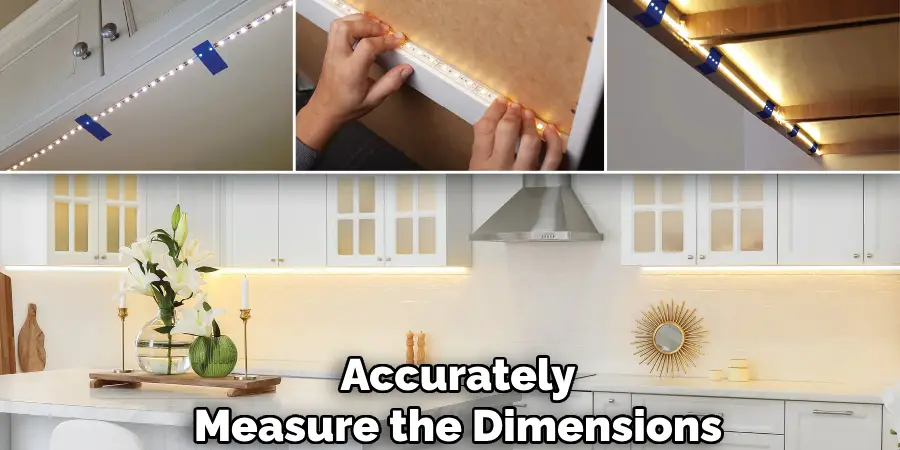
- Measuring Tape: Use this to accurately measure the dimensions of your cabinets, ensuring that your LED lights fit perfectly and illuminate efficiently.
- Cutting Tools: A pair of scissors or a utility knife may be needed to cut LED strips to the desired length, enabling precision in customization.
- Adhesive or Mounting Tape: This is essential for securing the LED lights in place, preventing any damage to cabinet surfaces while ensuring stability.
- Safety Gear: To enhance safety during installation, it’s recommended to wear safety glasses when cutting materials to protect your eyes and gloves when handling electrical components.
How to Customize Led Cabinet Lights: Planning Your Customization
Assessing the Cabinet Space
Accurately measuring your cabinet interiors is crucial to begin customizing your LED cabinet lights. Use a measuring tape to determine the length, width, and depth of each area where lighting will be installed. This ensures you select the right LED size and type, whether placed under shelves or inside cabinets. Consider the cabinet color and materials; light or neutral tones may benefit from warm white LEDs for a soft glow, while darker finishes might require brighter or cooler lighting for better visibility. Choose LED colors that complement or enhance the existing aesthetics of the space.
Choosing the Right Lighting Style
When selecting a lighting style, consider the mood and functionality you wish to achieve. Warm white LEDs create a cozy ambiance, ideal for relaxed settings, whereas cool white LEDs offer a clean, modern look suited for task-oriented spaces like kitchens. RGB (color-changing) LEDs provide dynamic lighting options, allowing you to adjust the mood according to different occasions. For example, bright, cool white lights might be ideal for cooking, while softer, warm tones enhance dining areas for a more intimate atmosphere.
Deciding on Control Methods
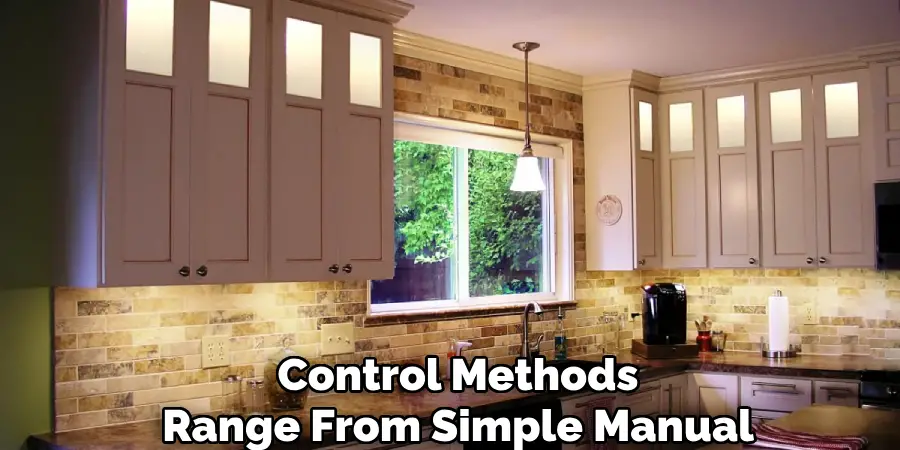
Control methods range from simple manual switches to advanced smart home integration. Manual switches offer straightforward control, requiring minimal setup. Remote controls add convenience, allowing you to adjust settings from a distance. Smart home systems offer the ultimate flexibility, enabling you to schedule lighting, change brightness, or alter colors using voice commands or smartphone apps. Choose a control method that aligns with your lifestyle and technological preferences to enhance your home’s lighting experience.
How to Customize Led Cabinet Lights: Installing LED Cabinet Lights
Preparing for Installation
Preparing the cabinet surfaces where the LED lights will be applied is essential before beginning the installation process. Start by thoroughly cleaning these surfaces with a damp cloth to remove any dust, grease, or debris that could affect the adhesive qualities of the LED strips. Ensure the surfaces are completely dry before proceeding. If working with electrical components, always turn off the power to prevent any risk of electric shock or damage to the lighting system.
Installing LED Strip Lights
- Measure and Cut: Use a measuring tape to determine the exact length needed for the LED strips to fit the cabinet dimensions. Carefully cut the strips along the designated cutting marks to avoid damaging the circuitry.
- Apply the Lights: Peel off the adhesive backing from the LED strip. Starting at one end, press the strip firmly onto the cleaned surface, ensuring it is straight and securely adhered.
Installing Puck or Recessed Lights
Start by marking the positions where the lights will be mounted for puck lights. Follow the manufacturer’s instructions to drill holes if necessary. Once the positioning is determined, connect the wires to the light fixtures. Use mounting screws or adhesive, depending on the installation method, to securely fix the lights in place. Recessed lights may require a similar process, but be sure to follow specific guidelines for integrating them within the cabinet structure.
Connecting to Power Supply
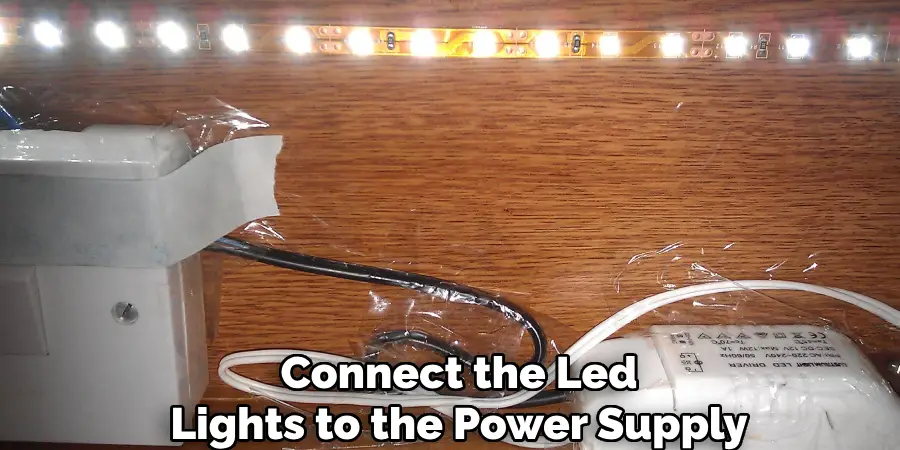
To connect the LED lights to the power supply, use appropriate connectors or solder the wires as needed. Ensure that all connections are secure and insulated to prevent any risk of electrical shorts. Follow the required safety standards to maintain the integrity of the installation.
Testing the Installation
After the installation is complete, turn on the power and test the LED lights to ensure everything functions correctly. Check for even lighting, and ensure all lights turn on properly. Before finishing, manage any excess wiring by securing it neatly with cable ties or clips, ensuring a tidy and professional installation.
Customizing Brightness and Color
Adjusting Brightness Levels
Dimmer switches are an effective tool for controlling the brightness of your LED cabinet lights. They allow for easy adjustment of lighting intensity, creating suitable environments for various tasks or moods. For instance, dim lights contribute to a relaxed evening ambiance, whereas brighter settings are ideal for focused activities like cooking or reading. It’s important to select dimmers specifically designed for use with LED lights to prevent issues such as flickering. When purchasing, ensure compatibility by checking the specifications, typically listed by the dimmer’s manufacturer, to avoid any performance problems.
Changing Color Temperature
Color temperature significantly influences a room’s ambiance and aesthetics. Warm white LED lights, often around 2700K, emit a soft, inviting glow perfect for cozy, intimate settings like living rooms or bedrooms. In contrast, cool white lights, ranging up to about 5000K, deliver a crisp and energizing light suitable for task-oriented spaces such as kitchens or offices. Knowing these distinctions helps you decide which color temperature best aligns with your desired atmosphere and functional needs.
Using RGB or Smart LED Lights
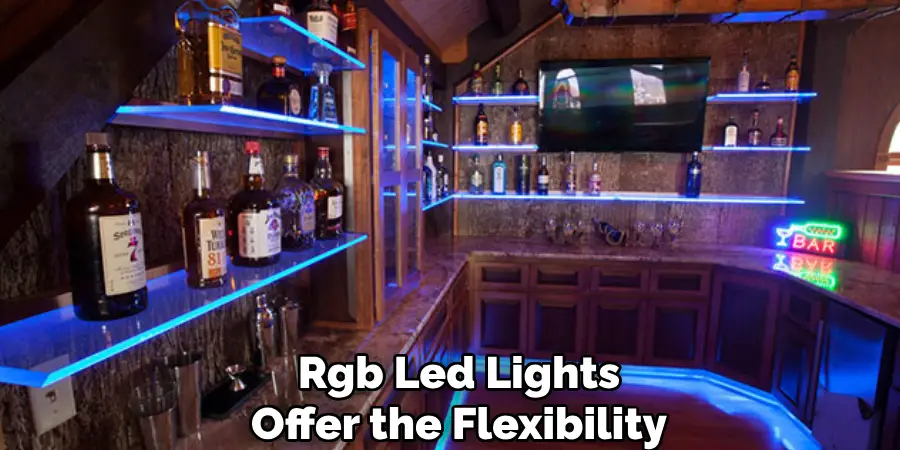
For dynamic lighting, RGB LED lights offer the flexibility to change colors seamlessly using a remote control or an app. Program these lights to switch hues, creating personalized lighting scenes that match your mood or occasion. Smart LED systems further enhance this experience by enabling voice control through virtual assistants, which integrate with your home automation setup. This ensures you can easily adjust settings, even setting automated schedules for effortless lighting transformations.
Creating Lighting Scenes
Experimenting with different lighting scenes can significantly enhance your space. Opt for bright white for reading to improve focus, while a warm, cozy tone may suit a dinner party. Strategically place lights to highlight features or create depth. Adjust colors to evoke themes or complement decor, experimenting with configurations to craft the perfect ambiance for every occasion.
Maintenance and Troubleshooting
Regular Maintenance
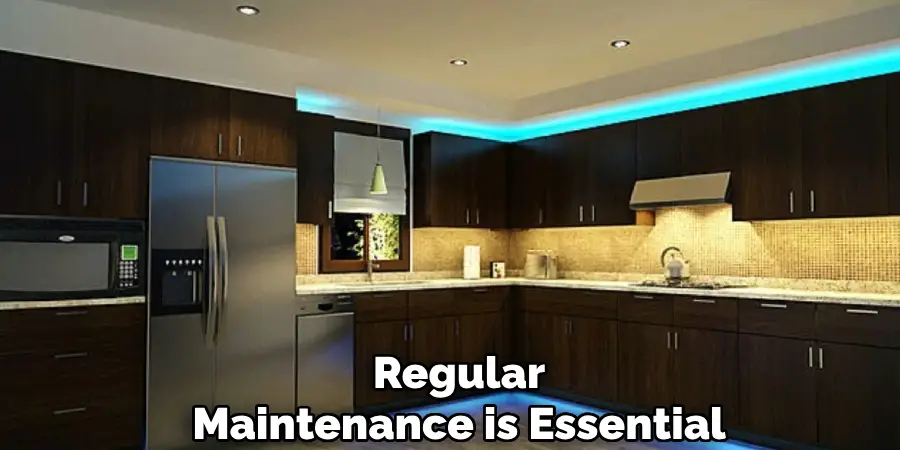
Regular maintenance is essential to keep your LED cabinet lights performing optimally. Start by gently cleaning the surfaces of the LED lights with a damp cloth to remove dust and dirt, which can affect brightness and heat dissipation. Avoid using harsh chemicals that can damage the light surface. Periodically check all connections to ensure they remain secure, and replace any burnt-out bulbs immediately to maintain consistent lighting. Regular inspection of wires and fixtures for wear or damage can prevent potential issues before they arise.
Troubleshooting Common Issues
Flickering lights can be a common problem and are often caused by loose connections or incompatible dimmers. First, ensure all electrical connections are tight and secure. If flickering persists, verify that your dimmer switch is compatible with LED lights by checking the specifications. Another frequent issue might be a power supply problem; in such cases, test the power source and inspect all related components to ensure they function correctly. If LED lights fail to illuminate properly, confirm that they are correctly wired to the power supply. These troubleshooting tips can help quickly restore your lighting to optimal performance.
Conclusion
Customizing LED cabinet lights offers numerous benefits, including energy efficiency, versatility, and aesthetic enhancement. These lighting solutions reduce energy costs due to their low power consumption and provide diverse options for personalizing your home environment. The process of how to customize LED cabinet lights encompasses planning the design, meticulously installing the lights, and maintaining them to ensure ongoing performance. By following the outlined steps—careful measurement, proper positioning, secure connection, and regular maintenance—you create a lighting setup tailored to your needs.
This customization allows for varying brightness levels, adjustable color temperatures, and dynamic lighting scenes, adding depth and personality to your space. Embrace the opportunity for creativity and personal expression, turning lighting design into a vital component of your home decor. With the right approach, every home corner can be transformed to reflect your unique style and atmosphere preferences.

