Converting a gas lamp post to a solar-powered light is an excellent way to enhance energy efficiency while maintaining the charm of outdoor lighting. This environmentally friendly upgrade eliminates the need for natural gas or electrical wiring, reducing energy consumption and lowering utility costs. Additionally, solar-powered lights require minimal maintenance, relying on sunlight during the day to illuminate your space at night.

Whether you’re looking to modernize your lamp post or adopt a greener lifestyle, this process offers a sustainable and practical solution. In this blog post, we’ll walk you through the steps on how to convert gas lamp post to solar so that you can get back to using it in no time! So grab your tools, and let’s get started!
Is Your Gas Lamp Post Convertible?
Before jumping into the conversion process, it’s essential to determine whether your gas lamp post is suitable for a solar upgrade. Most traditional gas lamp posts can be converted to solar, but a few key factors will influence the ease and feasibility of the project. Start by inspecting the structure of your lamp post to ensure it is sturdy and in good condition.
Check for any significant rust, damage, or instability, as these issues may need to be addressed before proceeding. Additionally, measure the lamp post dimensions and confirm there’s adequate space for mounting the solar panel and housing any necessary components, like batteries.
If your lamp post has a removable gas burner or fixture, this will make it easier to replace with a solar-powered LED light. Ensuring these details are in order can help you avoid complications during the conversion and ensure a seamless shift to solar power.
Tools and Materials You’ll Need
To successfully convert your gas lamp post to solar power, you’ll need to gather the right tools and materials beforehand. Here’s a list to get you started:
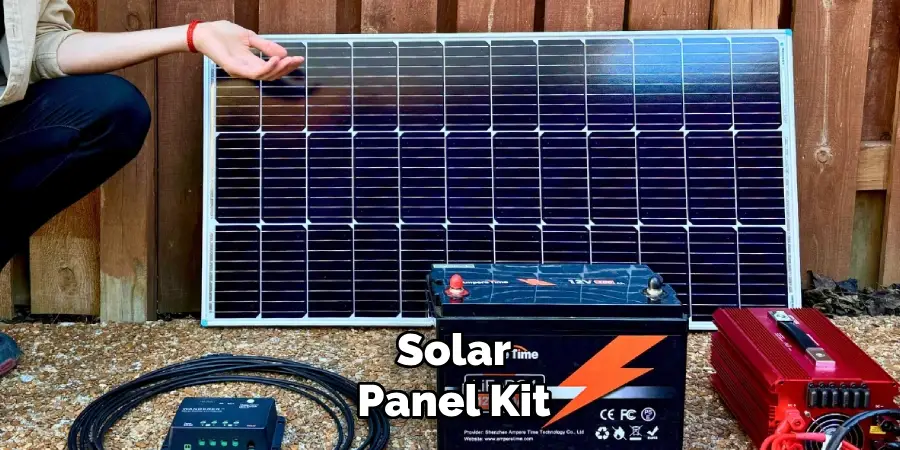
- Solar Panel Kit – Includes a solar panel, charge controller, and mounting hardware.
- LED Light Fixture – Ensure compatibility with solar power and intended brightness.
- Rechargeable Batteries – Typically included in solar kits, but double-check the specifications.
- Screwdrivers and Wrenches – For removing old fixtures and securing new components.
- Wire Cutters/Strippers – For handling electrical wiring safely and efficiently.
- Drill and Drill Bits – Necessary for mounting the solar panel to the lamp post.
- Weatherproof Sealant – Helps protect the wiring and connections from moisture.
- Extension Cables (if needed) – Ensures proper wiring length between components.

Having these tools and materials ready will streamline the installation process and help you create a durable, energy-efficient solar-powered lamp post.
10 Methods How to Convert Gas Lamp Post to Solar
1. Evaluate the Structure and Condition of the Existing Gas Lamp Post
Before starting any conversion, assess whether the current gas lamp post is sturdy, rust-free, and structurally sound. Gas lamp posts, especially older ones, may be cast iron, aluminum, or steel, and it’s important to verify that the material isn’t corroded or cracked. Ensure the base is stable and won’t need reanchoring. If the post is decorative but hollow, it’s an excellent candidate for rewiring or repurposing. Take measurements of the lamp head’s width and mounting plate—this will help you choose the right solar fixture to replace it. Confirming that the structure is worth saving will ensure your solar conversion lasts for years.
2. Turn Off and Cap the Gas Line Safely
The most crucial and potentially dangerous step is dealing with the gas supply. Turn off the gas at the main shutoff valve and disconnect the lamp from its supply line. If you’re unfamiliar with working around gas lines, it’s wise to consult a licensed plumber or technician.

Once disconnected, cap the gas pipe with an approved brass cap or plug to seal it off permanently. Use pipe thread sealant or Teflon tape to ensure a gas-tight fit. Leave the gas valve accessible but clearly labeled as “capped” for any future reference. Prioritizing safety at this stage is non-negotiable.
3. Remove the Old Gas Fixture and Prepare the Mounting Area
Carefully remove the existing gas lamp fixture by unbolting it from the mounting bracket or post. Older models may have brittle screws or fragile connectors, so take your time. Once the fixture is off, clean the top of the post and inspect for rust, grime, or chipped paint.
Sand down any rough edges and repaint or touch up as needed. This step is your opportunity to restore the aesthetic appeal of the lamp post and prepare a clean, stable surface to receive the new solar unit. A little preparation here gives a polished look in the final product.
4. Select a Compatible Solar Lamp Fixture
Not all solar fixtures will fit all posts, so select one that’s designed for retrofitting or post-top mounting. Look for a solar lamp head with adjustable collars or a universal mounting kit that can fit snugly onto your existing post. Consider the brightness level (measured in lumens), battery life, style, and weather resistance of the fixture.
Dusk-to-dawn sensors or motion-activated lights are great features for efficiency and security. Be sure the panel size and orientation can get enough daily sun—solar fixtures with integrated panels are the easiest to install, while external-panel designs require more wiring but allow flexibility in placement.
5. Modify the Lamp Head if Necessary for Better Fit
If your new solar fixture doesn’t align perfectly with your existing post, you may need to modify one or the other. This might mean adding a mounting collar, trimming excess metal, or using a post adapter sleeve. Use rust-proof screws or brackets and ensure a tight, wobble-free fit.

Foam weather-stripping or rubber gaskets can help with small gaps and prevent water from entering the post. Be sure to maintain the fixture’s waterproof integrity throughout this process. Tailoring the mount allows for a cleaner look and prevents problems during wind or rain exposure.
6. Secure the Solar Panel for Maximum Sunlight Exposure
Solar-powered lamp heads either come with a built-in panel or have a separate panel connected by wire. If yours has an external solar panel, mount it in a sunny location—ideally on a nearby roof, fence, or pole facing south for optimal sunlight. Route the connecting wire discreetly through the inside of the post or along its exterior, securing it with weatherproof clips.
Use UV-resistant zip ties or conduit to protect the wiring from the elements. Ensuring maximum sun exposure is critical to charging the battery fully and keeping the lamp glowing through the night.
7. Install the Battery Housing and Connect Wiring
Most solar lamp kits come with rechargeable batteries, either housed within the fixture or separately mounted. If external, choose a weather-resistant enclosure and mount it inside the base of the lamp post or nearby. Connect the battery to the solar panel and LED fixture using the supplied connectors or wire nuts. Match the positive and negative terminals carefully and double-check polarity before securing. Wrap connections in heat-shrink tubing or waterproof electrical tape to protect against corrosion. Proper electrical setup ensures the solar system functions efficiently and can power the lamp for extended periods.
8. Test the Solar Light System
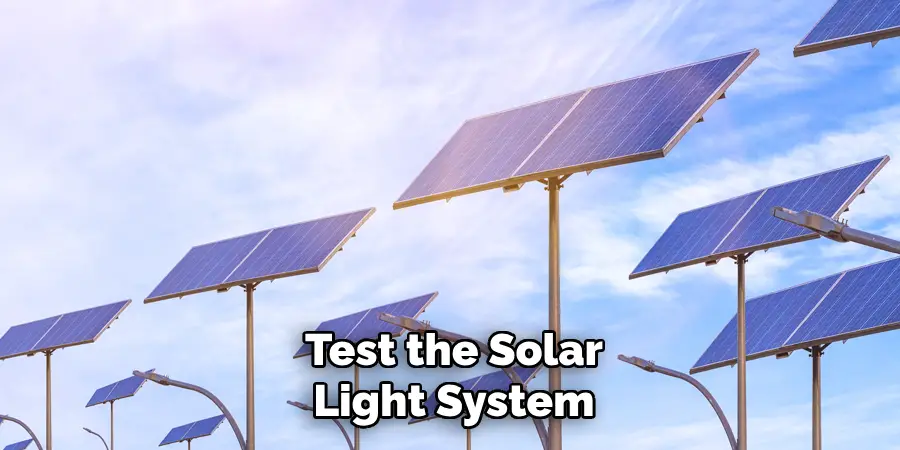
Once connected, test your solar light system by covering the panel (to simulate nighttime) or waiting until dusk. The light should automatically turn on if the battery has received enough charge. Monitor its performance for the first few nights, noting how long it stays illuminated and how bright it appears.

Adjust the panel angle or placement if needed for better sunlight exposure. If performance is lacking, consider replacing the included batteries with higher-capacity rechargeable ones. Testing at this stage helps you fine-tune the setup before securing everything permanently.
9. Weatherproof All Openings and Seams
To ensure long-term reliability, go over the entire post and fixture and seal any open seams or drilled holes. Use clear silicone caulk or waterproof sealant to protect wire entry points, mounting holes, and battery enclosures. This step is especially important if your region experiences heavy rain, snow, or high humidity. Weatherproofing also deters insects from nesting inside the post or fixture. Even if your components are rated for outdoor use, adding an extra layer of protection ensures your solar conversion remains trouble-free through the seasons.
10. Decorate and Maintain the New Solar Lamp Post
Now that your gas lamp post is reborn as a solar-powered light, consider giving it a decorative finish. Add a coat of rust-resistant paint in a color that matches your landscaping or home exterior. You can attach a house number plaque, planter ring, or seasonal wreath to the post for a personal touch. Solar lights are low-maintenance, but check the panel for debris and clean it periodically with a soft cloth to ensure full charging. Replace batteries every 1–2 years or as needed to maintain brightness. A little upkeep goes a long way in keeping your light shining strong.
Conclusion
Properly installing and maintaining your solar lights not only ensures they function efficiently but also enhances the beauty and safety of your outdoor spaces. By following these steps, you can enjoy the benefits of eco-friendly, cost-effective lighting for years to come. With minimal effort and some thoughtful customization, your solar lights can become a standout feature that complements your home and reflects your personal style. So, there you have it – a quick and easy guide on how to convert gas lamp post to solar.

