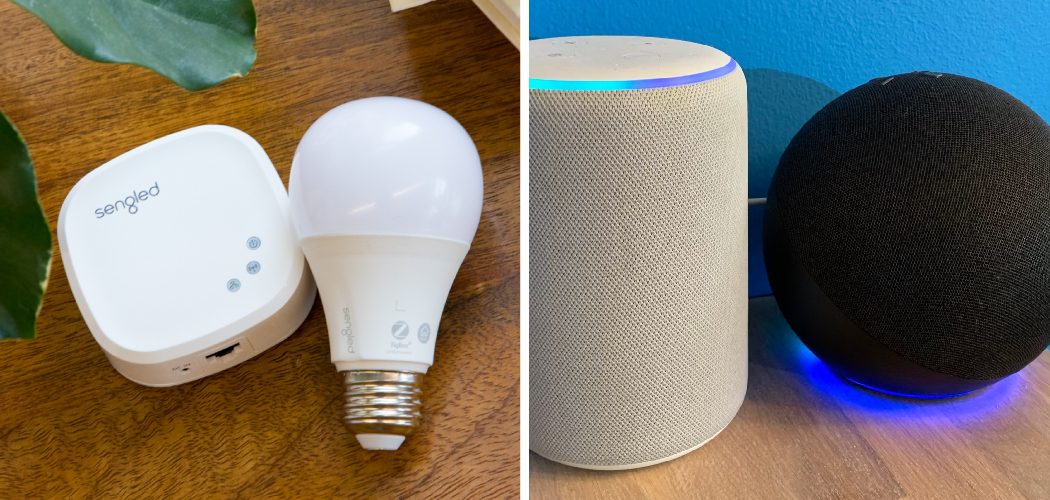
Are you looking to connect your Sengled light bulb to Alexa? Look no further! Here is how you can do it quickly and easily.
With today’s technology, you can do so many things with the touch of a button or voice command. One such thing is connecting your Sengled light bulbs to Alexa, an Amazon Echo device. Not only is this great for convenience, but it also allows you to be creative and experiment with different lights in different rooms. You can easily control multiple lights from one single point hub and even dim them when desired.
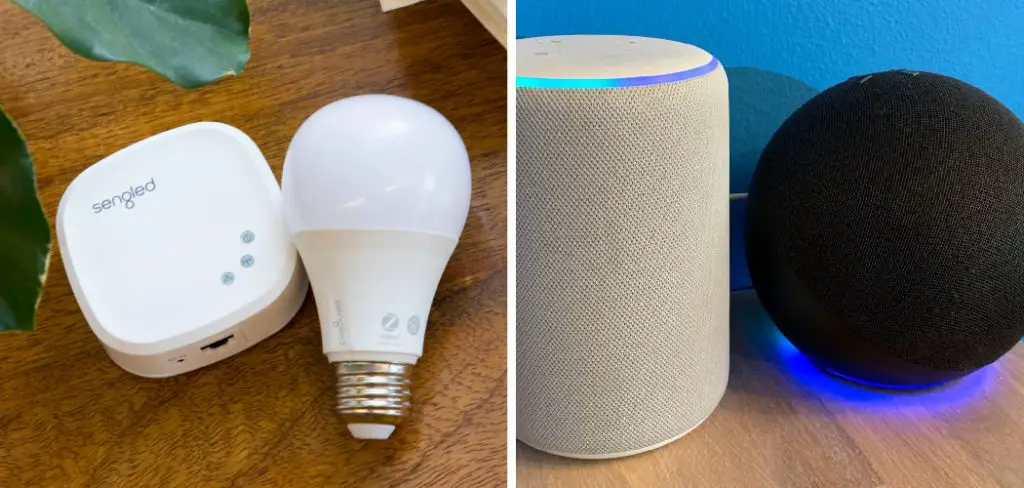
Whether you’re setting up cozy lighting for relaxing in the evenings or increasing visibility while working on tasks during the day, having Alexa connected lights can provide just the right amount of illumination needed. Continue reading to find out how to connect sengled light bulb to alexa!
What is the Use of Sengled Smart Bulbs?
Sengled smart bulbs are a great way to add convenience and fun to your home. With the use of these bulbs, you can take advantage of several useful features:
1. Voice Control: Control your lighting with voice commands through Alexa or Google Home.
2. Timer and Schedule Functions: Use timers and schedules to turn your lights on or off at specific times.
3. Multiple Settings: Create different settings for your lighting depending on the time of day or how you’re feeling.
These are just a few of the great features that come with Sengled smart bulbs.
What Will You Need?
To connect your Sengled light bulb to Alexa, you will need the following items:
- An Amazon Echo device or other Alexa compatible device
- One or more Sengled smart bulbs
- The Sengled Home app
Once you have all these items, follow the steps below to start.
10 Easy Steps on How to Connect Sengled Light Bulb to Alexa
Step 1. Install the Sengled Home App:
Install the Sengled Home app from the App Store or Google Play. Once you have opened the app, create an account and log in. Be careful to use the same account for both the app and Alexa.
Step 2. Connect your Bulbs:
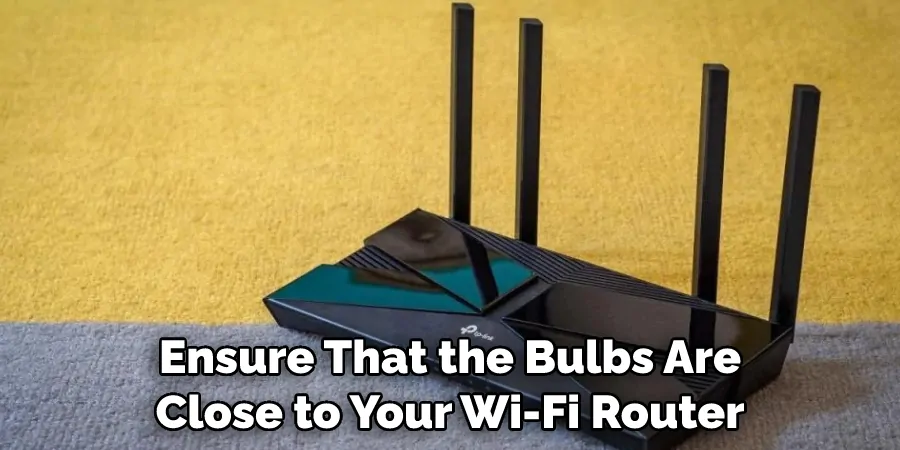
Once you’re logged in to the app, you can connect your Sengled smart bulbs to your Wi-Fi network by following the instructions. Try to ensure that the bulbs are close to your Wi-Fi router. Because if not, you might experience connection issues.
Step 3. Connect Your Alexa Device:
Go to Settings within your Amazon Echo device and select skill & games. Search for “Sengled” and click on it when it appears in the list of available skills. Click Enable and enter your Sengled username and password when prompted.
Step 4. Pair Your Devices:
To pair your devices, open the Sengled Home app and select “Add Devices.” Select Alexa and follow the instructions in the app to complete pairing. If successful, you will see a message saying that your devices have been connected.
Step 5. Give Your Bulbs Commands:
Once you have successfully paired your devices, you can give voice commands to your Sengled bulbs through your Alexa device. To do this, just say the command out loud followed by the name of the bulb. Another great thing is that you can group and control multiple bulbs with a single command.
Step 6. Set Schedules and Timers:
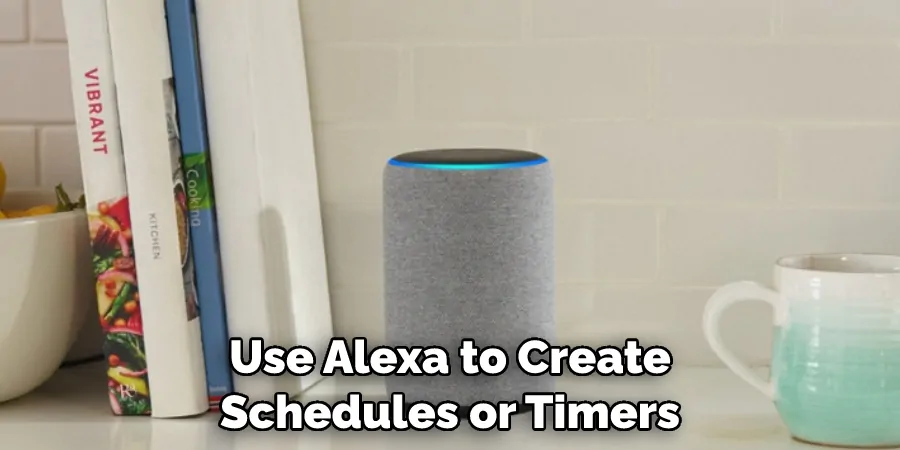
You can also use Alexa to create schedules or timers that will turn your lights on or off at specific times. For example, you could set up a timer to turn your living room lights on at 7:00 PM every night. If you want to make any changes to your schedules or timers, just open the Sengled Home app and update it from there.
Step 7. Create Lighting Scenes:
You can customize how your lights look and feel by creating lighting scenes within the Sengled Home app. This will allow you to create different settings for different times of day or moods, such as “cozy” or “bright”. Additionally, you can set up Alexa to recognize these scenes and apply them with voice commands.
Step 8. Group Your Lights:
Grouping all of your lights together will make it easier to control them from one central point hub. You can group your bulbs by room or activity, giving you more freedom when controlling your lighting needs. Add or remove bulbs from these groups easily with the Sengled Home app.
Step 9. Adjust Brightness Levels:
If desired, you can also adjust the brightness levels of your bulbs from within the Sengled Home app. This is great for setting the perfect ambiance in any room. Moreover, you can also use Alexa to adjust the brightness of your bulbs with voice commands quickly.
Step 10. Enjoy Your Lights:
That’s it! You are now ready to enjoy all the benefits of connecting your Sengled light bulbs to Alexa. Have fun experimenting and creating new lighting experiences throughout your home!
Now that you know how to connect sengled light bulb to Alexa, you can start taking advantage of all its benefits and enjoy voice controlling your lights! Whether you want to set up cozy lighting or increase visibility while working on tasks, having Alexa connected lights will make life easier. So what are you waiting for?
5 Additional Tips and Tricks
1. If you have multiple bulbs, label them so that Alexa can recognize the names of each bulb for easier control.
2. Make sure your Sengled bulb is within range of your Amazon Echo device and connected to the same Wi-Fi network as it for a successful connection.
3. Once your Sengled lightbulb has been added to Alexa, consider creating routines (such as “Good Morning” or “Good Night”) that allow you to control multiple devices with one voice command.
4. Keep your Sengled lightbulb up-to-date by regularly checking for firmware updates available through the app or website.
5. Have fun exploring all the features of your newly connected Sengled lightbulb with Alexa. Enjoy the convenience of controlling your lights with just one command!
These tips and tricks help you to get the most out of connecting sengled light bulb to Alexa. Have fun exploring how you can make your life easier with this integration!
5 Things You Should Avoid
1. Don’t forget to enable the Sengled Skill in the Alexa app. Before you can connect your Sengled Home light bulb, be sure to open up the Alexa app and enable the “Sengled Home” Alexa skill.
2. Don’t try to connect a non-compatible light bulb model. Check compatibility on the product page of your bulb before attempting to connect with Alexa. If you have an incompatible device, it will not work properly with Alexa and could cause damage or malfunction.
3. Don’t attempt to use a voice command without setting up the connection correctly first – Make sure that you have completed all steps needed for connecting your light bulb with Alexa and tested that it is working correctly before you attempt to use a voice command.
4. Don’t forget to check your Wi-Fi connection – If your Sengled Home light bulb is not connecting with Alexa, ensure your home Wi-Fi is working properly, and the settings are correct.
5. Don’t rely on outdated instructions – Look for how-to guides or video tutorials on how to connect Sengled Home light bulbs with Alexa that were published recently, as older how-to guides may be obsolete and could lead to connection issues. Follow the setup steps provided in this article for the most reliable guidance.
By following these five key tips, you should have no problems successfully connecting your Sengled Home light bulb to Alexa!
Why Won’t Alexa Find Your Sengled Bulb?
If Alexa is unable to find your Sengled Home light bulb, make sure that it is connected to the same Wi-Fi network as your Echo device, and then reset the connection with the “Discover Devices” command. If this doesn’t work, try saying, “Alexa, turn off all lights” or restarting the Echo device. If none of these solutions are successful, reach out to Sengled’s customer service team for further instructions.
By troubleshooting any connection issues you may be having and following how-to guides on how to connect Sengled light bulbs with Alexa correctly, you should have no problems making your home smarter in no time!
Conclusion
Connecting a Sengled Smart LED light bulb to your Alexa device may seem daunting at first, but with these steps in mind, you can easily do it yourself! Now that you know how to connect sengled light bulb to alexa, you can enjoy the convenience of having remote access to your lights and the ability to control them with voice commands. With this knowledge, you can take full advantage of the capabilities of Alexa to make your home smarter and more connected.
Furthermore, you can use this setup as a motivation to dive into other aspects of home automation such as setting up lights or appliances on timers or motion sensors for added convenience. All in all, setting up Sengled Smart LED light bulbs with Alexa is a great way to add a layer of intelligence and convenience to your living space.

