Rope lights are a popular lighting solution known for their flexibility, durability, and versatility. These cylindrical lights enclose small bulbs or LEDs within a clear, flexible tube, making them ideal for both decorative and functional purposes. You can commonly find rope lights outlining patios, walkways, or stairs, decorating homes during the holiday season, or even as accent lighting beneath cabinets to add a modern touch.
This article aims to provide a comprehensive, step-by-step guide on How to Connect Rope Lights to Each Other safely and effectively. Following these instructions ensures a seamless appearance and consistent illumination for your projects, whether indoors or outdoors.
Understanding Rope Light Types and Compatibility
Before connecting rope lights, it is essential to understand the different types available and their compatibility requirements to ensure a safe and effective installation.
Types of Rope Lights
Rope lights come in two primary forms—incandescent and LED. Incandescent rope lights are traditional, producing a warm and soft glow but consuming more power and generating more heat. On the other hand, LED rope lights are energy-efficient, last significantly longer, and offer a brighter and more versatile range of colors. While LEDs are generally more cost-effective long-term, your choice will largely depend on the desired aesthetic and budget.
Additionally, rope lights can be AC-powered or DC-powered. AC-powered lights are suited for areas where access to standard outlets is readily available. DC-powered options are often used for low-voltage applications, making them ideal for specific outdoor setups or battery-operated scenarios.
Voltage Considerations
Matching the voltage of your rope lights and power source is crucial. Rope lights commonly operate on 12V, 24V, or 120V. Using the wrong voltage can cause performance issues, potential damage, or even safety hazards. Always verify specifications listed on the product label.
Brand Compatibility
To achieve a seamless connection, it is highly recommended to use rope lights and connectors from the same brand. Some products may feature proprietary connectors, so incompatibility can lead to technical issues or inconsistent illumination. If mixing brands, opt for equipment with universal compatibility to ensure proper integration.
Materials and Tools Needed
Materials
- Rope lights (multiple lengths)
- Power connectors (included or purchased separately)
- Splice connectors or end-to-end connectors
- Shrink tubing (for waterproofing if used outdoors)
- Electrical tape or silicone sealant (optional for added insulation)
Tools
- Scissors or utility knife
- Screwdriver (if using screw-type connectors)
- Heat gun or lighter (if using shrink tubing)
The right materials and tools are essential for effectively installing and maintaining your rope lights. Begin by selecting the appropriate length of rope lights for your project, ensuring they match the required specifications. Power connectors are crucial for supplying electricity to the lights, while splice connectors or end-to-end connectors help extend the length or join multiple sections.
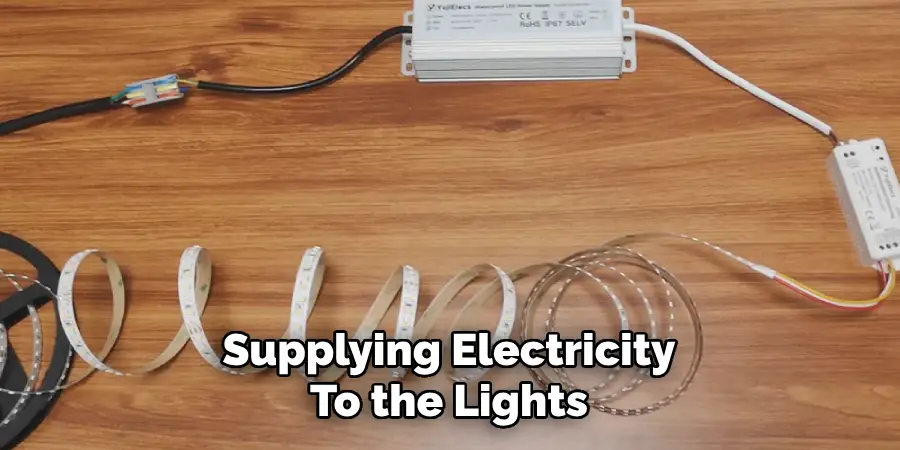
For outdoor installations, shrink tubing provides necessary waterproofing, and electrical tape or silicone sealant can add extra insulation for safety. Using correct tools such as scissors for cutting, a screwdriver for securing connectors, and a heat gun for activating shrink tubing will ensure accurate assembly and a polished final appearance. Proper preparation facilitates a safe, durable, and visually appealing lighting solution.
Preparing the Rope Lights for Connection
Proper preparation of rope lights is essential for a safe and reliable installation. Follow these steps to ensure your rope lights are ready for connection:
Step 1: Unroll and Inspect Rope Lights
Begin by unrolling all the rope light segments completely. Carefully inspect each segment for any visible defects, such as cuts, breaks, or damaged sections. Even minor damage can interfere with performance or create safety risks. Once inspected, test each segment independently by connecting it to a power source. This ensures the segments are functional before proceeding.
Step 2: Identify Cut Marks
Rope lights are designed to be cut only at specific points, typically marked with small scissors icons. These cut marks indicate where it is safe to make a cut without damaging the internal circuitry. Never cut rope lights at unmarked areas, as this can permanently harm the circuit and render the segment unusable. Use sharp scissors or a suitable cutting tool to make clean cuts at the designated points.
Step 3: Clean the Ends
Before connecting the rope light segments, clean both ends of the cut pieces. Use a dry cloth to remove dust, dirt, or other debris. This step ensures better electrical contact during connection and minimizes the risk of malfunction. Properly cleaned ends also improve the fit and durability of connectors, contributing to a seamless and efficient lighting setup.
How to Connect Rope Lights to Each Other: Using End-to-End Connectors
Step 1: Insert Connector Pins
Begin by aligning the metal pins on the connector with the internal wires of the rope light. Match the pins precisely to their respective wires to ensure a proper connection. Push the connector into the rope light gently but firmly.
Avoid using excessive force, as this could bend or damage the delicate pins, potentially leading to a faulty connection. Precision during this step is key to achieving a seamless and secure fit.
Step 2: Secure the Connection
Once the connector pins are properly aligned and inserted, secure the connection by fastening the connector housing. Depending on the type of connector, you may need to screw the housing into place or use locking clips provided with the kit.
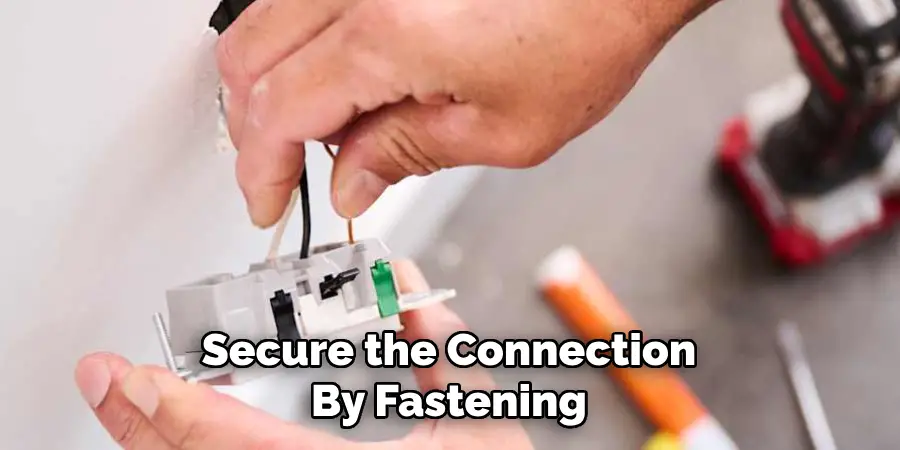
Ensure that the connection is tight and robust to prevent the segments from separating during use. Proper fastening also contributes to the longevity and safety of the lighting setup.
Step 3: Insulate the Joint
Apply insulation to protect the joint from external factors such as moisture or debris. Wrap the joint with electrical tape for a basic seal or use silicone sealant for outdoor installations where exposure to moisture is more likely. Insulation safeguards the connection and minimizes the risk of short circuits or damage, ensuring reliable performance.
Step 4: Test the Connection
Finally, test the connection by plugging the rope lights into a power source. Check for consistent lighting across both connected segments. If there are any gaps or inconsistencies, verify the alignment of the pins and recheck the insulation. Proper testing ensures your setup functions as intended and minimizes the chance of issues later.
Using Splice Connectors
Step 1: Strip and Align Wires
Begin by cutting both ends of the rope light cleanly at the designated cut points, ensuring a straight cut for optimal alignment. Carefully expose the internal wires by stripping a small portion of insulation from each end, just enough to reveal the necessary length of wire for the connection. Be cautious not to damage the wires in the process.
Step 2: Insert into Splice Connector
Once the wires have been properly stripped, align and match the color-coded or corresponding wires (if applicable). Insert both ends of the wire segments into the splice connector block, ensuring secure alignment. Tighten the screws or clips within the splice connector to firmly hold the wires in place, ensuring a stable and reliable connection.
Step 3: Seal the Connection
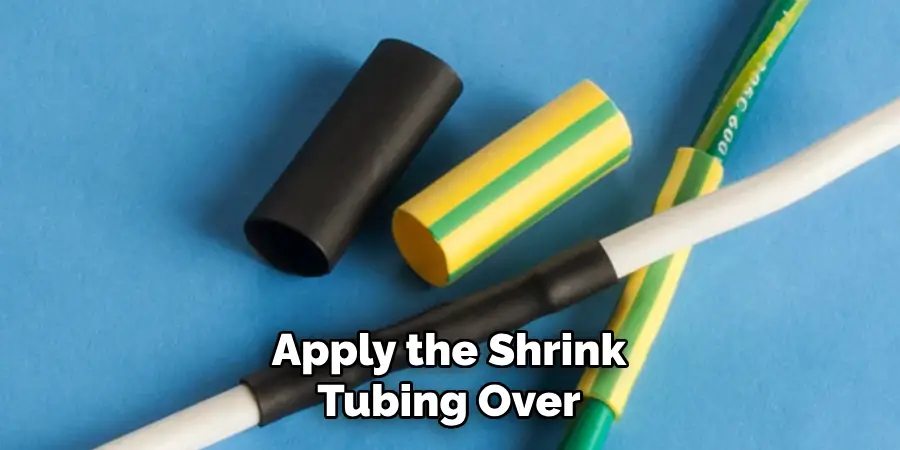
To protect the splice and ensure durability, use shrink tubing or electrical tape to seal the connection, especially in outdoor installations. Apply the shrink tubing over the exposed joint and use heat to shrink it securely, or carefully wrap electrical tape around the splice for added insulation. Proper sealing minimizes risk from moisture, dust, or physical wear.
Step 4: Test Functionality
With the splice completed, plug the rope lights into a power source and verify that the lights illuminate uniformly across the spliced sections. Check for any inconsistencies or flickering, and if issues are found, inspect and resecure the splice connections as needed. Testing guarantees the functionality and reliability of your lighting setup.
Tips for Safe and Long-Lasting Installation
Avoid Overloading the Circuit
Always check the manufacturer’s maximum recommended length and power load for your rope lights to prevent electrical hazards. Overloading the circuit can cause overheating, damage to the lights, or even create a fire hazard. Ensure your power source can handle the total wattage of the connected lights.
Mount Securely
A secure installation is key to long-term durability. To keep rope lights firmly in place, use mounting clips, adhesive channels, or brackets designed for them. Proper mounting prevents sagging, accidental displacement, or damage caused by movement or tension.
Outdoor Use Precautions
When using rope lights outdoors, ensuring all connections are sealed and weatherproofed is critical. Exposure to moisture, dust, or extreme weather conditions can compromise safety or cause the lights to fail prematurely. Additionally, only use rope lights rated explicitly for outdoor use to ensure durability and safety in unpredictable environments.
Use Timers or Surge Protectors
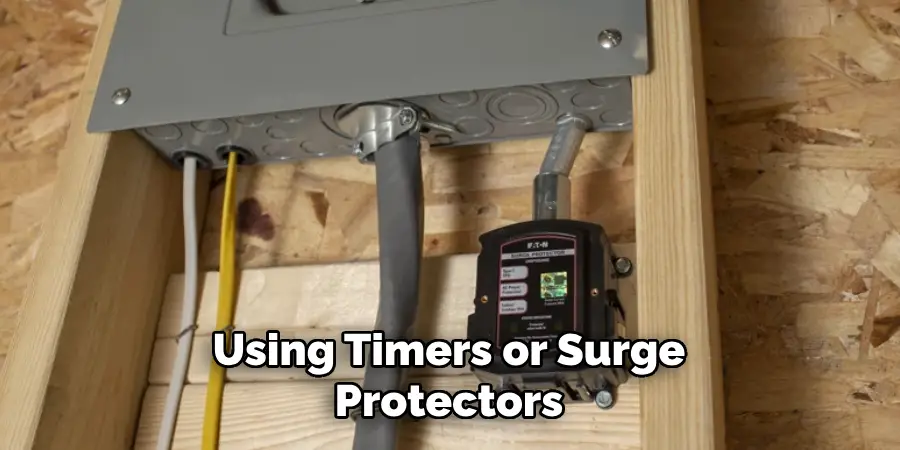
Consider using timers or surge protectors to extend the lifespan of your rope lights and protect them from electrical surges. Timers allow you to automate usage, reducing unnecessary wear, while surge protectors guard against voltage spikes that might damage the lights. These small precautions can significantly enhance the performance and longevity of your installation.
Conclusion
Successfully learning how to connect rope lights to each other involves several key steps to ensure both functionality and safety. Begin by verifying the compatibility of the rope lights and connectors, and always use proper connectors designed for your specific lights. Seal connections thoroughly to protect against moisture, especially for outdoor setups, and test the installation carefully before use.
Prioritize safety when working with electricity to avoid potential hazards. Finally, refer to the manufacturer’s instructions for guidance and consult a professional for complex setups. These precautions will help you achieve a reliable and durable lighting arrangement.

