If you’re looking for an easy and cost-efficient way to light up your home, you might want to consider installing LED strip lights. Not only do these energy-saving lights come in a variety of colors and functions, but they are also incredibly versatile. You can use them as accent lighting along the edges of your rooms or as task lighting where extra illumination is needed.
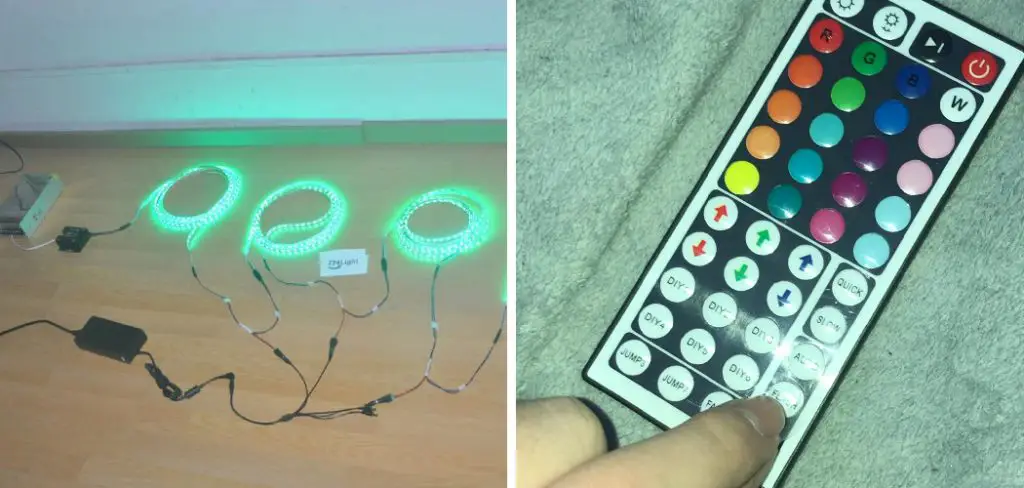
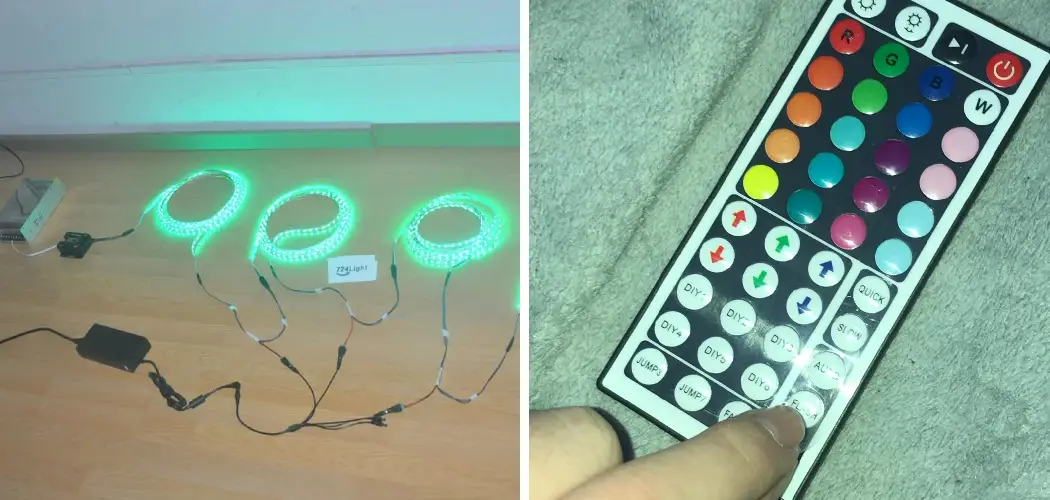
But if you’re not sure how you would go about connecting multiple strips together, don’t worry – it’s actually pretty simple once you know what components are necessary. In this blog post, we will review all the steps on how to connect multiple led strip lights to one remote involved in connecting multiple LED strip lights with one remote so that you can take advantage of the flexibility and convenience this setup provides!
Is It Possible to Connect Multiple Led Strip Lights to One Remote?
Yes, it is possible to connect multiple LED strip lights to one remote. This type of connection is useful when you want to light up a large area or if you require different levels of illumination in different spaces throughout your home. It is also a great way to save energy as you can control all the lights with one remote instead of having to switch them on and off manually.
The Benefits of Connecting Multiple Led Strip Lights to One Remote
By connecting multiple led strip lights to one remote, you can enjoy a few advantages:
- You won’t need to purchase multiple remotes for each set of lights.
- You will be able to control the brightness and color of all your strips with just one remote, giving you greater flexibility and convenience when it comes to lighting up your home.
- You can adjust the intensity of the light depending on your needs and preferences.
- You’ll be able to save energy costs as you won’t have to leave all the lights turned on at once.
These are just some of the benefits you will enjoy from having multiple LED strip lights connected to one remote. Now let’s take a look at the components you need in order to make it happen.
Required Items
In order to connect multiple LED strip lights to one remote, you will need the following items:
- A power supply – This supplies electricity to your LED strips.
- A dimmer (optional) – This allows you to control the brightness of your LED strips.
- A wireless remote – This is used to control the brightness and color of your LED strips.
- LED strip lights – You can choose from a variety of colors and sizes depending on the look you’re trying to achieve.
Once you have all these items, the next step is connecting them together. Read on for instructions on how to do this.

10 Steps on How to Connect Multiple Led Strip Lights to One Remote
Step 1: Connect Power Supply
Connect the power supply to your LED strips. It will typically come with a plug that fits into your wall outlet. Make sure it is securely plugged in before moving on to the next step. Make sure you use the correct type of power supply for your LED strips, as not all types are compatible.
Step 2: Connect Dimmer (Optional)
If you have a dimmer, connect it to the LED strips. This will allow you to adjust the brightness and color of your lights with the remote. Make sure to match up the connectors correctly and check that they are firmly connected.
Step 3: Connect Wireless Remote
Connect the wireless remote to your LED strips. The remote should come with a plug that fits into your strips. Make sure it is securely plugged in before continuing. Wireless remotes typically come pre-programmed, but you may need to program the remote if it does not work.
Step 4: Turn On the Power Supply
Once all the connections are secure, turn on the power supply. This will activate the LED strips and allow them to be controlled by the wireless remote. The power supply should also come with a switch that you can use to turn it on and off.
Step 5: Test Lights
Now it’s time to test your lights! Turn on the wireless remote and use it to control the brightness and color of your LED strips. Make sure all the lights are working properly before moving on to the next step.
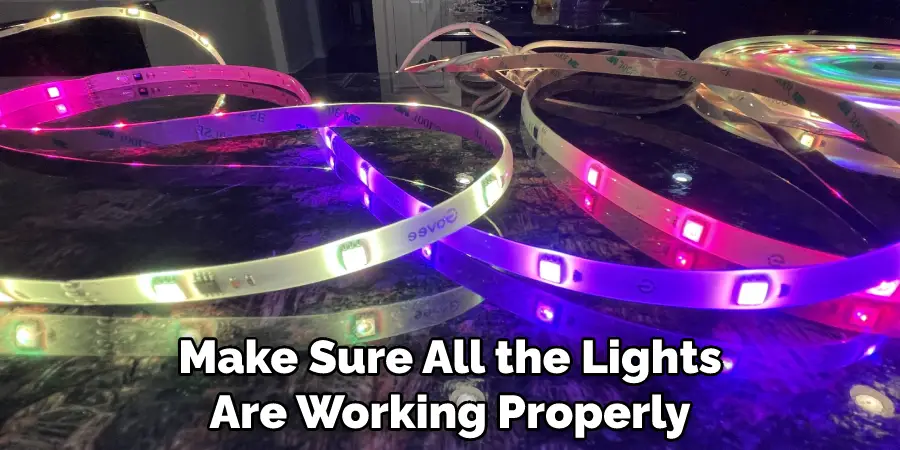
Step 6: Connect Other LED Strip Lights
Now you can connect the other LED strip lights to your setup. Make sure they are securely connected and that the power supply and wireless remote are plugged into all of them. Once they’re all connected, you should be able to control them with one remote.
Step 7: Test Lights Again
Test the lights again to make sure they are all working properly. Make sure you can control each strip with the wireless remote and that the colors and brightness levels are working correctly.
Step 8: Adjust Brightness & Color
You can now adjust the brightness and color of your LED strips using the wireless remote. This allows you to create the perfect lighting for any room in your home. Adjust the levels to your preference, and enjoy your new lighting setup!
Step 9: Turn Off the Power Supply
When you’re done adjusting the lights, turn off the power supply. This will prevent any damage from happening to your LED strips or remote in case of an unexpected power outage. Once it’s off, the strips will no longer be able to be controlled.
Step 10: Enjoy Your New Setup
Now you can enjoy your new setup! With multiple LED strip lights connected to one remote, you can create the perfect lighting for any room in your home. Have fun creating and experimenting with different colors and brightness levels!
Having multiple LED strips connected to one remote makes it easy to control the lighting in your home. With the right setup, you can create the perfect ambiance for any room. Follow these steps and enjoy your new setup!
8 Safety Measures to Follow
1. Before connecting multiple LED strip lights to one remote, make sure that the total wattage of all the strips is not more than the wattage capacity of the power supply. Wattage is calculated by multiplying the voltage of the power supply by the current rating of the LED strip light.
2. Use UL-Listed components for connecting multiple LED strips to one remote, including wires and connectors, as these have been tested and certified according to safety standards.
3. To avoid overloading, do not connect more than three LED strip lights to a single control. Single control means one LED strip, dimmer switch, and remote control.
4. Make sure that the voltage of all LEDs strips is the same as the supplied power source. If not matched, then it can lead to an overload or fire hazard.
5. For any connections with electrical outlets, use a circuit breaker for added safety measures. This will trip the breaker if there is an overload and prevent any potential fire hazard.
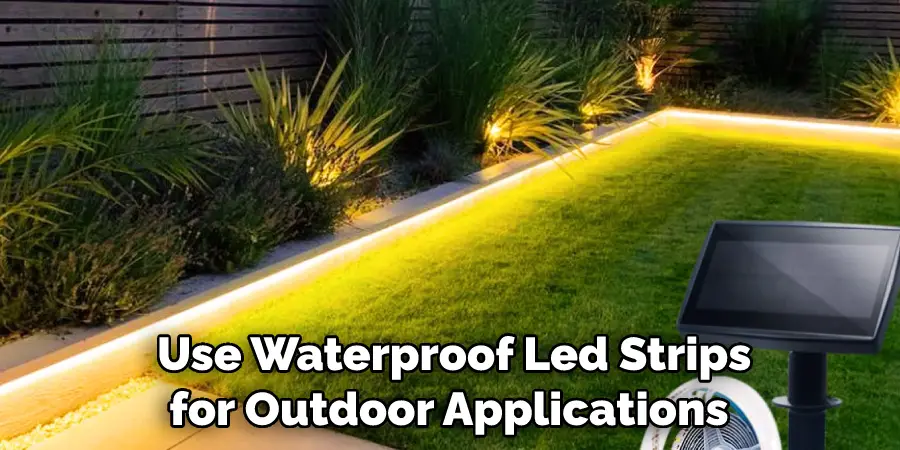
6. Use waterproof LED strips for outdoor applications, as these are designed to withstand natural elements, such as rain and snow. Waterproof LED strips also come with additional safety features such as built-in surge protection and current regulation.
7. Make sure to always operate the system within the recommended power rating range. If the wattage is too high, then it may cause an overload or fire hazard. So, always check the product specifications before connecting multiple LED strip lights to one remote.
8. Finally, check all connections periodically to ensure that everything is in working order and that there are no signs of damage or wear and tear. All connection points should also be covered with electrical tape to ensure a secure connection.
Following these safety measures will help ensure that your LED strip lighting system is properly installed and running safely. With the right components, you can now easily connect multiple LED strip lights to one remote and enjoy their bright illumination with ease.
Conclusion
In conclusion, connecting multiple LED strip lights to one remote can be a great way to upgrade your living space efficiently. By understanding the basics of LED strip lights, double-checking the wattage power supply, using common multi-channel wiring conventions, and selecting the right LED controller, you can achieve the results that you are looking for.
While wiring multiple LED strips may seem daunting at first, it’s actually an incredibly easy task as long as you have to right tools and a bit of patience. And who knows? Adding multiple LED strip lights with one remote could bring a whole new life and atmosphere to any home or business setting. After all, you don’t need to be an electrical expert in order to figure it out! All you need is a good guide on how to connect multiple led strip lights to one remote and some preliminary research, and you’ll be off and running – literally!

