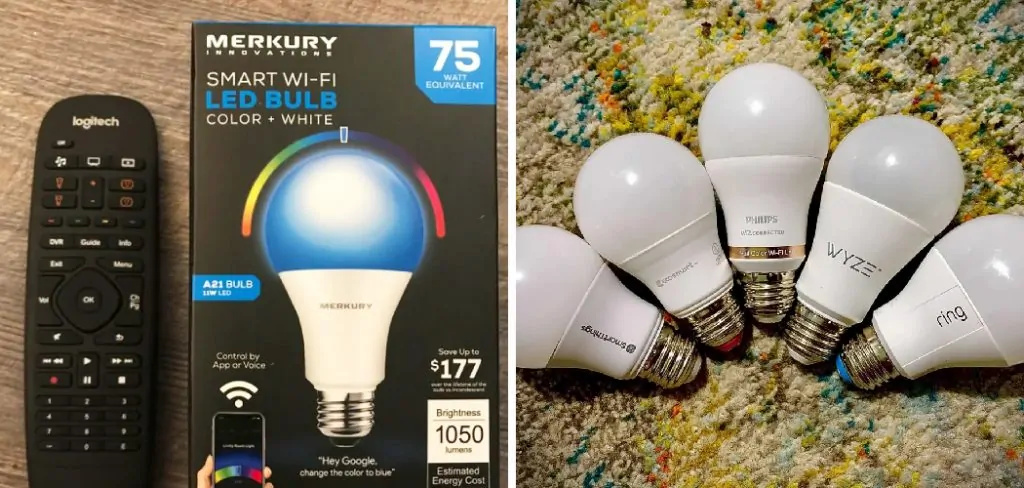
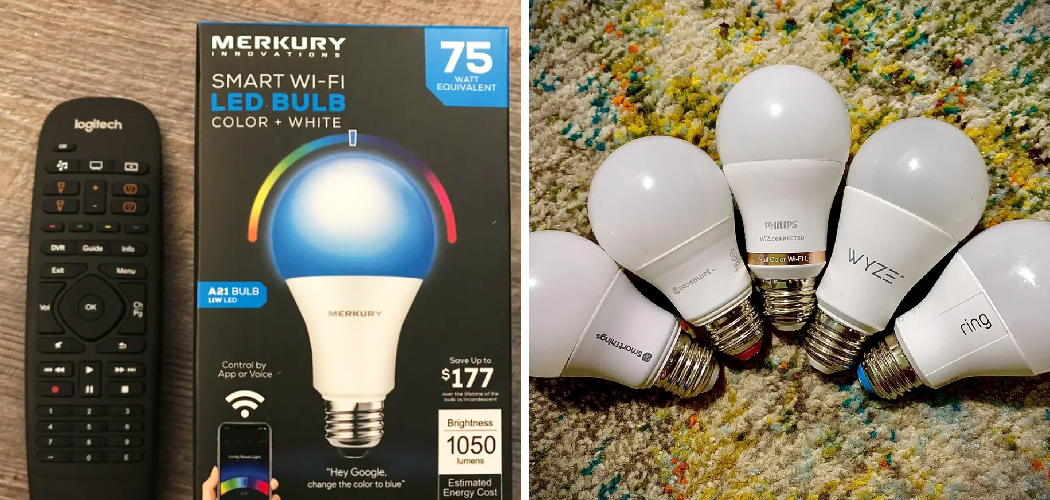
Connecting Merkury smart light bulbs provides several benefits. It allows you to control your lighting from anywhere using the Merkury app. You can dim the lights, adjust their color and brightness, and create personalized schedules for when your lights should turn on or off. You can also set up voice commands with Alexa or Google Home for added convenience.

One advantage of connecting Merkury’s light bulb is that it is incredibly easy to set up. All you need is a compatible device with Bluetooth or Wi-Fi connectivity, and then you can simply install the Merkury app, search for your device, and follow the instructions provided on the screen.
With this method, you won’t need additional tools or expertise to connect your lightbulb. In this blog post, You will learn in detail how to connect merkury light bulb.
Step by Step Processes for How to Connect Merkury Light Bulb
Step 1: Inspect the Light Bulb
Check the label on the light bulb to ensure it is compatible with your existing accessories. Make sure that you have installed a compatible dimmer switch if you plan to use one.
Step 2: Connect the Bulb and Power Supply
Connect the power supply of your Merkury Light Bulb to the appropriate power source or outlet. Depending on the model, you may need to use a specific type of power source or outlet. Securely screw in the Merkury Light Bulb into your existing lighting fixture in order to ensure proper installation.
Step 3: Connect to Wi-Fi (if needed)
If your bulb is capable of connecting to Wi-Fi, connect it to your home network. This will allow the bulb to be connected and controlled remotely via the Merkury app or compatible third-party applications. Install the Merkury app from either Google Play Store or iOS App Store. Once installed, open the app and login with your Mercury account.
Step 4: Add a Device
In the Merkury App, select “Add Device” and choose “Lights & Switches” from the list of devices. Then, select “Mercury Light Bulb” from the list of compatible devices. Select “Connect” and follow the onscreen instructions provided by the app in order to connect your Merkury Light Bulb to the app.
Step 5: Select Your Settings
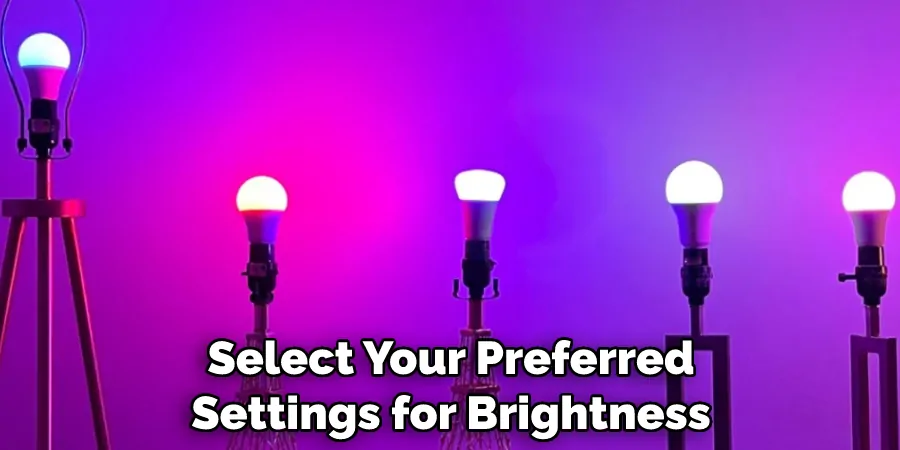
Once connected, select your preferred settings for brightness, color temperature, and other options. This can be done manually or by using the available presets. If you would like to have your Merkury Light Bulb turned on and off at a certain time every day, you will need to schedule it in the app. In the app, simply select “Schedule” and follow the onscreen instructions to set up your lighting schedule.

Step 6: Test Your Settings
Once you have finished customizing your settings, test it out by turning the bulb on and off using the Merkury app. This will ensure that everything works correctly before you use it regularly.
Safety Tips for How to Connect Merkury Light Bulb
- Always be sure to turn off the power to the circuit before beginning your project. This is key to preventing any electrical shock caused by live wires when connecting a Merkury light bulb.
- Know how to remove a bulb from its socket properly. Make sure you grasp it firmly and unscrew it in a counterclockwise direction.
- Inspect the light bulb before handling it to ensure it has not been damaged in any way, such as chips or cracks in the glass. If you find any damage, it is best to replace the bulb.
- When attempting to connect a Merkury light bulb, be sure that the wattage does not exceed the wattage of the existing fixture.
- Make sure to use the correct size socket for your Merkury light bulb, as mismatched sizes can cause electrical shorts or other unwanted concerns.
- Before connecting a new Merkury light bulb, check that all wires are securely connected and tightly wrapped in their respective terminals/sockets.
- Check that all switches, dimmers, and timers are set properly prior to connecting the Merkury light bulb. This will help ensure a successful installation and prevent any potential safety issues with your lights.

You can successfully and safely connect a Merkury light bulb by following these simple safety tips. Be sure to take the necessary precautions and always follow the manufacturer’s instructions for proper installation.
What Type of Dimmer Switch Should You Use to Control Your Merkury Light Bulb?
When using a Merkury Light Bulb, choosing the correct type of dimmer switch is important to ensure optimal performance. The type of dimmer switch that should be used depends on the wattage and voltage of the bulb. An incandescent dimmer switch is appropriate for low-wattage bulbs (up to 25 watts).
These dimmers are designed to work with traditional incandescent bulbs and help avoid sudden power surges that can damage the bulb or cause flickering. You should use a halogen dimmer switch for higher-wattage bulbs (up to 500 watts). Halogen dimmers are specifically made for halogen lamps, which are usually used with Merkury Light Bulbs.
This dimmer switch helps regulate the current flow and reduce overheating, providing a consistent light output without any flickering or buzzing. Finally, you should always check what type of dimmer switch is recommended for your specific Merkury Light Bulb before attempting to install it. If you are unsure, contacting a qualified electrician for assistance is best.
Are There Other Options or Accessories You Should Consider When Connecting a Merkury Light Bulb?
Yes. You may want to consider investing in a few other accessories or features when connecting your Merkury light bulb. Firstly, if you’re looking to create more unique and creative lighting designs, you may want to invest in a dimmer switch. A dimmer switch allows you to adjust the brightness of your lights to provide the perfect atmosphere for any occasion.

Another option is to install a motion sensor, which can turn your lights on or off based on movement in the room. This is especially useful if you don’t want to have to manually turn your lights on and off every time you enter or leave the room.
Finally, adding a timer switch can make it easy to save energy and money by automatically turning off lights after a certain amount of time. No matter what your needs are, there is sure to be an accessory or feature that can help you get the most out of your Merkury light bulb.
Are There Any Special Features or Benefits That Come With Connecting a Merkury Light Bulb in Your Home?
The Merkury light bulbs are a great option for those seeking energy-efficient lighting solutions. Not only do they use up to 80% less energy than traditional incandescent bulbs, but they also provide you with the added convenience of being able to control and adjust settings from anywhere in your home.
By connecting the Merkury light bulbs to your Wi-Fi network, you can control them from your smartphone or tablet without having to access the bulbs physically. This means you can change the color and brightness of the lights anywhere in your home. You can also set a timer for when the lights should come on or off, so it’s even easier to set the perfect ambiance in any room.
What is the Best Way to Clean and Maintain Your Merkury Light Bulb to Ensure Its Optimal Performance?
Cleaning and maintaining your Merkury light bulb is essential when it comes to getting the most out of its performance. Here are some best practices for keeping your Merkury light bulb in tip-top shape:

- Ensure you know any manufacturer’s guidelines that come with your light bulb – these are usually printed on the packaging.
- Unplug your Merkury light bulb before cleaning it. This will protect you from electric shocks and help prevent any damage to the bulb’s internal components.
- When cleaning your Merkury light bulb, use a soft cloth or paper towel dampened with warm water and mild detergent or soap. Gently wipe the bulb to remove any accumulated dirt or dust over time.
- Ensure you don’t use harsh chemicals, scrapers, steel wool, or abrasive materials to clean your Merkury light bulb – these can damage the glass, plastic, and metal parts of the bulb and may lead to poor performance or even a complete failure.
- When you’re finished cleaning your Merkury light bulb, make sure to use a dry cloth, paper towel, or tissue to wipe it off and remove any remaining soap residue thoroughly.
- Finally, be sure to check the Merkury light bulb periodically for any signs of wear and tear. If you notice anything that looks out of the ordinary, contact your local retailer or manufacturer for assistance.
By following all of these steps, you can ensure optimal performance from your Merkury light bulb for years to come.
Are There Any Additional Costs Associated With Connecting a Merkury Light Bulb in Your Home?
The cost of connecting a Merkury light bulb in your home will depend largely on the type of light bulb you choose and any additional hardware or wiring that may be required. Generally speaking, LED bulbs are more expensive than traditional incandescent bulbs, and some may require additional hardware such as dimmers or mounting brackets.
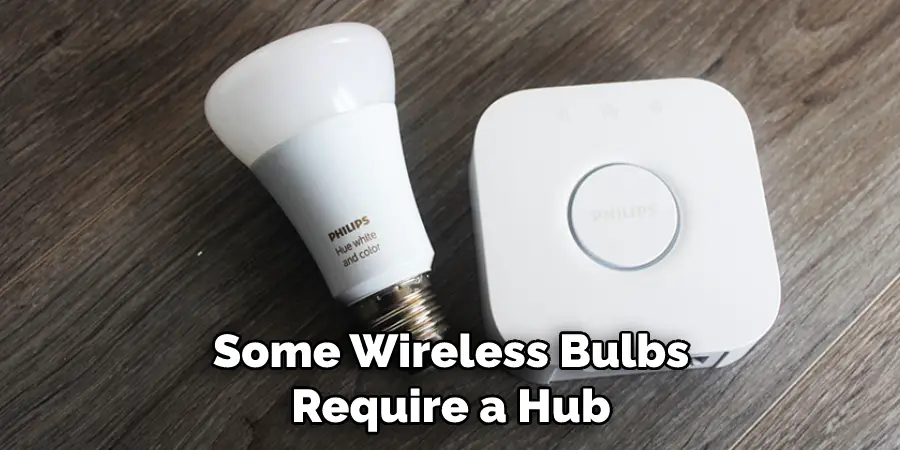
If wiring is required, the cost may increase due to the installation time and materials needed. Additionally, some wireless bulbs require a hub in order to function properly, increasing the overall cost of connecting Merkury light bulbs in your home. Considering all costs before investing in a Merkury light bulb setup is important.

When it comes to installation, you may be able to install a Merkury light bulb yourself or hire an electrician. It’s important to follow the instructions carefully when connecting a Merkury light bulb to ensure it is installed properly and safely.
Conclusion
One of the biggest disadvantages of connecting Merkury light bulbs is that it can be very difficult for some people to figure out what type of bulb is required for a particular device or appliance. Finding the exact replacement part can also be tricky, as some manufacturers may have discontinued certain types of bulbs.
In conclusion, connecting a Merkury Light Bulb is an easy process that can be done quickly and with minimal effort. Firstly, make sure the bulb is securely connected to the power source of your choice. Then, turn off your circuit breaker and install the appropriate adapter if necessary.
Finally, connect the Merkury Light Bulb to your home network by following your device’s instructions. I hope this article has been beneficial for learning how to connect merkury light bulb. Make Sure the precautionary measures are followed chronologically.

