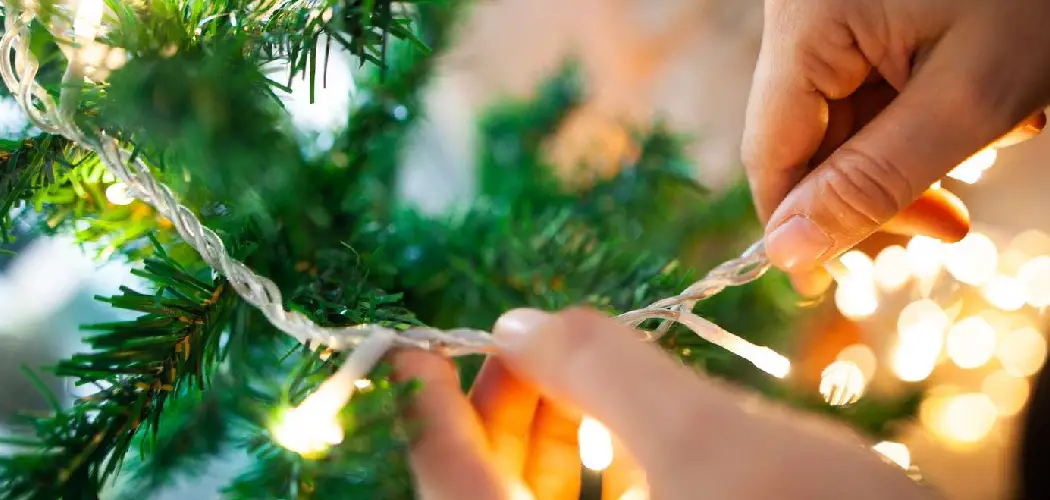
What’s the secret sauce to transforming a regular ol’ pine into the sparkling superstar it was always destined to be? You guessed it—lighting! Shimmering, twinkling lights are the magic ingredient that takes your Christmas tree from drab to fab, casting a warm glow that feels like a holiday hug.
From classic incandescent beauties to sleek, energy-efficient LEDs, there’s a palette of bulbs to pick from that suits every taste and tree style. But here’s the catch—making sure these lights don’t create a Griswold-level disaster. That’s where this nifty guide comes in. We’re here to give you the lowdown on how to connect lights on christmas tree without getting yourself tangled in a knot. So grab your ladder, untangle those strings, and let’s dive into making your tree the talk of the tinsel town!
Choosing the Right Lights
Selecting the perfect lights is like picking the right accessories for a party outfit—it can make or break the whole look! Let’s start with the heavyweights: incandescent and LED lights. With their warm, cozy glow, incandescent lights are the nostalgic choice, evoking memories of old-school Christmas scenes. But watch out—these guys can guzzle electricity like a reindeer devours carrots. LEDs, on the other hand, are the sleek, modern players in the field. They’re energy-efficient, long-lasting, and come in a stunning array of brightness levels and colors.
Now, the big question: how many lights do you actually need? A quick rule of thumb is about 100 lights per foot of tree. So, if you’ve got a 6-foot tree, you’re looking at around 600 lights to really dazzle the room. But hey, go big or go home, right?
Regarding style, your options are as colorful as a Christmas candy cane. From multicolor extravaganzas to the soft elegance of warm white, you can tailor the vibe to fit your holiday theme. And if you’re feeling extra creative, dive into themed lights—think snowflakes or candy canes—to give your tree the wow factor. Tailoring these elements will ensure your tree isn’t just lit—it’s legendary.
Preparing the Tree
Choosing the perfect spot for your Christmas tree isn’t just about finding the prime real estate in your living room. It’s all about balancing aesthetics with practicality. You’ll want a spot that shows off your tree’s best side while also having easy access to an electrical outlet. Trust us, nobody wants to trip over extension cords like they’re winning an obstacle course. Plus, it’s wise to remove your tree from heaters or fireplaces to avoid dragons-in-the-dungeon scenarios.
Once you’ve marked your territory, it’s time to set up this festive prima donna. Pop that tree into a sturdy stand and tighten it until the tree stands tall and proud like it’s getting its own photo op. Give it a gentle nudge to ensure it’s as solid as grandma’s fruitcake. Remember, a wobbly tree is a toppled tree waiting to happen.
Now, on to the twinkling stars of the show—your lights. Untangling these delightful bundles of chaos can feel like a brain teaser, but it’s essential. Start from the center of the bundle and work your way out to keep knots at bay. Think of it as a fun little puzzle to get into the holiday spirit—it only sounds noble until you’re knee-deep in wires, though. But hey, consider it part of the fun, and you’ll have those lights unsnarled in no time!

How to Connect Lights on Christmas Tree: Connecting Lights on the Tree
Step 1: Plan the Layout
Before you dive into stringing lights like a Christmas elf on caffeine, pause for a moment. Planning your layout is like drafting a blueprint for a masterpiece. Visualize the look you want—whether it’s a spiraled constellation or an orderly grid—and gather your courage (and lights) accordingly. Remember the areas you want to emphasize, like the top, middle, or tree base, and factor in access to power outlets to avoid the dreaded “uh-oh; this doesn’t reach” moment.
Step 2: Starting at the Base
Kick off your tree transformation by starting with the base. Plug in your first strand (check that they work first—trust us on this), and let the magic begin. Wind the lights around the base of the tree, gradually working your way upwards. This technique ensures you won’t run out of lights halfway up—crisis averted! Plus, it helps keep those pesky cords well hidden among the branches, leaving the only thing shining on your dazzling light display.
Step 3: Wrapping Technique
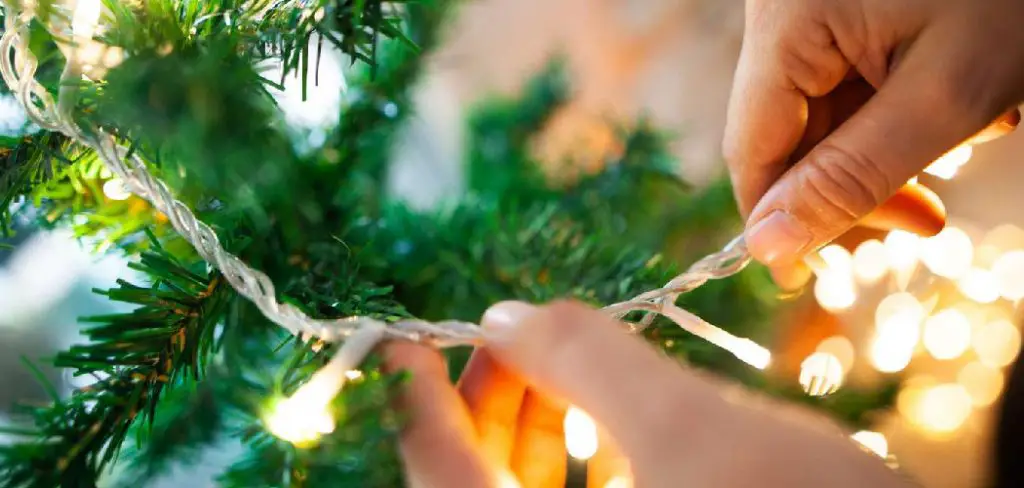
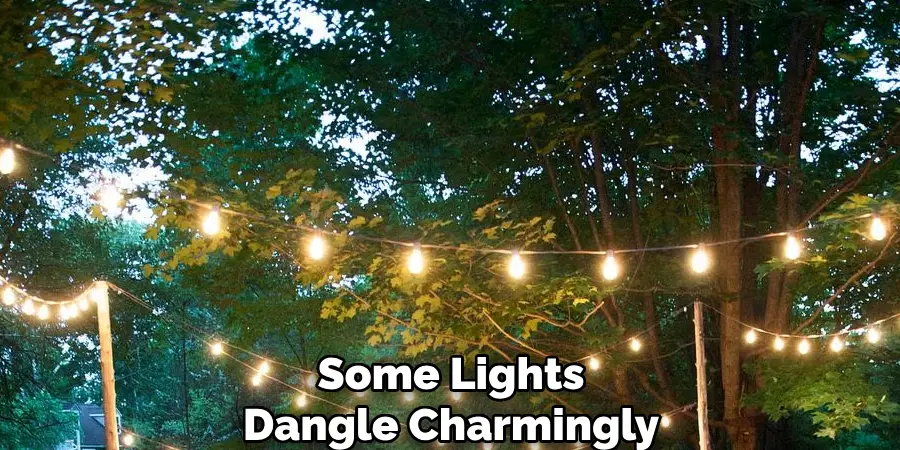
Now for the pièce de résistance—wrapping those twinkling treasures around your tree. As you ascend, weave the lights in and out of the branches like a skilled knitter. Aim for an even hand—balanced spacing means balanced beauty. Securely fasten them occasionally so they don’t slide down like a snow-covered hill. For an added layer of Christmas cheer, let some lights dangle charmingly at the tips of branches, adding depth and mystery to your tree.
Step 4: Layering for Depth
Lights alone can create the illusion of depth and texture. Start by nestling a strand closer to the trunk for inner shine, then add another strand toward the branch ends for some outer pizzazz. Mix and match LEDs with incandescent lights or different shades to keep things interesting. Voilà, your tree has gone from two-dimensional to dynamic.
Step 5: Connecting Multiple Strands
Connecting multiple strands is the final hurdle to your holiday masterpiece. Stick to the golden rule: never exceed three strands connected together, or risk blowing a fuse (or a holiday gasket). Grab those extension cords or mini power strips if necessary, and ensure connections are secure like you’re tightening Santa’s gift sack. And with that, you’re ready to bask in the glow of your meticulously lit Christmas tree!
Safety Considerations
Let’s talk safety before you become the hometown hero for your holiday light display. First, inspecting your lights for frayed wires, broken bulbs, or any other potential hazards is crucial. You wouldn’t want a pyrotechnic mishap that turns your holiday cheer into a firefighter visit, right? Conduct thorough inspections, which is an annual tradition, before any lights make it onto your tree.
Next, make sure you’re using lights rated for indoor use only. Those outdoor dazzle-makers might look tempting, but they tend to run hotter and pose a safety risk indoors. We’ve all heard tales of those way-too-enthusiastic folks who ended up with a scorched carpet instead of a glowing tree!
As you connect your light strands, remember not to overload electrical outlets. Stick to power guidelines and enlist the help of surge protectors to keep the current steady. Overambitious plug-ins can lead to tripped breakers or worse, so tap into your inner electrician before any overzealous plugging occurs.
Finally, a little seasonal vigilance goes a long way. Check your lights periodically to ensure they are still in prime condition. It’s like giving your festive setup a quick health check-up, ensuring your Christmas remains merry and bright—without any unintended fireworks.
Final Touches and Enhancements
Adding Other Decorations
Once your lights are twinkling to their fullest glory, it’s time to dress your tree with other fabulous decorations! Think of ornaments as the accessories that elevate your tree—the shiny earrings and bold necklaces of the holiday world. Mix and match different sizes, shapes, and colors to complement your lighting scheme. Add golden or copper-toned ornaments for a cohesive look if you go with warm lighting. Want to pump up the volume? Throw in some glittering garlands that wrap around the tree like the tinsel of dreams. These extras add texture and really make the tree pop!
Creating Focal Points
To really catch the eye—and keep those holiday gawkers in awe—use your lights to highlight special ornaments or sections of the tree. Hang standout ornaments near denser clusters of lights, or direct extra twinkle toward a handcrafted or sentimental piece. This creates visual hotspots that draw attention and delight viewers with each glance. It’s like making your favorite family heirloom the star of its own light show.
Using Timers or Smart Plugs
If you loathe the midnight trek to turn off your lights, rejoice! Incorporating timers or smart plugs saves you from unwanted acrobatics and enhances energy efficiency. Set your tree to light up just as night falls, or have it create a dazzling wake-up call in the morning. Just like that, you’ve automated the merry magic—leaving you free to revel in the compliments of your cheerily illuminated tree.
Troubleshooting Common Issues
What to Do If Lights Don’t Work
Ah, the dreaded unlit section—a holiday classic nobody asked for! Start by checking if the strand is plugged in. Once you’ve confirmed that, try a different outlet to rule out any power supply issues. If your lights still resemble a non-functional disco ball, inspect for loose plugs and ensure all connections are snug as a bug in a rug.
Identifying and Replacing Bulbs
Identifying that one rogue bulb stealing your thunder can be a real detective task. Run a quick bulb inspection by replacing one bulb at a time with a known working bulb—starting from the end closest to the plug. When the lights suddenly flash their beaming brilliance, you’ve nabbed your culprit. Replace with a bulb of the same type to keep the festivity going strong.
Dealing with Flickering Lights
Flickering lights can feel more like a ghost story than a Christmas tale. Often caused by loose bulbs or connections, start by tightening each bulb and cable connection. Persistent dimming could indicate a power issue or faulty strand—consider trying them on a different outlet or finding a deserving strand replacement. With these fixes, your lights should sparkle flawlessly, keeping the ghost of flickers past at bay.

Conclusion
By following these steps, you can master “how to connect lights on Christmas tree” and transform it into a glowing testament of holiday joy. Every detail contributes to a spectacular display, from layering lights for depth to ensuring safety with secure connections and annual inspections. Let your creativity shine by experimenting with different lighting arrangements to make your tree uniquely yours. Most importantly, bask in the ambiance of a beautifully lit tree that adds warmth and charm to your holiday celebrations. Embrace the festive spirit and let your twinkling masterpiece be the centerpiece of cherished holiday memories.

