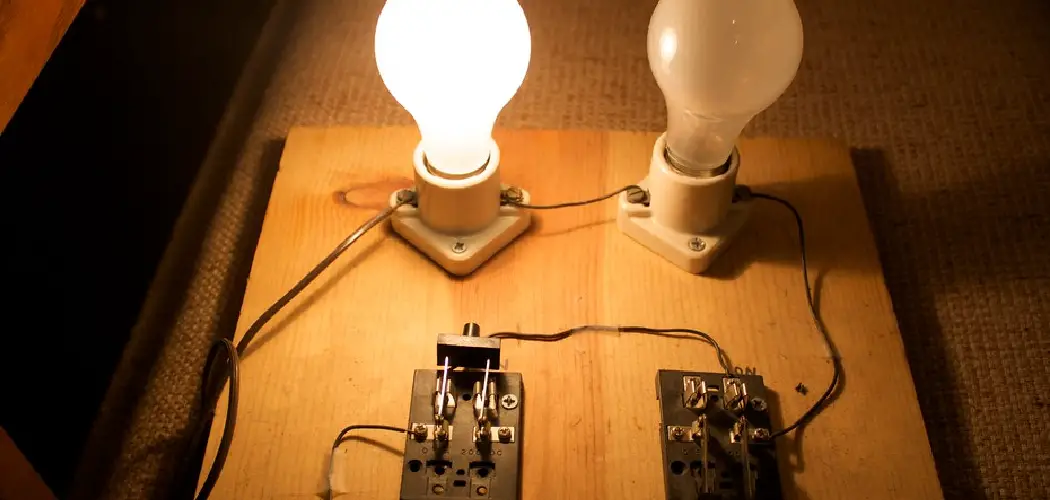
Connecting a lamp to a light switch is a straightforward and practical task that can enhance the convenience and functionality of your living space. Whether you’re looking to control a lamp from a wall switch or simplify your lighting setup, this guide will walk you through the necessary steps of how to connect lamp to light switch safe and effectively. With the right tools and a little attention to detail, you’ll have your lamp operating seamlessly in no time.
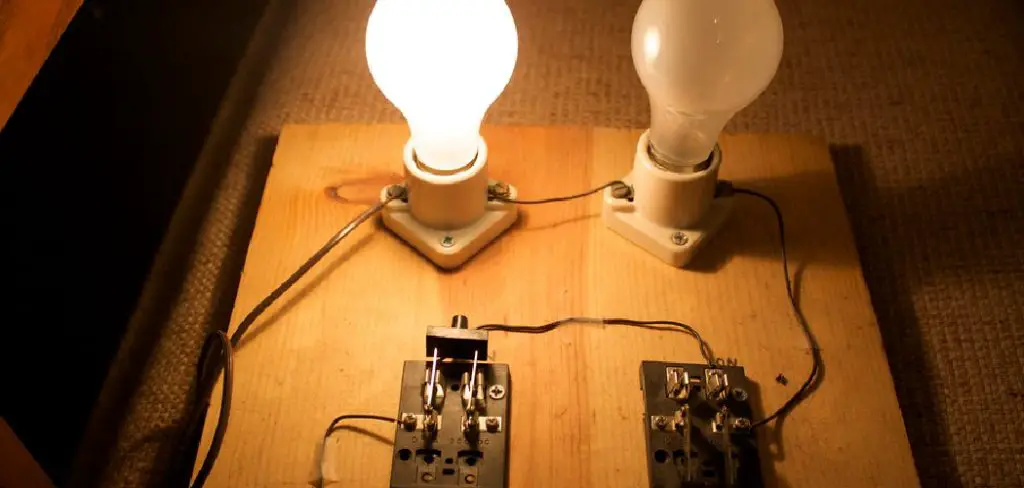
Difference Between Switched Outlets vs. Hardwired Switch Control
When deciding how to control your lamp, it’s important to understand the difference between switched outlets and hardwired switch control. Switched outlets are standard wall outlets connected to a wall switch, allowing the switch to control power to any device plugged into the outlet. This setup is versatile, as you can use the outlet for various appliances, not just a lamp. However, it relies on the user to ensure the lamp is plugged into the correct outlet and the switch is in the off position when not in use.
On the other hand, a hardwired switch control directly connects a lamp or light fixture to a wall switch through dedicated wiring. This configuration provides a more permanent and streamlined solution, as the fixture is integrated into the electrical system. While harder to replace or move compared to switched outlets, hardwired solutions offer a cleaner look and often better reliability since they are designed specifically for the lighting system in question. Choosing between these options depends on your preferences for flexibility, appearance, and installation complexity.
Tools and Materials Needed
To successfully install a hardwired lighting fixture, you will need the following tools and materials:
- Tools:
- Screwdriver (Phillips and flat-head)
- Wire stripper
- Voltage tester
- Drill and drill bits
- Utility knife
- Pliers
- Level
- Materials:
- Lighting fixture
- Electrical box
- Wire connectors (wire nuts)
- Electrical tape
- Mounting hardware (typically included with the fixture)
- Circuit breakers (if needed for new wiring)
Ensuring you have the proper tools and materials before starting the installation will make the process smoother and safer. Always remember to follow safety precautions, such as turning off the power at the circuit breaker before beginning any electrical work.

10 Methods How to Connect Lamp to Light Switch
1. Understand the Purpose of the Connection
Before making any physical changes, it’s essential to understand why and how you want to control a lamp with a switch. Do you want the wall switch to control a floor or table lamp plugged into a wall outlet? Or are you installing a switch directly into the lamp itself?
The answer affects the wiring method, required components, and safety considerations. Some methods involve altering outlet wiring, while others use smart devices or in-line switches. Clearly defining the purpose helps you choose the best method for your home, your electrical comfort level, and the functionality you want—whether it’s convenience, automation, or aesthetic.
2. Use a Switched Outlet
One of the easiest methods to connect a lamp to a light switch is using a switched wall outlet. In many homes, wall switches are already wired to control half of a duplex receptacle. Plugging your lamp into this outlet allows it to be controlled with the wall switch without any rewiring.
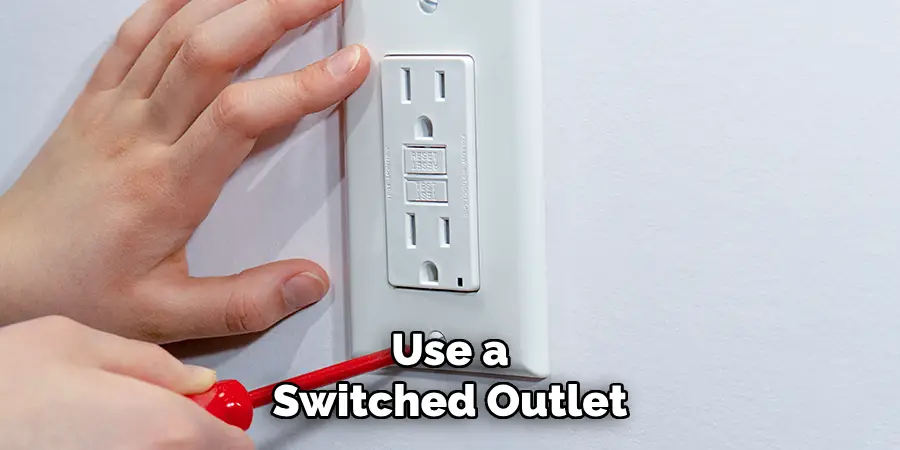
If your home doesn’t have one, an electrician can wire one for you by connecting one half of the receptacle to the switch circuit and the other to constant power. This method retains flexibility while making it easy to turn the lamp on and off with the wall switch, ideal for renters or those avoiding modifications to the lamp itself.
3. Install an In-Line Cord Switch
If you want to control the lamp directly without changing the outlet or wall switch, an in-line cord switch is a straightforward method. This involves cutting the lamp cord, stripping the wires, and inserting a switch in between. These switches are available in rotary, rocker, or slide styles and are perfect for lamps without built-in switches. The hot (smooth) wire is typically the one you cut and insert into the switch terminals. This method is ideal for giving an older or switchless lamp modern functionality while keeping installation simple and localized to the lamp’s cord.
4. Hardwire the Lamp to a Wall Switch
In more permanent setups—such as wall-mounted lamps or ceiling lights—you can directly wire the lamp into a wall switch. This involves routing power from the switch to the lamp via electrical cable, typically Romex. The switch then breaks the hot wire, turning power to the lamp on or off. You’ll need to understand basic electrical wiring principles: connecting black (hot), white (neutral), and green or bare copper (ground) wires appropriately. This method requires cutting power at the breaker, using a junction box, and securing all connections with wire nuts. It’s best for built-in or fixed lighting solutions rather than plug-in lamps.
5. Use a Smart Plug with a Smart Switch
For a high-tech solution with minimal wiring, consider using a smart plug and a smart switch that can be paired through a hub or app. The lamp plugs into the smart plug, and the wall switch can be replaced with a smart switch or button controller that communicates wirelessly.
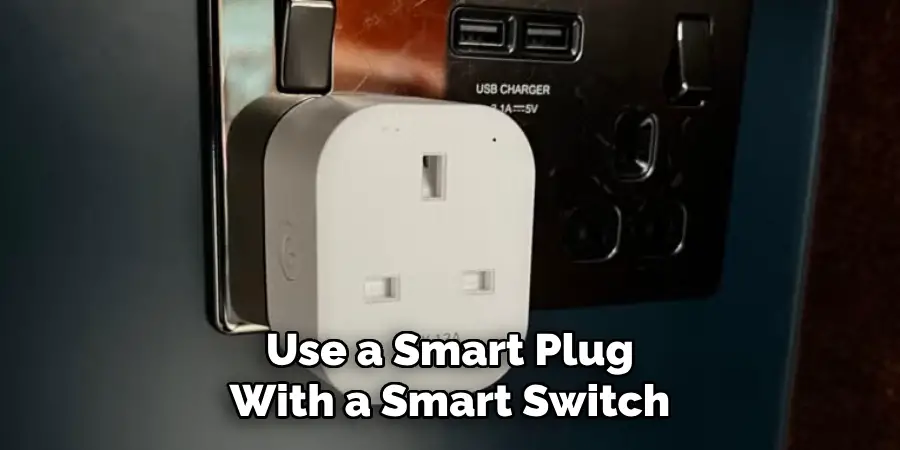
This method is perfect for people who want remote access, voice control (via Alexa or Google Assistant), and automated scheduling. It’s non-invasive, easy to install, and doesn’t require electrical expertise, making it perfect for DIYers who want functionality and flexibility with zero hardwiring involved.
6. Add a Lamp Module to an Existing Lighting Circuit
In home automation systems like Insteon or older X10 setups, you can use a lamp module that plugs into an outlet and links to a wall-mounted controller or switch. The module communicates with the switch via your home’s wiring or wirelessly, allowing you to control a standard plug-in lamp as if it were a hardwired fixture. These systems are often part of larger smart home solutions, offering features like dimming and scene control. This method is useful for integrating a lamp into an existing network of automated lights, and while setup may be slightly technical, it avoids altering the lamp’s wiring.
7. Convert a Lamp to Switch-Controlled via Extension Cord
If modifying the outlet or wall switch isn’t an option, you can create your own switched system by wiring a switch into an extension cord. This involves cutting the extension cord, wiring a simple single-pole switch inline with the hot wire, and then plugging your lamp into the modified extension cord. The switch can be mounted on a wall or left as a foot switch under a desk. While not as elegant as other solutions, this is extremely practical for workshops, temporary installations, or creative spaces where function trumps aesthetics.
8. Add a Pull-Chain Switch to the Lamp Socket
For lamps that lack any kind of switch, a pull-chain socket replacement offers an old-school but effective way to gain switch control. This requires replacing the current lamp socket with one that includes an integrated pull chain. Once installed, the lamp can be toggled on or off by pulling the chain, regardless of whether it’s plugged into a switched or unswitched outlet.
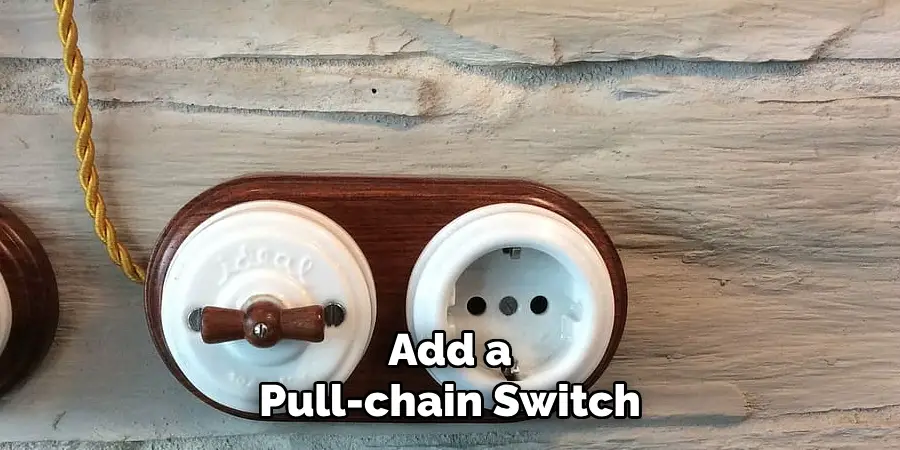
Installation involves disconnecting the lamp wires from the old socket and reconnecting them to the new one, taking care to match the hot and neutral leads correctly. It’s a classic fix that’s both practical and affordable.
9. Integrate a Wall Switch with a Plug-In Receiver
If you’re looking for a wireless option without using Wi-Fi or full smart home systems, plug-in receivers controlled by wireless wall switches are ideal. These kits include a plug-in unit that goes between the wall and the lamp and a battery-powered switch that can be mounted anywhere. The switch uses RF signals to turn the plug on or off, functioning just like a traditional switch. This is a perfect solution for apartments or rooms where wiring a switch isn’t practical. Since no hardwiring is needed, installation is fast, and the result is a responsive lamp switch without altering existing wiring.
10. Use a Timer or Motion-Sensing Switch
Finally, if your goal is automation rather than manual control, consider using a timer or motion-sensing switch. Plug-in timers can be programmed to turn the lamp on or off at specific times, while motion sensors activate the light when movement is detected in the room. You can use a plug-in model or replace the wall switch with a motion-detecting version. This method enhances convenience and energy savings, especially in entryways, closets, or hallways. No complex wiring is needed, and the added functionality can also be a security feature when used with lamps near windows or doors.
Conclusion
In conclusion, incorporating automated solutions like plug-in timers and motion-sensing switches into your lighting setup can significantly enhance both convenience and energy efficiency. These simple yet effective tools are easy to install, require minimal effort, and can be seamlessly integrated into various spaces in your home. Whether you’re seeking added security, reduced electricity costs, or improved functionality, these devices offer a practical way to optimize your lighting while meeting your everyday needs. So, there you have it – a quick and easy guide on how to connect lamp to light switch.

