Installing a light fixture can be a straightforward task, but ensuring safety is paramount, especially when it comes to grounding. The ground wire plays a crucial role in protecting your home from electrical shocks and ensuring the overall safety of the electrical system.
This introduction will guide on how to connect ground wire to light fixture you through the basics of connecting a ground wire to a light fixture, providing step-by-step instructions to help you perform the task safely and efficiently. By following these guidelines, you can ensure that your installation is not only functional but also safe for everyday use.
What is the Ground Wire?
The ground wire, also known as the equipment grounding conductor, is a vital component of an electrical system. It serves as a safety measure against electric shocks by providing a path for excess electricity to flow into the ground instead of through you or your appliances.
The ground wire is typically made of copper and has green insulation. In most cases, it can be found inside the cable sheath along with the hot and neutral wires.
Why is Grounding Important?
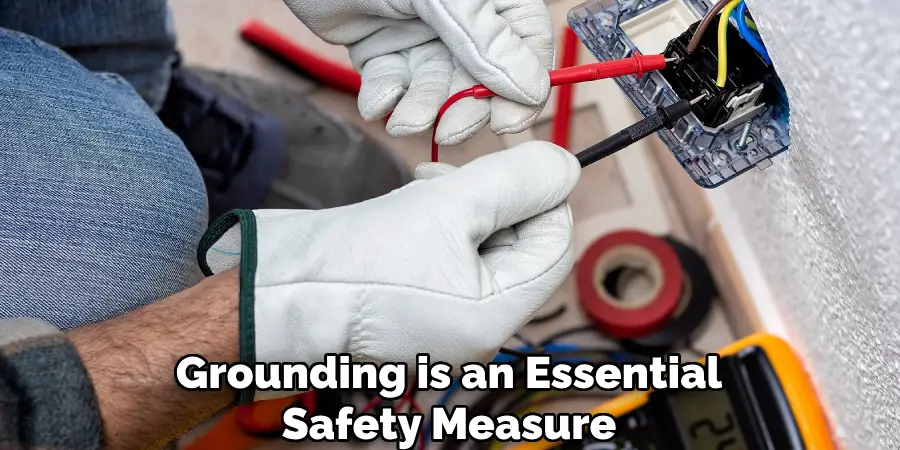
Grounding is an essential safety measure in electrical systems that protects individuals and property from electric shocks and potential fire hazards. It provides a safe pathway for excess electrical current that might happen in the event of a fault or surge, diverting it safely into the earth. This decreases the risk of electrical shock to people using the appliances, as the current is directed away from them.
Moreover, proper grounding helps stabilize voltage levels and serves as a crucial reference point for voltage in electrical systems. This is particularly important in preventing electrical discrepancies that can cause damage to sensitive electronic devices. Ensuring that a light fixture is properly grounded not only safeguards your home but also maintains the efficient operation of your electrical system.
Needed Tools and Materials
Before starting the process of connecting a ground wire to a light fixture, make sure you have all the necessary tools and materials. These include:
Wire Cutters/Strippers:
These tools are used to cut and strip the insulation from wires. They come in various sizes, so make sure you have one suitable for the size of your ground wire.
Screwdriver/Drill:
A screwdriver is essential when loosening or tightening screws on a light fixture. If you have a heavy fixture or plan on installing multiple fixtures, consider using a drill to speed up the process.
Electrical Tape/Wire Nuts:
Electrical tape is used to secure connections by insulating them. Wire nuts, also known as twist-on connectors, are used to join and protect wires from coming into contact with each other.
Grounding Screws/Kits:
These are specially designed screws or kits that come with most light fixtures. They are used to connect the ground wire to the fixture.
8 Step-by-step Guidelines on How to Connect Ground Wire to Light Fixture
Step 1: Start by Turning Off the Power Supply
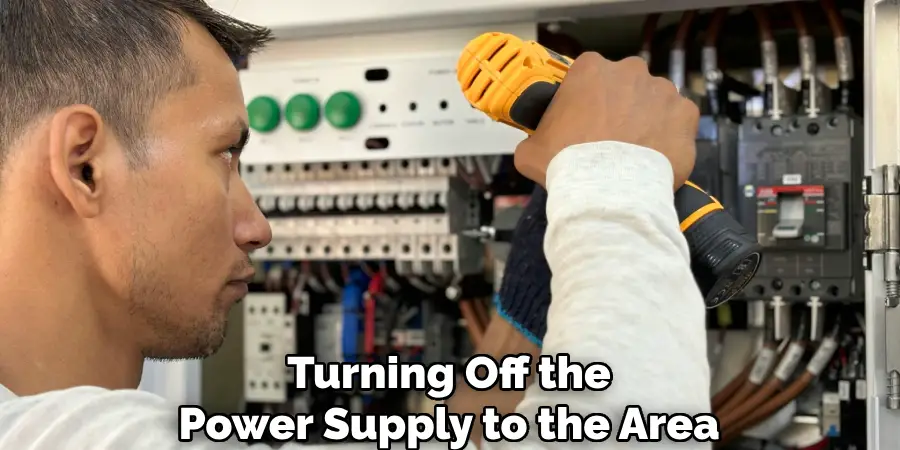
Before you begin working on your light fixture, it is crucial to ensure your safety by turning off the power supply to the area where you will be working. Locate your home’s electrical panel and identify the circuit breaker that controls the power to the light fixture. Switch it off to cut the electrical flow and minimize the risk of electric shocks.
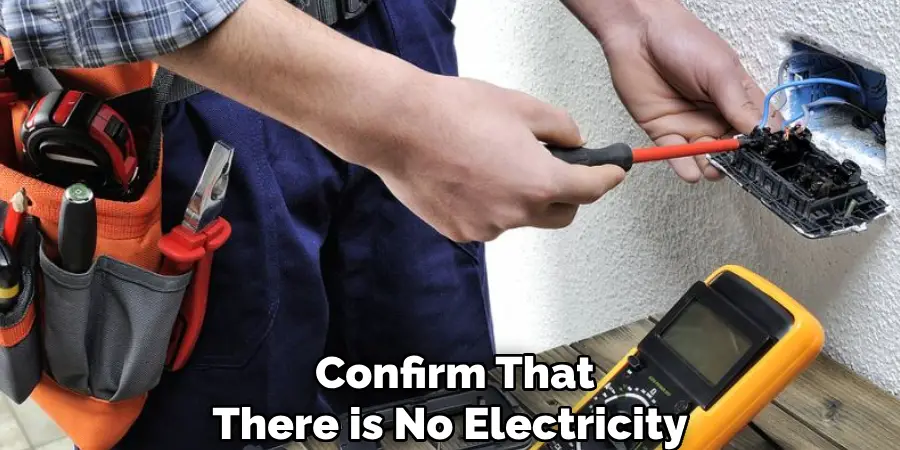
Use a voltage tester to confirm that there is no electricity flowing to the light fixture. This step is non-negotiable as it provides the foundational safety needed for any electrical work.
Step 2: Remove the Old Light Fixture
To remove the old light fixture, begin by unscrewing any decorative nuts or screws that hold the fixture in place on the ceiling or wall mount. Once these are loosened, carefully lower the fixture to expose the wiring behind it. Depending on the design, you may need assistance to support the fixture while you work on the wiring. Identify the wire connectors, often referred to as wire nuts, and carefully twist them off to disconnect the old fixture from the ceiling wires.
Pay attention to the arrangement of the wires—mark or note their connections if needed to ensure you can replicate the setup with the new fixture. Once the wires are detached, set aside the old light fixture for disposal or repurposing. Ensure the mounting bracket is ready for the new installation or remove it if a new bracket is provided with the replacement fixture.
Step 3: Identify the Ground Wire
As mentioned earlier, the ground wire is typically found inside the cable sheath along with the hot and neutral wires. However, it may be a bare wire or have green insulation instead of the standard black or white coverings. In some cases, you may find multiple ground wires connected together; if this is the case, separate them to connect each one individually to your new light fixture.
It is essential to identify the ground wire correctly, as it ensures the proper functioning of your electrical system and protects you from potential hazards.
Step 4: Prepare the Ground Wire
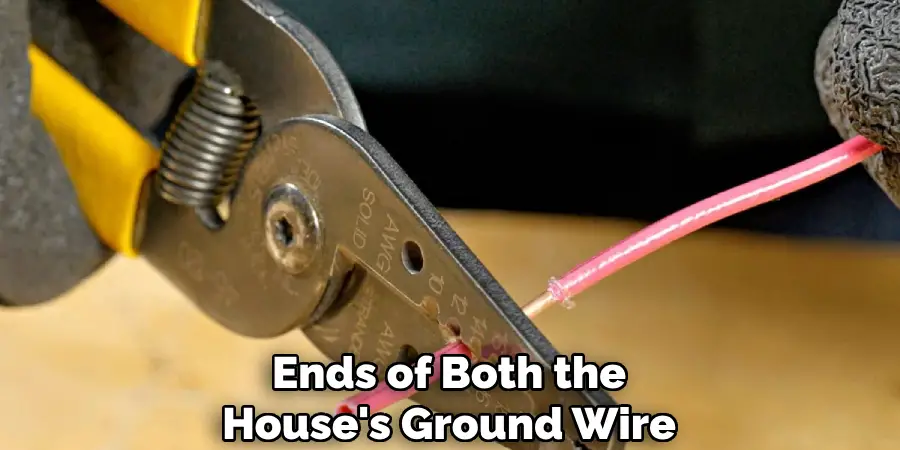
If necessary, strip about ¾ inches of insulation from the ends of both the house’s ground wire and the fixture’s ground wire using your wire cutters/strippers. This will expose a sufficient amount of wire for connection.
Wrap some electrical tape around any exposed metal parts on both wires to prevent them from coming into contact with each other or other wires during installation. This is an added safety measure that can prevent potential shorts in the future.
Step 5: Connect Ground Wires
Once you have prepared the ground wire, it is time to connect it to your light fixture. Locate the grounding screw or metal plate on the mounting bracket of your new fixture. If there is no designated grounding spot, use a self-tapping screw to create one.
Wrap the exposed end of the house’s ground wire around this screw and secure it tightly. If using a grounding kit, follow the manufacturer’s instructions for proper installation.
Step 6: Connect Other Wires
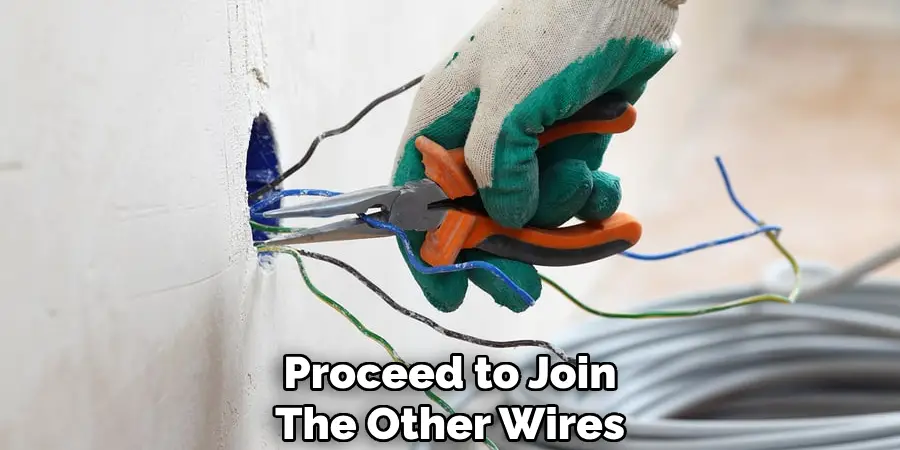
With the ground wire successfully connected, you can now proceed to join the other wires. Begin with connecting the black (hot) wire from your home’s power supply to the black wire on your light fixture. Twist them together clockwise and secure them with a wire nut. Repeat this process with the white (neutral) wires.
Make sure all connections are secure and completely covered by the wire nuts. If any wires seem loose, tighten them further or replace the wire nut entirely.
Step 7: Attach New Light Fixture to Mounting Bracket
With all the wiring securely connected, carefully position the new light fixture against the ceiling or wall mount. Align it properly with the mounting bracket to ensure a snug fit. Use the screws that came with your light fixture to fasten it in place. If a new mounting bracket was provided with the fixture, it should fit properly and securely without needing any adjustments. Start by hand-tightening the screws to get the fixture balanced correctly, then use the screwdriver or drill to fully secure the fixture.
Be cautious not to over-tighten, as this can damage the fixture or cause misalignment. Once fixed, ensure that the fixture is stable and doesn’t wobble. If it feels loose, double-check that all connections and fastenings are correctly aligned and suitably tightened.
Step 8: Restore Power and Test the Light Fixture
Now that your new light fixture is securely installed, you can turn the power back on to test it. If all connections were made correctly, the light should turn on without any issues. It is essential to double-check for any loose wires or connections before regularly using the light fixture.
Congratulations! You have successfully connected the ground wire to your new light fixture. Remember, if you are unsure at any point during this process, it is always best to seek professional help from a licensed electrician. Safety should be a top priority when working with electricity. Keep these guidelines in mind and always practice caution when handling electrical wiring. Happy lighting!
Additional Tips for Electrical Safety
- Always turn off the power supply before attempting any electrical work.
- Use a voltage tester to confirm that there is no electricity flowing to the fixture or wiring.
- Make sure all connections are secure and properly covered with wire nuts.
- Electrical tape is used to wrap exposed wires for added safety.
- If you encounter any issues or are unsure about anything, seek professional help from a licensed electrician.
- Keep a fire extinguisher nearby in case of emergency.
By following these additional tips on how to connect ground wire to light fixture, you can minimize the risk of accidents and ensure your electrical work is done safely. Remember, when it comes to electricity, it is always better to be safe than sorry. Happy DIY-ing!
Frequently Asked Questions
Q1: Can I Connect the Ground Wire to a Different Spot on the Fixture Other Than the Designated Grounding Screw?
A1: It is recommended to follow the manufacturer’s instructions and use the designated grounding spot or create one with a self-tapping screw. This ensures proper grounding and can prevent potential hazards.
Q2: Do I Need to Connect the Ground Wire if My Fixture Only Has Two Wires?
A2: Yes, it is essential to connect the ground wire for safety reasons. If your fixture does not have a designated grounding spot, you can use a self-tapping screw to create one and secure the wire.
Q3: Can I Install a Light Fixture Without Turning Off the Power?
A3: No, it is never safe to work with electricity without turning off the power. Always turn off the power supply and use a voltage tester before starting any electrical work.
Conclusion
Installing a new light fixture and properly connecting the ground wire is an essential component of electrical safety in any home project. By following the detailed steps outlined in this guide on how to connect ground wire to light fixture, you can ensure a secure and stable installation. Remember, attention to detail, such as double-checking connections and using the right tools, can significantly reduce the risk of electrical hazards. Safety should be your highest priority; always turn off the power and validate connections with a voltage tester before proceeding.
If any uncertainty arises during the process, consulting with a licensed electrician is advisable. With caution and care, you can achieve a professional, safe installation, enhancing both the functionality and aesthetic of your space. Happy DIY-ing!
