Are you ready to take your smart living to the next level? Connecting Govee lights to your wifi network is a great way to easily and efficiently control your home’s lighting.
how to connect Govee lights to wifi is a straightforward process that allows you to unlock a range of features, including remote control, scheduling, and integration with smart home systems like Google Assistant or Amazon Alexa. By connecting your lights to your home network, you can customize lighting settings, access pre-programmed modes, and enhance the ambiance of your space with ease.
This guide will walk you through the step-by-step process to connect your Govee lights to WiFi, ensuring a seamless setup experience.
What Are the Benefits of Connecting Govee Lights to WiFi?
Connecting your Govee lights to WiFi offers a range of benefits that can enhance your overall home lighting experience. Some of the main advantages include:
- Remote Control: Once connected to WiFi, you can control your Govee lights from anywhere using the Govee Home app on your smartphone or tablet. This feature is handy when you’re away from home and want to turn off forgotten lights or create the illusion of someone being home for added security.
- Convenient Scheduling: Convenient Scheduling: With the ability to set schedules for your lights, you can save time and energy by automatically turning them off when not needed. You can also schedule them to turn on at specific times, such as when you wake up or come home from work.
- Personalized Scenes: Want to set the perfect ambiance for a romantic dinner or a cozy movie night? With Govee lights, you can create customized scenes by adjusting your lights’ color, brightness, and saturation. You can even sync them to music for an immersive experience.
- Energy Efficiency: Energy Efficiency: LED technology makes Govee lights energy-efficient and long-lasting. They use less energy than traditional incandescent bulbs, saving you money on your electricity bill. Plus, they have a lifespan of up to 50,000 hours, meaning you won’t have to replace them constantly.
- Smart Home Integration: Govee lights can be integrated into your system. You can control them with voice commands through popular virtual assistants like Amazon Alexa and Google Assistant, or set them to work with other smart devices in your home for a seamless automation experience.
What Will You Need?
To get started with Govee bright lights, you will need the following:
- A smartphone or tablet with Bluetooth capability
- The Govee Home app downloaded from the App Store or Google Play Store
- Download and install the Govee Home app on your smartphone or tablet.
- Open the app and create an account if prompted.
- Follow the in-app instructions to connect your Govee lights to your home WiFi network.
- Once connected, you can start controlling your lights through the app.
Once your lights are connected and set up, you can explore the various features and settings available in the app.
10 Easy Steps on How to Connect Govee Lights to Wifi
Step 1. Unbox Your Govee Lights
Carefully remove your Govee lights from the packaging. Ensure all components, such as the light strips, power adapter, and any included accessories, are present. Check the box for a user manual, which may provide additional helpful information. Handle the lights gently to avoid damaging any parts during the unboxing process.

Step 2. Plug in Your Govee Lights
Locate the power adapter and connect it to the Govee lights. Next, plug the adapter into a nearby power outlet. Ensure the power connection is secure, and check if the lights turn on. If they do not illuminate immediately, refer to the user manual for troubleshooting steps. Once the lights are powered on, they are ready for the next steps in the setup process.
Step 3. Download the Govee Home App
Download the Govee Home app on your smartphone or tablet to get started. The app is available on both the App Store for iOS devices and the Google Play Store for Android devices. Search for “Govee Home” in your respective app store, then download and install the app.
Once installed, open the app and follow the on-screen instructions to create an account or log in if you already have one. The Govee Home app will allow you to customize your lighting experience, control your lights remotely, and access additional features.
Step 4. Install and Open the App
Once you have installed and opened the Govee Home app, it is time to start setting up your device. Ensure Bluetooth is enabled on your smartphone or tablet, as many Govee devices require Bluetooth for initial pairing. After logging in or creating an account, the app will guide you through adding a new device.
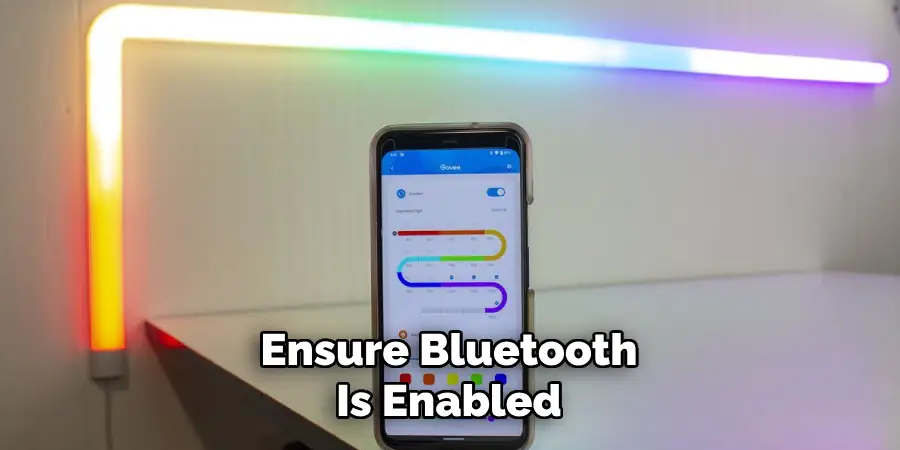
Simply tap the “+” icon on the app’s home screen’s top right corner, and select your Govee product from the list of devices. Ensure the device is powered on and within range for a seamless connection.
Step 5. Turn on Bluetooth and Location Services
Enabling Bluetooth and location services is crucial for successfully setting up your Govee device. Bluetooth is necessary for establishing a direct connection between your smartphone or tablet and the device, while location services ensure that the app can accurately detect nearby devices for pairing.
To enable Bluetooth, go to your device’s settings, locate the Bluetooth option, and switch it to “on.” Access your device’s settings, find the “Location” or “Location Services” section, and ensure it is activated for location services. Some Android devices may also require you to enable location services for specific apps, so check the app permissions in your device settings.
Step 6. Add a Device
To add a device, ensure that the device you want to pair is powered on and set to pairing mode. Pairing mode is typically indicated by a blinking light or a specific icon on the device, signaling that it is ready to connect.
Consult the device’s user manual if you’re unsure how to enable pairing mode. Once your device is ready, open the app and follow the on-screen instructions to search for devices nearby. You may see a list of available devices, so identify and select the correct one. If prompted, verify the pairing code displayed on both the app and the device to ensure a secure connection.
After successful pairing, the device will appear in your connected devices list within the app, and you can begin using its features immediately. For troubleshooting, double-check that Bluetooth and location services are active and reattempt the process if the device doesn’t appear.
Step 7. Put the Lights in Pairing Mode
To put the lights in pairing mode, ensure that the lights are powered on. Refer to the manufacturer’s instructions for specific steps, as the process can vary by model. Generally, this involves pressing and holding a button on the lights or toggling them on and off in a specific pattern.
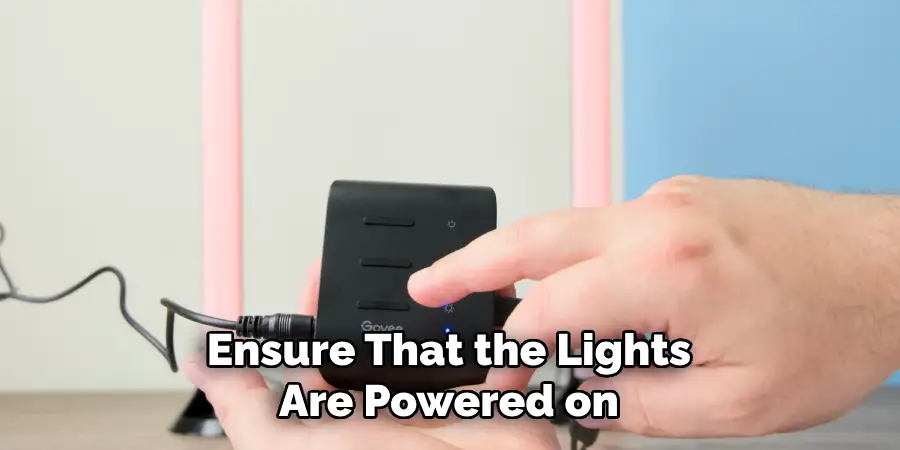
Once the lights enter pairing mode, an indicator, such as a blinking light, will confirm readiness for connection. Ensure this step is completed before pairing the lights with your app or other devices.
Step 8. Connect to WiFi
Open the corresponding app on your smartphone or device to connect the lights to your WiFi network. Navigate to the settings or connection section and follow the prompts to select your WiFi network. Enter the network name (SSID) and password when prompted, ensuring they are entered correctly.
Once the connection is established, the app will typically display a confirmation message, and the lights may stop blinking or show a steady light to indicate successful pairing. If the connection fails, double-check your WiFi credentials and ensure the network is compatible with the lights, typically requiring a 2.4 GHz band.
Step 9. Pair the Lights with the App
Once the lights are connected to your WiFi network, the app should automatically detect them during pairing. Follow the on-screen instructions to add the lights to your app. This may involve assigning a name to the lights for easier identification or placing them into specific groups or rooms within the app.
If prompted, you may also need to quickly reset the lights by turning them off and on within a particular pattern, as described in the user manual. Once paired, you should be able to control the lights directly from the app, including adjusting brightness, changing colors, or setting schedules.
Step 10. Test and Customize Settings
Once your lights are paired with the app, it’s time to test and customize their settings to suit your preferences. Begin by ensuring each light responds correctly to commands from the app. Try adjusting the brightness levels, toggling the lights on and off, and experimenting with color changes if your lights support it.
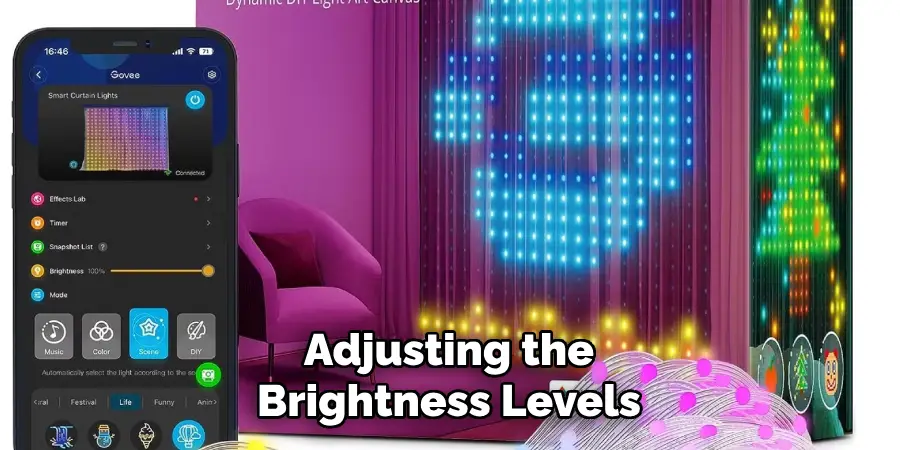
Check for any delays or unresponsiveness and troubleshoot as needed. You can also explore advanced features like setting timers or creating schedules to automate your lighting. For added personalization, consider creating custom scenes or grouping lights together for coordinated effects.
By following these steps, you can fully utilize your innovative lighting system and enhance your overall home experience.
Conclusion
How to connect govee lights to wifi is a straightforward process that can greatly enhance your smart home setup.
You can seamlessly integrate your lights into your home by following the manufacturer’s instructions, ensuring compatibility with your network, and troubleshooting common issues. With the added convenience of remote control, automation, and customization options, connecting your Govee lights to Wi-Fi opens up a world of possibilities for creating the perfect ambiance in any space.
Take the time to set up your lights properly, and enjoy the ease and functionality they bring daily.

