Setting up smart lighting in your home has never been easier, and Govee lights offer an affordable way to transform any space with customizable colors and effects. Learning how to connect Govee lights to Google Home opens up a world of hands-free convenience, allowing you to control your lighting with simple voice commands through Google Assistant. Whether you want to dim the lights for movie night, change colors to match your mood, or turn everything off without leaving your couch, this integration makes it all possible.

The process might seem technical at first, but it’s surprisingly straightforward when you follow the right steps. Most users can complete the setup within 15-20 minutes, and once connected, you’ll wonder how you ever lived without voice-controlled lighting. This guide will walk you through each step clearly and simply, ensuring you can enjoy the full smart home experience that Govee lights and Google Home provide together.
Why Connecting Govee Lights to Google Home Matters
Smart home integration has become essential for modern living, offering convenience that transforms how we interact with our living spaces. When you connect Govee lights to Google Home, you’re not just adding voice control—you’re creating a seamless ecosystem where your lighting responds intelligently to your daily routines and preferences.
The practical benefits extend far beyond the novelty of voice commands. Imagine arriving home with your hands full of groceries and simply saying “Hey Google, turn on the living room lights” instead of fumbling for switches in the dark. During late-night navigation, you can softly illuminate pathways without disturbing sleeping family members by whispering commands to your phone or nearby Google device.
8 Step-by-Step Guide: How to Connect Govee Lights to Google Home
Step 1: Download the Govee App
Start your smart lighting journey by downloading the official Govee Home app from your device’s app store. The app serves as the central hub for all your Govee devices and is essential for the initial setup process. Make sure you’re downloading the authentic Govee app, as there are several similar apps that won’t work properly with your lights.
Create your Govee account using a valid email address and a secure password. This account will store all your device settings, custom scenes, and automation preferences across multiple devices. Take time to verify your email address through the confirmation link, as this step is crucial for cloud connectivity and remote access features that make the Google Home integration possible.
Step 2: Set Up Your Govee Lights on Wi-Fi
Before connecting to Google Home, your Govee lights must be properly connected to your home Wi-Fi network. Plug in your Govee lights and ensure they’re in pairing mode, which is usually indicated by a blinking or cycling color pattern. Open the Govee app and tap the plus icon to add a new device, then select your specific Govee light model from the list.
Follow the app’s prompts to connect your lights to your Wi-Fi network. You’ll need to enter your Wi-Fi password and wait for the connection to establish. Strong Wi-Fi signal is essential for reliable smart home integration, so consider your router’s location relative to your Govee lights. If the connection fails, try moving closer to your router or restarting both your lights and router before attempting again.
Step 3: Download and Set Up Google Home
Install the Google Home app on your smartphone or tablet if you haven’t already. This app manages all Google Assistant-compatible devices in your home and serves as the bridge between your Govee lights and Google’s voice control system. Sign in with your Google account that you want to associate with your smart home devices.
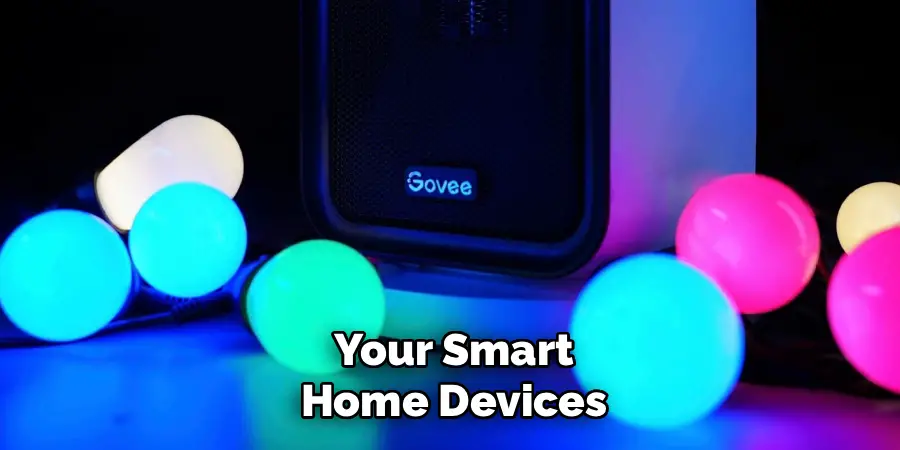
Ensure your phone is connected to the same Wi-Fi network as your Govee lights, as this consistency is crucial for device discovery and pairing. If you have multiple Google accounts, choose the one you use most frequently, as this will be linked to your voice commands and routine settings. The Google Home app will automatically detect other Google devices in your home, such as Google Nest speakers or Chromecast devices.
Step 4: Link Your Govee Account in Google Home
Open the Google Home app and navigate to the settings menu, typically represented by a gear icon. Look for “Works with Google” or “Add services” option, which opens the list of compatible smart home platforms. Search for “Govee” in the list of available services and select it to begin the account linking process.
You’ll be redirected to a Govee login page where you’ll enter the same credentials you used when setting up your Govee app. This authentication step allows Google Home to access your Govee device list and control settings. Grant all necessary permissions when prompted, as these enable full functionality including voice commands, scheduling, and automation features that make the integration worthwhile.
Step 5: Discover and Add Your Govee Devices
After successfully linking your accounts, return to the main Google Home screen and tap “Add” followed by “Set up device” and then “Works with Google.” The app will automatically scan for available Govee devices connected to your account. This process may take a minute or two, so be patient while Google Home discovers all your lights.
Select the Govee lights you want to add to Google Home from the discovered devices list. You can choose individual lights or add all of them at once if you have multiple Govee products. Assign each light to appropriate rooms in your home during this step, as room assignments determine how you’ll control them with voice commands later. Proper room organization makes commands more intuitive and natural.

Step 6: Test Voice Commands and Customize Settings
Once your devices are added, test the connection by trying basic voice commands like “Hey Google, turn on bedroom lights” or “Hey Google, set living room lights to blue.” Start with simple on/off commands before progressing to more complex instructions involving colors, brightness levels, or effects. This testing phase ensures everything is working correctly before you rely on voice control in daily use.
Explore the customization options available in both the Google Home and Govee apps. You can rename devices for easier voice recognition, adjust default brightness levels, and set up custom scenes that combine multiple lighting changes into single commands. These personalizations make your smart lighting system more responsive to your specific needs and preferences, enhancing the overall user experience.
Step 7: Create Routines and Automation
Take advantage of Google Home’s routine feature to create automated lighting schedules that work with your daily habits. Access the routines section in the Google Home app and create custom sequences that can include multiple Govee lights along with other smart home actions. For example, a “Good Morning” routine might gradually brighten your bedroom lights while starting your coffee maker and reading the weather forecast.
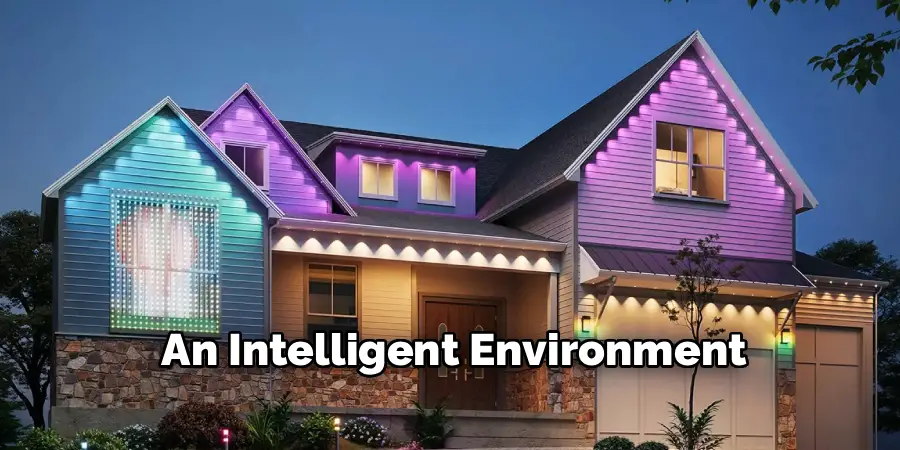
Evening routines can automatically dim lights and shift to warmer color temperatures that promote relaxation and better sleep patterns. You can trigger these routines with voice commands, set them to activate at specific times, or link them to other actions like your phone’s alarm or location changes. These automation features represent the true power of connecting Govee lights to Google Home, transforming your space into an intelligent environment.
Step 8: Troubleshoot Common Connection Issues
If you encounter problems during setup, start with basic troubleshooting steps that resolve most connectivity issues. Ensure both your Govee lights and Google Home device are connected to the same Wi-Fi network, as network mismatches prevent proper communication. Restart both apps, and if necessary, power cycle your router and Govee lights to refresh all connections.
Check for app updates for both Govee Home and Google Home, as newer versions often include bug fixes and improved compatibility features. If specific lights aren’t responding to commands, try removing and re-adding them in the Google Home app. Sometimes the initial pairing process doesn’t complete properly, and a fresh connection resolves command recognition problems that might otherwise persist.
Optimize Your Smart Lighting Experience
Fine-tune your setup by exploring advanced features that enhance daily usability. Experiment with different voice command phrasings to find what feels most natural for your household. You might discover that “brighten the lights” works better than “increase brightness” for your family’s speaking patterns. The more you use voice commands, the better Google Assistant becomes at understanding your preferences and speech patterns.
Consider creating themed lighting scenes for different activities like movie watching, dinner parties, or focused work sessions. These scenes can combine specific colors, brightness levels, and effects across multiple Govee lights to create the perfect ambiance for any situation. Save these configurations with memorable names that make them easy to activate with voice commands when needed.
Frequently Asked Questions
Do I Need A Google Nest Device To Control Govee Lights?
No, you don’t need a dedicated Google Nest speaker or display to control Govee lights. Any device with Google Assistant built-in can issue voice commands, including Android phones, iPhones with the Google Assistant app, tablets, and many smart TVs. However, having a dedicated Google device provides hands-free convenience throughout your home.
Why Won’t My Govee Lights Respond To Voice Commands?
Common causes include Wi-Fi connectivity issues, incorrect room assignments, or outdated apps. Verify both devices are on the same network, check that lights appear in your Google Home app, and ensure you’re using the correct device names in commands. Try saying “Hey Google, sync my devices” to refresh connections.
Can I Control Multiple Govee Lights With One Command?
Yes, you can control multiple Govee lights simultaneously by grouping them in the Google Home app or using room-based commands. For example, “Hey Google, turn off all living room lights” will control all lights assigned to that room. You can also create custom groups that span multiple rooms for whole-house lighting control.
What Govee Light Features Work With Google Home?
Basic functions like on/off, brightness adjustment, and color changes work reliably with Google Home. Some advanced features like music sync or specific effect patterns may require the Govee app directly. However, you can create scenes in the Govee app and activate them through Google Home using custom routine names.
How Do I Fix Delayed Response Times?
Slow responses usually indicate Wi-Fi congestion or weak signal strength. Try moving your router closer to the lights, reducing network traffic during setup, or switching to a less crowded Wi-Fi channel. Some users find that using a dedicated 2.4GHz network for smart home devices improves reliability and response times.
Conclusion
Successfully learning how to connect Govee lights to Google Home transforms your living space into a responsive, intelligent environment that adapts to your needs and preferences. The convenience of voice-controlled lighting extends far beyond simple on/off commands, opening up possibilities for automated routines, mood-based scenes, and hands-free home management that enhances daily life.
The initial setup investment of 15-20 minutes pays dividends in long-term convenience and enjoyment. Your Govee lights become more than just illumination—they become an integrated part of your smart home ecosystem that responds naturally to your voice and anticipates your needs through automated routines.

