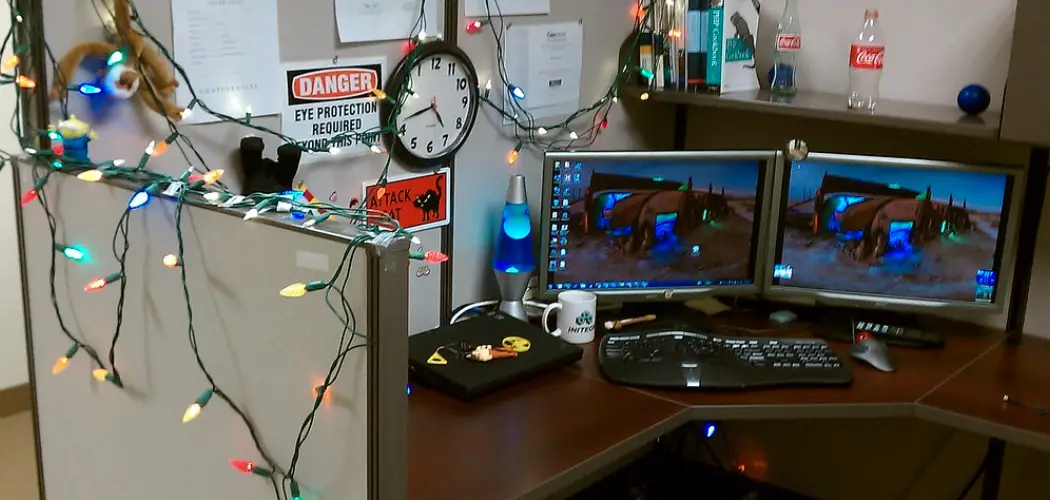
Fairy lights are a versatile and charming way to bring a warm ambiance to any space, whether it’s for a festive season or everyday decor. Connecting multiple strings of fairy lights can enhance their effect, creating a magical and cohesive display. This guide will walk you through different methods how to connect fairy lights together, ensuring a seamless and beautiful arrangement. With a few simple steps and precautions, you can transform your living space into a twinkling wonderland.
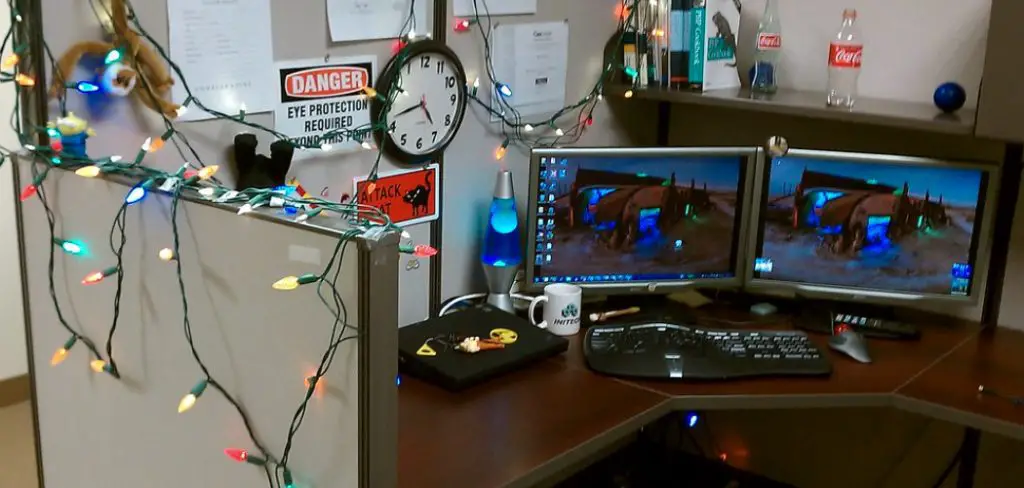
Benefits of Connecting Multiple Strands
Connecting multiple strands of fairy lights offers numerous advantages that enhance the overall visual effect and functionality of your decor. One key benefit is the ability to cover larger spaces, allowing you to create a more extensive and immersive lighting display. This is particularly useful for decorating large areas such as patios, garden spaces, or entire rooms. Additionally, combining strands can create a more uniform illumination, eliminating gaps and ensuring that every corner of your space is aglow with twinkling lights.
Moreover, connecting strands can enhance the brightness of the display, making it more visible and impactful, especially in outdoor settings. By strategically linking multiple fairy light strands, you can achieve a cohesive design theme, whether it be a dazzling cascade for a wedding or a charming, rustic look for everyday enjoyment.
Types of Fairy Lights
When it comes to fairy lights, a variety of types are available to suit different aesthetic preferences and functional needs. One popular option is LED fairy lights, known for their energy efficiency and longevity. They come in various colors and shapes, allowing you to tailor your decor to specific themes or occasions. Another choice is solar-powered fairy lights, which are ideal for outdoor settings as they harness solar energy during the day to illuminate your space at night, reducing reliance on electricity and minimizing environmental impact.
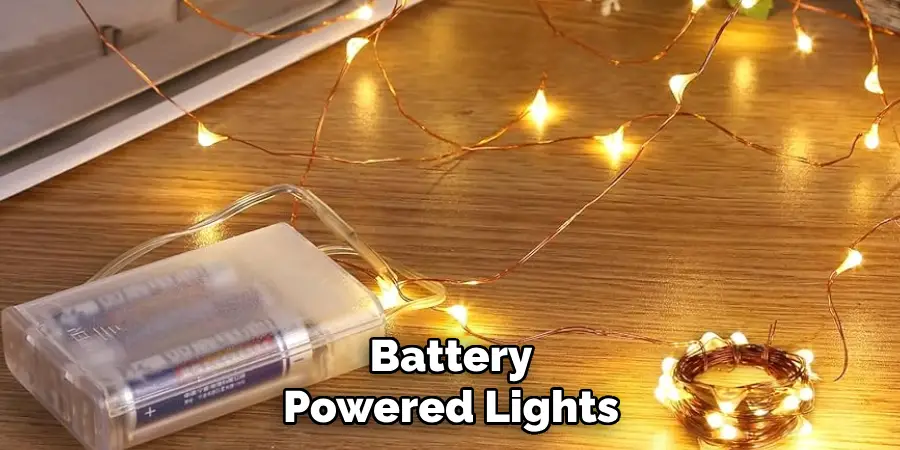
Battery-operated fairy lights offer flexibility in placement, as they don’t require an electrical outlet, making them perfect for locations without easy access to power. Copper wire fairy lights provide a distinctive and elegant look, with the slender, flexible wire allowing for creative arrangements, whether wrapping around objects or creating intricate decorative patterns. Lastly, color-changing fairy lights add a dynamic element to your decor, capable of cycling through various hues to create an ever-evolving visual experience. Each type of fairy light offers unique benefits, ensuring that you can find the perfect style to achieve your desired atmosphere.

10 Methods How to Connect Fairy Lights Together
1. Use Fairy Lights with Built-In Connectors
The simplest way to connect multiple strands of fairy lights is by purchasing lights that come with built-in connectors. These connectors allow you to easily link one strand to another without the need for additional tools or wiring. Many modern fairy light sets, especially those designed for outdoor use, feature these connectors at the end of each strand. To connect them, simply plug the end of one strand into the beginning of the next. This method not only saves time but also ensures that the lights remain securely connected. Just be mindful of the total length and power capacity to avoid overloading the circuit.
2. Use Extension Cords for Distant Connections
If your fairy lights need to be connected over a long distance or across a large area, using an outdoor-rated extension cord is a great solution. Connect one end of the extension cord to the power source, and use the other end to link the next string of fairy lights. This is especially useful for outdoor settings or in large rooms where the distance between sections of lights might be too far for a direct connection. Extension cords provide flexibility in your setup, allowing you to maintain the aesthetic without being restricted by power outlet locations.
3. Use Electrical Tape for Secure Connections
To ensure that the connectors between fairy light strands remain secure, particularly in outdoor or high-traffic areas, you can use electrical tape. After connecting the plugs from one strand to the next, wrap electrical tape around the connection to keep it tight and protected from weather conditions or accidental tugs. This method is particularly important if your lights are being used outdoors where moisture or wind could loosen the connections. Electrical tape provides an extra layer of safety and stability while keeping your connections neat and inconspicuous.

4. Use Y-Splitters for Branching Off Multiple Strands
If you want to branch out your fairy lights in multiple directions from a single power source, a Y-splitter (or multi-outlet adapter) can be a useful tool. A Y-splitter allows you to plug multiple strands of fairy lights into one outlet, creating a “tree” of lights that can spread across different areas. This method is ideal for decorating large trees, bushes, or rooms where you want multiple light strands emanating from a central point. Make sure to use a splitter rated for outdoor or indoor use depending on your setup, and avoid overloading the splitter with too many light strands.
5. Check for Power Limitations and Wattage Ratings
When connecting multiple strands of fairy lights, it’s important to consider the power limitations and wattage ratings of the lights. Each set of fairy lights has a maximum number of strands that can be safely connected together before the circuit is overloaded. This is typically listed on the product’s packaging or manual. Exceeding the recommended number of connected strands can cause overheating, short circuits, or even fire hazards. Before linking lights, calculate the total wattage of the combined strands and ensure it stays within the safety limits for your power source and the lights themselves.
6. Use Waterproof Connectors for Outdoor Lights
When connecting fairy lights outdoors, especially in rainy or humid climates, it’s crucial to protect the connections from water exposure. Waterproof connectors are specifically designed for outdoor lighting and ensure that the electrical connections between strands remain dry and safe. These connectors come in different styles, including rubber or plastic covers that seal around the plugs, keeping moisture out. Using waterproof connectors not only extends the lifespan of your fairy lights but also protects your electrical setup from short circuits or damage due to weather conditions.

7. Test Each Strand Before Connecting
Before connecting multiple strands of fairy lights together, it’s always a good idea to test each strand individually to ensure that all bulbs are functioning. Plug each strand into a power source and check for any dead bulbs or faulty wiring. If you connect several strands together and then find out that one strand isn’t working, it can be frustrating to troubleshoot the entire setup. By testing each strand beforehand, you’ll save time and avoid potential issues down the line. This method ensures that your fairy light display will shine brightly and consistently.
8. Use a Light Controller for Synchronization
If you want to create synchronized lighting effects, such as flashing patterns or fading lights, a light controller can be used to manage multiple strands of fairy lights. A light controller plugs into your power source and allows you to customize the behavior of the lights, whether you want them to twinkle, chase, or pulse in time to music. When connecting several strands of fairy lights together, the controller ensures that all the lights are synchronized in the same pattern. This method is particularly useful for festive displays or themed events where you want a coordinated lighting design.
9. Ensure Proper Voltage Compatibility
When connecting fairy lights, it’s essential to check that all the strands you are using have the same voltage rating. Connecting fairy lights with different voltage ratings can lead to inconsistent lighting performance or even damage the lights. Most fairy lights operate on either 120V (for standard outlets) or 12V/24V (for low-voltage setups). Make sure that all the strands you are connecting are rated for the same voltage, and avoid mixing low-voltage and high-voltage lights. Using lights with matching voltage ensures that they will work harmoniously together and reduces the risk of damage to your lights or power source.
10. Consider Battery-Powered Fairy Lights for Hard-to-Reach Areas
If you need to connect fairy lights in an area where there is no nearby power source, consider using battery-powered fairy lights. Battery-powered lights eliminate the need for extension cords or power outlets, making them ideal for decorating hard-to-reach places such as trees, ceilings, or outdoor pergolas. While you won’t be able to physically connect these strands to others via wiring, battery-powered fairy lights can be strategically placed to complement your overall lighting design. Some battery-powered lights even come with timers or remote controls, allowing you to easily manage the lighting without needing to access the power source frequently.
Conclusion
Successfully setting up and connecting multiple strands of fairy lights can transform any space into a magical, illuminated wonderland. By adhering to the guidelines outlined, such as using electrical tape, Y-splitters, waterproof connectors, and ensuring voltage compatibility, you can create a safe and stunning lighting display.
Additionally, testing each strand before setup and considering battery-powered options for challenging locations minimizes hassle and enhances functionality. Thanks for reading, and we hope this has given you some inspiration on how to connect fairy lights together!

