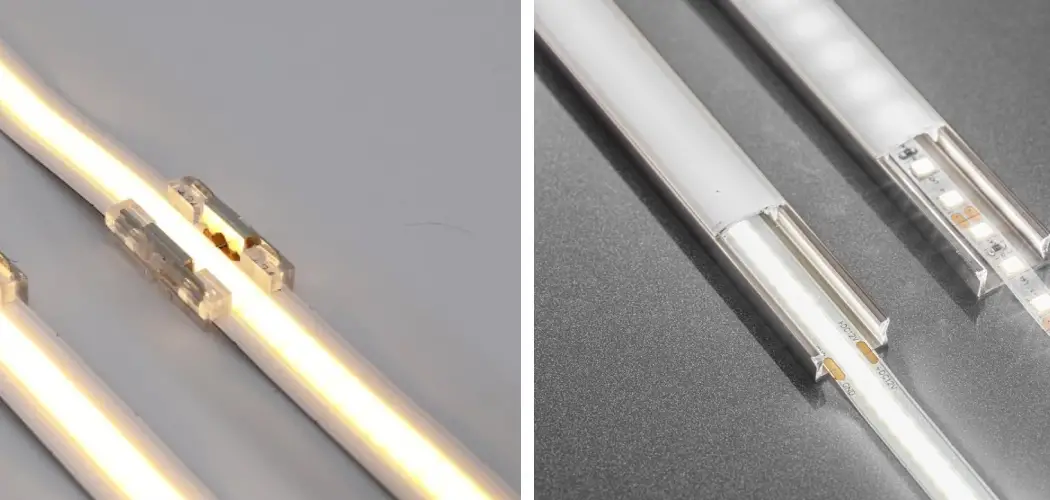
COB (Chip on Board) LED strips are rapidly gaining traction in the realm of lighting due to their superior energy efficiency, bright and uniform light output, and flexibility in design and application. From under-cabinet kitchen lighting to dramatic backlighting and commercial signage, the applications of these innovative light sources are seemingly endless.
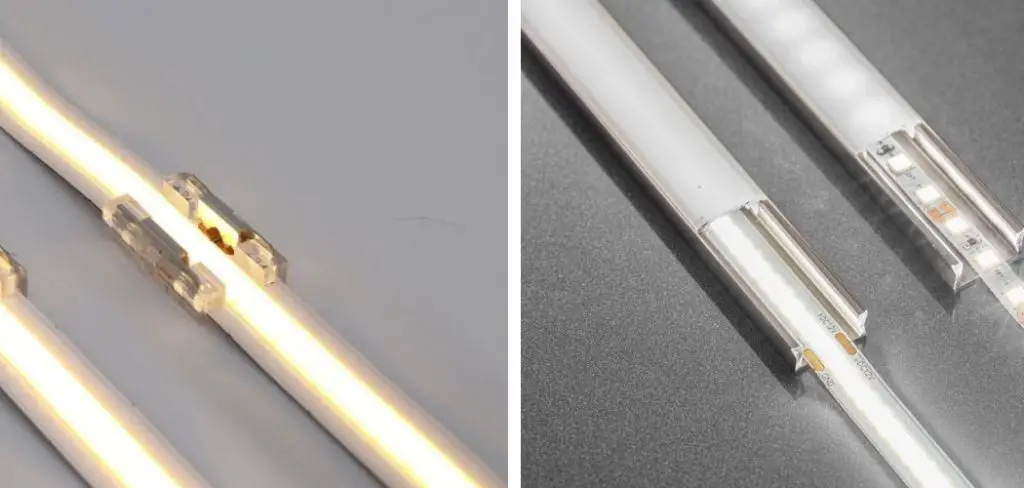
As more individuals and businesses look to enhance their spaces with these versatile strips, the question of “how to connect cob led strip” increasingly arises. This guide aims to demystify the process, providing a comprehensive walkthrough on connecting COB LED strips. By following our detailed instructions, you’ll be able to achieve a safe, effective, and stunning installation that brightens up any area with a seamless glow.
Types of COB LED Strips
COB LED strips come mainly in two voltage varieties: low voltage, which typically operates at 12V or 24V, and high voltage, which can function with either 110V or 220V. The low-voltage strips are well-suited for residential and DIY projects due to their energy efficiency and safety. They often require a power supply unit to match the voltage and amperage requirements.
On the other hand, high-voltage strips are advantageous for large-scale or commercial installations because of their capacity for longer run lengths with fewer power drops. When considering outdoor applications, waterproof COB LED strips are essential. They are designed with a protective covering to withstand moisture and varying weather conditions, thereby ensuring durability and consistent performance in exterior environments.
Connection Methods
Connecting COB LED strips can be accomplished through various methods, with the main approaches being soldering, using connectors, or direct wiring. Soldering is one of the most reliable methods, ensuring the COB LEDs’ secure and permanent attachment to power sources or other strips.
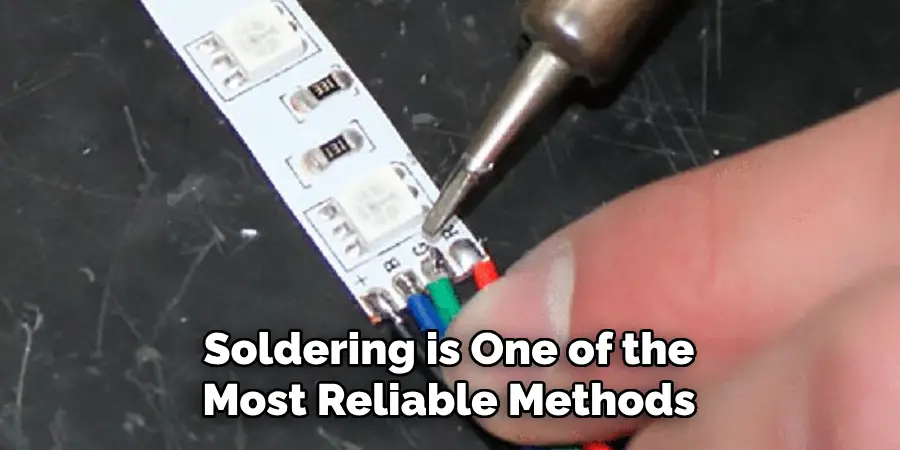
It requires technical skill, a steady hand, and tools such as a soldering iron and solder. If done correctly, the soldered joints provide a robust connection but can be time-consuming and may not be ideal for beginners.
Connectors offer a more user-friendly alternative, with options such as solderless push-in terminals or screw terminals. These pre-wired connectors can significantly reduce installation time and don’t necessitate soldering skills, making them suitable for quick modifications and repairs.
However, the trade-off can be in the reliability of the connections, which may become loose over time or due to environmental factors, leading to flickering or failure of the LED strip.
Lastly, direct wire connections involve attaching wires directly to the LED strip’s designated connection points. This highly customizable method is perfect for specific installation requirements and ensures proper insulation is utilized.
It demands a comprehensive understanding of electrical systems and is best left to those with experience, as poor insulation or incorrect connections can lead to short circuits or malfunctions.
Each technique has its pros and cons and should be chosen based on the complexity of the project, available tools, and the installer’s comfort level and expertise.
Tools and Supplies
Having the right tools and supplies is crucial to ensure a smooth installation of your COB LED strip. Here’s what you’ll need based on the connection method you choose:
- Soldering:
- Soldering iron
- Solder
- Flux
- Heat shrink tubing
- Wire strippers
- Safety glasses
- Connectors:
- Specific connector kit matching the strip type
- Wire strippers
- Pliers (optional)
- Wires:
- Wires
- Wire strippers
- Crimp connectors
- Electrical tape
- Heat shrink tubing
- Additional items to consider include gloves for added protection, a multimeter for testing connections (optional), and maintaining a clean workspace to organize tools and components effectively.
Safety Precautions
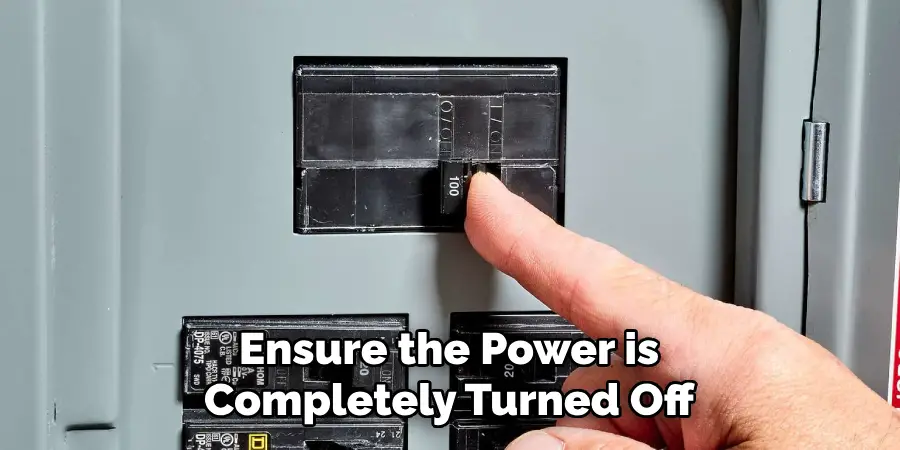
Prior to engaging in any electrical work, ensure the power is completely turned off. Use insulated tools to prevent any accidental short circuits, and be cautious not to touch hot components during soldering. Always wear necessary safety gear like gloves and safety glasses to protect against potential hazards.
How to Connect Cob Led Strip: A Comprehensive Guide
1. Soldering:
When selling your COB LED strip, start by preparing your workstation with all the necessary tools. Wear your safety glasses to protect your eyes from any accidental solder splashes. Begin by cutting your COB LED strip to the required length, ensuring you cut along the designated lines.
- Prepare the Strip and Wires: Strip the ends of your wires to expose about 1/4 inch of wire. Twist the strands, and then apply solder (“thinning”) to prevent fraying and ensure a better connection.
- Apply Flux: Flux is used to prevent oxidization and improve solder flow. Apply a small amount onto the designated pads on the strip.
- Soldering Wires: Heat the soldering iron to the correct temperature. Touch the tinned wire to the fluxed pad and apply the iron to both; feed in solder until a smooth joint is formed. Do not overheat to avoid damaging the LED strip.
- Ensure clean Connections: Check that each solder joint is clean and strong without any excess solder causing short circuits.
- Protect with Heat Shrink: Slide a piece of heat shrink tubing over the connection before soldering, then heat it to secure the wires after the connection is complete.
- Test your Connection: Use a multimeter to confirm the connection is sound and there are no short circuits before powering up the strip.
2. Connectors:
Connectors provide a solder-free installation, suitable for novices. Ensure the power is off before starting the connector installation.
- Match Wires to Terminals: Lay out the connector and wires. Ensure the polarity (usually indicated by color-coding) matches the connection points on the strip.
- Push Wires into Terminals: For push-in connectors, insert stripped wire ends into the corresponding terminal—no tools are needed. For screw terminals, use a screwdriver to secure the wires in place.
- Check Connections: Once all wires are placed, double-check each one is secure. For push-in connectors, ensure the connector snaps shut correctly without loose wires.
3. Wires:
Direct wire connections provide a customizable approach to installation. Exercise caution to maintain proper polarity and avoid shorts.
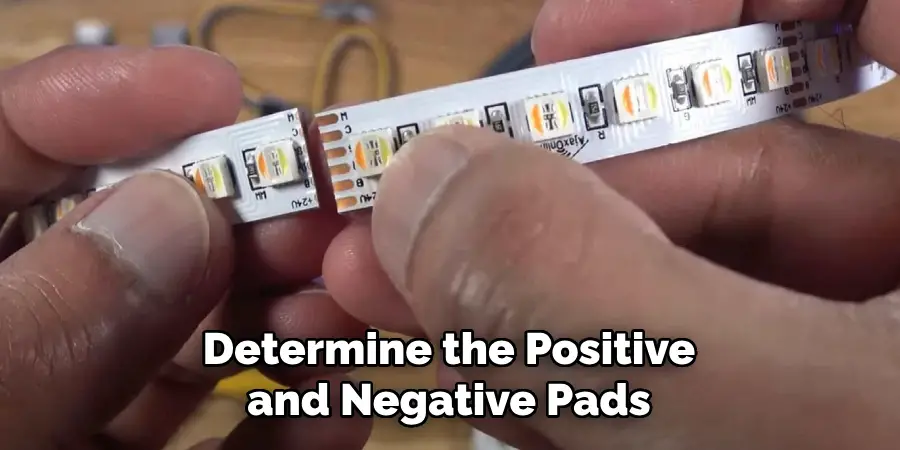
- Identify Connections: Determine the positive and negative pads on the COB LED strip and match them with the corresponding wires.
- Using Crimp Connectors or Terminal Blocks: Strip wire ends and connect using crimp connectors or by securing them in a terminal block, ensuring a strong mechanical connection.
- Insulate Exposed Wires: Use electrical tape or heat shrink tubing to cover any exposed wires or connections to prevent shorts.
- Test the Connection: Confirm the integrity of the connection with a multimeter before powering the system.
For each method, always ensure the brightness and functionality of your COB LED strip meet expectations and troubleshoot if necessary. Remembering to follow safety precautions and thoroughly testing your connections, your skill in “how to connect cob led strip” will lead to a bright, safe, and satisfying project completion.
Powering Your COB LED Strip
Once the COB LED strip is connected, powering it properly is crucial to ensure its longevity and performance. You need to connect to a suitable power supply unit (PSU) for low-voltage and slow-voltage strips.
Make certain that the PSU you choose has the correct voltage and amperage rating to match your LED strip specifications. Not doing so could result in insufficient power and diminished brightness or, conversely, too much power and potential damage to the strip.
For high-voltage strips, connecting directly to the mains voltage is necessary. This process is significantly more hazardous and should only be conducted by a qualified electrician to mitigate safety risks. It may involve additional installation steps, such as fitting a fused connector and ensuring that all connections comply with electrical codes.
Lastly, your setup might require additional components like dimmers or LED controllers for added functionality, such as dimming or color-changing features. Always refer to the manufacturer’s instructions when integrating these additional components to ensure compatibility and safe operation.
Testing and Finishing Touches
After installation, testing your COB LED strip is essential. Power on the strip briefly and check for even brightness and proper functioning of all LEDs. If any section appears dimmer, this may indicate a loose connection or issues with the power supply. Turn off power and double-check all soldered joints, connectors, and wires.
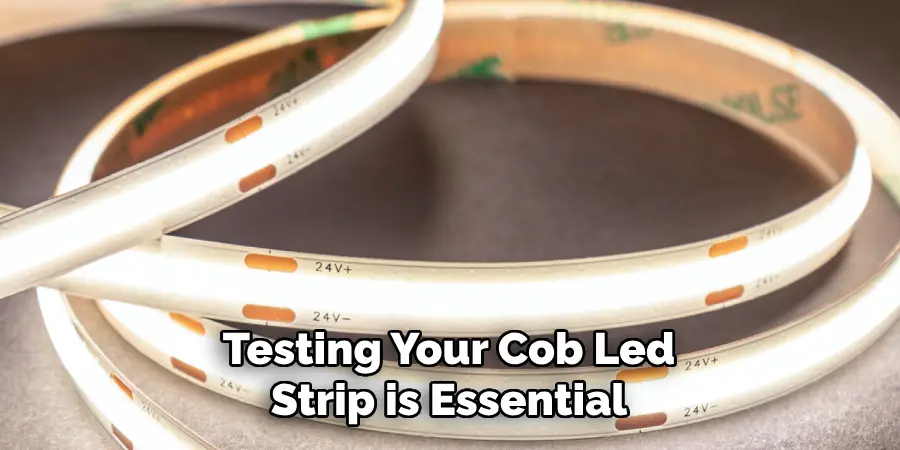
Ensure that the power supply is adequately rated for the strip’s power requirements. To finish, clean any residual flux from soldered connections. Mount the strip securely using mounting clips or adhesive backing, arranging the wires to avoid tangling. This neat setup prevents accidental damage and maintains the LED strip’s aesthetic and function.
5 Convincing Reasons to Illuminate with Connect COB LED Strips
Whether you’re a tech-savvy DIY enthusiast or a home decorator looking to liven up your space, Connect Cob LED strips are an exciting addition to the modern lighting arsenal. These strips pack quite the luminous punch, offering an array of benefits beyond mere aesthetics. Discover five compelling reasons why Connect Cob LED strips are the bright choice for your lighting needs.
1. Brilliant Illumination That Won’t Break the Bank
Let there be light, and let it be brilliant without burning a hole in your pocket. With the Connect Cob LED strip, vibrant and powerful illumination is just a plug-in away. These strips boast a higher lumen-to-watt ratio than most traditional lighting, ensuring you get a vivid light display that’s gentle on your energy bills.
So say goodbye to the dark, stubborn corners of your home and hello to a well-lit sanctuary that’s both inviting and economical.
2. Easy Installation, Endless Possibilities
Gone are the days of lengthy assembly and complex wiring diagrams. Connect Cob LED strips are designed for the DIYer in all of us, offering an installation process that’s as simple as peeling, sticking, and powering on.
Unroll the strip, attach it to a clean, dry surface, and plug it in – it’s really that straightforward. No professionals are required; your personal touch can glow from even the tiniest nooks to grandiose spaces.
3. Green Light: Eco-Friendly Energy Efficiency
Join the green initiative right from the lights in your home! Connect Cob LED strips are champions of energy efficiency, outshining traditional lighting considerably. Not only do they use less power to give you more light, but they also generate less heat, making them safer and friendlier to the environment.
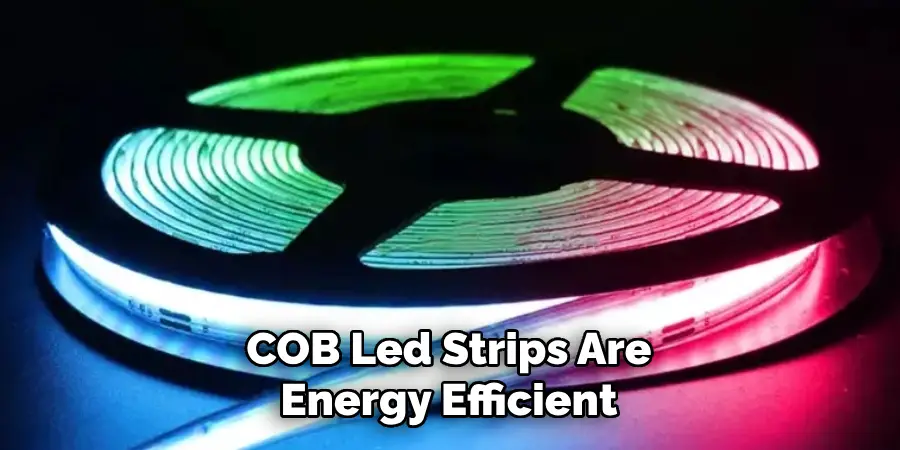
Every watt they save contributes to a reduction in carbon footprint – a small change in lighting for you, a large leap for sustainability.
4. Illuminate Your Imagination with Customization
Forget the one-size-fits-all approach to lighting – Connect Cob LED strips are all about personalization. With an extensive range of color options and adjustable brightness levels, you completely control the ambiance.
Whether you’re setting up a lively party, a restful evening, or a productive workspace, these strips can be tailored to create the desired atmosphere, blending effortlessly with any décor.
5. Lights That Stand the Test of Time and Weather
Durability and longevity are more than just talking points with Connect Cob LED strips – they’re core features. Made to withstand daily use, these strips also resist the elements, ensuring a luminous and steadfast presence even in outdoor settings.
The lifespan of these LEDs extends far beyond that of standard lighting options, making them an investment that shines on and on. Even when the weather outside is frightful, your lighting remains delightfully reliable.
5 Common Mistakes People Make When Trying to Connect COB LED Strip
Although connecting a COB LED strip is relatively simple, people make some common mistakes during the process. These errors can lead to issues with brightness, proper functioning, and potentially even damage to the LED strip. To ensure a successful and safe connection, avoid these five common mistakes when connecting your COB LED strip.
1. Not Checking Voltage and Amperage Ratings
One of the most crucial steps when connecting a COB LED strip is double-checking that your power supply matches the strip’s voltage and amperage requirements. Using an incorrect power supply can result in insufficient or excessive power, leading to dimness, flickering, or even damage to the strip.
2. Incorrectly Cutting the Strip
COB LED strips can be cut to fit your desired length, but cutting them at the designated locations marked on the strip is essential. Cutting in the wrong place can damage the circuit and render that section of the strip unusable.
3. Incorrectly Soldering Wires or Connectors
Soldering is a crucial step when connecting COB LED strips, but it’s essential to do it correctly. Incorrect soldering can lead to weak connections, which can cause flickering or even short circuits. Always follow proper techniques and use the correct tools when soldering.
4. Not Testing Before Installation
After connecting all components, testing your COB LED strip before installation is crucial. This allows you to identify and fix any issues before mounting the strip, preventing potential damage or rework.
5. Improper Mounting and Securing
Finally, it’s essential to mount your COB LED strip properly using clips, adhesive backing, or other secure methods. Improper mounting can lead to tangling of wires, which can cause damage or disrupt the strip’s function. It’s also crucial to avoid bending or twisting the strip during installation.
By avoiding these common mistakes, you can easily and safely connect your COB LED strip, ensuring optimal performance and longevity. Remember to always follow instructions carefully and seek professional help if needed for a smooth and successful lighting experience with Connect Cob LED strips.
Frequently Asked Questions About Connect Cob LED Strips
Can Connect COB LED Strips Be Used Outdoors?
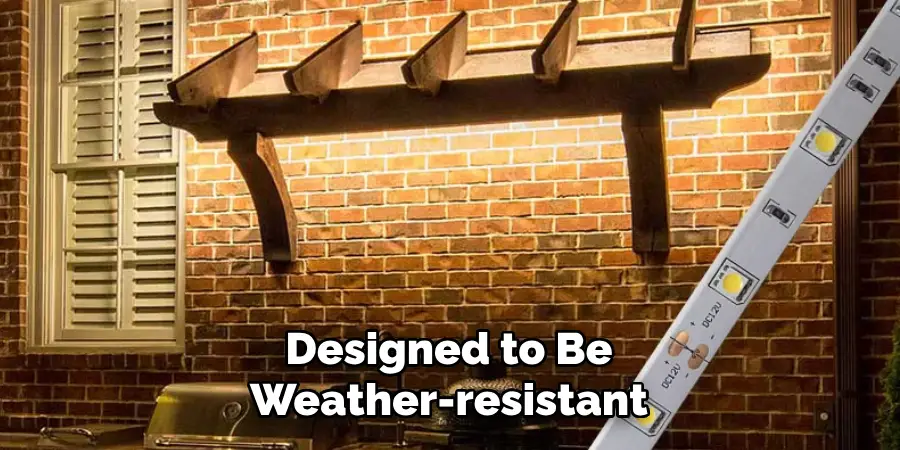
Yes, Connect Cob LED strips are designed to be weather-resistant, making them suitable for outdoor use. However, ensure you use a waterproof variant and properly secure connections against the elements to maintain their longevity.
How Do You Connect Multiple COB LED Strips Together?
To connect multiple strips, use designated connectors or solder the strips at the marked soldering points. Always ensure power rating matches and test connections before final installation.
Do These LED Strips Require a Special Power Supply?
Connecting Cob LED strips typically requires a DC power supply. Make sure that the power supply’s voltage and amperage ratings match the requirements of your LED strip to avoid damage and ensure proper functioning.
Are the Colors on The Connect COB LED Strips Adjustable?
Yes, depending on the model, many Connect Cob LED strips can adjust colors and brightness levels. This allows you to customize the lighting to your preference. A controller is usually required for color and brightness adjustments.
Is It Safe to Leave Connect COB LED Strips on All the Time?
While Connect Cob LED strips are energy-efficient and generate less heat, turning them off when not in use is still advisable to preserve their lifespan and reduce the risk of electrical hazards.
What Should I Do if My LED Strip Is Flickering or Not Turning On?
Flickering or failure to illuminate can result from several issues, including loose connections, incorrect power supply, or improper installation. Recheck all connections, ensure the power supply is correct, and test the strip in segments to locate any potential issues.
By addressing these frequently asked questions, customers can enjoy a worry-free experience with Connect Cob LED strips, fully utilizing their versatility and durability for impressive lighting outcomes.
Conclusion
Successfully mastering “how to connect COB LED strip” can significantly enhance the visual appeal of your space with its uniform and vibrant illumination. Whether you prefer the precision of soldering, the simplicity of connectors, or the directness of wiring, selecting the method that aligns with your skills ensures a gratifying outcome.
This knowledge brings a sense of accomplishment and the practical benefit of customized lighting. Prioritize safety, adhere to the instructions provided, and create a well-lit environment that resonates with your aesthetic preferences. With careful planning and attention to detail, the brilliance of a well-installed COB LED strip awaits to brighten your surroundings.

