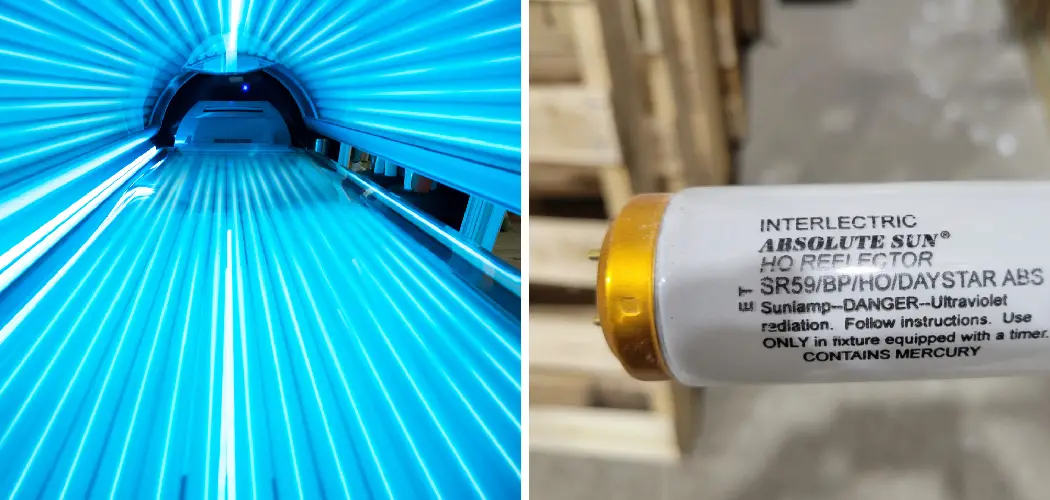
Maintaining your tanning bed equipment properly ensures optimal performance and extends its lifespan significantly. Learning how to clean tanning bed bulbs is essential for anyone who owns or operates a tanning bed, whether at home or in a commercial setting. Dirty bulbs can reduce UV output by up to 30%, meaning longer sessions and potentially uneven tans.
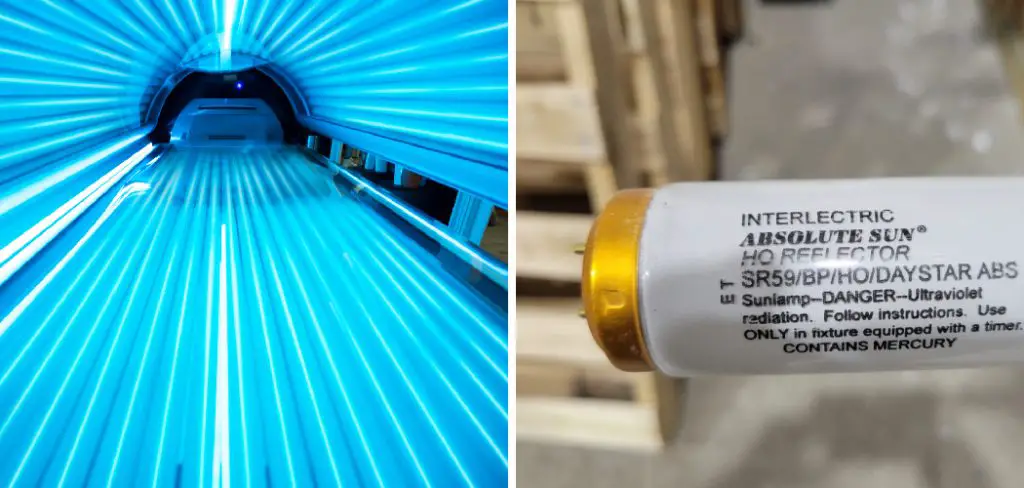
Regular bulb cleaning also prevents the buildup of dust, oils, and residue that can create hot spots or even cause bulbs to fail prematurely. Clean bulbs not only perform better but also provide a safer tanning experience. Many tanning bed owners overlook this crucial maintenance task, which can lead to costly replacements and poor tanning results.
This comprehensive guide will walk you through the proper techniques for cleaning your tanning bed bulbs safely and effectively. With the right approach and materials, you can maintain your equipment like a professional and enjoy consistent, high-quality tanning sessions.
Why Cleaning Tanning Bed Bulbs Is Essential
Tanning bed bulbs are precision instruments that require regular maintenance to function at peak efficiency. Over time, dust, skin oils, lotions, and other contaminants accumulate on the bulb surfaces, creating a barrier that blocks UV light transmission. This buildup doesn’t just reduce the effectiveness of your tanning sessions—it can also create uneven light distribution that leads to patchy tans.
Clean bulbs also run cooler and last longer than dirty ones. When contaminants build up on bulb surfaces, they trap heat and force the bulbs to work harder to maintain proper output levels. This increased stress shortens bulb life and increases your operating costs. Professional tanning salons clean their bulbs regularly for this exact reason.
From a safety perspective, dirty bulbs can develop hot spots that may cause skin burns or damage the bulb itself. Regular cleaning prevents these dangerous conditions and ensures your tanning experience remains both safe and effective. The small investment in time and cleaning supplies pays dividends in bulb longevity and tanning quality.
Step-by-Step Guide: How to Clean Tanning Bed Bulbs
Step 1: Turn Off Power and Allow Cooling
Safety must be your first priority when performing UV light maintenance. Switch off the tanning bed at the main power source and unplug it from the electrical outlet. Never attempt to clean bulbs while the unit is connected to power, even if it’s turned off. Allow the bulbs to cool completely for at least 30 minutes after use.
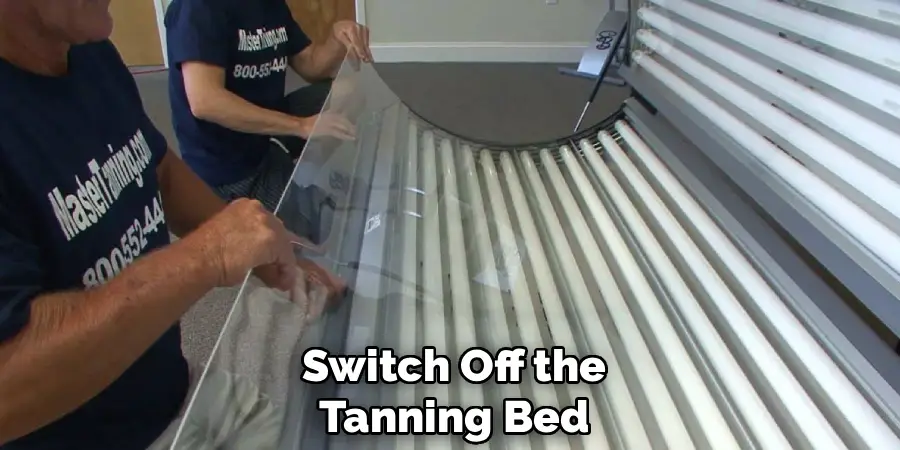
Hot bulbs can cause severe burns and are also more fragile when heated. The glass expands when warm, making it more susceptible to cracking or breaking during handling. Cooling time also allows any cleaning solution to work more effectively since it won’t evaporate immediately upon contact with the bulb surface.
Step 2: Gather Your Cleaning Supplies
Collect all necessary materials before beginning the cleaning process to ensure efficiency and safety. You’ll need lint-free cloths or microfiber towels, a specialized bulb cleaning solution or isopropyl alcohol (70% or higher), protective gloves, and a vacuum with a soft brush attachment. Avoid paper towels or rough cloths that might scratch the delicate bulb surface.
Choose cleaning solutions specifically designed for UV bulbs when possible, as these formulations won’t leave residues that could interfere with light transmission. If commercial bulb cleaners aren’t available, high-percentage isopropyl alcohol works effectively for dust removal and disinfection.
Step 3: Put on Protective Equipment
Wear protective gloves throughout the entire cleaning process to protect your hands from cleaning chemicals and to prevent skin oils from transferring to the clean bulb surfaces. Nitrile or latex gloves work well for this purpose. Consider wearing safety glasses if you’re using spray cleaners that might create airborne particles.
Protective equipment also prevents you from leaving fingerprints on the freshly cleaned bulbs. Even small amounts of skin oils can create hot spots and reduce UV transmission, negating your cleaning efforts. Professional bulb care always involves barrier protection between hands and glass surfaces.
Step 4: Remove Bulbs Carefully
Most tanning bed bulbs can be removed by gently twisting them counterclockwise while supporting their weight. Work slowly and deliberately to avoid dropping or bumaging the bulbs. Some beds have clips or brackets that must be released before bulb removal. Consult your owner’s manual if you’re unsure about the proper removal technique.
Place removed bulbs on a soft, padded surface where they won’t roll or contact each other. A clean towel on a stable table works well for this purpose. Never lay bulbs directly on hard surfaces where they might crack or scratch.

Step 5: Dust Removal and Initial Cleaning
Begin the actual cleaning process by gently removing loose dust and debris with a soft brush or vacuum attachment. Work from one end of the bulb to the other using light, consistent strokes. Pay special attention to the areas around the electrical contacts where dust tends to accumulate most heavily.
After removing loose debris, wipe the entire bulb surface with a slightly dampened lint-free cloth. Use distilled water for this initial wipe to remove water spots that might occur with tap water. This step prepares the surface for the final cleaning solution application.
Step 6: Apply Cleaning Solution
Spray or apply your chosen cleaning solution to a clean cloth rather than directly onto the bulb. This prevents oversaturation and ensures even distribution. Wipe the entire bulb surface using circular motions, working from one end to the other systematically.
For heavily soiled bulbs, you may need to repeat this process several times with fresh cleaning solution and clean cloths. Stubborn residues might require gentle scrubbing with a soft cloth, but avoid applying excessive pressure that could damage the bulb surface.
Step 7: Final Polishing and Inspection
After cleaning, polish each bulb with a dry, lint-free cloth to remove any remaining cleaning solution residue. Inspect the bulb carefully under good lighting to ensure all contaminants have been removed and no scratches or damage occurred during cleaning.
Look for any cracks, dark spots, or discoloration that might indicate bulb deterioration. Clean bulbs should have a uniform, clear appearance without streaks or spots. Any damaged bulbs should be replaced rather than reinstalled.
Step 8: Proper Bulb Reinstallation
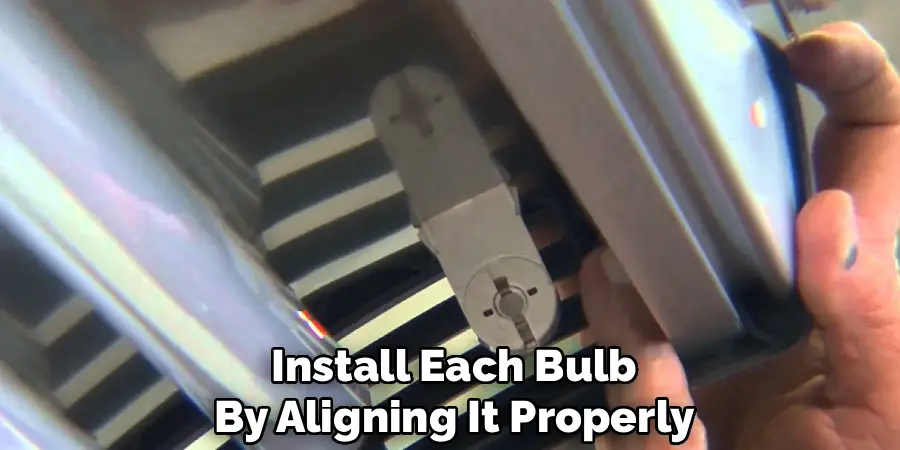
Handle clean bulbs only by their ends, never touching the glass surface with bare hands. Install each bulb by aligning it properly in its fixture and rotating clockwise until secure. Don’t overtighten, as this can damage the electrical contacts or crack the bulb base.

Test each bulb briefly after installation to ensure proper operation. Replace the tanning bed panels and restore power only after confirming all bulbs are properly seated and functioning. Keep records of when bulbs were cleaned to establish a regular maintenance schedule.
Common Cleaning Mistakes
When maintaining a tanning bed, there are several common cleaning mistakes that can compromise its functionality or longevity. One frequent error is using harsh or abrasive cleaning products that can damage the acrylic surface. It’s important to use only cleaners specifically designed for tanning beds to avoid scratches or chemical degradation.
Another mistake is neglecting to clean the edges and corners, where dust and residue tend to accumulate. Skipping these areas can lead to unsanitary conditions and reduce the overall hygiene of the equipment.
Additionally, failing to allow sufficient drying time before reassembling the bed can lead to moisture trapping, which may cause corrosion or electrical issues. Always follow manufacturer recommendations for cleaning materials and techniques to ensure thorough and safe maintenance.
Frequently Asked Questions
How often should I clean my tanning bed bulbs?
Clean your tanning bed bulbs every 2-3 weeks with regular use, or more frequently if you notice decreased performance. Heavy usage may require weekly cleaning to maintain optimal UV output and prevent buildup of lotions and skin oils.
Can I use household cleaners on tanning bed bulbs?
Avoid household cleaners like glass cleaners or multipurpose sprays, as these often contain ammonia or other chemicals that can damage bulb coatings. Use only isopropyl alcohol or specialized UV bulb cleaning solutions for best results.
What should I do if a bulb breaks during cleaning?
If a bulb breaks, immediately stop cleaning and carefully collect all glass fragments. Dispose of broken bulbs according to local hazardous waste guidelines, as they may contain small amounts of mercury. Replace broken bulbs before using the tanning bed.
How do I know when bulbs need replacement rather than cleaning?
Replace bulbs that show dark spots, cracks, or significant discoloration that doesn’t improve with cleaning. Most tanning bulbs need replacement after 800-1000 hours of use, regardless of their appearance.
Is it safe to clean bulbs while they’re still in the bed?
While possible, removing bulbs for cleaning provides better access and reduces the risk of damaging the tanning bed’s interior. If cleaning in place, ensure the bed is completely powered off and use extra caution with cleaning solutions near electrical components.
Conclusion
Learning how to clean tanning bed bulbs properly is a valuable skill that will save you money and improve your tanning results significantly. Regular cleaning maintains optimal UV output, extends bulb life, and ensures safe operation of your equipment.
The process requires only basic supplies and minimal time investment, but the benefits are substantial. Clean bulbs provide more consistent tanning results, operate more efficiently, and last longer than neglected ones.
Make bulb cleaning part of your regular tanning bed maintenance routine. Your skin will thank you for the better results, and your wallet will appreciate the extended bulb life. With proper care, your tanning bed will provide years of reliable service and beautiful tans.

