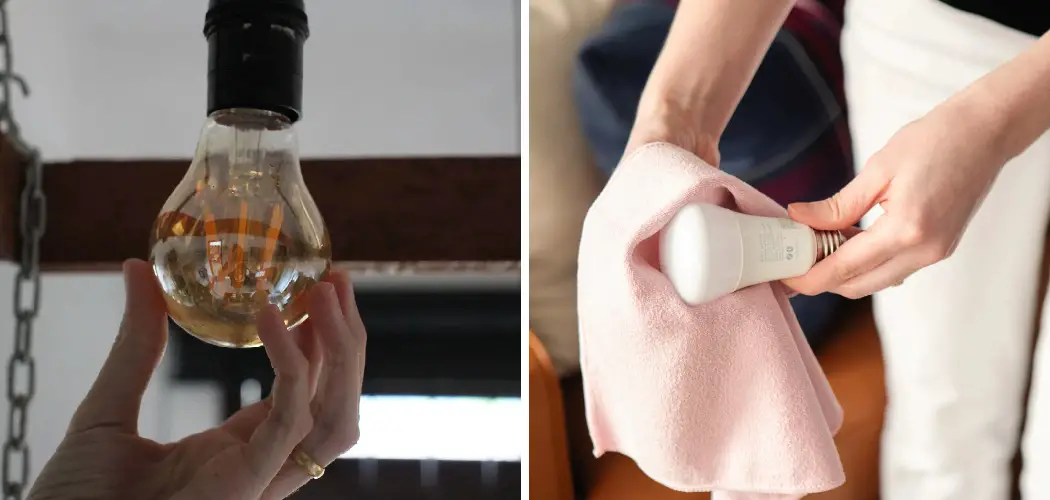
Dirty light bulbs can reduce your home’s brightness by up to 40%, making rooms appear dim and unwelcoming even with all lights turned on. Learning how to clean light bulbs is a simple yet impactful maintenance task that can dramatically improve your home’s lighting quality while extending bulb life. Most homeowners overlook this basic maintenance, allowing dust, grime, and residue to accumulate over months or years.
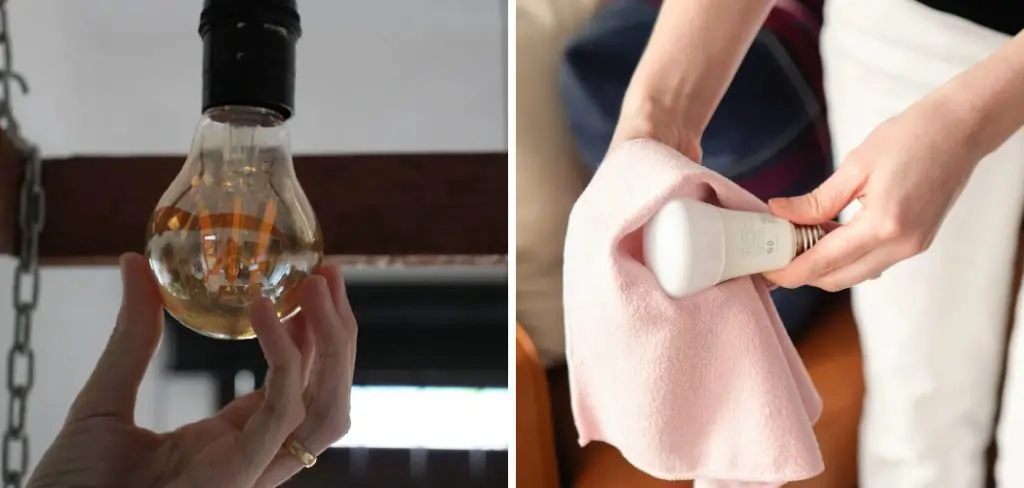
Clean light bulbs not only provide better illumination but also operate more efficiently, potentially reducing energy costs. Whether you’re dealing with standard incandescent bulbs, energy-efficient LEDs, or specialty fixtures, the cleaning process is straightforward and requires minimal time and supplies. This comprehensive guide will walk you through safe, effective methods to restore your bulbs to their original brightness, creating a more comfortable and well-lit living environment throughout your home.
Why Cleaning Light Bulbs is Essential
Regular light bulb maintenance offers numerous benefits that extend far beyond simple aesthetics. Dust and debris accumulation creates an insulating layer that causes bulbs to work harder and generate more heat, potentially shortening their lifespan and increasing energy consumption.
Clean bulbs distribute light more evenly throughout your space, eliminating dim corners and harsh shadows that can strain your eyes during reading or detailed tasks. This improved lighting quality enhances both comfort and functionality in every room of your home.
From a financial perspective, maintaining clean bulbs maximizes your lighting investment. When bulbs operate at full capacity, you may find that you need fewer fixtures turned on to achieve desired brightness levels, resulting in measurable energy savings over time.
Additionally, clean lighting fixtures contribute to better indoor air quality by reducing dust circulation. Regular bulb cleaning becomes part of an overall home maintenance routine that keeps your living space healthier and more pleasant for family members and guests.
Step-by-Step Guide: How to Clean Light Bulbs
Step 1: Turn Off the Power
Safety should always be your first priority when cleaning any electrical component in your home. Switch off the light fixture at the wall switch and allow the bulb to cool completely before handling. Hot bulbs can cause severe burns and are more likely to crack or shatter when exposed to cleaning solutions.
For added protection, consider turning off the circuit breaker controlling that particular fixture, especially when working with older wiring systems. This extra precaution eliminates any risk of electrical shock, even if someone accidentally flips the wall switch while you’re working. Wait at least 15-20 minutes after turning off the light to ensure the glass surface has reached room temperature.
Step 2: Remove the Bulb Carefully
Once the bulb has cooled, gently remove it from the fixture by turning counterclockwise for standard screw-in bulbs. Support the bulb’s weight with your non-dominant hand while unscrewing with the other to prevent dropping. For bayonet-style bulbs, push down slightly and turn counterclockwise about a quarter turn before pulling straight out.
Handle the bulb by its metal base or neck area rather than gripping the glass directly, as oils from your skin can create spots that reduce light output. Place the removed bulb on a soft towel or cloth to prevent rolling and potential breakage while you prepare your cleaning supplies.
Step 3: Prepare Your Cleaning Solution
Create an effective yet gentle cleaning solution by mixing warm water with a small amount of mild dish soap in a bowl. Avoid harsh chemicals, abrasive cleaners, or ammonia-based products that can damage the bulb’s surface or leave streaky residues. The solution should produce light suds when mixed but not be overly sudsy.
For particularly stubborn grime or greasy residue common in kitchen fixtures, add a tablespoon of white vinegar to the soapy water mixture. This natural addition helps break down buildup without introducing harmful chemicals that could affect the bulb’s performance or create unpleasant odors when heated.
Step 4: Clean the Glass Surface Gently
Dip a soft, lint-free cloth or microfiber towel into your cleaning solution and wring out excess liquid until the cloth is merely damp. Gently wipe the entire glass surface of the bulb, starting from the top and working your way down in smooth, even strokes. Pay special attention to areas where dust typically accumulates, such as the curved portions and around the metal base connection.
For textured or frosted bulbs, use slightly more pressure to remove embedded dirt, but remain gentle to avoid scratching the surface. Work in small sections, rinsing and wringing out your cloth as needed to prevent spreading dirt around rather than removing it effectively.

Step 5: Address Stubborn Spots and Stains
Some bulbs may have persistent spots from cooking vapors, smoke residue, or mineral deposits that require additional attention. Create a paste using baking soda and water, then apply small amounts to problem areas using a soft cloth. Gently rub in circular motions to lift stubborn stains without scratching the glass.
For mineral deposits or water spots common in bathroom fixtures, use a cloth dampened with white vinegar to dissolve the buildup. Allow the vinegar to sit on tough spots for a few minutes before wiping clean. Always test any cleaning method on an inconspicuous area first to ensure it won’t damage special coatings or finishes.
Step 6: Dry the Bulb Thoroughly
After cleaning, use a clean, dry microfiber cloth to thoroughly remove all moisture from the bulb’s surface. Any remaining water droplets can create spots or cause the bulb to crack when heated. Pay particular attention to the metal base threads, ensuring no moisture remains that could cause corrosion or poor electrical contact.
Allow the bulb to air dry for a few additional minutes before reinstallation, especially in humid environments where moisture might linger. Proper drying prevents water spots and ensures optimal performance when the bulb is returned to service in your lighting fixture.
Step 7: Clean the Light Fixture
While your bulb dries, take the opportunity to clean the fixture itself for maximum lighting improvement. Remove any dust or debris from the socket using a dry cloth or soft brush, being careful not to damage the electrical contacts. For enclosed fixtures, clean the interior surfaces that may have accumulated dust or dead insects.
Wipe down the exterior of the fixture, including decorative elements, shades, or covers. This comprehensive approach ensures that your newly cleaned bulb operates in an equally clean environment, maximizing the lighting improvement you’ll experience after completing the maintenance.
Step 8: Reinstall the Clean Bulb
Once completely dry, carefully reinstall the bulb by reversing the removal process. Thread screw-in bulbs clockwise until snug, but avoid over-tightening which can damage the socket or bulb base. The bulb should seat securely without excessive force, and proper threading ensures optimal electrical contact.
Test the installation by turning the power back on and activating the light switch. You should immediately notice improved brightness and light quality compared to before cleaning. If the bulb flickers or doesn’t illuminate properly, turn off the power and check that it’s seated correctly in the socket.

Step 9: Establish a Regular Cleaning Schedule
Create a maintenance schedule to keep your light bulbs operating at peak performance throughout the year. Kitchen and bathroom bulbs may need cleaning every 2-3 months due to grease and moisture exposure, while bulbs in less active areas might only require attention every 6 months.
Mark your calendar or add reminders to your phone to make bulb cleaning a regular part of your home maintenance routine. Consistent care prevents heavy buildup that becomes more difficult to remove and ensures your lighting system always operates efficiently and effectively.
Safety Precautions When Cleaning
When cleaning light bulbs, safety should always be a top priority. Before starting, ensure the light fixture is turned off and the bulb is completely cool to avoid burns or electrical shocks. For added safety, unplug lamps or switch off the power at the circuit breaker for ceiling fixtures.
Use a soft, dry cloth to gently clean bulbs, avoiding the use of water or harsh cleaning solutions that can cause damage or pose a risk of electrical hazards. If a bulb breaks, wear gloves to safely collect the shards and follow proper disposal guidelines for the type of bulb, especially if it contains materials like mercury. Taking these precautions will help you clean confidently and maintain a safe home environment.
Frequently Asked Questions
How often should I clean my light bulbs?
Clean frequency depends on the environment and bulb location. Kitchen and bathroom bulbs need cleaning every 2-3 months due to grease and moisture exposure. Living areas and bedrooms typically require cleaning every 4-6 months, while closets and storage areas may only need annual attention.
Can I clean LED bulbs the same way as incandescent bulbs?
Yes, LED bulbs can be cleaned using the same gentle methods. However, LEDs have electronic components that make them more sensitive to moisture. Ensure thorough drying before reinstallation and avoid getting water near the base connection areas. Use slightly less moisture when cleaning LED bulbs.
What should I avoid when cleaning light bulbs?
Never clean hot bulbs or use abrasive materials like steel wool or harsh chemicals. Avoid paper towels which can scratch surfaces and leave lint. Don’t submerge bulbs in water or spray cleaning solutions directly onto them. Always ensure bulbs are completely dry before reinstalling.
Is it safe to clean bulbs while they’re still in the fixture?
No, always remove bulbs for thorough cleaning and safety. Cleaning installed bulbs increases risk of electrical shock and makes it difficult to clean all surfaces properly. Removal also allows you to clean the fixture itself, maximizing lighting improvement.
Can dirty bulbs really affect energy efficiency?
Yes, dust and grime can reduce light output by 10-40%, causing you to use more fixtures or higher wattage bulbs to achieve desired brightness. Clean bulbs operate more efficiently, potentially reducing energy consumption and extending bulb life by preventing overheating from dust accumulation.
Conclusion
Mastering how to clean light bulbs transforms this simple maintenance task into a powerful way to enhance your home’s lighting quality and energy efficiency. The process requires minimal time and supplies while delivering immediate, noticeable improvements in brightness and light distribution throughout your living spaces.
By following these straightforward steps and maintaining a regular cleaning schedule, you ensure your lighting system operates at peak performance year-round. Start with the most frequently used fixtures in your home and gradually expand your maintenance routine to include all bulbs. Your family will appreciate the brighter, more welcoming atmosphere that clean light bulbs provide throughout your home.

