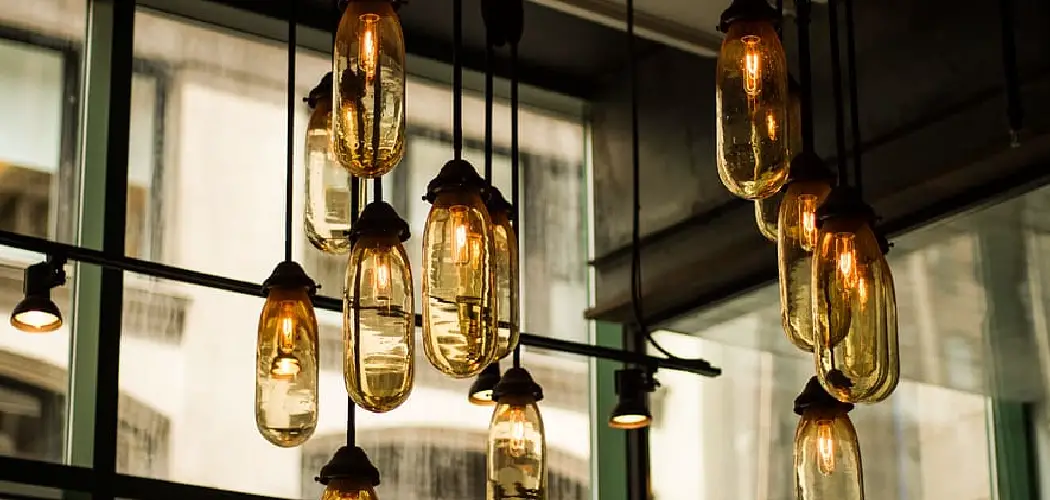
Kitchen light fixtures are frequently exposed to grease, dirt, and grime due to regular cooking activities. When food is prepared, tiny particles of grease and steam are released into the air and eventually settle on surfaces, including light fixtures. Over time, this buildup not only diminishes the brightness of the light but can also harbor bacteria and reduce the aesthetic appeal of your kitchen.
Maintaining clean light fixtures is important for ensuring optimal illumination, enhancing visibility while cooking, and promoting a hygienic environment in one of the most used spaces in the home. This guide will provide a comprehensive overview of how to clean greasy kitchen light fixtures effectively. It will detail the necessary tools and supplies, outline step-by-step cleaning instructions, and discuss essential safety precautions to help you tackle this chore with ease and confidence.
Understanding Kitchen Light Fixtures and Grease Build-Up
Types of Kitchen Light Fixtures
Kitchen light fixtures come in various styles, each serving a specific purpose while adding to the overall decor. Recessed lights are built into the ceiling, offering a sleek and modern appearance. Pendant lights typically hang from the ceiling and are often used to illuminate kitchen islands or dining areas. While less common in kitchens, Chandeliers provide an elegant and decorative lighting option. Flush mounts are fixed close to the ceiling and ideal for lower ceilings kitchens.
Why Grease Accumulates
Grease build-up occurs due to cooking activities, especially in areas close to stoves and ovens. When oils and fats are heated, they release airborne particles that can mix with dust and adhere to surfaces, including light fixtures. Fixtures situated near cooking surfaces are particularly prone to this accumulation, as they are continually exposed to rising steam, grease splatters, and vapors. Over time, this greasy layer becomes thicker and more challenging to clean.
Effects of Grease Build-Up
Grease and dirt on light fixtures can significantly reduce their performance by diminishing the light’s brightness. The buildup can also detract from the visual appeal of your kitchen, making fixtures look discolored and dull. Additionally, excessive grease can harbor bacteria and create an unhygienic environment, making regular cleaning a matter of aesthetics, health, and functionality.
Tools and Supplies Needed
To effectively clean grease and dirt from light fixtures, you’ll need the following tools and cleaning supplies:
Tools
- Microfiber Cloths – Ideal for wiping away grease and leaving surfaces streak-free.
- Sponges – Useful for scrubbing surfaces gently without scratching.
- Bucket – Necessary for holding your cleaning solution or warm water.
- Gloves – To protect your hands from chemicals and grime.
- Step Stool or Ladder – Ensures you can safely reach higher fixtures.
Cleaning Supplies
- Dish Soap – Acts as a mild, effective degreaser for most cleaning tasks.
- Vinegar – A natural cleaning agent for cutting through grease.
- Baking Soda – Helps with scrubbing and deodorizing tough stains.
- Degreaser – Essential for removing more stubborn grease layers.
- Warm Water – Aids in dissolving grease and grime effectively.
Optional Items (for tougher grease)
- Soft-Bristle Brush – For scrubbing intricate or textured surfaces without damage.
- Rubbing Alcohol – Can help dissolve grease spots.
- Ammonia-Based Cleaner – Provides extra power for challenging buildup.
Having these tools and supplies ready will make cleaning efficient and thorough!
Safety Precautions Before Cleaning
Proper safety measures are crucial before you begin cleaning, especially when dealing with fixtures and potentially hazardous substances.
Turn Off the Power
Always ensure the electricity is switched off at the source to avoid the risk of shocks or accidents. This is particularly important when cleaning light fixtures or appliances connected to electrical outlets.
Use a Secure Ladder
Use a sturdy step stool or ladder if you need to reach high ceilings or elevated fixtures. Position it on a flat, stable surface and ensure it is fully opened and locked. Avoid overstretching, as this could lead to falls.
Handle Fragile Components Carefully
Handle them with care when removing glass shades, bulbs, or other delicate parts. Place these items in a secure spot to prevent them from being knocked over or broken during cleaning.
Test Cleaners
Before applying any cleaning solution to surfaces, test it on a small, hidden area to check for potential damage or discoloration. This ensures that the cleaner is safe to use on the specific material without causing harm.
How to Clean Greasy Kitchen Light Fixtures: Step-by-Step Guide
Step 1: Remove Components
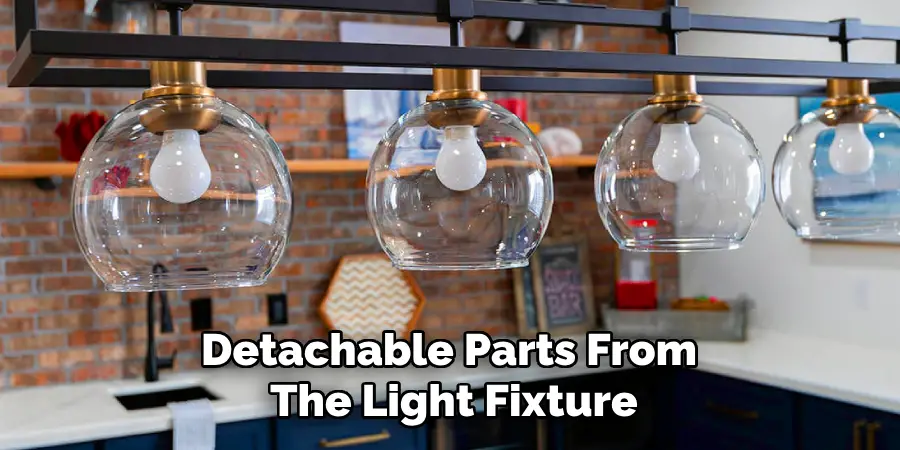
Turn off the power to the fixture to ensure safety. Carefully remove glass covers, shades, or any detachable parts from the light fixture. Place these components on a soft, padded surface like a towel to prevent breakage or scratches.
Step 2: Pre-Clean Dust and Loose Dirt
Using a dry microfiber cloth, gently wipe the light fixture and the removable components to eliminate any dust or loose debris. This step minimizes mess and makes the grease-removal process more effective.

Step 3: Prepare the Cleaning Solution
Create a cleaning solution by mixing warm water with a small amount of dish soap or vinegar—both are effective for general gre in the cleaning solution, such as the glass covers or shade removal. For tougher, baked-on grease, incorporate a few drops of a degreaser or mix baking soda and water into a paste for additional cleaning power.
Step 4: Soak and Scrub
Submerge the detachable components in the cleaning solution, such as the glass covers or shades. Allow them to soak for 15–20 minutes to loosen grease and grime. After soaking, use a sponge or a soft-bristle brush to gently scrub the components, paying special attention to stubborn greasy areas.

Step 5: Clean the Fixture Base
Dip a clean cloth or sponge into the prepared cleaning solution and carefully wipe down the light fixture base. Avoid excessive liquid around electrical components to prevent damage or safety hazards. For challenging grease spots, use a small amount of rubbing alcohol or baking soda paste to scrub gently.
Step 6: Rinse and Dry
Thoroughly rinse the detachable components with warm water to remove soap and residue. Dry them completely with a clean, lint-free cloth to prevent water spots or streaks. Use a dry microfiber cloth to gently wipe down the fixture base, ensuring that no moisture remains.
Step 7: Reassemble and Test
Once all components are dehydrated, reattach the glass covers, shades, or any other parts to the light fixture. Finally, turn the power back on and test the light fixture to ensure it functions properly. Your light fixture should now be clean and free of grease!
Tips for Maintaining Clean Kitchen Light Fixtures
Regular Cleaning Schedule
Regular cleaning is essential to keep your kitchen light fixtures grease-free and pristine. Aim to wipe down the fixtures weekly with a damp cloth or a mild cleaning solution to prevent grease and grime from building up. Consistent upkeep will save time and effort in the long run.
Use of Grease Filters
A well-maintained kitchen range hood or grease filter reduces airborne grease and other particles. Ensure your range hood is functioning correctly and regularly clean or replace its filters. This will protect your light fixtures and improve overall kitchen air quality.
Avoid Harsh Cleaners
Avoid using abrasive materials, such as steel wool or harsh chemical cleaners, when cleaning your fixtures, as these can cause scratches or damage to the finishes. Opt for gentle cleaning solutions and non-scratch sponges to preserve the longevity and appearance of your fixtures.
Keep Cooking Areas Clean
Maintaining clean stovetops and cooking surfaces can significantly reduce grease accumulation on nearby light fixtures. Wipe down your cooking area daily and address spills or splatters immediately to minimize grease transfer and ensure a cleaner kitchen environment.

Common Mistakes to Avoid
Using Excess Water
One common mistake in cleaning light fixtures is using too much water, which can drip into electrical components. This poses a serious safety hazard, potentially causing short circuits, malfunctions, or even electrical fires. Always use a damp, well-wrung cloth to avoid excess moisture during cleaning.
Skipping Safety Measures
Ignoring essential safety precautions can lead to accidents. Cleaning light fixtures without power off increases the risk of electric shocks. Similarly, using unstable ladders or chairs instead of proper step stools can result in dangerous falls. Prioritize safety by ensuring power is off and using stable, secure equipment to reach fixtures safely.
Using Harsh Chemicals
While it may be tempting to use strong cleaners like ammonia or bleach, these substances can harm sensitive materials and finishes on your light fixtures. Instead, choose gentle, non-abrasive cleaning solutions designed for the specific materials of your fixtures to maintain their appearance and durability.
Conclusion
Knowing how to clean greasy kitchen light fixtures is essential for maintaining a bright and clean kitchen environment. Regular cleaning improves lighting efficiency and extends the life of your fixtures while keeping your space hygienic. By following the right steps and precautions, such as using appropriate cleaning solutions and ensuring safety measures, the process becomes straightforward and manageable. Establishing a routine for cleaning your fixtures ensures they remain in optimal condition, enhancing your kitchen’s overall look and functionality. Take a proactive approach to maintain your fixtures, and enjoy a cleaner, better-lit space.

