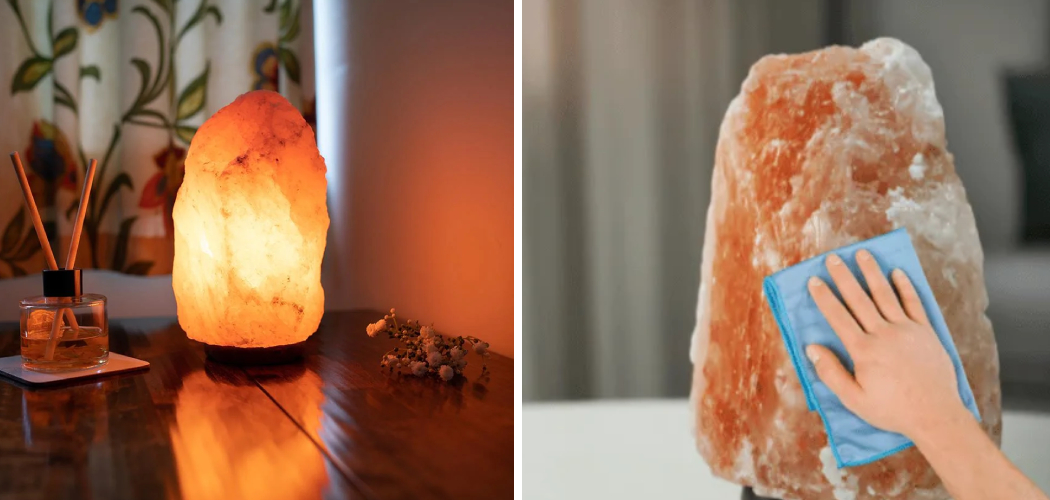
Do you ever look around your home and feel like something is missing? What about a soothing yet chic decoration that also provides an aura of mindfulness and tranquility? Look no further than a salt lamp! Salt lamps are beautiful pieces for any room, but they must be taken care of if you want them to last.
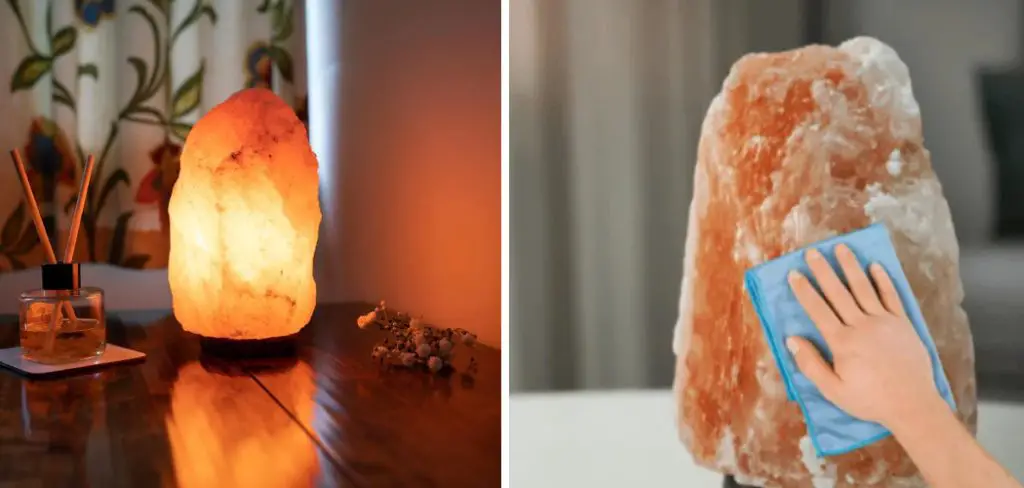
Whether you have had your salt lamp for a while and it needs a good cleaning or you are considering buying one but need clarification on the maintenance, this guide will provide all the necessary information on how to do it.
Cleaning your salt lamp should be a manageable task; it is quite simple once you know the steps. In this blog post, we will take you through the process of how to clean a salt lamp so that it always looks brand new. So let’s get started!
What Will You Need?
Before diving into the steps, let’s ensure you have all the necessary items to clean your salt lamp properly. Here are the things you will need:
- A soft cloth or sponge
- Warm water
- Mild soap or detergent (avoid using harsh chemicals)
- Towel or paper towels
That’s it! These are all the supplies you need to clean your salt lamp well.
10 Easy Steps on How to Clean a Salt Lamp
Step 1. Unplug Your Salt Lamp:
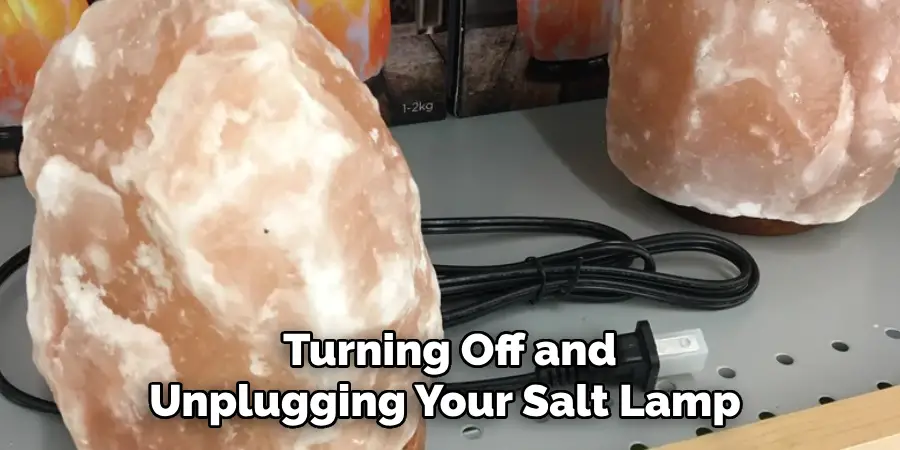
Start by turning off and unplugging your salt lamp from the electrical outlet. Safety should always be your first priority. Let it cool down if it’s been on for a while.
Step 2. Dampen Your Cloth or Sponge:
Take your soft cloth or sponge and dampen it with warm water. Remember, you don’t want it dripping wet; a gentle dampening will do. This is because too much water can dissolve the salt. If you feel the need to use a cleaning agent, opt for a mild soap or detergent, but remember to dilute it in the water rather than applying it directly to the lamp.
Step 3. Gently Wipe Your Salt Lamp:
Now, gently wipe the surface of your salt lamp with a damp cloth or sponge. Be careful not to dissolve the salt. Try to cover all areas, including any hard-to-reach corners or crevices. This step will remove any accumulated dust or debris on your lamp.
Step 4. Dry Your Salt Lamp:
After the surface cleaning, the next is to dry off your lamp. Use a towel or paper towels to gently pat down the salt lamp, ensuring no moisture remains on its surface. Remember to go gently, as vigorous wiping can cause the salt to crumble. The goal is to completely dry the salt lamp to prevent any unnecessary salt dissolution.
Step 5. Let Your Salt Lamp Air Dry:
After wiping any remaining moisture, leave your salt lamp in a well-ventilated area to air dry. This will allow any internal moisture to evaporate gradually. Depending on the humidity of the surrounding environment, this process could take a couple of hours or more. Resist the temptation to speed up the process using a hairdryer or any other heating device, as rapid heating can lead to fracturing of the salt.
Step 6. Regularly Dust Your Salt Lamp:
Once your salt lamp is completely dry, regularly dust it to prevent the buildup of dirt and debris. A gentle wipe with a dry cloth every few days should suffice. This proactive step will save you from needing to clean your salt lamp deep frequently, preserving it for longer.
Step 7. Check for Any Signs of Damage:
After cleaning, take a moment to inspect your salt lamp for any signs of damage. Look for deep cracks, excessive moisture, or even exposed wiring. If you notice any of these signs, consider replacing your lamp. Remember, safety is paramount when dealing with electrical fixtures.

Step 8. Reassemble and Reinstall Your Salt Lamp:
Once your salt lamp is thoroughly dried and inspected, it’s time to reinstall it. Carefully place it back onto its base, ensuring it fits securely. If your lamp has a detachable bulb, reinsert it carefully, making sure not to touch it with your bare fingers, as this can shorten its lifespan. Once the lamp is reassembled, plug it back into the power outlet.
Step 9. Gradually Increase the Light Intensity:
After your salt lamp is securely reassembled and plugged back in, it’s important not to turn it on at full brightness immediately. Start with the lowest setting and gradually increase the light intensity over several hours. This slow adjustment will help the salt lamp adapt to the change in temperature, preventing it from cracking due to sudden heat.
Step 10. Enjoy Your Clean Salt Lamp:
Finally, after following all the above steps, your salt lamp should be clean and ready for use. Turn it on and enjoy the soothing ambiance it brings to your space. Remember, regular cleaning will ensure your salt lamp looks great and lasts longer. Enjoying the soft glow of your clean salt lamp will bring a sense of tranquility and peace to your surroundings.
By following these easy steps, you can maintain the beauty and functionality of your salt lamp for years to come. Remember to be gentle and careful when cleaning your salt lamp, which will continue to provide a calming atmosphere in your home.
5 Additional Tips and Tricks
- Prevent Excessive Sweating: Salt lamps tend to sweat if left in humid conditions or aren’t used regularly. Keep the lamp on as much as possible or place it in a less humid environment to prevent this.
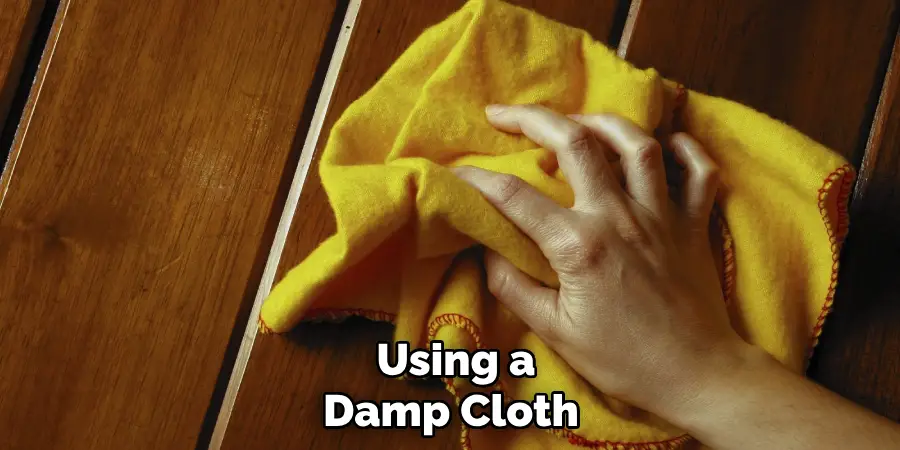
- Use a Damp Cloth for Cleaning: If your salt lamp gets dusty or dirty, clean it gently using a damp cloth. Do not soak the lamp or use cleaning products, as these can damage the salt.
- Air Dry Your Salt Lamp: After cleaning, allow your lamp to dry naturally in a well-ventilated area. Never use a hairdryer or heater to speed up the process, as this could cause the salt to crack.
- Use the Correct Bulb: Always use the bulb recommended by the manufacturer. Using the wrong bulb type could cause your lamp to overheat or not heat enough, affecting the salt lamp’s effectiveness.
- Regular Maintenance: To keep your salt lamp in the best condition, it is recommended to wipe it down every week and replace the bulb as necessary. This small maintenance act will extend its lifespan and ensure it continues to purify the air and provide a soothing glow.
With these additional tips and tricks, you can ensure that your salt lamp remains in top condition and continues to provide its numerous benefits.
5 Things You Should Avoid
- Avoid Water Immersion: Never immerse your salt lamp in water. Salt is highly soluble, and doing so can severely damage your lamp.
- Avoid Direct Sunlight: Do not place your salt lamp in direct sunlight for extended periods. The sun can cause the salt to fade and lose its vibrant pink or orange hue.
- Avoid Abrasive Cleaning Tools: To avoid scratching the surface of your salt lamp, never use abrasive cleaning materials like steel wool. Always opt for a soft, damp cloth instead.
- Avoid Humid Areas: Locations with high humidity, such as bathrooms or kitchens, can cause your salt lamp to sweat excessively and dissolve over time. It’s best to keep your lamp in a dry, well-ventilated area.
- Avoid Leaving Unused: If you’re not using your salt lamp, don’t let it idle for too long. Regular use helps to keep the lamp dry and prevents it from sweating.
With these tips, you can now confidently clean and maintain your salt lamp without worry.
Why is My Salt Lamp Leaving Salt?
If you notice salt residue on your surfaces or under your salt lamp, it is likely due to the natural process of hygroscopy. Salt lamps absorb moisture from the air, and as they do so, they release small amounts of water vapor and minerals. This can lead to a buildup of salt residue on nearby surfaces.
Additionally, if your salt lamp is left in a humid environment or not used frequently, it may start to dissolve and leave a more significant amount of salt residue. To prevent this, follow the maintenance tips mentioned above and regularly keep your lamp in a dry area.
Overall, some salt residue is standard and can easily be wiped away. It’s just a small side effect of the natural purification process that makes salt lamps so beneficial. So don’t worry if you see some salt residue. It’s just another sign that your lamp is doing its job.

Conclusion
As we have just seen, keeping salt lamps clean is straightforward and relatively easy to do. However, it requires us to pay some attention to it so that it can shine its comforting glow of nourishing negative ions into our homes for years to come. Ensure you regularly clean your salt lamp for the best benefits!
Hopefully, the article on how to clean a salt lamp has been informative and helpful, and now you can confidently keep your salt lamp in top condition. And remember: make it a ritual that you look forward to—even if it’s a modest one, simple routines can be transformative in and of themselves!
So take care of your salt lamp with love and mindfulness, and let it bring light and inspiring energy into your home.

