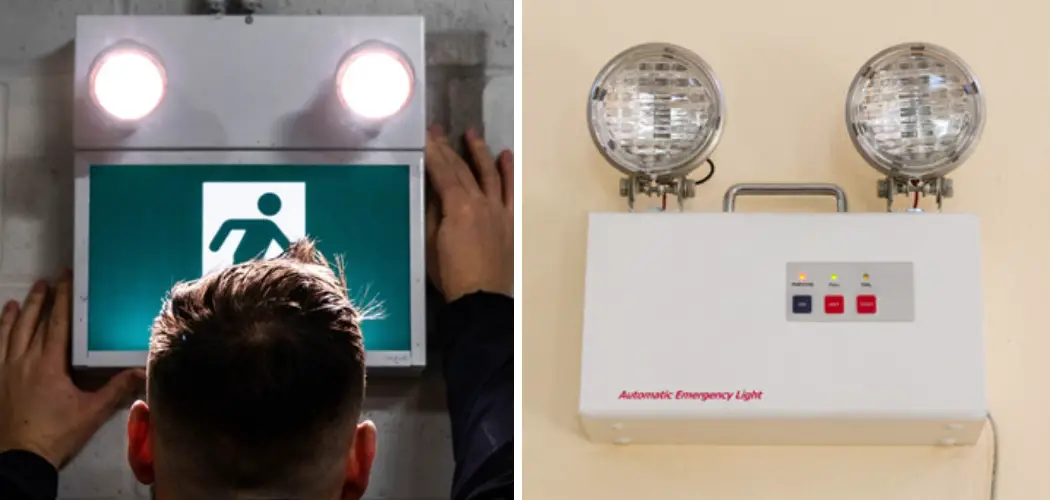
Selecting the optimal location for emergency light setups is a critical consideration in ensuring the safety and preparedness of any facility. These systems play a vital role during power outages and other emergency situations, guiding both occupants and rescue personnel through the darkness.
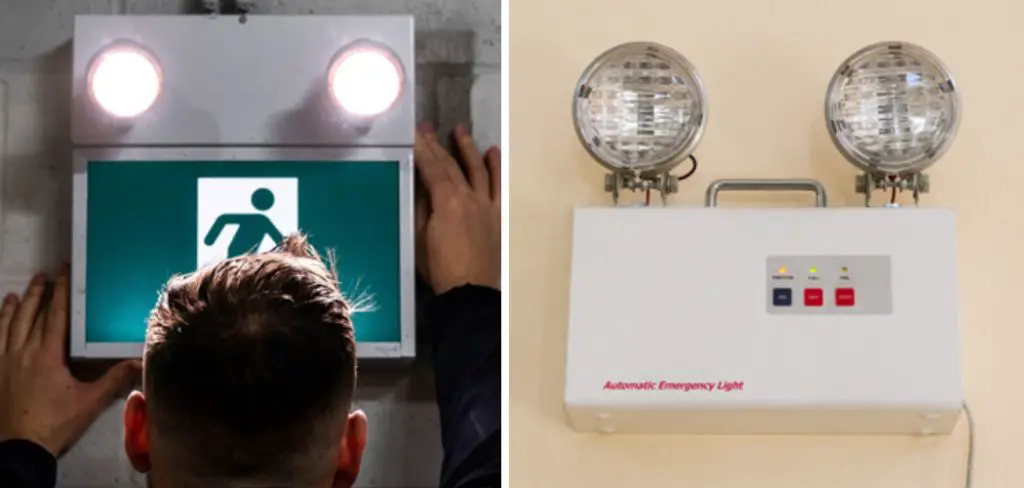
Understanding the strategic placement requirements and the regulatory standards governing emergency lighting can mitigate risks and enhance emergency response protocols.
In the following sections on how to choose proper emergency light setup location, we will delve into the factors that should inform where to install emergency lights to maximize visibility and reliability when it matters most.
What is an Emergency Light Setup?
Before we dive into the specifics of choosing the right location for emergency lighting, let’s first define what it is. An emergency light setup is a system that provides illumination during power outages or other situations when the main source of lighting is unavailable.
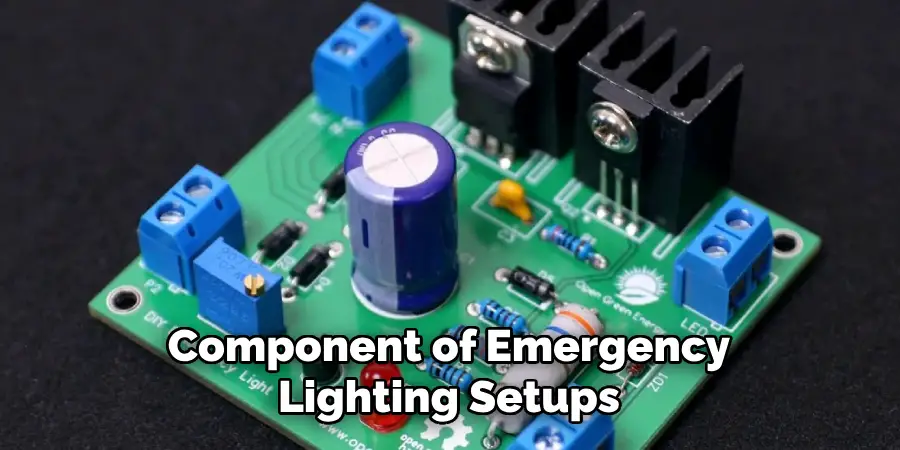
These systems typically consist of battery-powered lights and are designed to guide occupants safely out of a building during an emergency. Emergency lights are also used to illuminate exit signs, stairwells, and other critical areas that may be difficult to navigate in the dark.
Why is Choosing the Right Location Important?
Selecting the optimal location for emergency light setups is crucial for several reasons. First and foremost, it ensures that occupants can safely evacuate a building in case of an emergency. Emergency lights are often the only source of illumination during power outages, making their placement critical.
Properly located emergency lights also aid rescue personnel in quickly locating and assisting individuals in need of help. Additionally, regulatory bodies such as the National Fire Protection Association (NFPA) have specific requirements for the placement and spacing of emergency lights to ensure compliance with safety standards.
Things to Consider Before Choosing the Location
Building Layout:
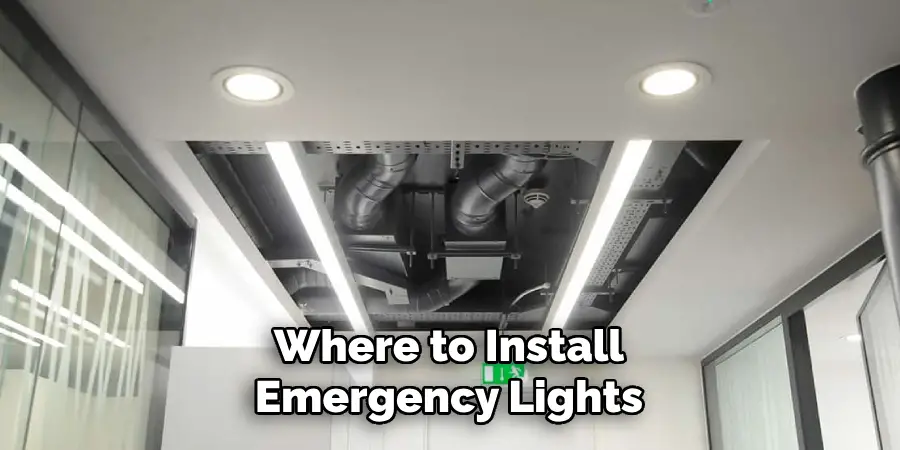
The layout of a building is a significant factor to consider when determining where to install emergency lights. Different areas may require different types of lighting, depending on their function and access points. For instance, exit signs should be visible from all entrances and exits, while stairwells may require lights placed at regular intervals to ensure safe navigation.
Potential Hazards:
Identifying potential hazards within a facility is crucial in determining where emergency lights should be installed. These include areas with low visibility or potential obstacles that may hinder evacuation efforts during an emergency. Emergency lighting should also be considered for outdoor areas, such as parking lots or loading docks, where people may gather during an evacuation.
Power Source:
Emergency lights require a reliable power source to function properly. When choosing the location for emergency light setups, it is essential to consider the proximity to power sources and ensure that they are easily accessible for maintenance and testing purposes.
10 Simple Step-by-step Guidelines on How to Choose Proper Emergency Light Setup Location
Step 1: Assessing Building Layout and Occupancy
Start by examining the building’s layout and identifying areas where occupants may require additional guidance during an emergency. This includes stairwells, corridors, exits, and other critical areas. You should also consider the size and occupancy of the building when determining how many emergency lights are needed.
It is recommended that you have at least one emergency light for every 100 square feet of floor space. You can also use the NFPA’s guidelines for more specific requirements. This assessment will give you a general idea of the number and type of emergency lights needed for your facility.
Step 2: Identifying Potential Hazards
As mentioned earlier, potential hazards within a building should be identified to determine where emergency lights should be placed. These may include areas with low visibility or obstacles that could hinder evacuation efforts. Make sure to take note of any changes in elevation, changes in direction, or areas with potential trip hazards.
Otherwise, these areas could become dangerous and difficult to navigate during an emergency. It is also essential to consider any outdoor areas that may require emergency lighting. The goal is to ensure that every area of the building is adequately illuminated for safe evacuation.
Step 3: Familiarizing Yourself with Local Regulations
Before installing emergency lights, it is crucial to familiarize yourself with local regulations and codes. These may vary depending on your location, so be sure to check with the appropriate authorities for specific requirements.
The NFPA has guidelines on the proper placement and spacing of emergency lights, which should be followed to ensure compliance and safety. The knowledge of these regulations will help you make informed decisions when choosing the location for emergency light setups. You can also consult with a professional to ensure that your emergency lighting system is up to code.
Step 4: Ensuring Adequate Lighting Coverage
Once you have identified all necessary areas that require emergency lighting, it’s time to ensure adequate coverage. Emergency lights should be placed at regular intervals, with no more than 100 feet between each light.
This ensures that all areas are sufficiently illuminated and occupants can easily navigate to the nearest exit. In areas with potential hazards or low visibility, additional lights may be needed to ensure adequate coverage. Although the number of lights may vary depending on the building’s layout, it is crucial to follow local regulations and guidelines for optimal coverage.
Step 5: Considering Power Sources
Emergency lights require a reliable power source to function properly. It is crucial to consider the proximity of power sources when choosing the location for emergency light setups.
Avoid placing lights too far away from electrical outlets to prevent potential issues with wiring or battery life. Additionally, make sure that all emergency lighting systems are connected to a backup power supply in case of a power outage. It is also essential to have a designated location for backup batteries and regular testing procedures.
Step 6: Installing Exit Signs
Exit signs are an essential component of emergency lighting setups and should be placed at all building exits. These signs should be visible from all angles and well-lit for easy identification. Ensure that exit signs are installed according to local regulations and are in proper working condition at all times.
You can also consider installing additional directional signs to guide occupants towards exits in case of low visibility. If your building has multiple floors, make sure to install exit signs on each level. It is also recommended to have backup battery-powered exit signs in case of a power outage.
Step 7: Considering Occupant Visibility
During an emergency, it is crucial to ensure that occupants have clear visibility of evacuation routes and exits. This includes keeping all emergency lights free from obstructions, such as furniture or equipment.
Additionally, make sure that all lights are angled appropriately to prevent glare or shadows that could impede visibility. Regular maintenance and cleaning of emergency lighting fixtures will also ensure maximum visibility during an evacuation. However, make sure to follow proper safety protocols when handling any electrical equipment.
Step 8: Labeling Emergency Lights
Proper labeling of emergency lights is essential for easy identification and maintenance purposes. Each light should be clearly labeled with its purpose, such as “Exit” or “Emergency Lighting.” This will help to prevent confusion and ensure that the correct lights are being tested and maintained regularly.
It is also recommended to label the location of backup batteries and testing procedures so they are easily accessible for maintenance personnel. You can also consider color-coding emergency lights for quick identification.
Step 9: Regular Testing and Maintenance
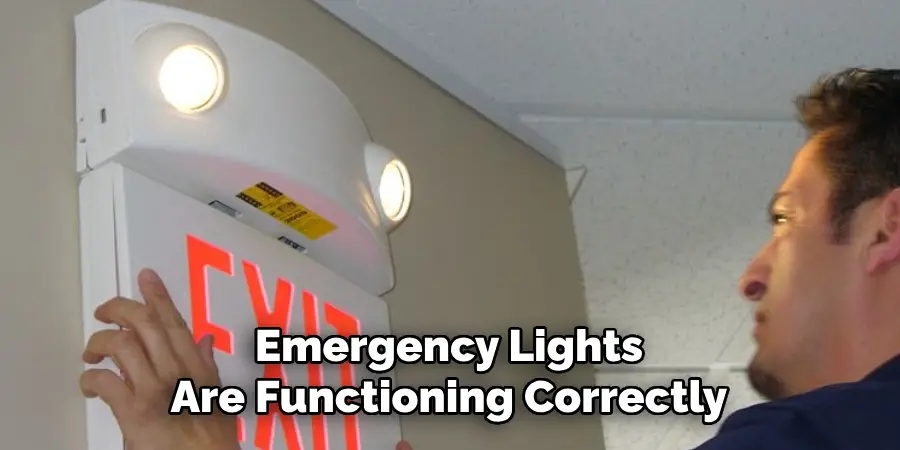
To ensure that emergency lights are functioning correctly, it is essential to conduct regular testing and maintenance. This includes checking the condition of batteries, ensuring proper placement and visibility, and testing backup power sources. The NFPA recommends monthly inspections and annual full-scale tests to ensure that all emergency lights are in good working condition.
Keeping detailed records of these tests will also help with compliance and maintenance efforts. It is crucial to address any issues promptly to ensure the safety of building occupants.
Step 10: Updating Emergency Light Plans
As buildings undergo changes, it is essential to update emergency light plans accordingly. This includes any renovations, changes in occupancy or usage of the building, and adjustments to potential hazards.
Regularly reviewing and updating emergency light plans will ensure that all areas are adequately covered and compliant with regulations. It is also crucial to communicate these updates to all building occupants and provide training on evacuation procedures in case of an emergency.
Following these steps on how to choose proper emergency light setup location will help ensure that your building has a proper and effective emergency lighting setup. By familiarizing yourself with local regulations, ensuring adequate coverage, and conducting regular maintenance, you can create a safe environment for occupants in case of an emergency.
Remember to regularly review and update your emergency light plans to stay compliant and prepared for any potential emergencies.
Do You Need to Use Professionals?
While it is possible to install emergency lights on your own, it is recommended to seek the help of professionals. They have the necessary expertise and knowledge to ensure that emergency lights are installed correctly and comply with all regulations.
Additionally, they can provide guidance on selecting the best location for emergency light setups and perform regular maintenance and testing for maximum effectiveness. By using professionals, you can have peace of mind knowing that your emergency lighting setup is in good hands.
Overall, proper planning and implementation of emergency light setups are crucial for the safety and well-being of building occupants during emergencies.
By following these steps and seeking professional help when needed, you can ensure that your building is prepared for any potential emergencies.
Additional Tips
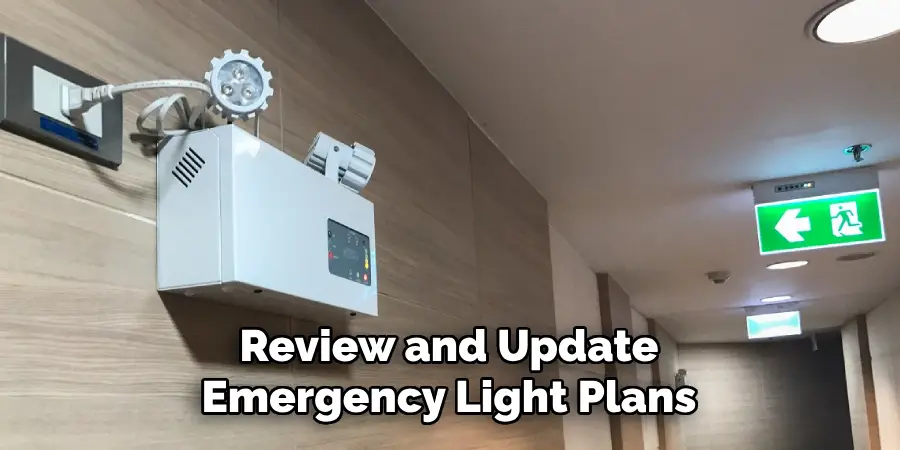
- Regularly Review and Update Emergency Light Plans to Ensure Compliance With Regulations and Changes in the Building.
- Conduct Regular Maintenance and Testing of Emergency Lights to Ensure They Are Functioning Correctly.
- Consider Using Color-coded or Labeled Emergency Lights for Easy Identification and Maintenance Purposes.
- Ensure That All Occupants Have Clear Visibility of Evacuation Routes and Exits by Keeping Emergency Lights Free From Obstructions and Properly Angled.
- Seek the Help of Professionals for Installation, Maintenance, and Testing of Emergency Lights to Ensure Compliance and Effectiveness.
- Communicate Updates and Changes in Emergency Light Plans to All Building Occupants and Provide Training on Evacuation Procedures.
- Regularly Check Backup Power Sources for Proper Functioning to Ensure That Emergency Lights Will Continue to Work During a Power Outage.
- Follow Proper Safety Protocols When Handling Any Electrical Equipment for Maintenance or Testing Purposes.
- Consider Installing Additional Directional Signs to Guide Occupants Towards Exits in Case of Low Visibility.
- Keep Detailed Records of All Maintenance and Testing Efforts to Ensure Compliance With Regulations and Track Any Potential Issues.
- Regularly Review and Update Emergency Light Plans to Ensure Adequate Coverage in All Areas of the Building.
- In Case of Any Issues or Concerns With Emergency Lights, Address Them Promptly to Ensure the Safety of Building Occupants.
- Stay Up-to-date on Local Regulations and Codes Regarding Emergency Lighting Setups to Ensure Compliance and Effectiveness.
Remember, proper planning and implementation of emergency light setups are crucial for the safety and well-being of building occupants during emergencies.
Training and Documentation
Training for Maintenance Personnel:
Emphasize the importance of comprehensive training programs to ensure maintenance personnel are equipped to perform tasks effectively and safely
Documentation of Maintenance Activities:
Discuss the importance of maintaining detailed records of maintenance activities, including testing results, repairs, and replacements.
Continuous Improvement:
Encourage a culture of continuous improvement, where feedback from maintenance personnel is used to refine maintenance procedures and optimize emergency lighting systems.
What About the Cost?
The cost of setting up emergency lighting can vary significantly depending on various factors such as the size of the facility, the complexity of the system, the type of fixtures used, and any additional features required for compliance or specific needs. Here’s a breakdown of potential costs associated with setting up emergency lighting:
Equipment Costs:
Emergency Light Fixtures:
The cost per fixture can range from $20 to $200 or more, depending on factors such as quality, features (e.g., battery backup, remote testing), and whether they are LED or traditional bulb-based.
Exit Signs:
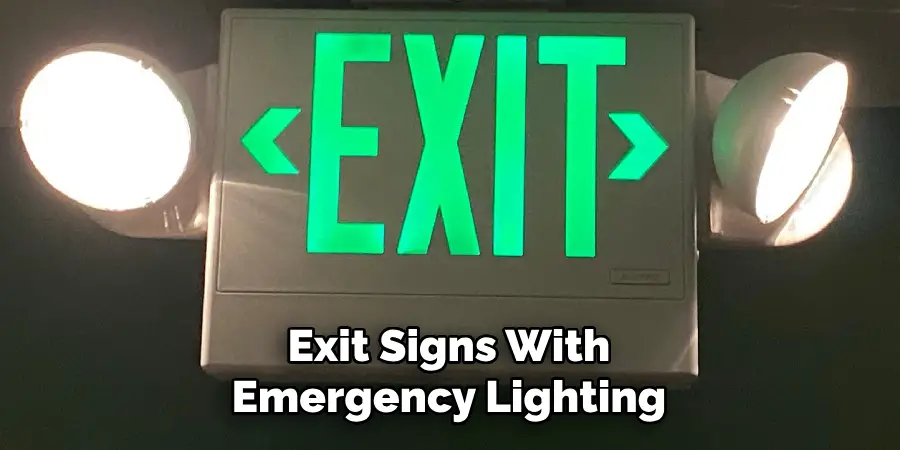
Exit signs with emergency lighting capabilities typically range from $20 to $100 or more per sign.
Batteries:
If the emergency lights require battery backup, additional costs for batteries will need to be considered. Prices for rechargeable batteries can vary widely based on size and capacity.
Installation Costs:
Labor:
Installation costs will depend on factors such as the complexity of the installation, the number of fixtures, and whether any additional electrical work is required. Electrician rates typically range from $50 to $150 per hour.
Wiring and Accessories:
Additional costs may include wiring, conduit, junction boxes, and other electrical accessories required for installation.
Compliance Costs:
Regulatory Requirements:
Compliance with building codes, fire safety regulations, and accessibility standards may require additional expenses for consulting services, permits, or modifications to meet specific requirements.
Maintenance Costs:
Routine Maintenance:
Regular testing, inspection, and maintenance of emergency lighting systems are essential for ensuring reliability and compliance. While the costs for routine maintenance may vary, budgeting for periodic inspections and testing is necessary.
Replacement Parts:
Over time, components such as bulbs, batteries, and circuitry may need to be replaced. Budgeting for replacement parts ensures that the emergency lighting system remains operational and compliant.
Miscellaneous Costs:
Additional features: Optional features such as remote monitoring, self-testing capabilities, or integration with building automation systems may incur additional costs.
Professional services: Consulting services or design assistance from professionals may be required for larger or more complex installations, adding to the overall cost.
Frequently Asked Questions
Q1: Do Emergency Lights Have to Be Installed in All Areas of a Building?
A: Yes, emergency lights should be installed in all areas that require illumination for safe evacuation during an emergency. This includes corridorways, stairwells, exits, and any other potential hazards or areas with low visibility. It is essential to consult local regulations for specific requirements.
Q2: How Far Apart Should Emergency Lights Be Placed?
A: According to NFPA guidelines, emergency lights should be placed at regular intervals with no more than 100 feet between each light. This ensures adequate coverage and visibility for occupants to navigate to the nearest exit.
Q3: Can Emergency Lights Be Connected to a Backup Power Supply?
A: Yes, it is crucial to have emergency lights connected to a backup power supply in case of a power outage. This can be achieved through generators, batteries, or other means.
Q4: How Often Should Emergency Lights Be Tested and Maintained?
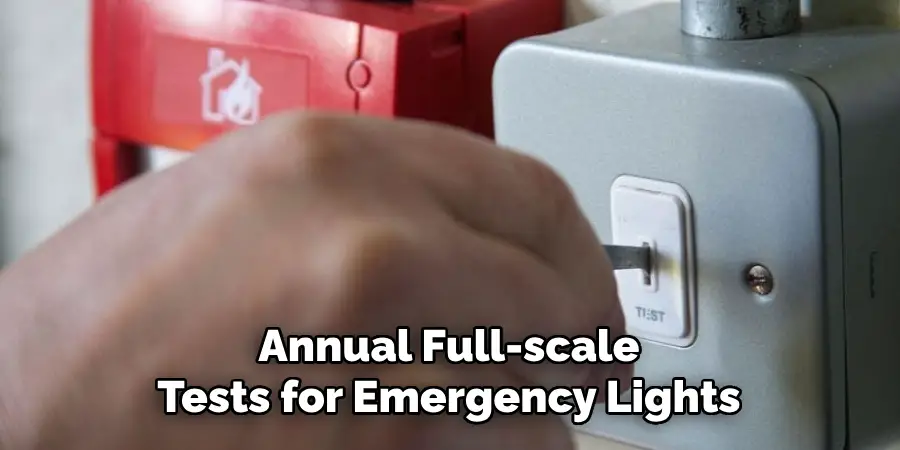
A: The NFPA recommends monthly inspections and annual full-scale tests for emergency lights. It is also essential to address any issues promptly to ensure proper functioning during an emergency.
Conclusion
In conclusion, selecting the appropriate locations for emergency light installations is not merely a compliance obligation but a significant contributor to overall safety in emergency circumstances. It requires careful consideration of the layout, occupancy, and unique characteristics of a given facility, as well as adherence to local and national safety codes.
Ultimately, the goal is to ensure that emergency lighting serves as an effective guide during evacuations, reducing panic and leading individuals to safety with the utmost efficiency and reliability.
By prioritizing strategic emergency light placement, facilities can better protect occupants and prepare for the unexpected. Thanks for reading this article on how to choose proper emergency light setup location.

