Do you have a UV lamp that doesn’t seem to be working correctly? Are you worried it may need replacing or repairing? Knowing How to Check Uv Lamp is Working can save you time, energy and money! In this blog post, we will go over the various methods of testing a UV lamp so you can be sure that it’s in good working order.
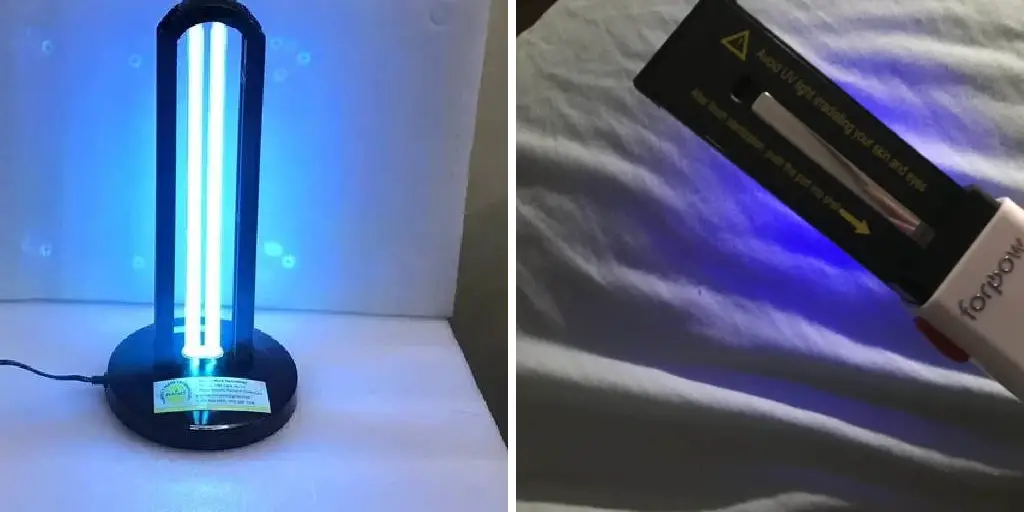
We’ll look at what tools are necessary for inspection, tips for troubleshooting problems with the bulb and even provide some advice on when should replace it entirely. Read on to learn more about checking your UV lamp for proper operation.
What is a UV lamp?
A UV lamp is an electric light source that emits ultraviolet (UV) radiation. It’s commonly used for disinfection and sterilization purposes in medical, industrial and home settings.
The UV light from the lamp is capable of destroying microorganisms, making it an effective tool for cleaning and sanitizing. It’s essential to regularly check your UV lamp to ensure it’s functioning correctly and providing the necessary level of disinfection.
Why is It Important to Check Your UV lamp?
As with any electronic device, a UV lamp can malfunction or wear out over time. A faulty UV lamp may not be adequately disinfecting surfaces, posing a health risk to individuals in the environment. Additionally, a damaged UV lamp could also lead to increased energy consumption and higher electricity bills. Therefore, regularly checking your UV lamp’s performance is critical for maintaining a safe and efficient environment.
Tools for Inspection
Before we dive into how to test a UV lamp, let’s first go over what tools you will need for inspection. The following are some common tools you may need for testing your UV lamp:
- Screwdriver
- Multimeter
- Protective Gloves and Eyewear
- Cleaning Supplies (if Necessary)
It’s essential to note that the specific tools you will require may vary depending on the type of UV lamp you have. For example, a handheld UV lamp used for home disinfection may not require as many tools compared to a larger, industrial UV lamp.
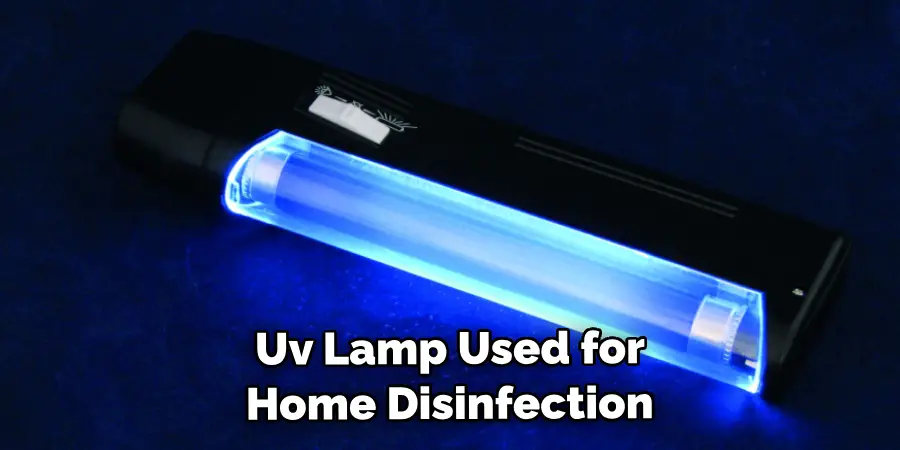
Always refer to the manufacturer’s instructions for the recommended testing methods and tools for your specific UV lamp model.
11 Step-by-step Guidelines on How to Check UV Lamp is Working
Step 1: Disconnect Power Supply
Before performing any inspection or maintenance on your UV lamp, always ensure to disconnect the power supply. This step is crucial for your safety. It’s also a good idea to wear protective gloves and eyewear during the entire inspection process. You may also want to keep some cleaning supplies nearby in case they’re needed. It’s best to work in a well-ventilated area as well.
Step 2: Clean the Lamp and Its Surroundings
Before testing, make sure your lamp and its surroundings are clean. Use a soft cloth and some mild cleaning solution to wipe away any dirt or dust on the lamp’s surface. You may also want to check for any obstructions that could affect the lamp’s performance, such as nearby objects blocking the UV light. It’s best to keep the area around the lamp clear for optimal disinfection. However, be careful not to touch the lamp with your bare hands as oils from your skin can affect its performance.
Step 3: Check Lamp for Physical Damage
Carefully inspect the lamp for any signs of physical damage, such as cracks or dents. Any damage may affect the light output or even cause electric shocks, so it’s crucial to address these issues before proceeding with any testing. This step is especially important if you’re experiencing problems with your UV lamp or have dropped it accidentally.
Step 4: Test the Power Supply
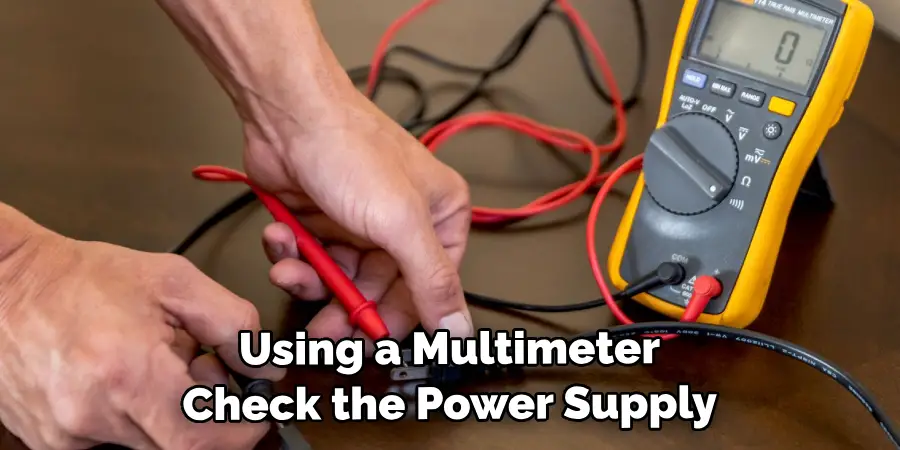
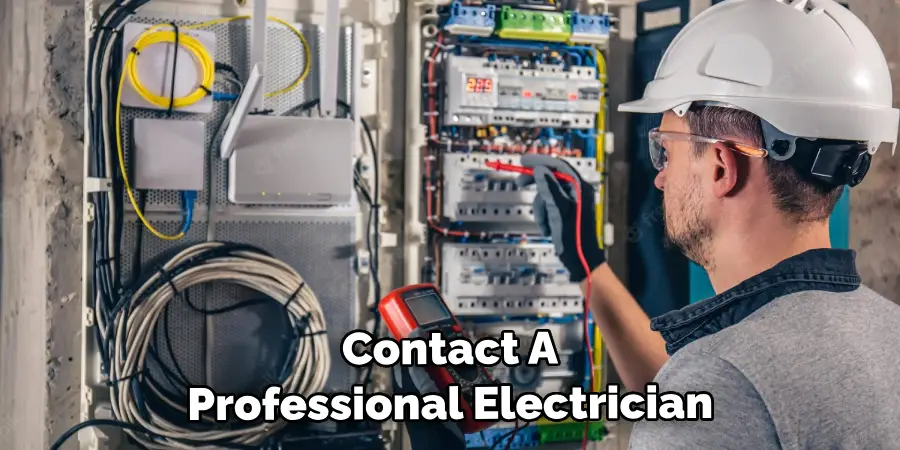
Using a multimeter, check the power supply to ensure that it’s functioning correctly. If there are any issues with the power supply, this could affect your UV lamp’s performance. In case of any abnormalities, consult a professional electrician for further assistance. You don’t want to risk damaging your UV lamp or causing harm to yourself. This step is essential, especially if you have a plug-in UV lamp.
Step 5: Check the Lamp Connection
Ensure that the lamp is properly connected, and there are no loose or damaged wires. Sometimes, a faulty connection can cause issues with the lamp’s performance, so it’s important to double-check this before proceeding with further testing. You may need to use a screwdriver to tighten any loose connections. It’s also a good idea to inspect the lamp cord for any damage. You may need to replace the cord if it’s defective.
Step 6: Test the Ballast
The ballast is a crucial component of a UV lamp, as it regulates the electrical current and supplies power to the lamp. Using your multimeter, check for any issues with the ballast. Again, if there are any abnormalities or faults detected, consult a professional for assistance. You don’t want to risk electrocution or causing further damage. If the ballast is damaged, it will need to be replaced. it’s not something that can be easily repaired.
Step 7: Inspect the Internal Wiring
If your UV lamp has an internal wiring system, carefully check for any frayed or damaged wires. These can affect the lamp’s performance and pose a safety hazard. If you notice any issues, it’s best to contact a professional electrician for assistance. Don’t attempt to repair or replace the internal wiring yourself unless you have the necessary expertise. This could lead to further damage or injury.
Step 8: Test the Lamp’s Output
Now it’s time to test the lamp’s output. You can use a UV meter or a UV reactive strip, which changes color when exposed to UV light. Place the meter or strip at a specific distance from the lamp and turn on the power supply.
Check the reading or color change to ensure that your lamp is emitting UV light. If there’s no output detected, you may need to replace the lamp. It’s also a good idea to periodically check the UV output to ensure it’s providing the necessary level of disinfection.
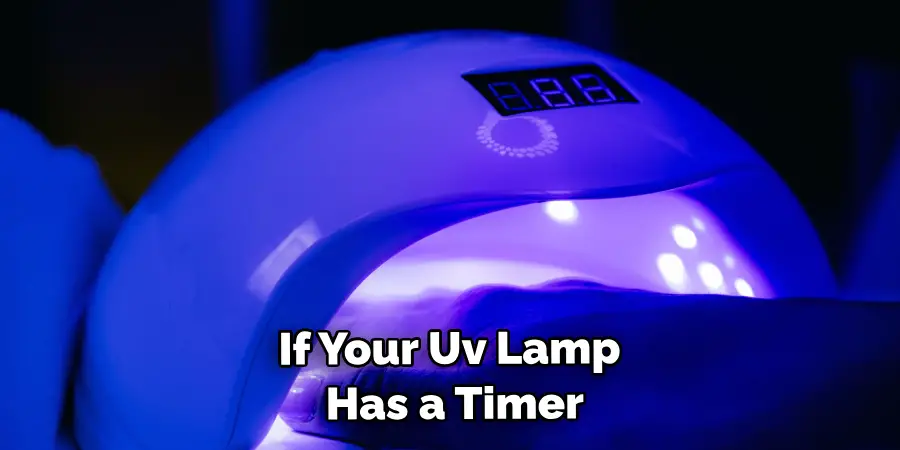
Step 9: Check the Lamp’s Timer
If your UV lamp has a timer, make sure it’s functioning correctly. It should turn on and off according to the set times. If there are any issues with the timer, consult the manufacturer for troubleshooting or consider getting a replacement. But remember, even if your lamp has a timer, it’s still essential to periodically check its output and performance manually. You don’t want to rely solely on the timer for disinfection.
Step 10: Observe the Lamp During Operation
Sometimes, visually inspecting the lamp during operation can help identify any issues. Turn on the UV lamp and observe the intensity and color of the light emitted. Any inconsistencies or abnormalities may indicate a problem with the lamp’s performance. It’s also a good idea to regularly check for any signs of wear and tear on the lamp, such as discoloration or cracks.
Step 11: Document Your Findings
After completing your inspection, it’s important to document your findings. Keep track of any issues you encountered and what actions were taken to resolve them. This documentation can be useful for future reference and can help identify any recurring problems with your UV lamp.
It’s also a good idea to keep a record of the dates and results of your testing for maintenance purposes. You may also need this information if you encounter any issues with your UV lamp and need to contact the manufacturer for assistance.
Following these step-by-step guidelines on how to check uv lamp is working can help ensure that your UV lamp is working properly and effectively disinfecting your environment. It’s essential to perform regular maintenance and testing to keep your UV lamp in optimal condition.
Remember, safety should always be the top priority. If you encounter any issues or are unsure about any of the steps, don’t hesitate to seek professional assistance. Your health and well-being are worth the extra effort.
Frequently Asked Questions
Q: How Often Should I Test My UV lamp?
A: It’s recommended to test your UV lamp at least once every 3 months. However, if you notice any changes in its performance or suspect an issue, it’s best to test it immediately. It’s also a good idea to periodically check the lamp’s output and performance manually, even if you have a timer set.
Q: Can I Repair My UV Lamp Myself?
A: It’s not recommended to attempt repairing your UV lamp unless you have the necessary expertise. Tampering with internal components can be dangerous and may cause further damage or injury. It’s best to seek professional assistance for any repairs or replacements.
Q: How Long Does a UV Lamp Last?
A: The lifespan of a UV lamp depends on the type, usage, and maintenance. On average, a UV lamp can last anywhere from 9 months to 2 years before needing replacement. However, it’s crucial to regularly check its output and performance and replace it if necessary.
Q: Can I Use a UV Lamp for Disinfection in Place of Other Methods?
A: UV lamps are effective in disinfecting surfaces and air, but they should not be used as the sole method of disinfection. It’s still important to follow proper cleaning and hygiene practices to ensure optimal cleanliness and safety. UV lamps can be used as an additional measure for disinfection, but not as a replacement for other methods. Overall, it’s best to follow the manufacturer’s instructions and safety precautions when using UV lamps for disinfection purposes.
Conclusion
In summary, how to check uv lamp is working and performing regular inspections of UV lamps has many positive benefits. Not only will it give you peace of mind that your lamps are functioning efficiently and as expected, but it will ensure that the environment is protected from dangerous organisms and potentially harmful pathogens. Taking the time to check your UV lamp is essential for keeping a germ-free and environmentally friendly atmosphere!
Don’t wait until something bad happens – make sure to keep tabs on what kind of condition your lamps are in on a regular basis. Finally, if you need replacement parts or expert advice for installing a new UV lamp system, get in touch with professional technicians who can help you select the best solution for your needs. They have the expertise and knowledge necessary to offer exact solutions for any situation. Make sure to take action today in order to benefit from a healthier and more secure environment tomorrow!

