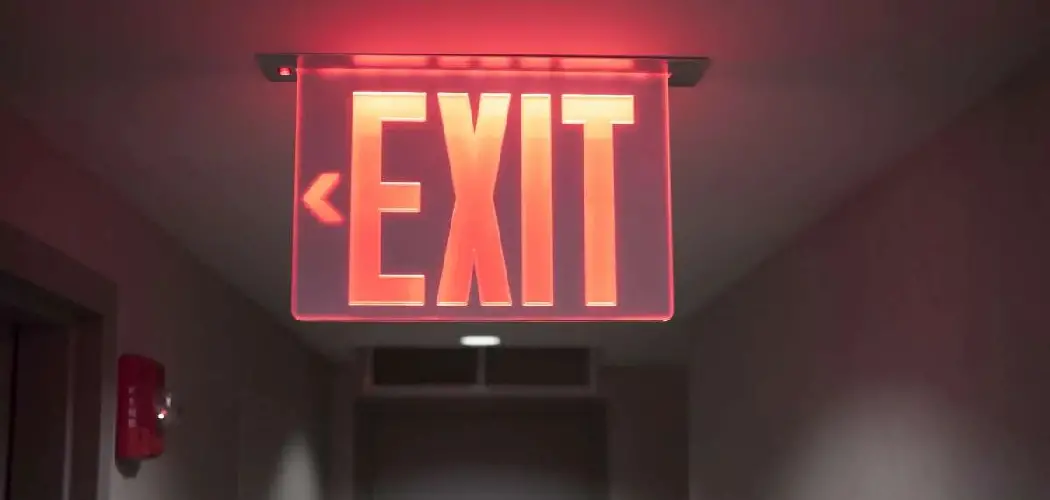
Ensuring that emergency exit lights are functioning properly is a critical aspect of maintaining safety standards within any building.
These lights serve as essential guides that direct individuals toward safe exits during emergencies, such as fires or power outages.
Regular checks and maintenance of emergency exit lighting systems are not only a legal requirement in many regions but also a crucial part of safety protocols that can save lives.
In this guide on how to check emergency exit lights, we will outline the necessary steps and procedures for effectively checking emergency exit lights to ensure they are operational when needed most.
Why Check Emergency Exit Lights?
As mentioned, emergency exit lights play a significant role in directing individuals to safe exits during emergencies. Without proper functioning exit lights, occupants may struggle to navigate their way out of the building, increasing the risk of injuries and fatalities.
Moreover, malfunctioning emergency exit lights can result in violations of safety codes and regulations, leading to potential fines and legal consequences for property owners or managers.
Regular checks and maintenance of emergency exit lights can prevent these issues and ensure that the building is up to code.
Needed Materials
To effectively check and test emergency exit lights, you will need the following materials:
- A Ladder or Step Stool to Reach High-mounted Exit Lights
- Protective Gear, Such as Gloves and Eye Protection
- A Fully Charged Flashlight to Test Battery-powered Exit Lights
- A Voltage Tester for Hard-wired Exit Lights
- Replacement Batteries and Bulbs (if needed)
8 Step-by-step Guides on How to Check Emergency Exit Lights
Step 1: Notify Occupants
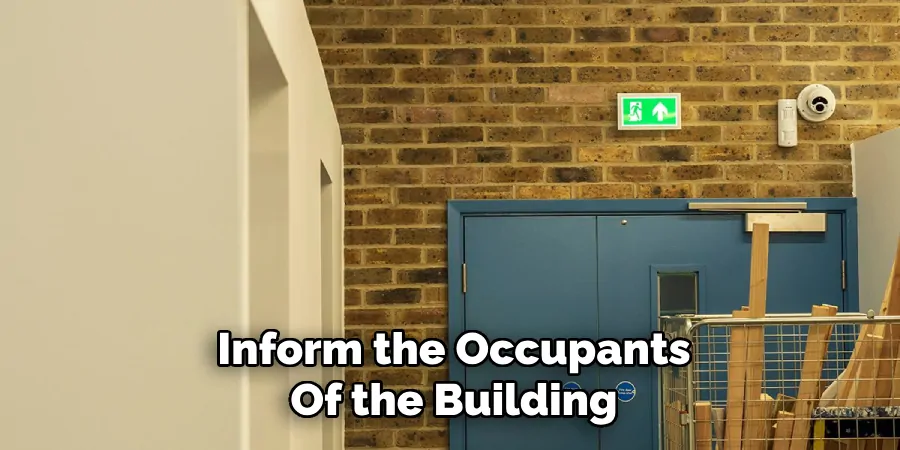
Before beginning any maintenance activities, it’s crucial to inform the occupants of the building. Make an announcement or post notices in prominent areas to ensure everyone is aware that a check of the emergency exit lights will be taking place.
This step helps to minimize confusion or concern when lights are tested and ensure that occupants are not caught off guard by any disruptions or brief power interruptions during the testing process.
Step 2: Check the Power Source
Start by checking the power source of your emergency exit lights. Some may be hard-wired, while others may run on batteries. If they are battery-powered, ensure that all batteries are fully charged or replace them if necessary.
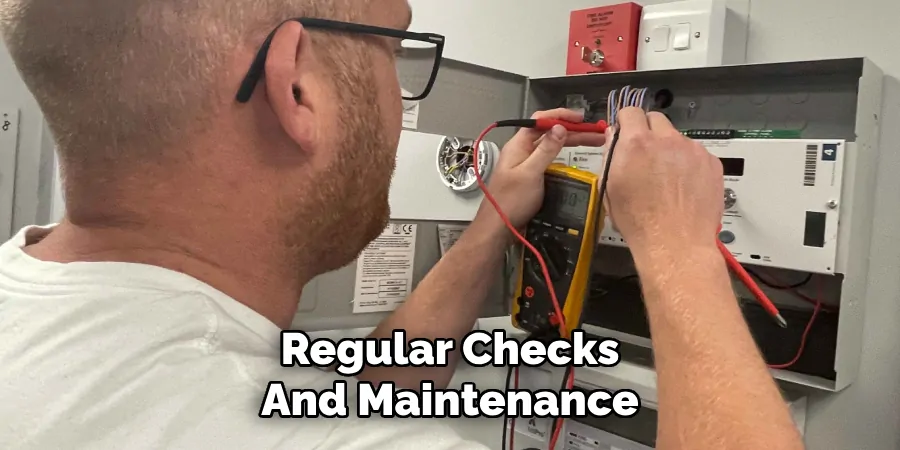
For hard-wired exit lights, use a voltage tester to confirm that the power is running to the light correctly. If there is no electricity, check for any tripped circuits or call an electrician for assistance.
Step 3: Clean and Inspect the Light Covers
Once you’ve verified that the power source is functioning correctly, proceed to clean and inspect the emergency exit light covers.
Dust, dirt, and debris can accumulate on these covers over time, potentially diminishing the brightness of the lights and obscuring visibility. Use a soft cloth or a non-abrasive cleaning solution to gently wipe down the light covers.
During this process, inspect for any cracks, discoloration, or other damage that could affect the light’s performance or visibility. If you notice any significant damage, consider replacing the light covers to ensure the effectiveness of the emergency exit lighting system.
Step 4: Manually Test Battery-powered Exit Lights
For battery-powered exit lights, manually test each light by turning off the power source and checking if the emergency lights turn on. Suppose they do not replace the batteries and try again. If they still fail to function, consider replacing the entire light unit.
It’s also essential to check the expiration date on the batteries and replace them as needed, even if they are still working. Old or expired batteries may not provide enough power for extended periods during emergencies.
Step 5: Inspect Bulbs
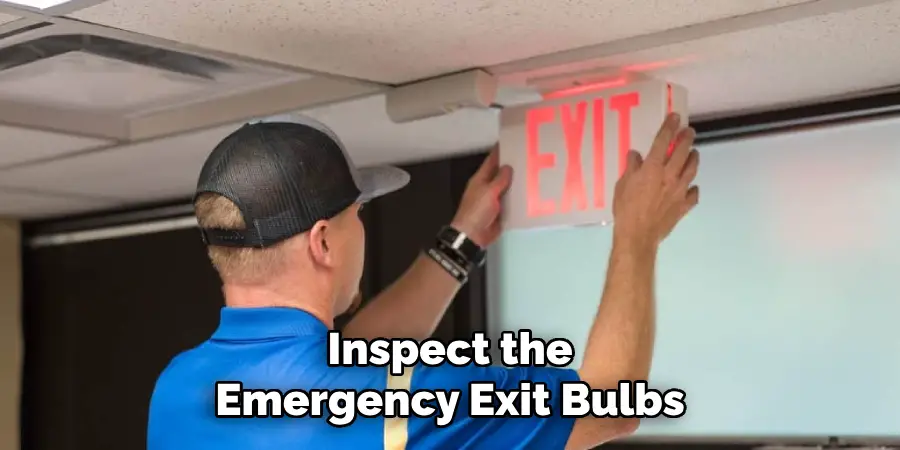
If your emergency exit lights use bulbs, inspect each one for any damage or discoloration. Make sure that all bulbs are securely in place and functioning correctly. If a bulb is out, replace it immediately using gloves to protect your hands from broken glass.
You may also consider using LED bulbs, which have a longer lifespan and are more energy-efficient than traditional incandescent bulbs. It’s also recommended to keep spare bulbs on hand for quick replacements during emergencies.
Step 6: Test Exit Signs
Testing the exit signs involves ensuring they are visible and legible under various conditions. First, switch off the building’s normal lighting to simulate an emergency situation and verify that all exit signs are illuminating properly.
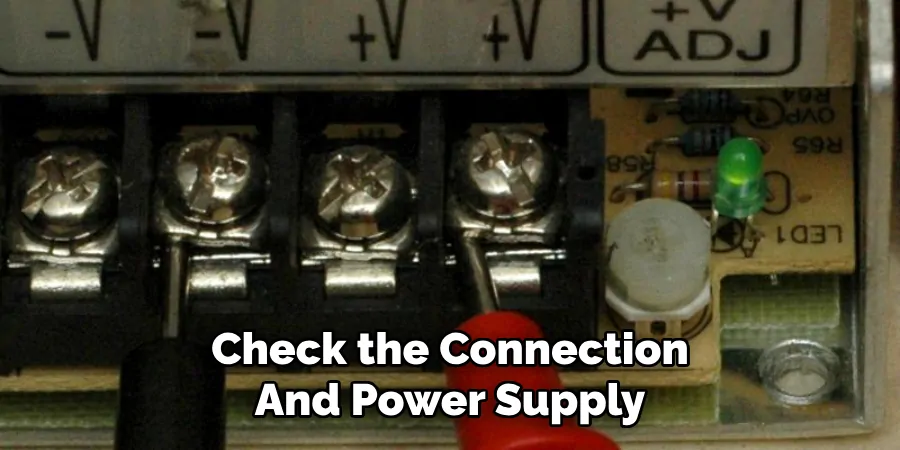
If any sign fails to light up, check the connection and power supply. For battery-backed signs, ensure that battery terminals are clean and batteries are in good condition.
Additionally, ensure that all signage is clean, without any obstruction, and positioned correctly to guide occupants to the nearest exit effectively. Regularly testing the visibility and functionality of exit signs is crucial to a reliable emergency evacuation process.
Step 7: Check for Obstructions
While testing the emergency exit lights and signs, take note of any obstructions that may block or impede the lights’ visibility. These obstructions can include hanging objects, furniture, or overgrown plants outside of exit doors.
If you notice any obstructions, remove them or reposition them to ensure that the emergency exit lights are unobstructed and visible from all angles.
Step 8: Document and Schedule Future Checks
After completing all necessary checks and maintenance tasks, document the date and findings of your inspection in a logbook. This record will serve as proof of compliance with safety regulations and provide a reference for future checks.
Lastly, schedule regular check-ups for your emergency exit lights to ensure they remain functional at all times. Depending on local laws and codes, these checks may need to be conducted monthly, quarterly, or annually.
Following these steps on how to check emergency exit lights will not only help ensure the safety and compliance of your building but also provide peace of mind for both occupants and property owners.
Regular maintenance of emergency exit lights is a crucial aspect of overall building safety and should not be overlooked.
Additional Tips
- Make sure that all exit doors are clearly marked and unobstructed.
- Consider installing backup power sources, such as generators or battery backups, for added reliability during emergencies.
- Train occupants on the location and use of emergency exits and lights to ensure a prompt and safe evacuation in case of an emergency.
- Regularly review local laws, codes, and regulations regarding emergency exit lighting to ensure compliance.
- Keep a spare set of batteries and bulbs on hand for quick replacements during emergencies.
- Consult with a professional electrician if you encounter any issues or concerns during the testing process.
- Prioritize safety at all times when conducting maintenance activities involving emergency exit lights. Avoid taking shortcuts or compromising on quality to save time or money. The safety and well-being of occupants should always be the top priority.
- Regularly inspect and maintain the entire emergency evacuation system, including exit lights, signs, alarms, and escape routes.
- Consider conducting surprise drills to test the effectiveness of your emergency exit lighting system and identify any gaps or areas for improvement. Remember to inform occupants beforehand to avoid causing panic or confusion during the drill.
- Encourage occupants to report any issues or concerns related to emergency exit lighting promptly. This will help ensure that all lights and signs are functional and visible at all times. Safety is a collective responsibility, and everyone must play their part in maintaining it.
- Consider investing in energy-efficient emergency lighting options to reduce electricity costs while ensuring the safety of your building.
- Regularly review and update evacuation plans according to changes in building layout, occupancy levels, or regulations.
Frequently Asked Questions
Q: How Often Should Emergency Exit Lights Be Checked?
A: The frequency of checks may vary depending on local laws and codes, but it is generally recommended to conduct inspections at least once a month. The logbook should also be regularly updated to document these checks.
Q: Can I Test Emergency Exit Lights During Occupied Hours?
A: Yes, you can test emergency exit lights during occupied hours; however, it’s essential to inform occupants beforehand and minimize any disruptions as much as possible. It may be best to schedule regular checks for after-hours or weekends when the building is less occupied.
Q: What If an Emergency Exit Light Fails During Testing?
A: If a light fails during testing, immediate action should be taken. This could involve replacing batteries, bulbs, or even the entire unit.
Document the failure in the logbook and schedule a follow-up check to ensure the issue has been resolved. Non-functioning emergency exit lights should be addressed promptly to maintain building safety and compliance.
Q: Can I Use DIY Methods to Fix Emergency Exit Lights?
A: DIY methods are not recommended for fixing emergency exit lights, as these devices are critical for building safety. Instead, consult with a professional electrician for proper maintenance and repairs.
In case of any issues or concerns, it’s always best to seek professional help and ensure the safety of your building and its occupants.
Conclusion
Regular checks and maintenance of emergency exit lights are crucial for the safety and compliance of any building.
By following these step-by-step guides on how to check emergency exit lights, you can ensure that your emergency exit lights are in working order and properly directing occupants to safe exits during emergencies whey they are needed most.
Make sure to notify occupants, check the power source, clean and inspect light covers, test battery-powered lights, inspect bulbs, check exit signs, remove obstructions, document your findings, and schedule regular future checks to ensure the effectiveness of our safe building.

