Ballast is a crucial component in any fluorescent light fixture. It helps regulate the electrical current and provides the necessary voltage for the lamp to operate efficiently. However, over time, ballasts can wear out and malfunction, causing your lights to flicker or not turn on at all. Regularly checking your ballast ensures that your lighting system continues to function properly.
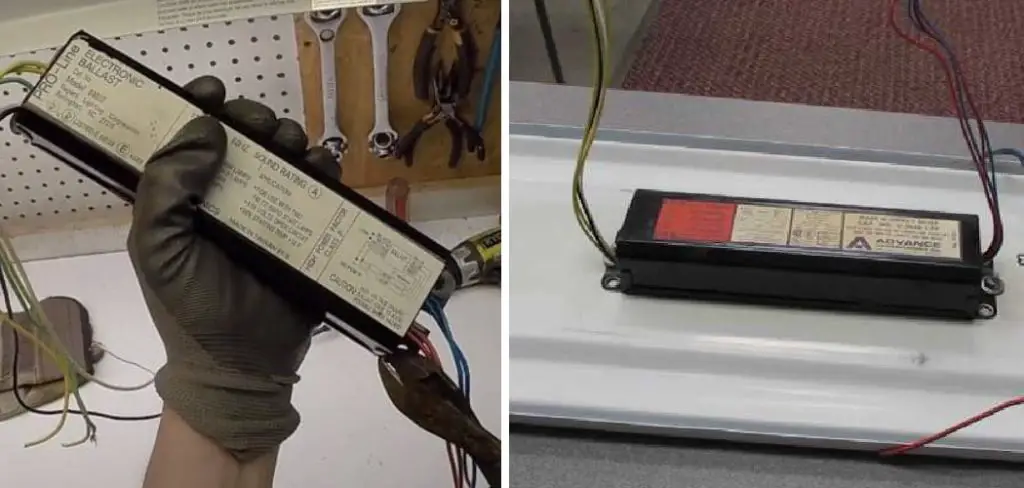
The main advantage of checking ballast is that it allows you to detect any issues with your lighting system before they become more significant problems. By regularly checking your ballast, you can catch any malfunctions early on and prevent them from causing extensive damage or requiring expensive repairs. In this blog post, You will learn in detail how to check ballast.
Tools You Will Need
- Ballast Tester
- Screwdriver
- Wire Stripper
- Wire Nuts
- Electrical Tape
- Multimeter
- Voltage Detector
- Power Drill
- Hammer
- Pliers
Step by Step Processes for How to Check Ballast:
Step 1: Inspect the Ballast
First and foremost, it is important to inspect the ballast for any physical damage. Check for cracks, burns or melted components as these are signs of a faulty ballast. Before starting any inspection or testing, make sure to turn off the power supply. This ensures your safety while handling electrical components.
Step 2: Remove the Ballast Cover
Using a screwdriver, remove the ballast cover to gain access to the internal components. Make sure to refer to the manufacturer’s instructions for proper removal. Inspect all connections within the ballast and make sure they are tightly secured. Loose connections can cause malfunctions in the ballast.
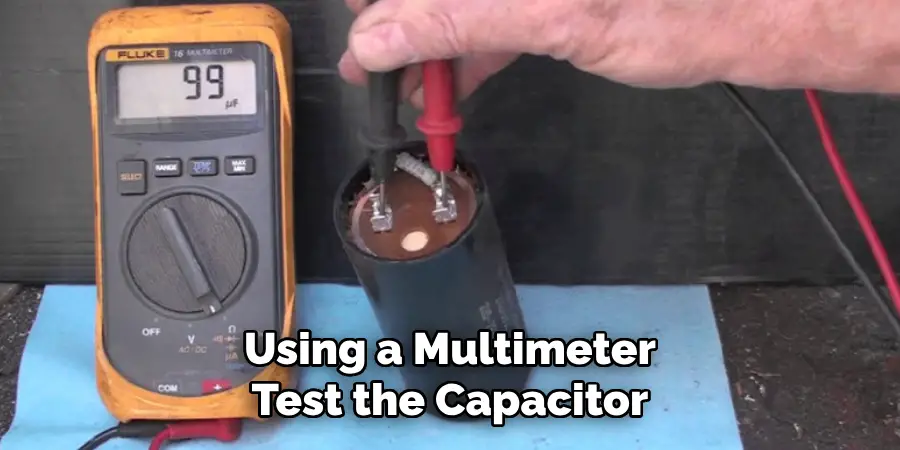
Step 3: Test the Capacitor
Using a multimeter, test the capacitor to ensure it is functioning properly. A faulty capacitor can cause issues with the ballast. Check for burn marks on the wiring or other components inside the ballast. This could indicate a short circuit and would require replacement of the ballast.
Step 4: Inspect the Transformer
Inspect the transformer for any signs of damage or burn marks. If there are any, it may need to be replaced. Using a multimeter, test the voltage output of the ballast to ensure it is within the recommended range. If not, it may need to be replaced.
Step 5: Check the Wiring
Inspect all wiring and make sure there are no exposed or damaged wires. If any issues are found, replace them immediately. Using compressed air or a soft bristle brush, clean out any dirt or debris from the ballast. This can help improve its performance.
Step 6: Reassemble and Test
Once all components have been checked, reassemble the ballast and turn on the power supply. Test the light fixture to see if it is working properly. If after following these steps, the ballast still does not function properly, it may need to be replaced. Consult a professional for assistance if needed.
By regularly checking your ballast and following these steps, you can ensure the efficient operation of your lighting system. This not only helps save on energy costs but also prevents potential hazards such as electrical fires.
Safety Precautions for How to Check Ballast
- Always wear protective gear such as gloves, safety glasses, and a dust mask before checking the ballast.
- Make sure to disconnect all power sources to prevent electric shock.
- Keep the work area well-lit and free from clutter for better visibility and movement.
- Do not touch any wires or components while they are connected to electricity.
- Ensure that the fixture is cool to touch before starting the inspection.
- Use a voltage tester to confirm that there is no current flowing through the fixture.
- If you notice any damage or signs of wear and tear, replace the ballast immediately.
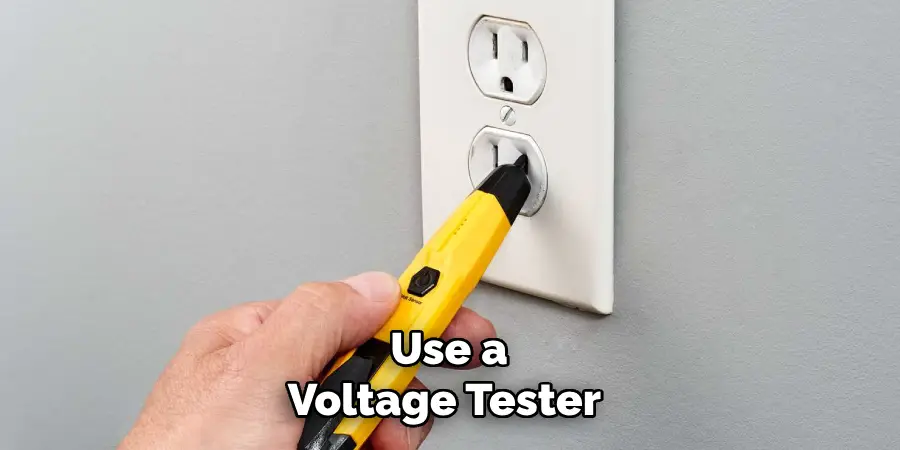
Now that we have covered some basic safety precautions, let’s dive into the steps for checking ballast.
What Are the Signs That Indicate a Ballast Needs to Be Checked?
Ballasts are an essential part of fluorescent lighting fixtures, responsible for regulating the electrical current that passes through the bulbs. Over time, ballasts can become faulty or inefficient due to different reasons such as age, overheating, or power fluctuations. This can result in various issues with your lighting system and potentially lead to safety hazards.
As a responsible building owner or facility manager, it is crucial to regularly check the condition of your ballasts to ensure they are functioning properly. But how do you know when it’s time to check your ballast? Here are some signs that indicate a ballast may need to be checked:
1. Flickering Lights
If you notice your fluorescent lights flickering or taking a long time to turn on, this could be a sign of a faulty ballast. Flickering lights can also be caused by other issues, so it’s important to rule out any wiring or bulb-related problems first before assuming it’s the ballast.
2. Buzzing Sounds
A buzzing sound coming from your light fixture is another telltale sign that your ballast may need attention. This could indicate loose wiring or a damaged ballast, both of which can be dangerous if left unchecked.
3. Burnt Smell
If you smell something burning near your fluorescent lighting fixtures, it could be a sign that your ballast is overheating. This could be due to a faulty ballast or incorrect installation. It’s important to investigate this issue immediately as it could pose a fire hazard.
4. Inconsistent Lighting
If one or more of your lights are dimmer than the others, it could be due to a failing ballast. This can also occur if there is an issue with the wiring or bulbs, so it’s important to troubleshoot before assuming it’s the ballast.
Is It Necessary to Hire a Professional to Check a Ballast or Can You Do It Yourself?
If you have experienced flickering lights or dimmer than usual lighting in your home, it could be a sign that there is an issue with the ballast. The ballast is a component of fluorescent and HID light fixtures that regulates the electrical current flowing to the bulbs. It essentially stabilizes the flow of electricity to ensure that your lights are functioning properly.
The answer depends on the complexity of your light fixture and your level of expertise in handling electrical components. To check the ballast, you will need a multimeter or voltmeter. Begin by turning off the power to the light fixture at the circuit breaker.
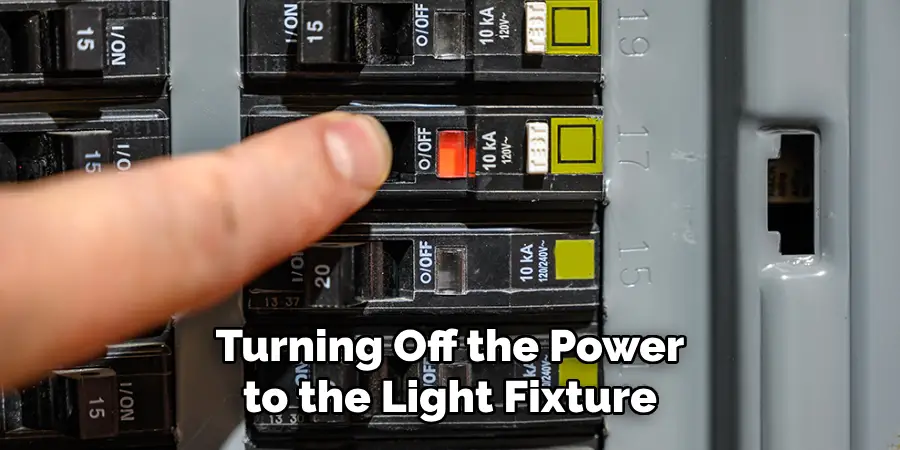
Then, remove the bulbs and make sure they are not damaged or burnt out. Next, using the multimeter, test the voltage output of the ballast by touching one probe to the black wire and the other to a white or bare copper wire. The reading should be between 120-277 volts for fluorescent ballasts and 120-480 volts for HID ballasts.
How Can You Prevent Future Problems With Your Ballast After Checking It?
After checking your ballast and ensuring that it is functioning properly, it’s important to take some preventative measures to avoid future problems. Here are a few tips on how you can keep your ballast in good working condition:
1. Keep the Area Clean
Make sure the area surrounding your ballast is clean and free of any debris or moisture. Dirt and other contaminants can damage the ballast, so it’s important to regularly clean the area.
2. Check for Overheating
If your ballast feels hot to the touch or emits a burning smell, it may be overheating. This could indicate that there is an issue with the electrical wiring or other components. If this happens, turn off the power and consult a professional electrician.
3. Replace Old or Damaged Ballasts
If your ballast is old or damaged, it’s important to replace it as soon as possible. Not only can a faulty ballast cause problems with your lighting, but it can also be a safety hazard.
4. Use High-Quality Bulbs
Choosing high-quality bulbs for your lighting system can help prevent issues with your ballast. Lower quality bulbs can put more strain on the ballast and lead to premature failure.
5. Regular Maintenance
Just like any other electrical component, regular maintenance is key to keeping your ballast in good condition. Make sure to schedule annual maintenance checks with a professional electrician to ensure everything is functioning properly.
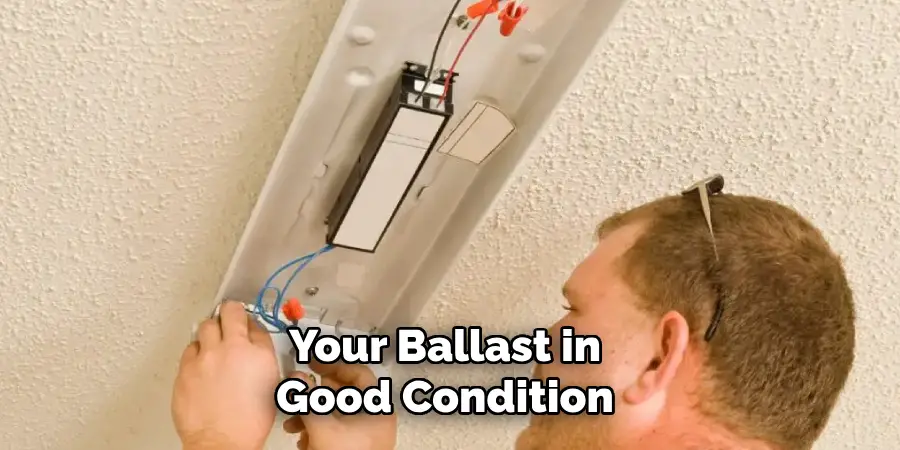
By following these tips and taking proper care of your ballast, you can prevent future problems and ensure that your lighting system stays in good working condition. Remember to always practice caution when dealing with electrical components and consult a professional if you have any concerns or issues.
Conclusion
In conclusion, learning of checking ballast can be a valuable skill for anyone who deals with lighting fixtures. It allows you to troubleshoot and fix issues related to the ballast, which is an integral component of any fluorescent light. By understanding the steps involved in checking the ballast, you will not only save money by avoiding unnecessary repairs or replacements but also ensure that your lighting system is running efficiently.
However, it is also essential to be aware of the disadvantages that come with knowing to check ballast. Firstly, if you are not experienced or knowledgeable enough about electrical systems, attempting to check the ballast on your own can be dangerous.
It is always recommended to seek help from a professional electrician if you are unsure or uncomfortable with handling electrical components. I hope this article has been beneficial for learning how to check ballast. Make Sure the precautionary measures are followed chronologically.

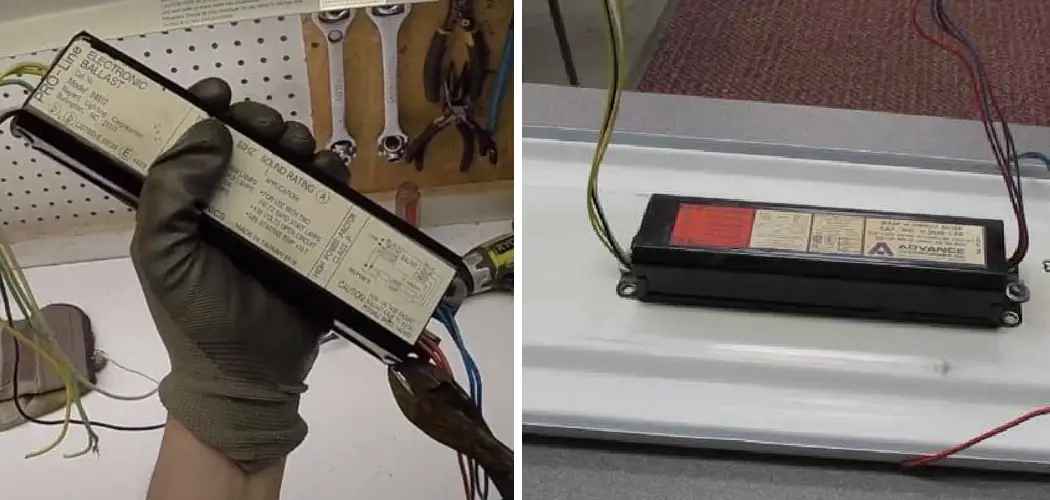
Всем привет!
Меня зовут Август и я обожаю смотреть онлайн мультсериал Южный Парк на сайте https://southpark-online.org
Там много интересных серий, которые Вам понравятся.
Присоединяйтесь!