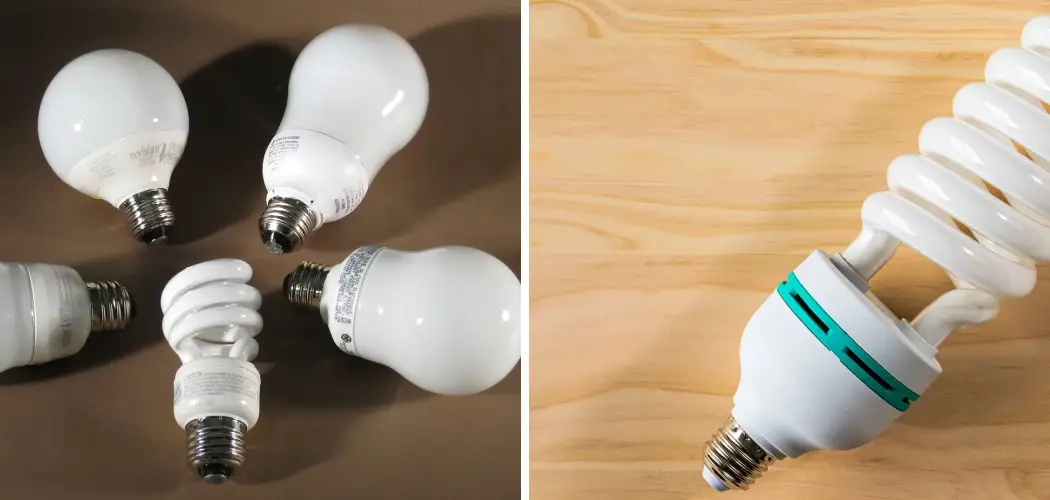
Fluorescent lights are common in offices, garages, and many homes, but they can be tricky to diagnose when they start malfunctioning. Learning how to check a fluorescent light bulb is an essential skill that can save you time and money on unnecessary replacements or service calls. Whether your light is flickering, dim, or not turning on at all, the problem could be the bulb itself, the ballast, or another component in the system.
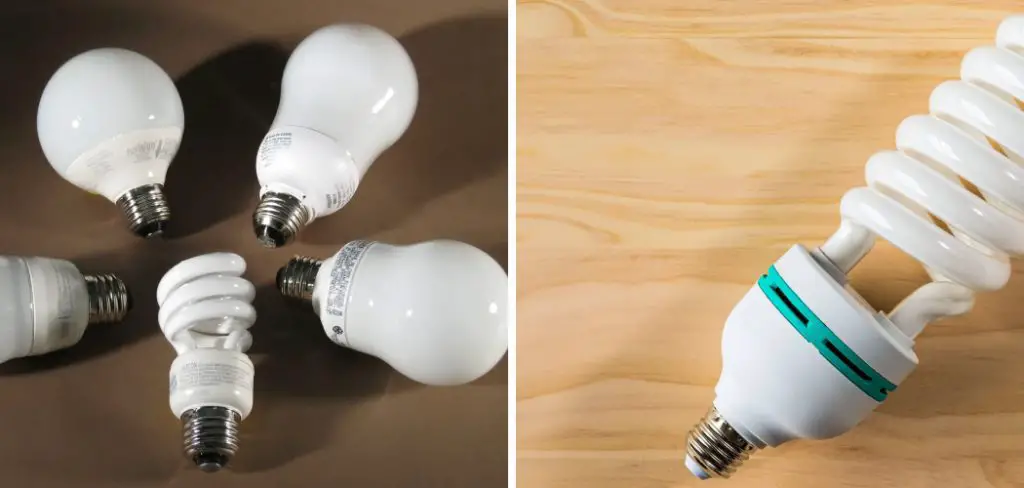
Understanding how to properly test and evaluate fluorescent bulbs helps you identify the root cause of lighting issues quickly. Unlike traditional incandescent bulbs that either work or don’t, fluorescent tubes can fail in various ways that aren’t immediately obvious. This comprehensive guide will walk you through the process step by step, giving you the confidence to diagnose fluorescent lighting problems like a professional.
Why Checking Fluorescent Light Bulbs Is Important
Fluorescent lighting systems are more complex than standard light fixtures, involving multiple components that work together to produce illumination. When a fluorescent light stops working properly, many people assume the tube needs replacement, but the issue could actually lie with the ballast, starter, or electrical connections. Proper diagnosis prevents unnecessary expenses and ensures you fix the real problem.
Regular inspection of fluorescent bulbs also helps identify potential safety hazards before they become serious issues. Failing fluorescent components can overheat, cause electrical problems, or even pose fire risks if left unchecked. By learning to evaluate these systems properly, you maintain safer working and living environments while extending the life of your lighting equipment.
Additionally, fluorescent tubes contain small amounts of mercury, making proper handling and disposal important for environmental protection. Knowing how to check bulbs correctly helps you determine which ones truly need replacement versus those that might be salvageable, reducing waste and environmental impact.
Step-by-Step Guide: How to Check a Fluorescent Light Bulb
Step 1: Turn Off the Power
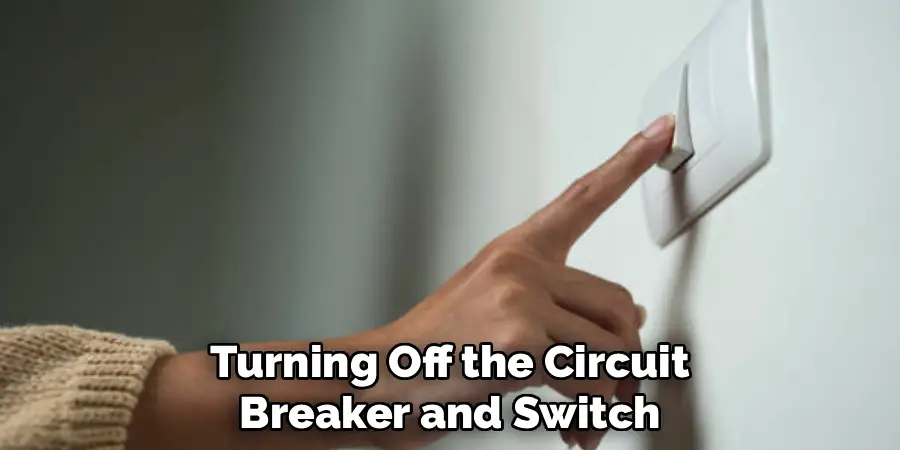
Safety should always be your first priority when working with any electrical fixture. Locate the wall switch controlling the fluorescent light and turn it off. For added safety, consider turning off the circuit breaker that controls the fixture, especially if you plan to remove the bulb or access internal components.
Allow the fixture to cool completely if it was recently in use. Fluorescent bulbs can become quite hot during operation, and touching them immediately after use could result in burns. This cooling period also prevents thermal shock to the glass tube, which could cause it to crack or shatter during handling.
Step 2: Examine the Bulb Visually
Start your inspection with a thorough visual examination of the fluorescent tube while it’s still installed in the fixture. Look for obvious signs of damage such as cracks, chips, or broken glass anywhere along the tube’s length. Pay special attention to the ends of the bulb where the pins connect to the fixture, as this is where many problems originate.
Check for dark rings or blackening near either end of the tube, which typically indicates the bulb is nearing the end of its useful life. Also look for any flickering patterns or areas where the light appears dimmer than others, as these can provide clues about internal component failure.
Step 3: Remove the Bulb Safely
To properly test a fluorescent tube, you’ll need to remove it from the fixture. Most fluorescent bulbs are held in place by a simple twist-and-lock mechanism or spring-loaded sockets. Gently rotate the tube about a quarter turn in either direction until you feel it release from the sockets.
Support the entire length of the tube as you remove it to prevent dropping and breaking it. Fluorescent tubes are fragile and can shatter easily if mishandled. Have a soft surface nearby where you can place the bulb safely while conducting your inspection. Work slowly and deliberately to avoid accidents.
Step 4: Inspect the End Pins and Connections
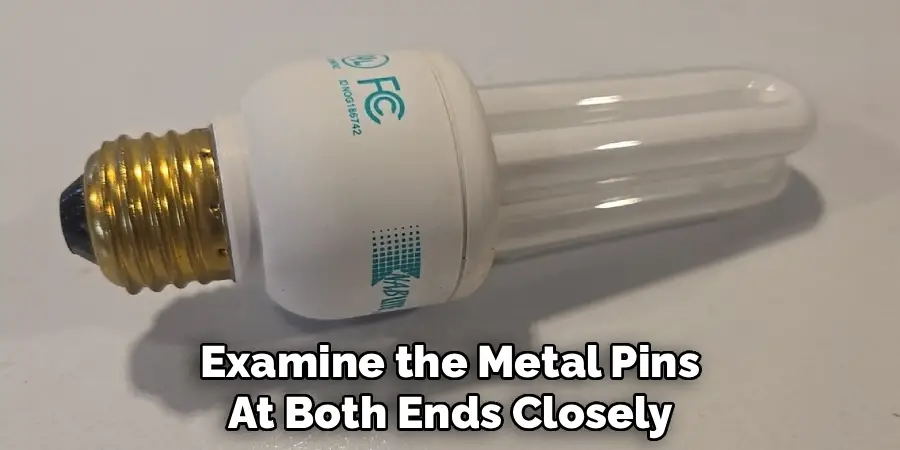
Once the bulb is removed, examine the metal pins at both ends closely. These pins should be straight, clean, and free from corrosion or burn marks. Bent pins can prevent proper electrical contact, while corroded pins may cause intermittent connections that lead to flickering or failure to start.
Look for any signs of overheating around the pin area, such as discoloration of the plastic base or melted materials. These symptoms often indicate problems with the ballast or starter rather than the bulb itself, but they can also damage an otherwise good tube over time.
Step 5: Test with a Multimeter
Using a multimeter set to the continuity or resistance setting, you can test whether the fluorescent tube’s internal filaments are intact. Touch one probe to each pin on one end of the bulb, then repeat the process on the other end. A functioning bulb should show continuity (a beep or low resistance reading) across each pair of pins.
If the multimeter shows no continuity on either end, the internal filament has burned out and the bulb needs replacement. However, if both ends show continuity but the bulb still doesn’t work in the fixture, the problem likely lies with other components in the lighting system.
Step 6: Check for Physical Tube Damage
Examine the entire length of the fluorescent tube for hairline cracks, chips, or other damage that might not be immediately visible. Roll the tube gently on a flat surface while observing it from different angles to spot any imperfections. Even small cracks can allow the internal gases to escape, rendering the bulb useless.
Also check the internal phosphor coating by looking for any dark spots, uneven coating, or areas where the coating appears to be flaking or deteriorating. These issues affect light output and color quality, even if the bulb still functions technically.
Step 7: Test in a Known Good Fixture
If available, test the questionable fluorescent bulb in a fixture that you know works properly with other tubes. This process helps isolate whether the problem is with the bulb itself or with the original fixture’s components like the ballast or starter.
Install the tube carefully in the test fixture and turn on the power. If the bulb lights properly in the alternate fixture, you’ve confirmed that the original fixture has problems that need attention. If it still doesn’t work, the bulb needs replacement.
Step 8: Evaluate Startup Behavior
When testing the bulb, pay attention to how it starts up. A healthy fluorescent tube should start relatively quickly and reach full brightness within a few seconds. Slow starting, excessive flickering during startup, or failure to reach full brightness can indicate either bulb deterioration or ballast problems.
Document any unusual behaviors you observe, as this information will be valuable if you need to troubleshoot other components in the lighting system or consult with an electrician about more complex repairs.
Step 9: Clean and Reinstall or Replace
If your testing confirms the bulb is functional, clean it gently with a soft, dry cloth before reinstalling. Avoid using water or cleaning chemicals on fluorescent tubes, as moisture can cause electrical problems or damage the phosphor coating.
When reinstalling, ensure the pins align properly with the socket connections and that the tube is fully seated. Test the installation by turning the power back on and verifying normal operation.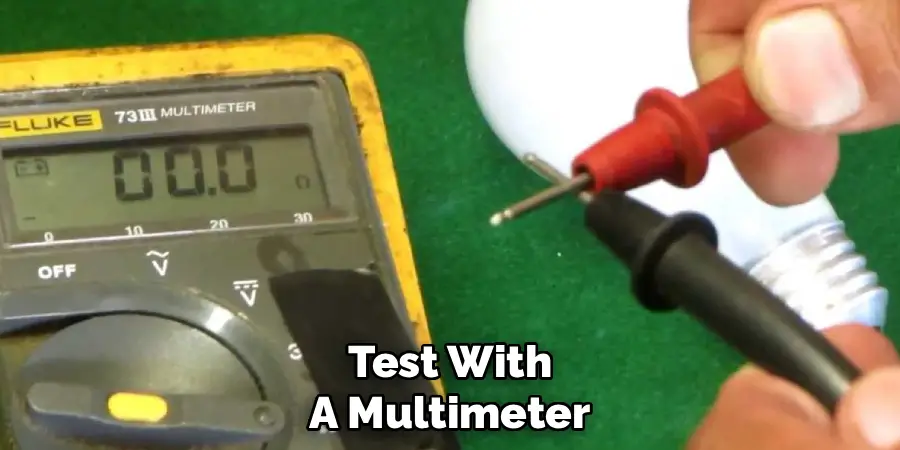
Step 10: Consider Energy Efficiency Benefits
Replacing or maintaining fluorescent lighting is an excellent opportunity to evaluate its energy efficiency. Fluorescent lights are known for their reduced energy consumption compared to traditional incandescent bulbs, using about 75% less energy while providing the same light output.
Additionally, they emit less heat, which can contribute to a more comfortable indoor environment and reduce cooling costs. For even greater energy savings, consider upgrading to LED lighting. LEDs have a longer lifespan, contain no hazardous materials like mercury, and consume even less energy, making them an environmentally friendly and cost-effective choice in the long run.
Frequently Asked Questions
How long do fluorescent bulbs typically last?
Fluorescent bulbs generally last 7,000-15,000 hours, depending on usage patterns and quality. Frequent on/off cycles reduce lifespan significantly, while continuous operation extends it. Signs of aging include slow starting, flickering, or reduced light output even when the bulb still functions.
Can a bad ballast damage fluorescent bulbs?
Yes, failing ballasts can damage otherwise good fluorescent tubes. Symptoms include overheating, premature burnout, or visible damage to bulb ends. If you’ve replaced bulbs repeatedly in the same fixture, the ballast likely needs attention from a qualified electrician.
What causes fluorescent bulbs to flicker?
Flickering can result from loose connections, failing starters, aging ballasts, or tubes nearing end of life. Cold temperatures also cause flickering until the bulb warms up. Persistent flickering usually indicates component replacement is needed.
Is it safe to dispose of fluorescent bulbs in regular trash?
No, fluorescent bulbs contain mercury and require special disposal. Many home improvement stores and recycling centers accept fluorescent tubes. Never break fluorescent bulbs, as this releases mercury vapor. Check local regulations for proper disposal methods in your area.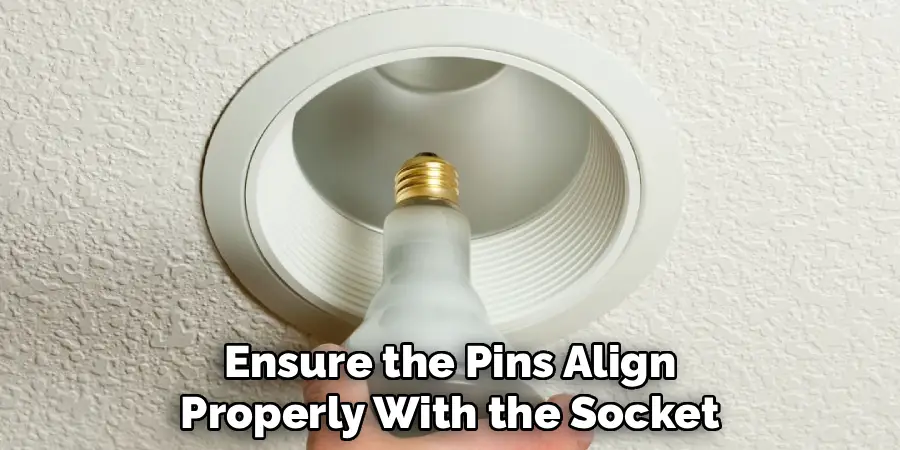
Why do some fluorescent lights take time to reach full brightness?
This behavior is normal for older fluorescent technology, especially in cold conditions. The phosphor coating needs time to warm up and reach optimal performance. However, excessively slow warm-up times may indicate aging components that need replacement.
Conclusion
Learning how to check a fluorescent light bulb empowers you to diagnose lighting problems accurately and avoid unnecessary replacements or service calls. By following these systematic steps, you can determine whether issues stem from the bulb itself or other fixture components, saving both time and money on repairs.
With these skills and knowledge, you can maintain your fluorescent lighting systems effectively while ensuring safe, reliable illumination throughout your home or workplace. Take the time to practice these techniques, and you’ll become confident in handling most fluorescent lighting issues that arise.

