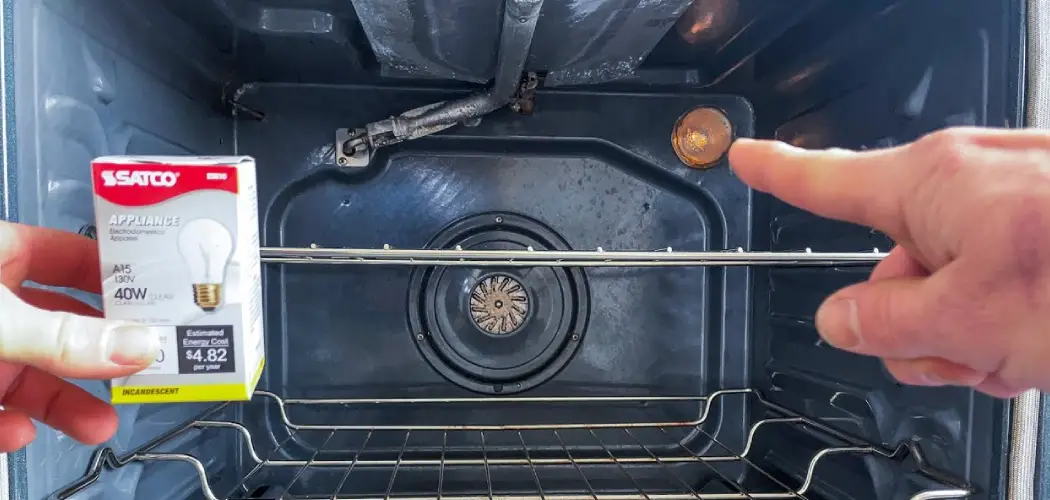
Imagine baking cookies, peering into your oven, and seeing only darkness — the horror! A functioning oven light is essential for safe cooking and helps monitor your culinary masterpieces without opening the door and losing precious heat. Common reasons you might find yourself Googling “how to change whirlpool oven light” include the bulb burning out at the worst possible moment or the desire to switch to a brighter bulb that lets your lasagna’s cheesy top bask in its full glory. This article aims to be your guiding light, offering a clear, step-by-step guide to replacing the oven light in your Whirlpool oven. So, let’s roll up those sleeves, grab a new bulb, and get you back to illuminated cooking bliss!
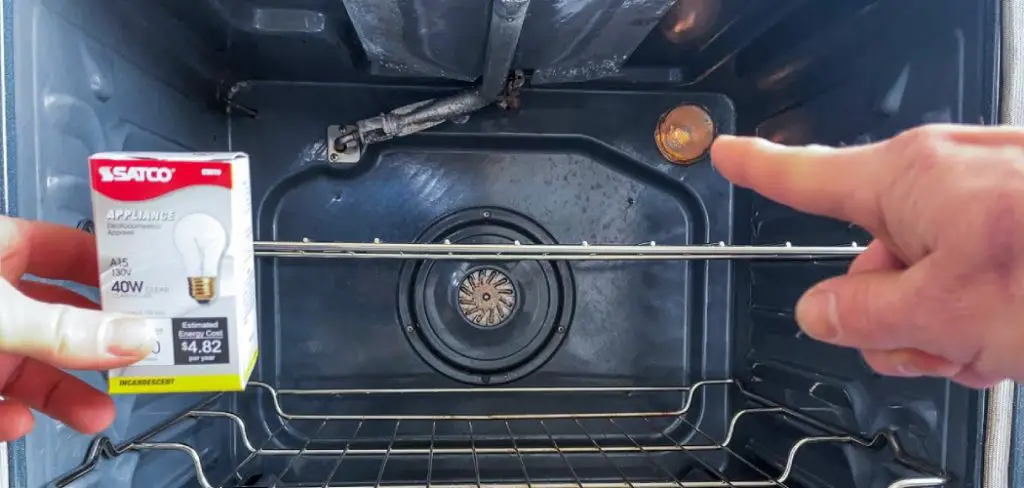
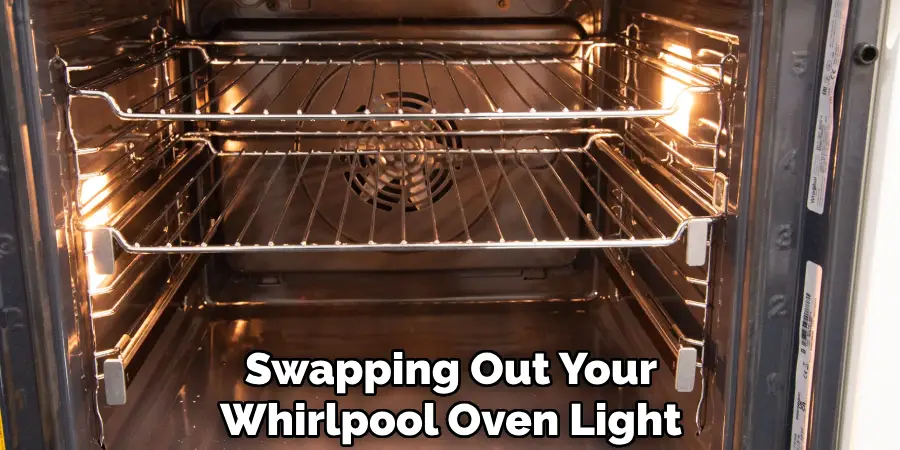
Understanding the Whirlpool Oven Light
Types of Oven Lights
Whirlpool ovens are the proud home to several types of light bulbs, each with its own unique flair. You’ve got your trusty incandescent bulbs, the old-school classics that glow warmly and give a cozy feel. These are the bulbs that might just remind you of grandma’s kitchen. Then there are the halogen bulbs, those sleek, modern marvels that offer brighter, whiter light, perfect for scrutinizing your soufflé’s rise like a hawk. Depending on the oven model and personal preference, each bulb type is designed to provide the best visibility.
The Function of the Oven Light
The oven light plays a crucial role that goes beyond simple illumination. It’s your culinary spotlight, showcasing in-progress meals and ensuring the perfect golden-brown finish every time. Whether you’re roasting a chicken or baking a cake, having a clear view prevents overcooking or burning — no need to open the door and risk unleashing a wave of blistering heat onto yourself.
Common Issues with Oven Lights
Like an unlucky lotto draw, sometimes oven lights develop issues that dampen your baking vibe. These can include flickering like your grandma’s ancient holiday lights, faint dimming that leaves you squinting, or, worst-case, complete failure, leaving you cooking in the dark. These problems often stem from overworked bulbs or faulty wiring but fear not — with a little know-how (and this guide), you’ll troubleshoot and solve these issues quickly.
Safety Precautions
Before embarking on the mission of swapping out your Whirlpool oven light, embracing a few safety ninja moves is vital. First up, unplug the oven. Yes, we know it’s tempting to leave it on for that “quick change,” but safety first! Electricity and curiosity don’t mix well. Then, let your oven cool down completely before you even think about sticking your hand in there — unless you’re sporting an ultra-heat-resistant glove and enjoy a touch of danger.
Next, when handling the bulb, use a soft cloth or glove to avoid smudging or breaking the bulb with your bare hands because shattered glass is nobody’s friend. Lastly, be cautious of any loose wiring or damaged bulb sockets while you’re in there, as addressing these sneaky culprits early can save you from future culinary catastrophes. Follow these precautions, and you’re headed for a safe and successful bulb-change operation!
Tools and Materials Needed
Essential Tools
Before launching into your oven light replacement adventure, gather a few trusty tools to make the job easier. You’ll need a screwdriver in case your oven model requires the light cover to be unscrewed. A soft cloth is also essential, as it helps grip the bulb without adding or breaking your fingerprints—because nobody wants to deal with a bulb that slips through buttery fingers.
Replacement Bulbs
Choosing the right replacement bulb is key—nobody wants to redo this task because of a poorly matched bulb. Check your user manual for the correct specifications on wattage and type. While incandescent bulbs are common and come in varying wattages, halogen options offer brighter illumination. Ensure your choice matches the requirements to avoid burning out the bulb prematurely.
Where to Purchase
Luckily, finding replacement bulbs is as easy as pie. Visit your local hardware store, where you’ll find various compatible bulbs. Alternatively, take a virtual shopping trip online, where a plethora of options await at the click of a button.
How to Change Whirlpool Oven Light: Step-by-Step Guide
Step 1: Prepare the Oven
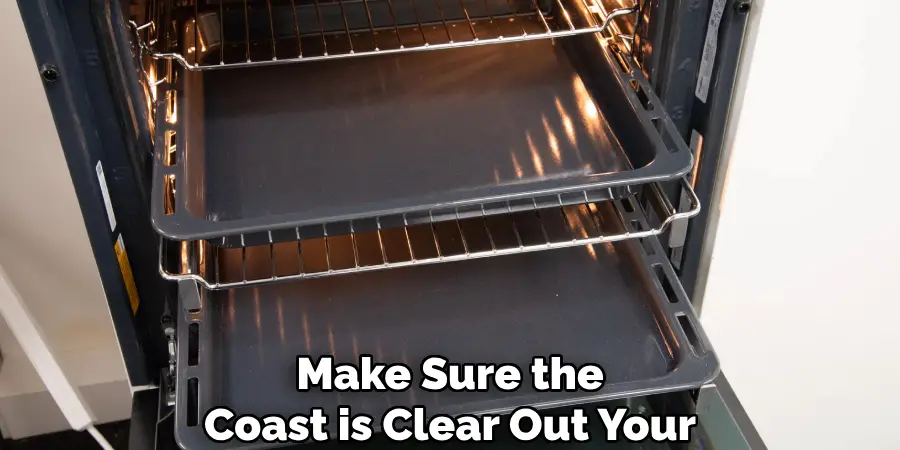
Before we jump in, make sure the coast is clear—meaning empty out your oven of any rogue baking trays or crumbly casseroles. Most importantly, let it cool down completely. Unless you’re aiming for a Hollywood stunt double career, keep your interaction with hot ovens to a minimum. Safety goggles are optional, but showing off your sleek side is encouraged.
Step 2: Access the Light Bulb
Time to get to the heart of the matter. Locate the light bulb cover, which, in most models, is cozily nestled on your oven’s interior wall. It’s hiding behind either a plastic or glass cover that’s been craving your attention ever since the bulb went kaput.
Step 3: Remove the Light Bulb Cover
Here’s where we separate the pros from the amateurs.
- Twist-off Covers: If you’re dealing with a twist-off cover, channel your inner gentle giant and carefully rotate the cover counterclockwise. Keep it smooth — like you’re opening a bottle of vintage wine.
- Screw-On Covers: If screws are playing defense, grab that trusty screwdriver. Unscrew the screws methodically while tipping your imaginary hat for their service, and gently set them aside (definitely not flying across the room).
Step 4: Remove the Old Bulb
With the cover off, now’s your moment to shine…or rather, to unscrew the non-shining bulb. Grabbing it with a soft cloth (avoid the butterfinger approach), gently twist counterclockwise until it’s free. Give it a ceremonial goodbye before disposing of it in an eco-friendly manner.
Step 5: Install the New Bulb
Now, bring forth your fresh bulb. Match those specifications like you’re pairing a fine wine with dinner. Using the soft cloth again, insert the new bulb and twist clockwise. No need to show off your upper body strength here. Just a snug fit will do, much like a well-tailored suit.
Step 6: Replace the Light Bulb Cover
It’s curtains to this show. Fit the light bulb cover back into place:
- Twist-off Covers: Spin it back into its snug place with that same finesse, ensuring it’s well secured.
- Screw-On Covers: Use your screwdriver to return the screws to their rightful home. Tighten them moderately—Goldilocks-style, not too loose yet not too tight.
Step 7: Test the New Bulb
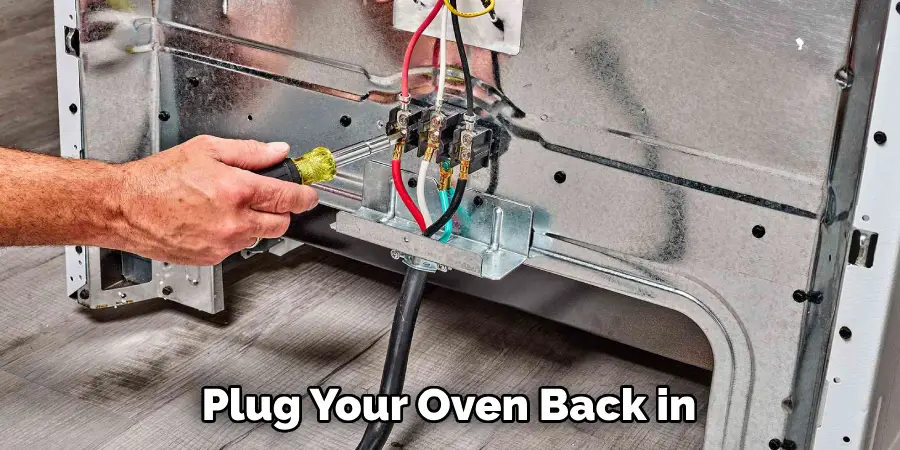
Plug your oven back in, and give the light button an expectant click. Voilà! Bask in the glow of your fully functioning oven light, ready to spotlight your next culinary masterpiece. If it’s illuminating perfectly, reward yourself with a mini victory dance and perhaps a cookie from an earlier bake.
Troubleshooting Common Issues
Even after all your hard work, sometimes things just don’t go as planned. Let’s troubleshoot some common issues to ensure your oven light shines bright.
Light Does Not Turn On
If the new bulb is sitting in silence like the one before, it might be time to check for faulty wiring or power supply issues. Start by ensuring the oven is properly plugged in, and the breaker isn’t tripped. If everything seems fine, it’s worth inspecting the socket carefully for loose wiring. A gentle check or wiggle might reveal something that needs a secure connection. A professional electrician is your best buddy here if you dare not venture too far into the electrical realm.
Bulb Burnout
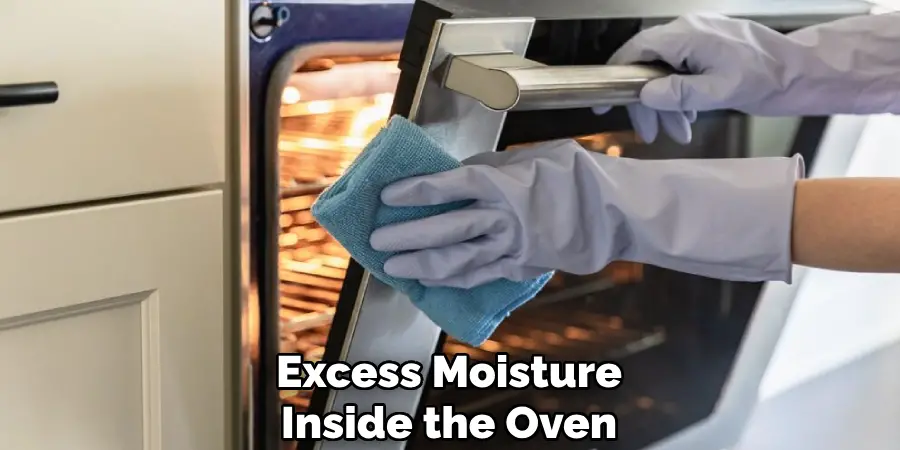
So, your new bulb blew faster than a birthday candle? The culprit could be an incorrect wattage bulb trying to handle more juice than it can take. Double-check the bulb specifications against your user manual. Another suspect might be excess moisture inside the oven, causing premature burnout. To avoid repeat occurrences, use the recommended bulb type and ensure your oven is not overly steamy during use.
Cover Not Securing Properly
If your cover is bobbing around like a hat in the wind, it might not be properly installed. Ensure that all screws (if any) are tightly fastened and that the cover is aligned correctly in its slot. For twist-off covers, make sure they’re turned snugly into place without forcing them too much. If gaps persist or it just doesn’t feel right, switch to a playful DIY jig—sometimes repositioning parts works miracles.
Conclusion
Changing the oven light in a Whirlpool oven is as easy as pie—just follow the steps outlined above, and you’ll bask in the warm glow of your culinary haven in no time! From preparing your oven to the last screw twist, mastering the art of “how to change Whirlpool oven light” ensures you’re always seeing your dishes in the best light (literally). Don’t underestimate the power of good visibility while cooking—it’s key to fine-tuning your every dish. So, put on your DIY hat and dive into this small task for great satisfaction and a safer kitchen!

