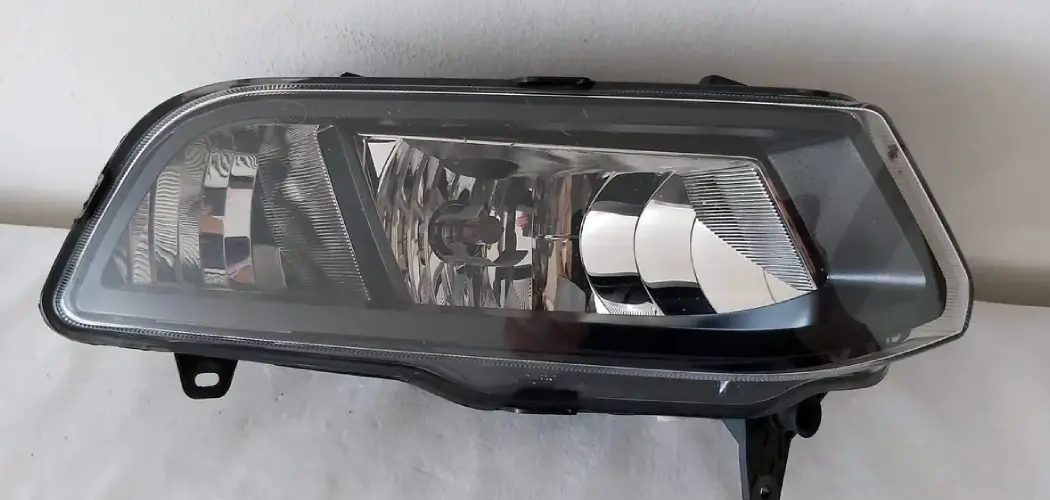
Headlights are a crucial component of any vehicle, ensuring visibility during night driving and adverse weather conditions. Poorly functioning headlights can significantly impair a driver’s ability to see the road and react to obstacles, increasing the risk of accidents.
The Toyota Camry, known for its reliability and popularity among drivers, also requires regular headlight maintenance to ensure optimal performance. This article aims to provide a comprehensive, step-by-step guide on how to change toyota camry headlight bulb. Following this guide ensures your headlights function correctly, enhancing your driving safety and confidence on the road.
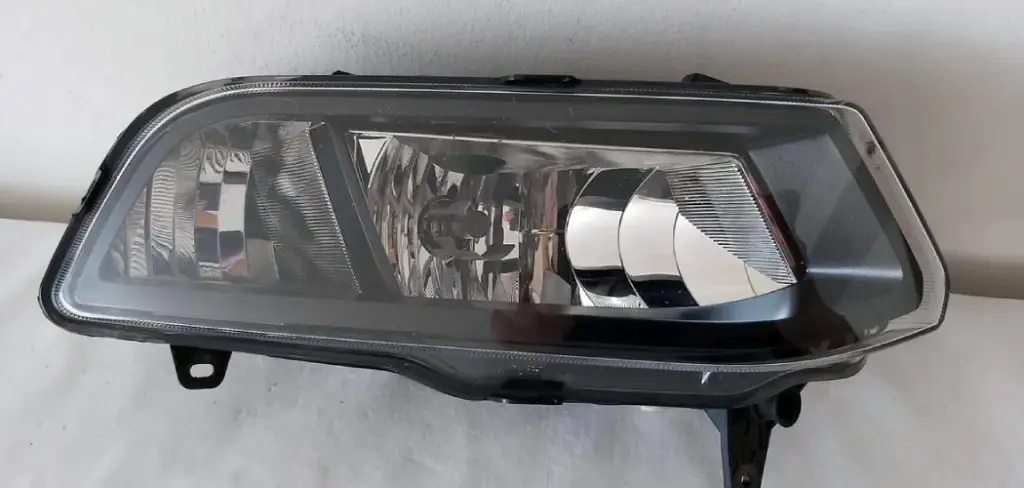
Understanding the Headlight System
Types of Headlight Bulbs
Toyota Camrys have various headlight bulbs depending on the model and year. The most common types include halogen, LED, and HID (High-Intensity Discharge) bulbs. Halogen bulbs are the most traditional, providing a warm glow, and are often the most economical option.
LED bulbs are known for their longevity and energy efficiency, offering brighter and whiter light. HID bulbs, more commonly found in higher-end models, produce a bright, intense light that closely mimics daylight. To identify the type of bulb in your specific Camry model, refer to the owner’s manual or inspect the bulb for any visible markings.
Importance of Regular Maintenance
Maintaining functional headlights is critical for safe driving. Well-illuminated headlights greatly improve visibility during nighttime and in challenging weather conditions, allowing drivers to see further and react quicker to obstacles. Regular maintenance helps ensure that the headlights are performing optimally. Common signs that a headlight bulb needs replacement include dimming, flickering, or complete burnout. If you notice any of these issues, it is essential to address them promptly to avoid compromised visibility and potential safety hazards on the road.

Preparing for the Replacement
Gathering Necessary Tools and Materials
Before starting the headlight bulb replacement on your Toyota Camry, gathering all the necessary tools and materials is essential. Here’s a checklist to help you get started:
- Gloves: Prevent skin oils from transferring to the bulb and protect your hands.
- Screwdriver: Typically a Phillips head is needed, but check your vehicle’s specifics.
- Replacement Bulb: Ensure that you have the correct bulb type for your Toyota Camry model. Refer to your owner’s manual or consult with an auto parts store if unsure.
- Protective Eyewear: To safeguard your eyes from potential debris.
- Clean Cloth or Rag: Useful for wiping any dirt or grease from the components.
Using the correct bulb type is crucial for properly functioning your headlights. Different Camry models and years may require different bulbs—halogen, LED, or HID. Using an incorrect bulb can lead to improper alignment and reduced visibility, compromising your safety.
Safety Precautions
Safety comes first in any vehicle maintenance task. To ensure a smooth and safe headlight bulb replacement, follow these safety precautions:
- Ensure the Vehicle is Off: Before you begin, turn the car off and remove the keys from the ignition. This will prevent any electrical issues.
- Cool Down the Headlights: Headlight bulbs can get extremely hot. To avoid burns, allow the headlights to cool down completely before touching them.
- Disconnect the Battery: Disconnecting the car battery minimizes the risk of electrical shock and prevents any accidental electrical shorts. Detach the negative terminal first to ensure safety.
Adhering to these preparations and safety measures will set a solid foundation for a successful headlight bulb replacement, ensuring your Toyota Camry’s headlights are fully functional and safe for driving.

Accessing the Headlight Assembly
Opening the Hood
To begin accessing the headlight assembly on your Toyota Camry, you first need to open the hood. Follow these step-by-step instructions to help you through the process:
- Locate the Hood Release Lever: Inside the vehicle, find the hood release lever, generally located on the lower left side of the dashboard near the driver’s seat.
- Pull the Lever: Firmly pull the hood release lever. You should hear a clicking sound indicating the hood has been released.
- Release the Secondary Latch: Move to the front of the vehicle and locate the secondary hood latch underneath the center of the hood. Slide your hand under the hood to find the latch and pull it to fully release the hood.
- Lift the Hood: Lift the hood carefully. Some Camry models have a hood strut that automatically holds the hood open, while older models may require you to use a prop rod to secure it in place.
Once the hood is securely open, you can locate the headlight assembly. It is situated behind the headlight lens towards the front corners of the engine compartment.
Removing the Headlight Cover
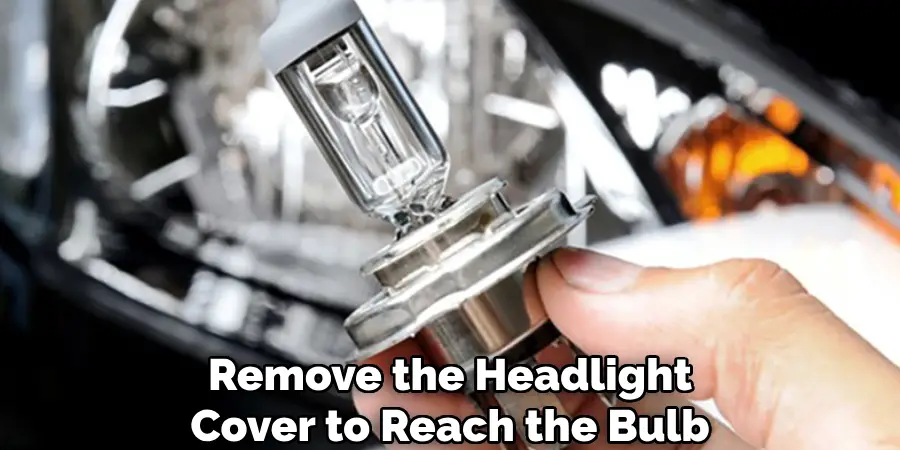
Now that you can access the engine compartment, it’s time to remove the headlight cover to reach the bulb. Follow this detailed guide to remove any covers or protective panels:
- Identify the Headlight Cover: Look for the headlight cover directly behind the headlight lens within the engine compartment. Depending on your Camry model, this cover might be a plastic cap or a more substantial panel.
- Remove Clips and Screws: Using a screwdriver, remove any screws securing the cover. Be careful not to strip the screws. If there are clips, gently press or pull them to release the cover without breaking them.
- Detach the Cover: Once the screws and clips are removed, carefully detach the headlight cover. If the cover seems to be stuck, double-check for any hidden clips or screws you may have missed. Use gentle pressure to prevent damaging the plastic.
- Handle with Care: Place any screws and clips you have removed in a safe place to avoid losing them. Handle the cover gently to avoid scratches or damage.
By carefully following these steps, you ensure a safe and effective removal of the headlight cover, paving the way for a smooth headlight bulb replacement in your Toyota Camry.
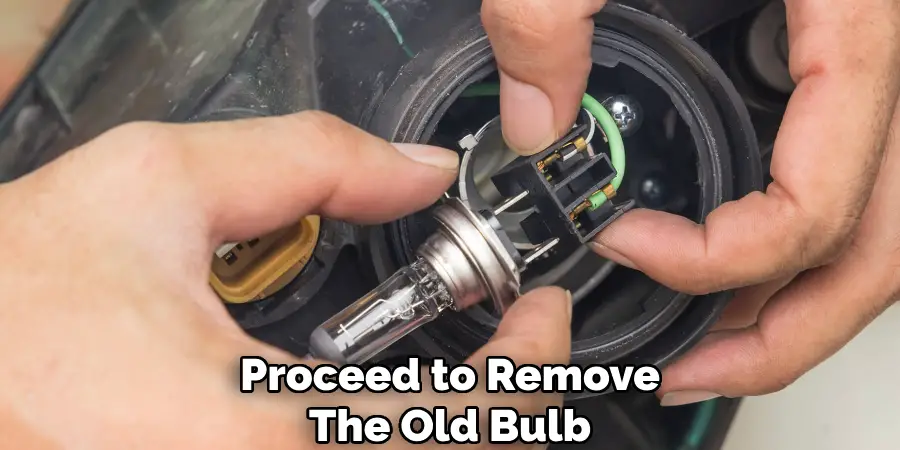
How to Change Toyota Camry Headlight Bulb: Removing the Old Bulb
Disconnecting the Power Connector
Before removing the old headlight bulb, you need to safely disconnect the electrical power connector from the bulb. Follow these instructions to ensure a smooth and safe disconnection:
- Locate the Power Connector: Find the electrical connector attached to the bulb’s base. It can usually be found at the back of the headlight assembly.
- Inspect the Connector: Look for any clips or tabs that secure the connector to the bulb. Note the orientation of the connector so you can reconnect it properly later.
- Carefully Disconnect the Connector: Press or pull the securing tab to release the connector from the bulb. Gently wiggle the connector back and forth while pulling to ease it off. Be cautious to avoid pulling on the wires directly.
- Inspect for Damage: Once the connector is detached, check the wiring and connector for any signs of wear or damage. Ensuring that the wires are intact and undamaged is crucial for the replacement process.
Removing the Bulb
With the connector safely disconnected, you can now proceed to remove the old bulb. Follow the step-by-step guide below:
- Locate the Bulb Retaining Mechanism: Identify how the bulb is secured within the headlight assembly. This could be a locking ring, screws, or clips, depending on your Toyota Camry model.
- Release the Retaining Mechanism: If there is a locking ring, turn it counterclockwise to release it. For screws, use a screwdriver to gently unscrew them. If clips are present, press or pull them to release the bulb.
- Remove the Bulb: Once the retaining mechanism is undone, carefully pull the bulb straight out from the headlight assembly. Avoid applying too much force as headlight components can be fragile.
- Handle the Old Bulb Carefully: Place the old bulb on a soft surface to prevent it from rolling away or breaking. Avoid touching the glass part of the bulb to prevent contamination. Dispose of the old bulb according to local regulations, as many bulbs contain materials that should not be discarded with regular household waste.
By following these steps, you will ensure that the old bulb is removed safely and efficiently, paving the way for the installation of the new headlight bulb.
How to Change Toyota Camry Headlight Bulb: Installing the New Bulb
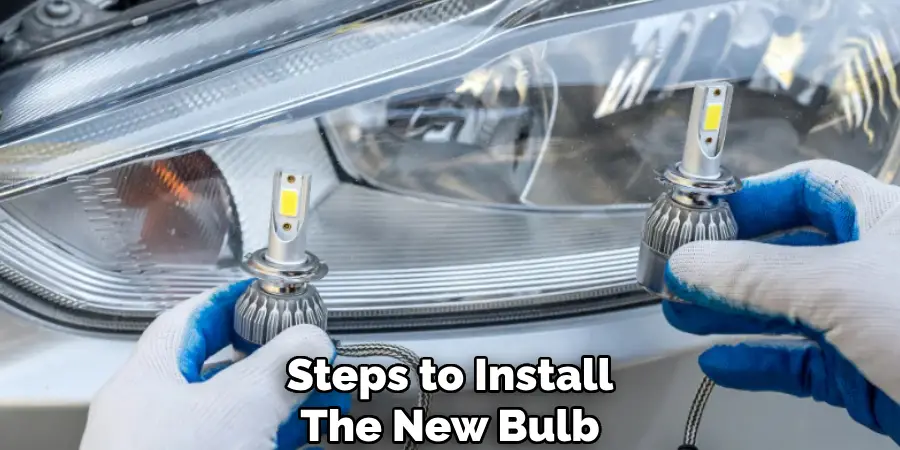
Handling the New Bulb Properly
Proper handling of the new headlight bulb is crucial to ensure its longevity and functionality. Here’s how to handle it correctly:
- Importance of Wearing Gloves: Always wear gloves when handling the new bulb. The oils from your skin can create hot spots on the bulb’s surface, reducing its lifespan and potentially causing it to fail prematurely. Clean gloves will help you avoid transferring any oils or dirt to the bulb.
- Tips for Handling the New Bulb Without Touching the Glass: If gloves are not available, use a clean cloth or tissue to hold the bulb, always by its base. Avoid touching the glass part of the bulb entirely. If you accidentally touch the glass, clean it with an isopropyl alcohol wipe before installation to remove any oils or contaminants.
Inserting the New Bulb
Follow these steps to install the new bulb into the headlight assembly:
- Position the Bulb Carefully: Hold the new bulb by its base and align it with the socket in the headlight assembly. Make sure the alignment tabs on the bulb match the corresponding slots in the socket.
- Insert the Bulb: Gently insert the bulb into the socket, ensuring it is seated correctly. Avoid using excessive force as this can damage the bulb or the socket.
- Secure the Bulb: Depending on your Toyota Camry model, either turn the locking ring clockwise, reattach the screws, or snap the clips back into place to secure the bulb. Make sure the bulb is fastened securely and is properly aligned. A misaligned bulb can cause poor light distribution and compromise driving safety.
Reconnecting the Power Connector
After the new bulb is securely in place, the next step is to reconnect the electrical power connector:
- Reattach the Connector: Align the electrical connector with the base of the new bulb. Gently press the connector onto the bulb until you hear a click or feel it snap into place. Ensure the connector is attached firmly.
- Check for a Secure Connection: Wiggle the connector lightly to make sure it is securely attached and will not come loose. A secure connection is crucial to ensure the bulb functions correctly.
- Inspect the Wiring: Double-check the wiring for any signs of wear or damage. This helps prevent any electrical issues that could affect the headlight’s performance.
By following these instructions, you’ll ensure a proper installation of the new headlight bulb, promoting optimal performance and safety while driving your Toyota Camry.
Reassembling and Testing
Replacing Covers and Panels
After installing the new headlight bulb, it’s essential to reassemble any covers or panels that were removed during the process. Follow these steps to ensure everything is put back together correctly:
- Locate and Gather All Removed Components: Identify all the covers and panels you removed to access the headlight assembly. Ensure you have all the screws, clips, and fastening components as well.
- Position the Covers and Panels: Begin by positioning the covers and panels in their original places. Make sure they align properly with the slots and holes on the vehicle.
- Secure with Clips and Screws: Use the clips and screws to secure the panels and covers back in place. Gently press the clips until they snap into place and ensure that all screws are tightened properly with a screwdriver. This will prevent any parts from rattling while driving.

Testing the New Headlight
To ensure the new headlight bulb is functioning correctly, follow these steps:
- Power On the Headlights: Turn on the vehicle’s headlights and switch to the low beam to test the new bulb. Check both the interior and exterior to ensure the new bulb lights up.
- Inspect the Beam Pattern: Stand in front of the vehicle to examine the beam pattern and confirm that the new bulb is emitting light evenly. If one side appears dim or irregular, the bulb may not be seated correctly.
- Adjust the Alignment if Necessary: If the beam pattern is off, refer to your vehicle’s manual for instructions on adjusting the headlight alignment. This often involves turning alignment screws in the headlight assembly to aim the light correctly.
- Final Check: Walk around the vehicle to ensure both headlights are aligned symmetrically and provide optimal illumination. Confirm that the light is neither too high nor too low, as this can affect visibility and safety on the road.
By following these steps, you ensure a thorough reassembly and proper testing of your new headlight bulb, enhancing your Toyota Camry’s performance and ensuring safe driving conditions.

Troubleshooting Common Issues
Bulb Not Lighting Up
If the new bulb does not light up after installation, several issues could be at play:
- Faulty Connection: Double-check the electrical power connector to ensure it is firmly and securely attached to the bulb. Wiggle the connector lightly to confirm it’s properly connected.
- Blown Fuse: Inspect the vehicle’s fuse box for a blown fuse related to the headlights. Replace any blown fuses with one of the same rating.
- Defective Bulb: Occasionally, a new bulb might be defective out of the box. Try swapping it with another new bulb to see if the issue persists.
- Power Supply Issues: Inspect the wiring and battery connections for any signs of wear, corrosion, or disconnection that might interrupt the headlight’s power.
Flickering or Dim Light
If your new headlight bulb flickers or appears dim, consider these troubleshooting steps:
- Loose Connections: Ensure all connectors and wires are firmly in place. A loose connection can cause intermittent power delivery, resulting in flickering or dim light.
- Battery Health: Check your vehicle’s battery to ensure it’s fully charged and in good condition. A weak battery can lead to inadequate power supply to the headlights.
- Grounding Issues: Verify that the headlight’s grounding point is secure and corrosion-free. Poor grounding can affect the bulb’s performance.
- Voltage Fluctuations: Use a multimeter to check for voltage fluctuations in the headlight circuit. Consistent voltage helps maintain steady light output.
By addressing these common issues, you can ensure your headlight bulb functions effectively, providing optimal lighting and driving safety.
Conclusion
Changing the headlight bulb of your Toyota Camry involves several crucial steps: preparing your tools and workspace, accessing the headlight assembly, carefully removing the old bulb, installing the new bulb correctly, and thoroughly testing to ensure proper function. Each of these steps ensures the safety and performance of your vehicle. Properly functioning headlights are essential for safe driving, significantly impacting visibility during nighttime and poor weather conditions.
By following this detailed guide on “how to change Toyota Camry headlight bulb,” you can successfully complete the replacement process without any complications. Regular maintenance of your headlights enhances your driving safety and prolongs the lifespan of your vehicle’s lighting system. Embrace the habit of periodic checks and replacements to maintain optimal headlight performance.

