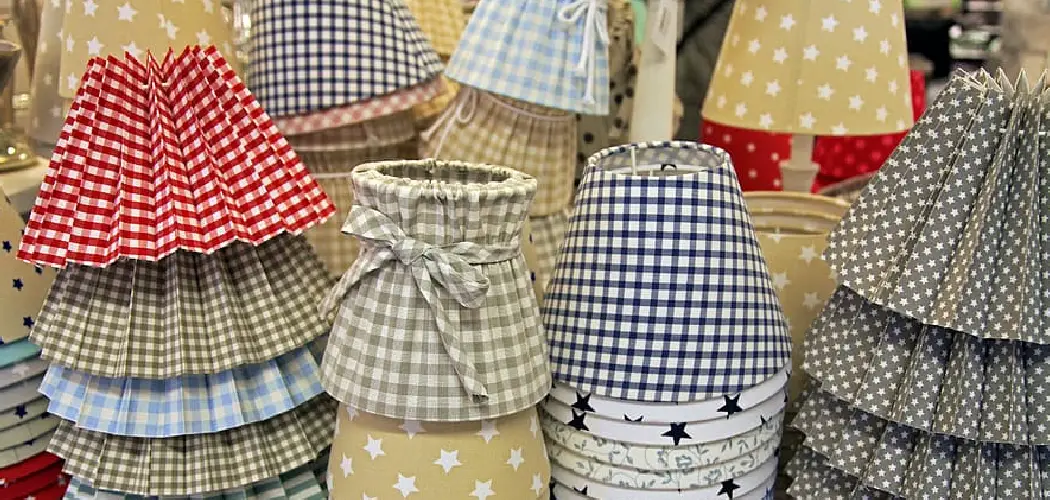
Changing the color of a lampshade is a simple and affordable way to refresh your room’s decor, offering a quick upgrade to match new design themes or trends. Instead of purchasing a completely new lampshade, repurposing an old one can save money while allowing you to customize the look with your preferred color or style. This approach not only promotes creativity but also contributes to sustainability by giving existing items a second life. Whether you want a bold pop of color or a subtle, neutral tone, the process is straightforward and rewarding.
This guide is designed to help you learn how to change the color of lamp shades step by step, whether through painting, dyeing, or applying fabric covers. With a variety of methods available, it’s easy to tailor the outcome to your exact vision and skill level, ensuring a satisfying project that enhances your living space.
Types of Lampshades and Material Considerations
When it comes to coloring lampshades, understanding the type of shade you are working with and its material is crucial for achieving the best results. Lampshades are typically made from a variety of materials, each with unique properties that influence your approach to customization.
Common Materials:
- Fabric Shades: These are often crafted from cotton, linen, or silk. Due to their porous nature, fabric shades offer excellent flexibility for painting or dyeing.
- Paper or Parchment Shades: Thin and delicate, these shades can be painted but require careful handling to prevent tearing or warping.
- Plastic-Backed or Synthetic Shades: These materials may be less absorbent, making traditional dyes less effective. However, fabric paints or adhesives for coverings work well.
Why Material Matters:
Different materials respond differently to paint or dye. For example, fabric tends to absorb color evenly, while paper may show streaks if not applied carefully. Additionally, some materials may be more or less heat-resistant, which can affect light diffusion and safety, particularly when using high-wattage bulbs.
Check Before Coloring:
Before starting your project, inspect the shade to ensure it is clean, undamaged, and heat-safe for the chosen method. This preparation step will enhance durability and ensure success in transforming your lampshade.
Tools and Supplies You’ll Need
Basic Supplies
To get started with your lampshade transformation, gather the following basic supplies based on your selected method of coloring or covering the shade:
- Fabric paint, spray paint, or dye – Choose the appropriate option depending on the material of your lampshade.
- Foam brushes or paint sprayer – These tools ensure even application and help in achieving professional-looking results.
- Painter’s tape – Use this to mask off areas you want to keep color-free, such as metal fittings or decorative trims.
- Drop cloth or newspaper – Protect your workspace from accidental spills or drips by covering surfaces.
- Mild soap, water, and a sponge – Clean the lampshade carefully beforehand to ensure the paint adheres properly.
Optional Supplies
If you’re looking to completely re-cover your lampshade instead of painting it, consider adding the following supplies to your list:
- Fabric or wallpaper – Choose something that complements your decor for a fresh and customized look.
- Fabric glue or adhesive spray – To securely attach the new covering and prevent peeling.
Having all the tools prepared will make the process smoother, allowing you to focus on creating a stunning new look for your lampshade!
How to Change the Color of Lamp Shades Painting the Lampshade
Transforming your lampshade with paint is a simple and effective way to give it a fresh, updated look. Follow these steps to ensure a smooth and professional finish:

Step 1: Clean the Shade
Before you begin, thoroughly clean the lampshade to remove any dust, dirt, or grime. Use a damp cloth with a small amount of mild soap to wipe it down gently. Once clean, allow the shade to dry completely to ensure the paint adheres smoothly.
Step 2: Mask Areas
Protect parts of the lampshade or lamp that you don’t want to paint. Use painter’s tape to carefully mask off trims, metal parts, or any other areas that should remain untouched. This step is crucial for achieving clean, crisp edges.
Step 3: Apply Paint
Choose a fabric paint or spray paint in a color that complements your space. Apply the paint in light, even coats, working gradually to avoid drips or blotches. If using a spray can, keep it about 8–10 inches away from the lampshade while spraying. Allow each coat to dry completely before applying the next one, following the drying times recommended on the paint’s label.
Step 4: Finishing Touches
Examine the lampshade for any uneven spots or missed areas and touch them up as necessary. Once you’re satisfied with the coverage, carefully remove the painter’s tape. Allow the newly painted shade to cure for at least 24 hours before reattaching it to your lamp. Enjoy your refreshed and stylish lampshade!
Dyeing Fabric Lampshades
Suitable for: Light-colored fabric shades only.
Step-by-Step
- Remove the Shade
Begin by detaching the fabric lampshade from the lamp and removing any hardware. This ensures the dyeing process is clean and effective.
- Prepare the Dye Bath
Follow the instructions on your chosen dye’s label to prepare the bath. Ensure the mixture is well-dissolved and ready for application.

- Apply the Dye
For an even tint, immerse the lampshade evenly into the dye bath. Alternatively, for a more creative, hand-dyed effect, use a sponge brush to apply the dye to the shade in your desired pattern or style.
- Dry the Shade
Allow the dyed lampshade to dry thoroughly in a well-ventilated area. This step is crucial to ensure the dye sets properly and does not transfer onto other surfaces.
Tips
- Test the Dye
Before dyeing the entire shade, test the dye on a small, inconspicuous area to check both the color outcome and fabric compatibility.
- Protect Your Workspace
Always use gloves and cover your workspace with plastic or towels to avoid accidental dye spills or stains.
By using this dyeing method, you can transform your fabric lampshade with a fresh, custom color while elevating the ambiance of your living space!
Covering with New Fabric or Wallpaper
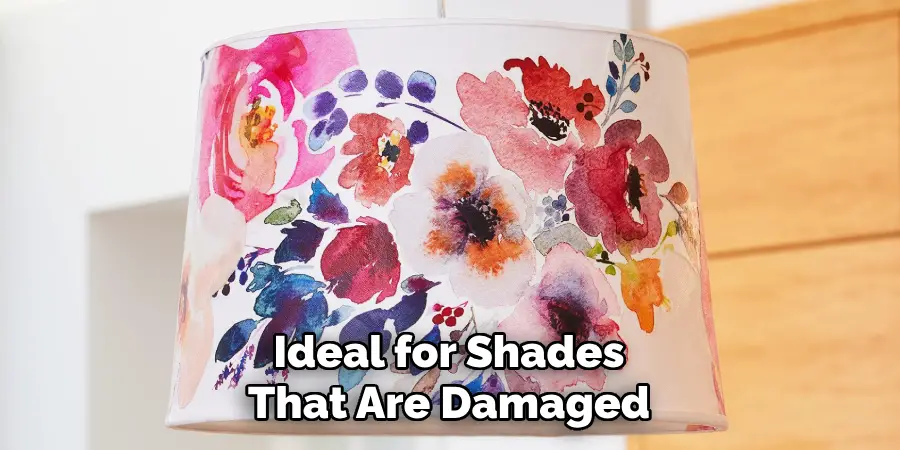
Best for: Damaged or stained shades that can’t be painted or dyed.
Transforming your lampshade with new fabric or wallpaper is a creative and versatile way to conceal imperfections while giving it a brand-new look. This method is ideal for shades that are damaged, heavily stained, or simply outdated.
Step-by-Step
- Measure the Shade
Start by measuring the height and circumference of the lampshade. These dimensions will guide the size of the fabric or wallpaper needed for full coverage.
- Cut Fabric or Wallpaper
Cut the material slightly larger than the measurements to allow for overlap at the edges. This will ensure complete coverage and neat finishing.
- Apply Adhesive
Use adhesive spray, glue, or double-sided tape designed for fabric or wallpaper. Apply the adhesive evenly onto the surface of the lampshade, working in small sections to avoid the glue drying too quickly.
- Wrap the Material
Carefully wrap the fabric or wallpaper around the shade, ensuring it is aligned and smooth. Use your hands to press out any wrinkles or bubbles gently.
- Tidy the Edges
Fold any excess material over the top and bottom edges of the lampshade and glue them securely to the inside. Trim any stray fabric or paper for a clean, professional finish.
Optional Additions
- Add Decorative Touches
Enhance the look by attaching trim, ribbon, or lace along the edges for a polished appearance.
- Use Contrast Fabric
Line the inside of the shade with contrasting fabric for a unique, custom design that adds extra flair to your project.
This method allows for endless personalization, making it a perfect choice for creating a one-of-a-kind accent piece in your home!
Tips for Best Results
When customizing your shade, choosing a lighter base color ensures better accuracy and vibrancy of applied paint or dye. Always test the paint or dye on a small, inconspicuous area of the shade before proceeding with the full application to check for desired results and compatibility. It’s important to allocate adequate drying or curing time after painting to avoid smudging or damage when reusing the shade. Additionally, consider the type of lightbulb you’ll use—LED bulbs are highly recommended as they emit minimal heat compared to incandescent bulbs, reducing the risk of harming painted or fabric surfaces. By following these tips, you’ll achieve a polished and durable finish for your custom shade design.

Conclusion
Whether using paint, dye, or fabric, learning how to change the color of lamp shades is an easy and creative DIY upgrade. This approach saves you money while enjoying full control over the design to suit your space. Before starting, it’s wise to experiment with a test lampshade or small sample to perfect your technique and gain confidence. You can achieve a high-quality and personalized result by following proper methods and safety precautions. Transforming lampshades is a simple way to refresh your decor while adding a unique, custom touch to your home.

