Updating or replacing a swimming pool light fixture is a task that combines safety considerations with the desire for an aesthetically pleasing and well-lit pool environment. Whether you’re looking to upgrade to energy-efficient LED lights, address a malfunctioning fixture, or simply refresh the pool’s ambiance, knowing how to change a swimming pool light fixture is essential.
This article explores the step-by-step process of how to change swimming pool light fixture. From understanding the electrical connections to selecting the right replacement fixture and navigating the underwater installation, this guide aims to empower pool owners with the knowledge needed to successfully undertake this task, ensuring a vibrant and inviting poolside atmosphere for both daytime and evening enjoyment.
Importance of A Properly Functioning Swimming Pool Light
A properly functioning swimming pool light is not merely about enhancing the pool’s aesthetic appeal during the twilight hours. It plays a crucial role in ensuring the safety of those enjoying the pool by illuminating underwater obstacles, steps, and edges, thereby reducing the risk of accidents.
Furthermore, a well-lit pool discourages trespassers and enhances security by making the pool visible at night. Beyond safety, a fully operational pool light can transform the ambiance, creating a serene or vibrant atmosphere tailored to the occasion. This integration of safety, security, and ambiance underlines the importance of keeping swimming pool lights in optimal condition.
Understanding Swimming Pool Light Fixtures
Before embarking on the task of changing a swimming pool light fixture, it’s vital to understand the types and workings of these fixtures. Swimming pool lights come in various forms, including traditional incandescent bulbs, energy-efficient LED lights, and fiber optic lights, each offering distinct advantages in terms of brightness, energy consumption, and lifespan.
Additionally, swimming pool lights are designed to be water-proof to prevent water ingress, which can lead to electrical hazards. Understanding the fixture’s voltage, usually 12V or 120V in residential pools, is crucial for selecting the correct replacement light.
Compatibility with the pool’s existing electrical system and the light fixture’s housing are also important factors to consider. This knowledge not only aids in choosing the appropriate light fixture but also ensures the safety and feasibility of the installation process.

Definition and Components of Swimming Pool Light Fixtures
A swimming pool light fixture, also known as an underwater or submersible light, is specifically designed to operate safely under water to illuminate swimming pools. These fixtures are encased in waterproof housings to protect against water ingress and to ensure the safety of swimmers.
Essential components of a swimming pool light fixture include the light bulb, which can be an LED, incandescent, or fiber optic type; the lens, which is usually made of clear, durable plastic or glass to provide a barrier between the water and the bulb; the housing or niche, which secures the fixture into the pool wall; and the gasket, which is a waterproof seal that prevents water from entering the fixture.
Additionally, these fixtures connect to a power source through water-proof electrical cables and are controlled either manually or automatically, often from a location outside the pool. Understanding these components is crucial for anyone looking to replace or install a swimming pool light fixture, as it ensures proper selection and installation aligned with safety standards and efficiency.
Different Types of Pool Lights Available
When it comes to choosing the right pool light, the market offers a variety of options tailored to different needs and preferences. LED pool lights are renowned for their energy efficiency and long lifespan, making them a popular choice among pool owners looking to minimize maintenance and operating costs.
Additionally, they come in a wide range of colors, allowing for dynamic and customizable lighting effects. Incandescent pool lights, on the other hand, are traditional and provide a warm, inviting glow, though they consume more energy and have a shorter lifespan compared to LEDs. Halogen pool lights offer brighter illumination than incandescent bulbs and are somewhat more energy-efficient, but they also tend to heat up more and require frequent replacements.
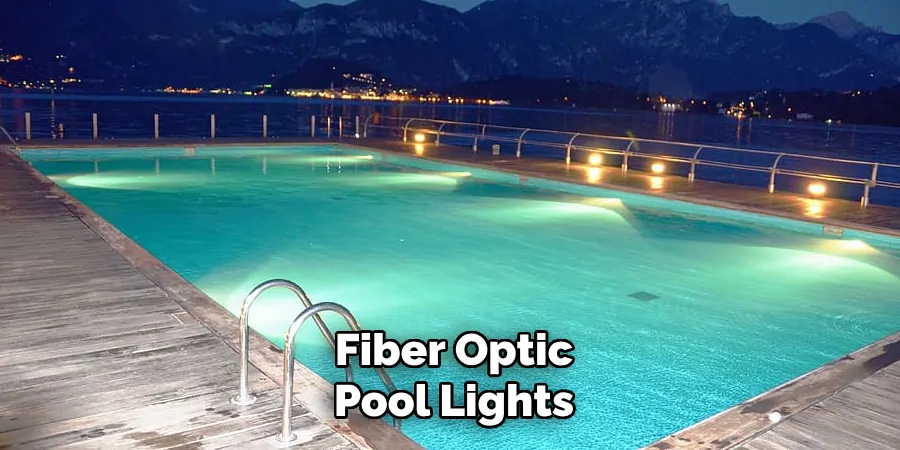
Fiber optic pool lights are unique in that the light source itself does not come into contact with water; instead, light is transmitted through fiber optic cables to create soft, ambient lighting around the pool perimeter or even underwater. Each type of pool light brings its own set of advantages, allowing pool owners to tailor their pool’s illumination to their aesthetic preference and practical requirements.
Understanding the Specifications and Requirements
Before attempting to change a swimming pool light fixture, it is imperative to thoroughly understand the specifications and requirements of both your existing light fixture and the new one you intend to install.
Firstly, verify the voltage compatibility of the new fixture with your pool’s electrical system to prevent any potential hazards or malfunctions. Typically, residential pools use either 12V or 120V fixtures. It’s also important to consider the size and type of the housing or niche in your pool wall, as this must match the new fixture to ensure a proper fit.
Additionally, evaluate the brightness (lumens), color options (for LED lights), and beam spread to ensure they meet your lighting needs and preferences. For pools used primarily for leisure, softer lighting may be preferable, while competitive swimming environments might benefit from brighter, more focused illumination.
Assessing these specifications beforehand will not only facilitate a smoother installation process but also enhance the safety, functionality, and aesthetic appeal of your swimming pool.
Preparation and Safety Measures
Before beginning the process of changing a swimming pool light fixture, taking certain preparation and safety measures is essential to ensure a secure and efficient installation.
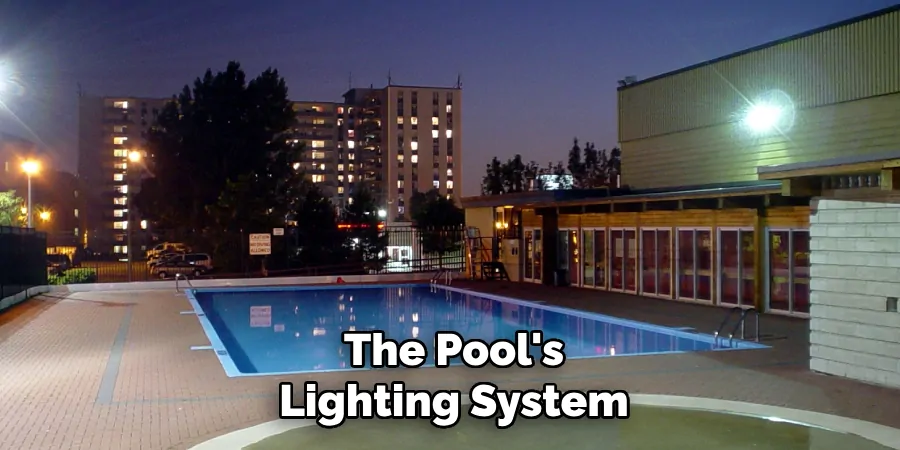
Start by turning off the power supply to the pool’s lighting system. This step is critical to prevent any risk of electrical shock or injury. It’s often advisable to turn off the power at the main breaker and use a voltage tester to confirm that there is no electricity running to the pool lights.
Next, gather all necessary tools and equipment. Typically, this includes a screwdriver, a new light fixture that matches the specifications of your pool, a waterproof sealant, and possibly a multi-meter for testing electrical connections. Having everything on hand before you start can significantly streamline the process.
It is also crucial to carefully read the manufacturer’s instructions for both the removal of the old fixture and the installation of the new one. These instructions can provide specific safety warnings and steps that are unique to the brand or model of your fixture.
Additionally, consider wearing protective gear, such as rubber gloves and safety goggles, to safeguard against any unforeseen accidents. If you are not comfortable performing this task yourself or if you encounter wiring that looks unsafe or complicated, seek the assistance of a professional electrician who is experienced with swimming pool lighting.
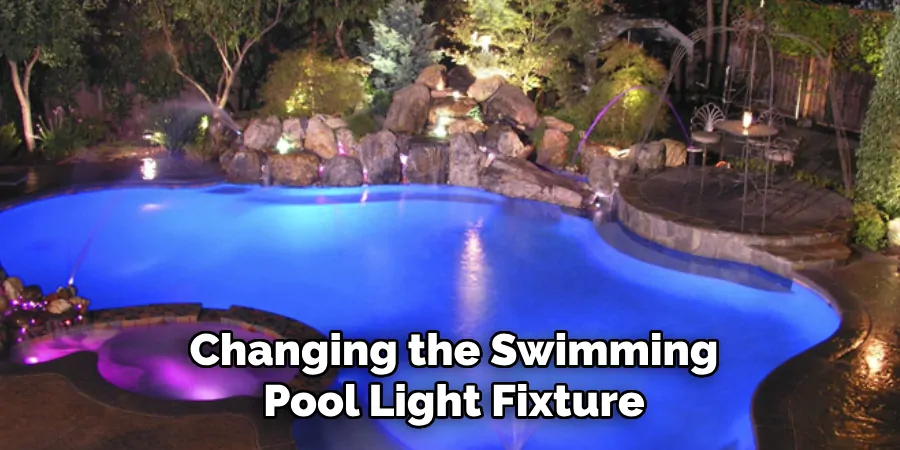
Lastly, ensure the pool area is clear of any swimmers or bystanders to avoid distractions and to maintain a safe environment. By meticulously following these preparation and safety measures, you can proceed with changing the swimming pool light fixture with confidence, knowing you have taken all necessary precautions to protect yourself and your pool.
Gathering Necessary Tools and Equipment
Changing a swimming pool light requires specific tools and equipment to ensure the job is done safely and effectively. Before you begin, make sure to gather the following items:
- Screwdriver: Needed to remove the screws securing the light fixture’s cover and possibly for other steps depending on the light fixture model.
- New Light Fixture: Ensure it matches the specifications for your pool, including the type (LED, incandescent, halogen, fiber optic), voltage, size, and compatibility with the existing niche or housing.
- Waterproof Sealant: Used to create a waterproof seal around the fixture, preventing water from entering and causing damage.
- Voltage Tester: Essential for verifying that the power is off and there is no current running to the pool lights, ensuring your safety during the installation.
- Multi-meter: Useful for testing electrical connections and ensuring that the wiring is functioning correctly after the new light is installed.
- Rubber Gloves and Safety Goggles: Protective gear to safeguard against electrical shock and any debris during the removal and installation process.
Having all these tools and equipment on hand before starting will streamline the process, making it more efficient and minimizing the risk of interruptions.
10 Methods How to Change Swimming Pool Light Fixture
1. Turn Off Power:
Prioritize safety by turning off the power supply to the swimming pool area. Locate the circuit breaker or switch dedicated to the pool lights and switch it off. Use a voltage tester to verify that there is no electrical current flowing to the pool light fixture before proceeding.
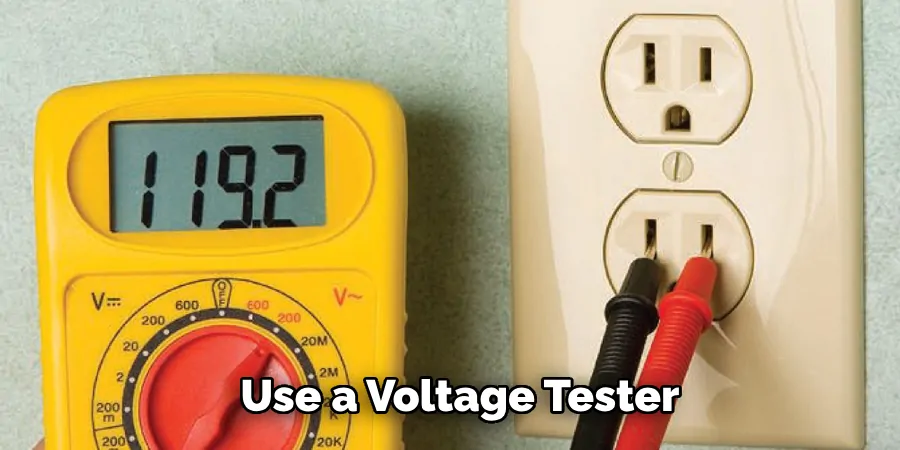
It is important to always prioritize safety when working on any electrical equipment, including the pool lights. Turning off the power before attempting any maintenance or repairs will ensure that you are not at risk of electrocution.
2. Drain Water from the Pool:
If the swimming pool light fixture is located underwater, it’s essential to lower the water level to ensure a dry working environment. Use a submersible pump or the pool’s filtration system to reduce the water level below the light fixture. This step is crucial to prevent electrical hazards during the replacement process. Once the water level is lowered, turn off the power supply to the pool at the circuit breaker.
After draining the water from the pool and ensuring a dry working environment, it’s essential to cover any exposed wires with electrical tape or wire nuts. This will provide an extra layer of protection against potential electrocution. It’s also recommended to wear rubber gloves while handling any electrical components to further reduce the risk.
3. Remove the Old Fixture:
Access the pool light fixture, typically located in a niche or housing on the pool wall. Remove the screws or bolts securing the fixture cover and gently pull it out. Disconnect the electrical wires connected to the old fixture, noting the color-coded connections for future reference. Carefully remove the old fixture from its niche.
In case the old fixture is stuck or difficult to remove, try using a lubricant such as WD-40 to loosen it. Alternatively, you can use a rubber mallet to gently tap around the edges of the fixture to help loosen it from its niche.
4. Inspect and Clean the Niche:
Inspect the niche or housing where the pool light fixture is installed. Remove any debris, dirt, or algae buildup to ensure a clean and smooth surface for the new fixture. Check for any signs of corrosion or damage that may require repairs before proceeding with the installation.
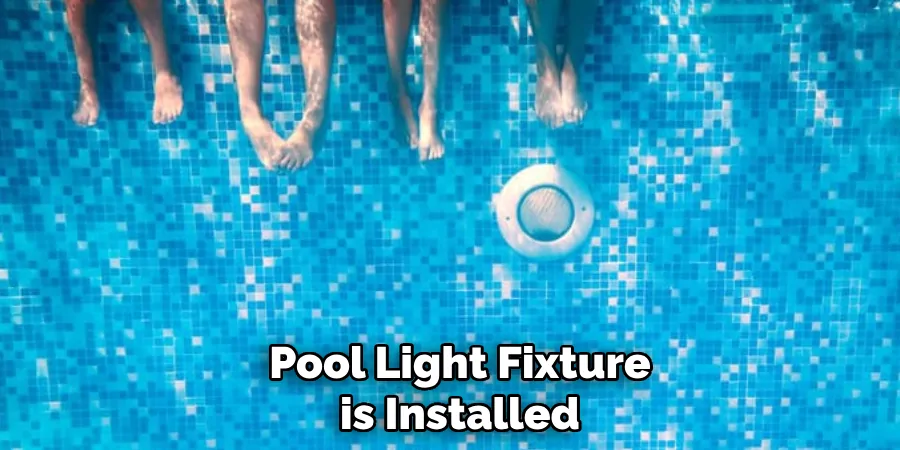
It is important to regularly clean and maintain the niche to prevent any potential hazards or malfunctions with the pool light. This includes removing leaves, debris, and other objects that may obstruct the light’s function. Additionally, it is recommended to inspect and clean the niche at least once a year to ensure proper functioning of the fixture.
5. Choose the Right Replacement Fixture:
Select a replacement pool light fixture that is compatible with your pool’s design, voltage, and size specifications. Consider energy-efficient LED options for enhanced brightness and longevity.
Ensure the new fixture matches the dimensions of the existing niche to facilitate a seamless installation. If you are unsure of what fixture to choose, consult a professional for guidance.
There are several factors to consider when choosing the right replacement pool light fixture. First and foremost, it is important to select a fixture that is compatible with your pool’s design. This means taking into account the shape, size, and style of your pool when making your decision.
6. Connect the New Fixture:
Follow the manufacturer’s instructions for connecting the new pool light fixture. Match the color-coded wires (typically black for hot, white for neutral, and green or bare copper for ground) to the corresponding wires in the pool’s electrical system. Secure the connections with waterproof wire connectors or crimp connectors designed for underwater use.
There are a few additional steps you can take to ensure a safe and secure connection for your new pool light fixture. First, make sure to turn off the power supply before beginning any electrical work. This will prevent any accidents or injuries from occurring.
7. Install the New Fixture:
Gently place the new fixture into the niche, ensuring a snug fit. Align the screw holes on the fixture with those on the niche and secure it in place using corrosion-resistant screws or bolts. Be cautious not to overtighten, as this may damage the fixture or the niche.
Once the new fixture is securely installed, turn on the power and check if it is working properly. If there are any issues, refer to the manufacturer’s instructions or seek professional assistance.
It is also important to test the water flow and pressure in the new fixture. Adjust as needed using the valves and ensure that all connections are tight and free of leaks.
8. Seal and Waterproof Connections:
Apply a waterproof sealant or silicone around the edges of the fixture to create a watertight seal. This step prevents water from entering the niche and ensures the longevity of the electrical connections. Check for any gaps or openings and address them to maintain the waterproof integrity of the installation.
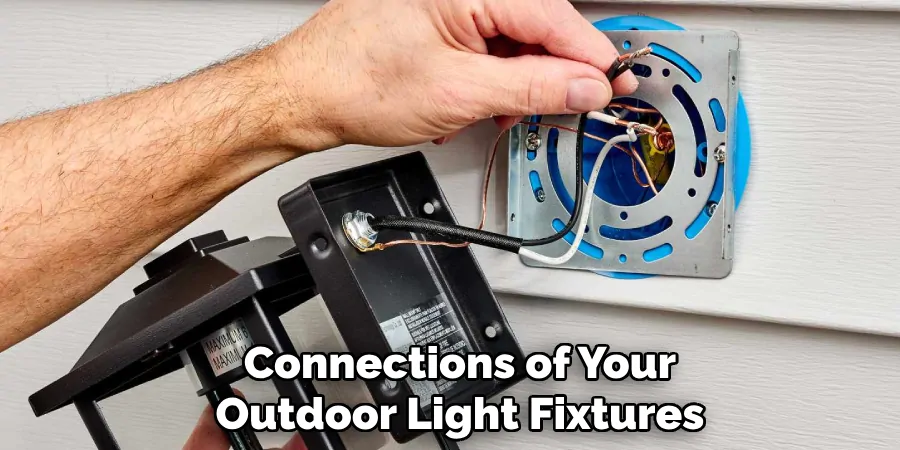
In addition to applying a waterproof sealant, it is also important to regularly check and maintain the connections of your outdoor light fixtures. Over time, the electrical connections can become loose or corroded, which can lead to issues with the functioning of your lights.
9. Test the New Fixture:
Before restoring the water level in the pool, turn on the power and test the new pool light fixture. Verify that it functions properly, cycling through different colors or settings if applicable.
Check for any flickering, dimming, or irregularities in the lighting, as these may indicate issues with the installation. If there are any problems, consult the manufacturer’s instructions or contact a professional electrician for assistance.
10. Restore Water Level and Final Checks:
Once the new fixture has been tested and confirmed to be working correctly, restore the water level in the pool to its normal level. Conduct a final visual inspection of the installed fixture and its surroundings to ensure everything is secure and in proper order. Double-check the sealant and connections for any signs of leaks or issues.
Continue to monitor the fixture and its operation for the next few days, especially if it is a new addition or replacement. This will allow you to catch any potential issues early on and address them before they become bigger problems.
Conclusion
In conclusion, changing a swimming pool light fixture is a task that requires careful planning, attention to detail, and adherence to safety protocols. By following the outlined steps and considering safety measures, individuals can successfully replace a swimming pool light fixture, ensuring proper illumination and functionality.
It’s essential to prioritize safety by shutting off power to the circuit and taking precautions to avoid electrical hazards. Additionally, selecting a compatible replacement fixture and properly installing it with sealed connections contribute to the longevity and efficiency of the lighting system.
Regular maintenance and periodic checks of the swimming pool light fixture are also crucial to ensure continued performance and safety. Thanks for reading, and we hope this has given you some inspiration on how to change swimming pool light fixture!

