Changing a light bulb may seem like a simple task, but when it comes to outdoor hanging lanterns, it can be tricky. Not only do you have to take into consideration the height and location of the lantern, but also the type of bulb and how to safely handle electricity.

In this guide, we will walk you through the step-by-step process of how to change light bulb in outdoor hanging lantern so you can enjoy a well-lit and welcoming outdoor space. If you are unsure or uncomfortable handling electricity, it is always best to consult a professional electrician.
Understanding Outdoor Hanging Lanterns
Before we discuss the steps for changing a light bulb in an outdoor hanging lantern, let’s first understand what these types of lanterns are. Outdoor hanging lanterns are typically used to provide lighting and add ambiance to outdoor spaces such as porches, patios, or gardens.
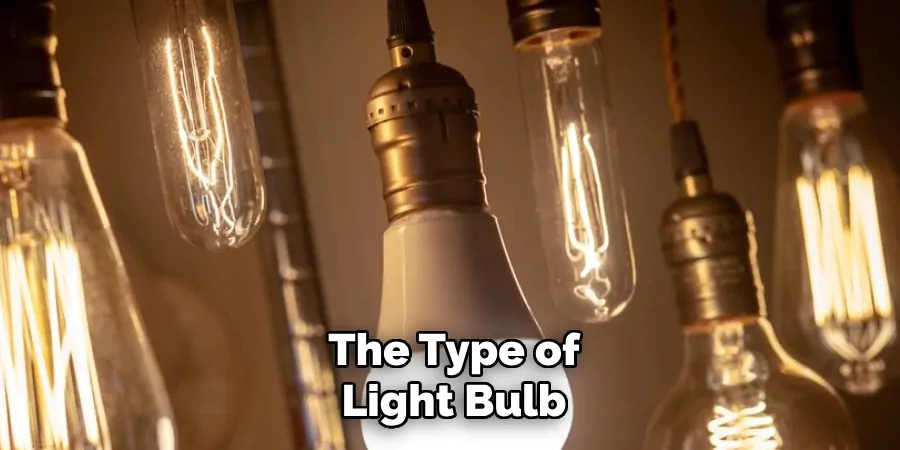
They come in various designs and materials, from traditional metal lanterns to more modern glass ones. Most outdoor hanging lanterns use incandescent or LED bulbs, with the latter being more energy-efficient and longer-lasting. Understanding the type of bulb your lantern uses is important as it will determine what kind of replacement bulb you will need.
Tools and Materials You Will Need to Change the Light Bulb in Outdoor Hanging Lantern
- A ladder or stepladder
- A screwdriver
- Replacement bulb (make sure it matches the type and wattage of the old one)
- Safety goggles or glasses
- Gloves (optional but recommended for added safety)
Step-by-step Guidelines on How to Change Light Bulb in Outdoor Hanging Lantern
Step 1: Turn Off the Power
First and foremost, make sure to turn off the power supply to the outdoor hanging lantern. This can be done by switching off the light switch or turning off the circuit breaker for that specific area.

Turning off the power ensures that there is no risk of electrocution while changing the bulb. This step is crucial and should always be completed. It is best to turn off the main circuit breaker if you need clarification about the power supply.
Step 2: Accessing the Bulb
Next, you will need to access the bulb in the lantern. This may involve removing any screws or clips that hold the glass panel or metal frame in place. Use a screwdriver if necessary, but be careful not to damage any parts of the lantern. Once you have removed any obstructions, you should be able to access the bulb inside. Make sure to use safety goggles or glasses to protect your eyes from any broken glass.
Step 3: Remove the Old Bulb
Now that you have accessed the bulb, carefully remove it from its socket. Be gentle and try not to bend or break the metal prongs at the base of the bulb. If the old bulb is a traditional incandescent one, make sure to handle it with care, as it can be hot and potentially burn your fingers. While wearing gloves can provide added protection, make sure to handle the bulb with caution regardless.
Step 4: Replace with the New Bulb
Once you have removed the old bulb, it is time to replace it with a new one. Match the wattage and type of the old bulb for optimal performance and safety. Carefully insert the new bulb into the socket, making sure it is securely in place. If the bulb has metal prongs, make sure they are aligned with the corresponding slots in the socket. This will ensure proper connection and functioning of the bulb.
Step 5: Reassemble the Lantern
After replacing the bulb, reattach any screws or clips that were removed in step 2. Make sure they are securely in place to prevent any potential hazards. Once everything is back in place, turn on the power supply and switch on your outdoor hanging lantern to test if the new bulb works properly.
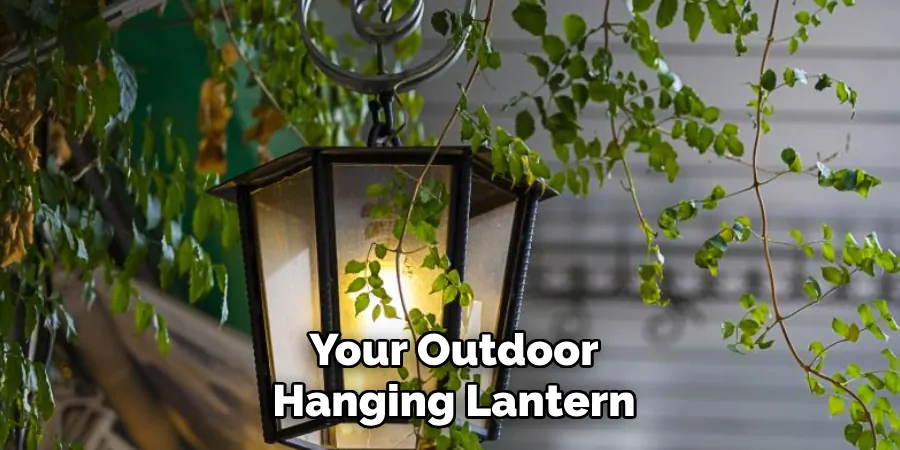
If the bulb does not turn on, double-check that it is correctly installed and the power supply is turned on. Make any necessary adjustments before using the lantern.
Following these steps will help you change the light bulb in your outdoor hanging lantern safely and efficiently. Regularly checking and replacing bulbs when needed will ensure that your outdoor space is always well-lit and inviting. Remember, if you are unsure or uncomfortable handling electricity, it is best to seek professional help. Happy lighting!
Additional Tips and Tricks to Change Light Bulb in Outdoor Hanging Lantern
1. When choosing a replacement bulb for your outdoor hanging lantern, make sure to check the wattage recommended by the manufacturer. Using a higher-wattage bulb than what is recommended can cause the light fixture to overheat and potentially start a fire.
2. Wear gloves or a soft cloth to avoid accidentally breaking the new bulb while installing it. This will also help prevent fingerprint smudges that can affect the clarity of the light.
3. Before installing the new bulb, clean the inside of the lantern and remove any dirt or debris that may have accumulated. This will also help prevent potential fire hazards.
4. If your outdoor hanging lantern has multiple bulbs, it is important to replace all of them at the same time. This will ensure that the light output remains consistent and prevent any potential electrical issues.
5. If your outdoor hanging lantern is hardwired, it is important to turn off the power before attempting to change the light bulb. This can be done by flipping the switch on the circuit breaker or unplugging the outlet if it is a plug-in fixture.
6. When unscrewing the old bulb, be gentle and avoid using excessive force. If the bulb is stuck, try gently wiggling it back and forth until it loosens.
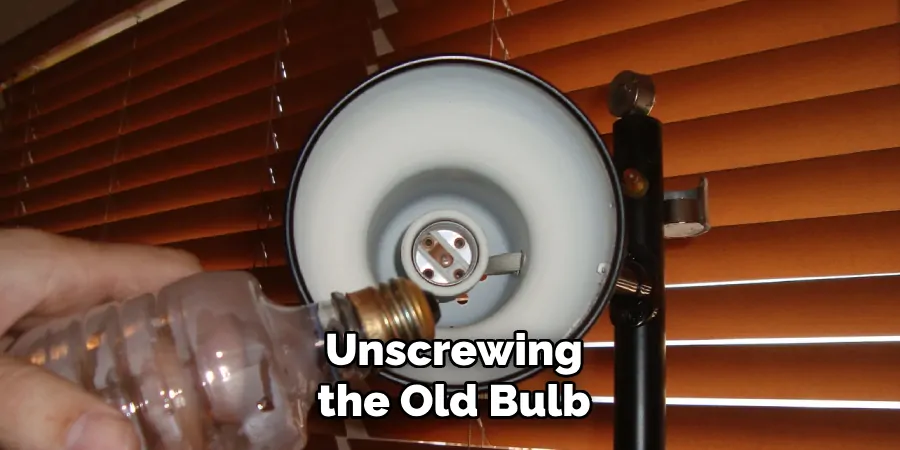
7. To prevent corrosion, apply a small amount of petroleum jelly or electrically conductive grease to the base of the new bulb before screwing it in.
8. If you have trouble reaching the light fixture, consider using a step ladder or asking someone to assist you. Avoid standing on unstable surfaces such as a chair or table.
9. After installing the new bulb, test it by turning on the power and checking if the light is working properly. If not, double-check that the bulb is securely screwed in and try again.
10. Regularly inspect your outdoor hanging lantern for any signs of damage or wear and tear. If you notice any issues, such as cracks or exposed wires, a professional must repair or replace it before attempting to change the light bulb.
Following these additional tips and tricks can help ensure that your outdoor hanging lantern remains in good condition and provides optimal lighting for your outdoor space.
It is important to always prioritize safety when changing a light bulb, so don’t hesitate to seek professional assistance if needed. With proper maintenance and care, your outdoor hanging lantern can continue to enhance the beauty and functionality of your outdoor area for years to come. Happy bulb changing!
Things You Should Consider to Change Light Bulb in Outdoor Hanging Lantern
1. Before changing the light bulb in your outdoor hanging lantern, consider safety. Turn off the power and take necessary precautions, such as wearing gloves and using a stable surface, when working with electricity.
2. Another important factor to consider is the type and size of the replacement bulb. Make sure to choose a bulb that is compatible with your light fixture and doesn’t exceed the recommended wattage.
3. When handling the new bulb, be careful not to touch the glass part as it can leave fingerprints or other residues that can affect its performance.

4. It is also important to dispose of the old bulb properly. Most light bulbs contain small amounts of mercury and other hazardous materials, so make sure to follow proper recycling guidelines.
5. If you need help with how to change the light bulb or encounter any difficulties during the process, feel free to consult the manufacturer’s instructions or seek professional help.
6. Regularly cleaning and maintaining your outdoor hanging lantern can also help extend its lifespan and prevent the need for frequent bulb changes. Make sure to remove any dirt or debris that may accumulate on and around the light fixture.
7. If your outdoor hanging lantern is in a particularly harsh environment, such as near salt water or extreme weather conditions, consider investing in a durable and weather-resistant bulb to ensure longer-lasting performance.
8. Don’t forget to periodically check for any signs of wear and tear on your light fixtures, such as loose screws or damaged wiring. Addressing these issues promptly can prevent further damage and keep your outdoor hanging lantern in good working condition.
9. If you are using LED bulbs, make sure to properly dispose of them when they reach the end of their lifespan. Most LED bulbs can last up to 25,000 hours, but once they start flickering or lose brightness, it’s time for a replacement.
10. Lastly, consider using energy-efficient bulbs in your outdoor hanging lantern to save on electricity costs and reduce your carbon footprint. LED or CFL bulbs are great alternatives to traditional incandescent bulbs and can provide the same level of brightness while consuming less energy.
Following these considerations can help ensure a safe and efficient bulb-changing process for your outdoor hanging lantern. Proper care and maintenance allow you to enjoy well-lit outdoor spaces for many years. Happy bulb-changing!
Troubleshooting Common Issues to Change Light Bulbs in Outdoor Hanging Lanterns
1. Wrong Bulb Size:
One of the most common issues when trying to change a light bulb in an outdoor hanging lantern is using the wrong size bulb. It’s important to make sure that the replacement bulb matches the wattage and base size of the old one.
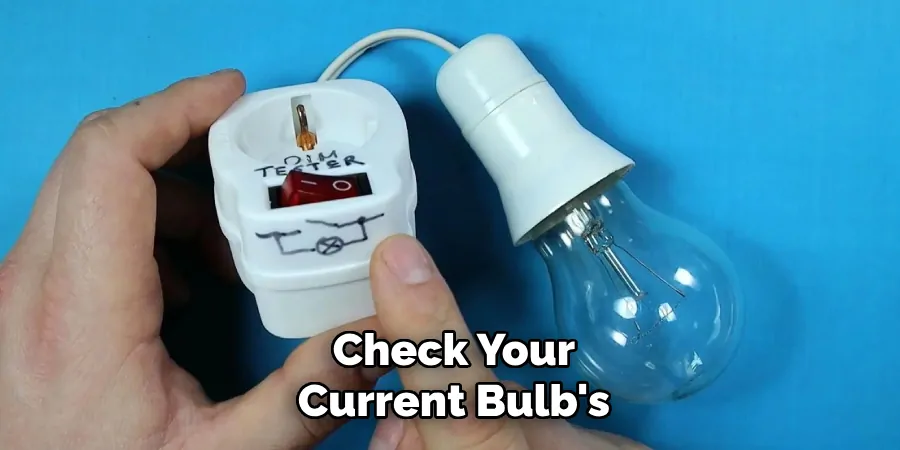
To avoid this issue, always check your current bulb’s wattage and base size before purchasing a replacement. You can find this information on the packaging or by examining the old bulb itself. Using the wrong size bulb can not only cause the light to flicker or not work at all, but it can also potentially damage your lantern.
2. Loose or Corroded Connections:
Loose or corroded connections are another common issue when changing light bulbs in outdoor hanging lanterns. Over time, exposure to weather elements and humidity can cause the connections inside the lantern to become loose or corroded, resulting in a poor electrical connection.
To troubleshoot this issue, turn off the power to the lantern and carefully inspect the connections. If you see any signs of corrosion, gently clean it off with a wire brush. If there are loose connections, tighten them using pliers. It’s also important to check for any damaged wires that need replacing.
3. Faulty Wiring:
In some cases, the problem with changing light bulbs in outdoor hanging lanterns may lie within the wiring itself. If you have ruled out the wrong bulb size and loose/corroded connections as potential issues, then there may be a faulty wire or connection within the lantern’s wiring.
To troubleshoot this issue, it’s best to call a licensed electrician who can inspect and repair any faulty wiring. To avoid the risk of electric shock, it’s important to only attempt to work on electrical wiring with proper knowledge and experience.
4. Burnt Out Socket:
Another common issue with outdoor hanging lanterns is a burnt-out socket. This can happen if the bulb has been left on for extended periods of time or if there is a power surge. When this happens, the metal contacts inside the socket can become damaged and prevent the bulb from making proper contact.
To troubleshoot this issue, turn off the power to the lantern and carefully inspect the socket. If you see any signs of damage, it’s best to replace the entire socket to ensure proper functionality. Be sure to use the correct wattage and base size for the replacement socket.
5. Faulty Light Switch:
If you have checked all of the above issues and your outdoor hanging lantern still isn’t working, the light switch itself may be faulty. This can happen if there is a power surge or if the switch has worn out over time.
To troubleshoot this issue, turn off the power to the lantern and carefully inspect the light switch. Replacing the switch with a new one is best if you see any signs of damage or wear and tear. Be sure to follow proper electrical safety procedures when working with switches.
Following these considerations when troubleshooting issues while changing light bulbs in outdoor hanging lanterns can help save time, money, and potential safety hazards. Remember to always follow proper safety precautions and consult a professional for any electrical repairs if needed. Maintaining your outdoor lighting will be a breeze with the right knowledge and tools. Happy bulb-changing!
Frequently Asked Questions
Can I Change the Light Bulb in My Outdoor Hanging Lantern by Myself?
Yes, you can definitely change the light bulb in your outdoor hanging lantern yourself. It is a simple process requiring no special training or tools.
What Type of Light Bulb Should I Use for My Outdoor Hanging Lantern?
The type of light bulb you will need for your outdoor hanging lantern depends on the specific model and brand you have. It is important to refer to the manufacturer’s instructions or consult with a specialist at your local hardware store for the correct bulb type.
How Often Should I Change the Light Bulb in My Outdoor Hanging Lantern?
The frequency of changing your light bulb will depend on how often you use your outdoor hanging lantern and the quality of the bulb itself. On average, light bulbs should be changed every 1-2 years.
Can I Use LED Bulbs in My Outdoor Hanging Lantern?
Yes, LED bulbs can be used in outdoor hanging lanterns. In fact, they are a popular choice due to their energy efficiency and long lifespan. Just check the manufacturer’s instructions or consult a specialist to ensure the LED bulb is compatible with your specific lantern model.
Is There a Difference Between Indoor and Outdoor Light Bulbs?
Yes, there are differences between indoor and outdoor light bulbs. Outdoor light bulbs are specifically designed to withstand elements such as rain, wind, and extreme temperatures. They also emit a different type of light to provide better visibility in outdoor spaces. It is important to use the correct type of bulb for your outdoor hanging lantern to ensure proper functionality and longevity.
What if I need help changing the light bulb in my outdoor hanging lantern?
If you are unsure or uncomfortable with changing the light bulb in your outdoor hanging lantern, it is always best to consult a professional. They will have the necessary knowledge and experience to safely and correctly replace the bulb for you.
Conclusion
Now you know how to change light bulb in outdoor hanging lantern and the important things to consider when doing so. Remember to always follow the manufacturer’s instructions and safety precautions when handling any electrical equipment.
With proper care, your outdoor hanging lantern will continue providing beautiful lighting for years. So, go ahead and confidently enjoy your outdoor space with a well-lit and functional hanging lantern! Happy bulb changing!

