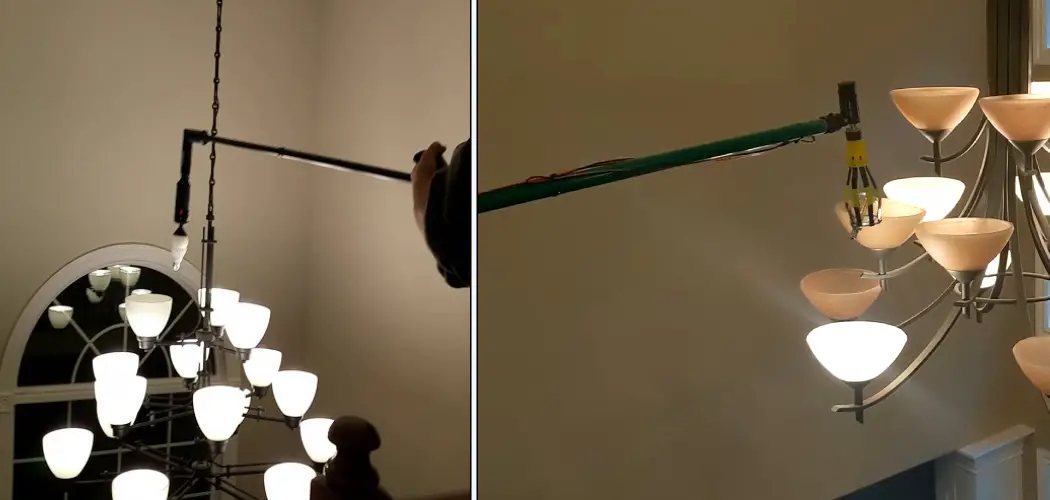
If you own a high ceiling chandelier and can’t seem to figure out how to change the light bulb, then you’ve come to the right place. Changing a light bulb in your chandelier is no easy feat; you may feel unsafe reaching into dangerous heights or worry about fragile glass or intricate wiring.
But with the right tools and knowledge, replacing that bulb shouldn’t be too hard or stressful. In this blog post, we have compiled all of the essential tips on how to change light bulb in high ceiling chandelier safely – without risking hazardous falls or electrical shock – so that it is an easier task than ever before!
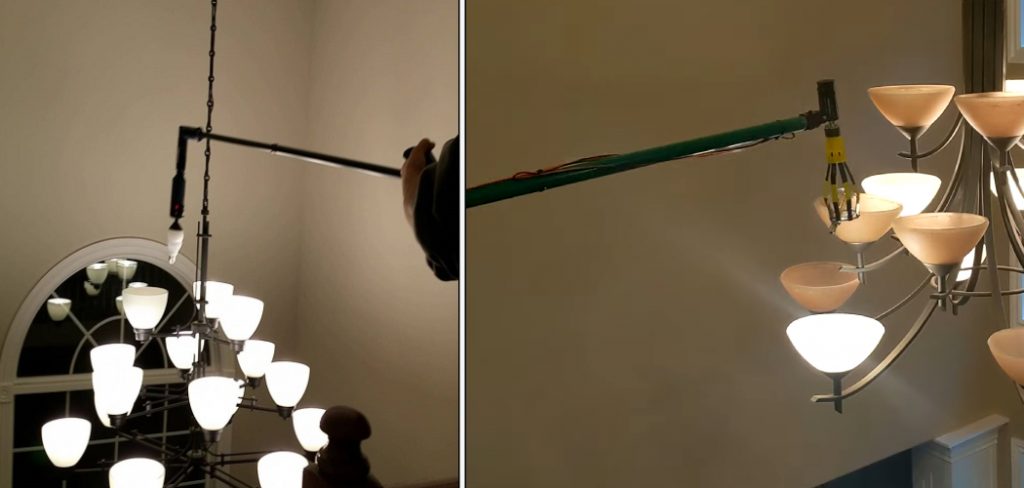
11 Step-by-Step Guidelines on How to Change Light Bulb in High Ceiling Chandelier:
Step 1: Turn off the Power
Before you begin using any tools, be sure to turn off the power. This is especially important if your chandelier has more than one bulb and is wired directly to the ceiling. It is also important to make sure all of the bulbs in your chandelier are turned off. So if you are replacing a single bulb, make sure to switch off all of the other bulbs connected to it.
Step 2: Get All of Your Materials Together
You’ll need a ladder that is long enough to reach the chandelier, a screwdriver, and a light bulb. If the chandelier has glass or delicate parts, you may also want to get a pair of work gloves and safety glasses. Be sure that all of your tools are in reachable and safe areas. It is also important to measure the chandelier before purchasing a new bulb so you can get one that fits properly.
Step 3: Position the Ladder Underneath the Chandelier
Carefully place the ladder beneath the chandelier, making sure that it is stable and secure before climbing. But before you climb the ladder, make sure that there is nothing in your way and that all tools are within reachable distance. Because of your height, it is important to be extremely careful and cautious.
Step 4: Climb up the Ladder
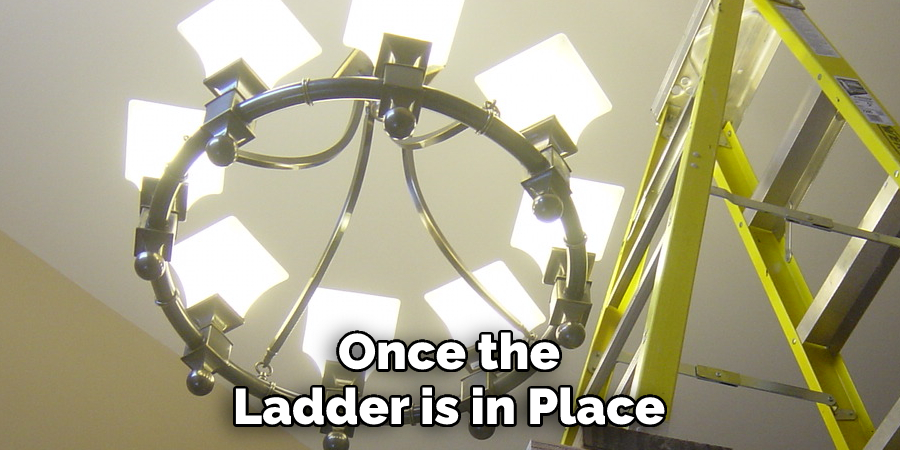
Once the ladder is in place, climb up to the top and position yourself so that you can reach the chandelier. You may want to use a rope or an extra set of hands to help you balance. Be sure that the ladder is not going to slip away from underneath you. If you feel unsafe, be sure to secure the ladder with a rope or another person who is standing close by.
Step 5: Unscrew the Light Cover
Using a screwdriver, remove the screws or clips that are holding the light cover in place. But if your chandelier has glass pieces, then you may want to use a pair of work gloves and safety glasses. This will help protect your hands and eyes from any glass shards. That being said, be sure to collect all of the pieces as you go and place them in a bowl or container.
Step 6: Remove the Light Bulb from the Socket
Gently pull on the light bulb until it comes out of its socket. Be careful not to drop it as this can be dangerous. It is also important to not touch the glass part of the bulb as this can reduce its lifespan. You may want to use a pair of gloves for this part. If the light bulb is stuck, then you may want to use a pair of pliers to help loosen it.
Step 7: Install New Light Bulb
Unwrap your new light bulb and insert it into the socket, making sure that all connections are snugly fitted together. So when installing the new bulb, pay extra attention to its wiring and connections. Afterward, flip the switch on and off to make sure the bulb is working properly. This will help you identify any issues before reinstalling the light cover.
Step 8: Replace Light Cover
Carefully screw or clip the light cover back onto the chandelier. But if the light cover has glass pieces, then you may want to use a pair of work gloves and safety glasses for extra protection. It is important to make sure that all pieces are fitted securely before continuing. You may also want to use a bit of adhesive tape for extra security.

Step 9: Turn on the Power and Test Out the Bulb
Now that you’ve replaced your chandelier’s light bulb, turn the power back on. Ensure that your new bulb is working correctly by turning it on and off a few times. It is also recommended to check the wiring and connections of your new light bulb as well. Because of the height, it is important to make sure that everything is secure and safe.
Step 10: Clean Up the Area
Once you verified that the bulb works, don’t forget to clean up any debris around the area before descending down from your ladder. But if you needed to replace glass pieces, then it may be best to call a professional for assistance. If the area is safe, then you can descend down from your ladder and store it in a safe place away from damage.
Step 11: Double Check Your Work
Lastly, double check all of your work to make sure everything is secure and in place before climbing down from your ladder. Remember to also check the wiring and connections of your new bulb as well. This will help ensure that you have properly changed your chandelier’s light bulb. It is also important to make sure that the area is safe and secure before you leave.

After following these steps on how to change the light bulb in the high ceiling chandelier, you should now have successfully replaced the light bulb in your high ceiling chandelier. Enjoy the bright new lighting and bask in the glory of a job well done!
Safety Precautions You Should Take
Given Below are some safety precautions you should take when changing a light bulb in a high ceiling chandelier:
- Always make sure to turn off the power before attempting any electrical repair.
- Wear safety goggles and gloves when dealing with electricity to avoid any injuries.
- Never use a light bulb with a higher wattage than specified as this can be dangerous.
- Make sure your ladder is stable and secure before climbing up.
- Be mindful when replacing the light bulb in its socket to avoid breaking it or any accidents.
- Be aware of your surroundings when climbing up and down the ladder to prevent slipping or falling.
- When you are finished, double-check that you have securely replaced all the screws or clips.
- Take caution when handling fragile glass covers as they can easily be broken if mishandled.
- Make sure to clean up any debris that may have fallen around the chandelier before descending off the ladder.

Do You Need to Use Professionals?
In some cases, changing the light bulb in a high ceiling chandelier can be challenging and potentially dangerous if not done correctly. If you are uncertain about the process, it is best to hire a professional electrician who can safely and correctly change your chandelier’s light bulb.
They will have the knowledge and expertise to complete this task in a safe manner. However, if you feel confident enough, following these steps should help you successfully change the light bulb in your high ceiling chandelier without any assistance. Good luck!
How Much Will It Cost?
The cost to change a light bulb in a high ceiling chandelier will vary depending on the type and size of the chandelier, as well as the type of light bulb being used. Generally, it should cost around $50-150 for professional electricians to complete this task.
However, if you are confident enough to do it yourself, then the cost should be minimal as all you would need is a screwdriver and the right light bulb. It is important to note that the cost of hiring a professional electrician might be worth it in some cases, so make sure you weigh the pros and cons before deciding.
Frequently Asked Questions
Q: What Wattage Should I Use for My Chandelier’s Light Bulb?
A: Always make sure to use the same wattage or lower when replacing your chandelier’s light bulb. Using a higher wattage than specified can be dangerous and lead to overheating, which can be a fire hazard.
Q: How Often Should I Replace the Light Bulb?
A: Usually, you should replace your chandelier’s light bulb every 6-12 months or when it begins to dim.
Q: Can I Use Any Type of Bulb?
A: No, make sure to check your chandelier’s manual to determine which type of light bulb is suitable. Different materials, wattage and sizes can be used for different types of chandeliers. Using an improper light bulb can be dangerous so double check before purchasing.
Q: What Should I Do After Changing the Light Bulb?
A: Once you’ve changed your chandelier’s light bulb, turn the power back on and make sure it is working correctly. Don’t forget to clean up any debris around the area before descending down from your ladder, and double check all of your work to make sure everything is secure and in place. Enjoy the bright new lighting!

Conclusion
Changing a light bulb in your high ceiling chandelier may seem like a daunting task; however, it can be done easily if you follow this article on how to change light bulb in high ceiling chandelier. Lastly, whether you’re changing just one lightbulb or doing more extensive work on your fixture, always remember to use the utmost care and caution when working in such an elevated position.
Stay safe by following all safety protocols and ensuring that you are confident in what you’re doing before getting started. With patience, the proper equipment and safety protocols followed, keeping your home—and specifically your high-ceiling chandelier—in check shouldn’t be difficult at all. Take pride in being able to do this simple DIY project from the comfort of your own home!

