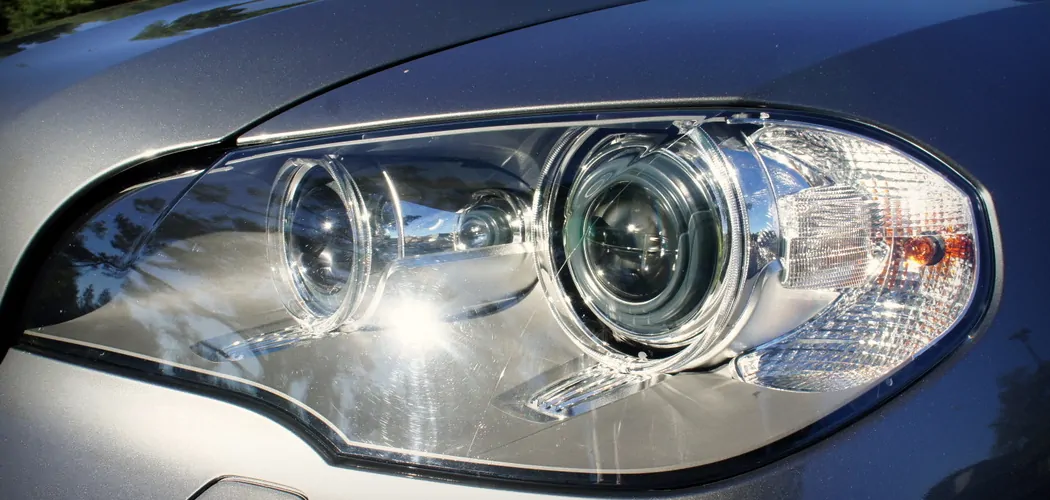
Hid headlights, also known as High-Intensity Discharge headlights, are a popular choice among car owners due to their brighter and longer-lasting light output compared to traditional halogen headlights. However, just like any other component in your car, they may eventually need to be replaced or upgraded. Changing headlights on your car can be a daunting task, especially if you are not familiar with how to do it.
However, with the right tools and steps, changing HID (High-Intensity Discharge) headlights is a relatively easy process that can save you time and money compared to taking your car to a mechanic. In this guide on how to change HID headlights, we will discuss how you can change HID headlights on your own and give your car the upgrade it needs.
Tools and Materials Needed
Before you begin, make sure you have these tools and materials ready to change HID headlights on your car:
- Replacement HID Headlights: Make sure to purchase the correct type and size for your specific car model.
- Screwdriver (Phillips or flathead, depending on your car’s screws)
- Gloves: To avoid getting any oils or dirt on the new headlights.
- Cleaning Cloth: Use a microfiber cloth to clean the inside of the headlight housing and lens before installing the new ones.
What are HID Headlights?
HID headlights use a high-voltage electrical charge to ignite xenon gas inside the bulb, which creates a bright white light. This is different from traditional halogen headlights that use a filament and are less efficient in terms of energy consumption and light output. HID headlights have become popular due to their increased brightness, longer lifespan, and better visibility on the road. However, they can be more expensive to replace compared to halogen bulbs.
8 Things to Know Before You Start
1) Check Your Car’s Manual
Before starting the process, it is always a good idea to refer to your car’s manual. The manual may have specific instructions and precautions for changing headlights on your particular model. If you do not have a manual, you can also check online for instructions specific to your car’s make and model.
2) Inspect the Condition of Your Headlights
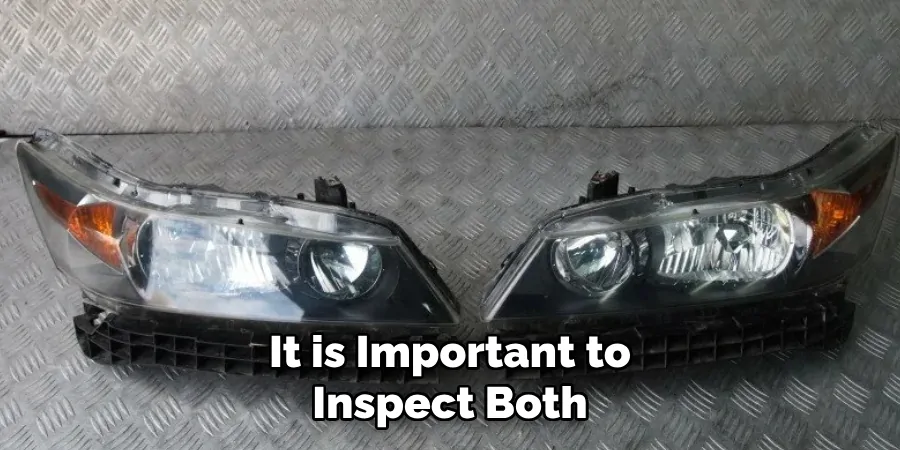
Take a look at your headlights and determine if they really need to be changed. Sometimes, only one headlight may be burnt out or damaged, so it is important to inspect both before purchasing replacements.
3) Buy the Right Replacement Headlights
Make sure to purchase HID headlights that are compatible with your car’s make and model. You can check online or ask for assistance at an auto parts store to ensure you get the right ones. While you may be tempted to go for the cheapest option, it is important to invest in high-quality headlights to avoid potential issues and frequent replacements.
4) Choose Between OEM or Aftermarket Headlights
OEM (Original Equipment Manufacturer) headlights are made by the same manufacturer as your car. They are usually more expensive but ensure a perfect fit and similar performance as your original headlights. Aftermarket headlights, on the other hand, are made by third-party manufacturers and may have varying levels of quality and fit. Consider your budget and preferences when choosing between OEM or aftermarket headlights.
5) Wear Protective Gear
Changing headlights can be a messy job, so it is important to wear gloves to avoid getting any dirt or oils on your new headlights. You may also want to wear protective eyewear to avoid getting anything in your eyes.
6) Clean Inside the Headlight Housing and Lens
Before installing the new headlights, use a microfiber cloth to clean the inside of the headlight housing and lens. This will ensure better visibility and prevent any dirt from affecting your new headlights’ performance.
7) Replace Both Headlights
Even if only one of your headlights is damaged or burnt out, it is recommended to replace both at the same time. This will ensure both lights have an equal level of brightness and prevent any potential issues in the future.
8) Test Your New Headlights
Once you have installed the new headlights, make sure to test them before hitting the road. Turn on your headlights and check for any issues, such as flickering or dimming. If everything looks good, you are ready to go!

Changing HID headlights on your own can be a simple and cost-effective solution, especially if you are comfortable working on your car. By following these steps and tips on how to change HID headlights, you can upgrade your headlights and give your car a fresh new look. Remember to always refer to your car’s manual and take the necessary precautions before starting any maintenance or repair tasks.
10 Steps on How to Change HID Headlights
Step 1: Prepare Your Work Area
Start by preparing your work area. Park your car on a well-lit and flat surface, preferably in a garage or covered area. This will provide you with enough space and lighting to work comfortably.
Step 2: Access the Headlight Housing
Open your car’s hood and locate the back of the headlight housing. Depending on your car’s make and model, there may be an access panel or cover that needs to be removed before accessing the headlight.
Step 3: Remove Any Attachments
Carefully remove any attachments that may be securing the headlight into place, such as bolts or screws. Keep track of these attachments, as you will need them when installing the new headlights. While removing these attachments, make sure to avoid touching the headlight’s glass bulb, as it may cause damage or affect its performance.
Step 4: Remove the Old Headlight
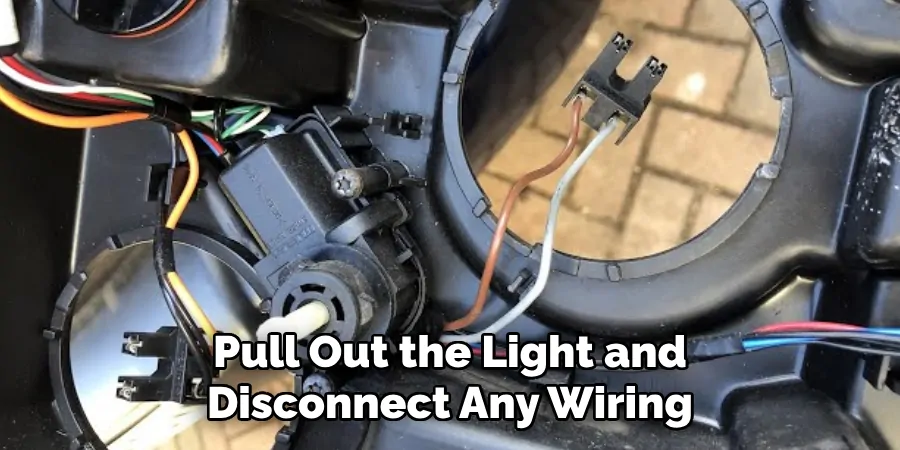
After removing any attachments, you should be able to easily remove the old headlight from its housing. Carefully pull out the light and disconnect any wiring harnesses attached to it. And again, avoid touching the glass bulb.
Step 5: Install the New Headlight
Take your new HID headlight and connect any wiring harnesses to it. Make sure the connections are secure before installing the light into the housing. But before you do, make sure to touch the metal part of your car’s body to discharge any static electricity in your body.
Step 6: Secure the Headlight in Place
Once the new headlight is installed, secure it into place by reattaching any bolts or screws that were removed earlier. Make sure they are tight but not over-tightened, as this may cause damage. If your new headlights come with a cover or access panel, make sure to reattach it.
Step 7: Repeat the Process for the Other Headlight
If you are replacing both headlights, repeat the same process for the other side. Remember, even if only one headlight is damaged, it is recommended to replace both at the same time. Never mix and match different types or brands of headlights.
Step 8: Test Your New Headlights
Before closing your car’s hood, turn on your new headlights and make sure they are working properly. Check for any flickering or dimming and make any necessary adjustments if needed. So far, so good? Time to move on to the next step!
Step 9: Clean Up and Dispose of Old Headlights
Dispose of your old headlights properly according to local regulations. You may also want to give your work area a quick clean-up before closing the hood. So, grab a trash bag and throw away any packaging or old headlights.

Step 10: Document Your Maintenance
Keep a record of your headlight replacement for future reference. This can be helpful when determining the lifespan of your headlights or if you decide to sell your car in the future. You can also document any issues or concerns you encountered during the replacement process for troubleshooting purposes.
Now that you know how to change HID headlights, you can confidently upgrade your car’s lighting system. Remember to always refer to your car’s manual and take the necessary precautions while working on your vehicle. And if you are not comfortable with replacing headlights on your own, it’s always best to seek professional help.
8 Things to Avoid When Changing HID Headlights
1) Touching the Glass Bulb
As mentioned earlier, avoid touching the glass bulb of your new headlights as it may cause damage or affect its performance. Never use bare hands to handle the bulb; instead, use gloves or a clean cloth.
2) Using Incorrect Bulb Type
Always refer to your car’s manual or consult an expert before purchasing new headlights. Using the wrong type of bulb can not only affect its performance but also cause serious damage to your car’s electrical system.
3) Mixing and Matching Headlights
Never mix and match different types or brands of headlights. Doing so can cause uneven lighting, affect visibility, and potentially damage your car’s electrical system. But if you do, be prepared for some serious troubleshooting.
4) Forgetting to Discharge Static Electricity
Before installing the new headlights, make sure to discharge any static electricity in your body by touching a metal part of your car’s body. This helps prevent any potential damage to the bulbs during installation.
5) Using Damaged or Defective Headlights
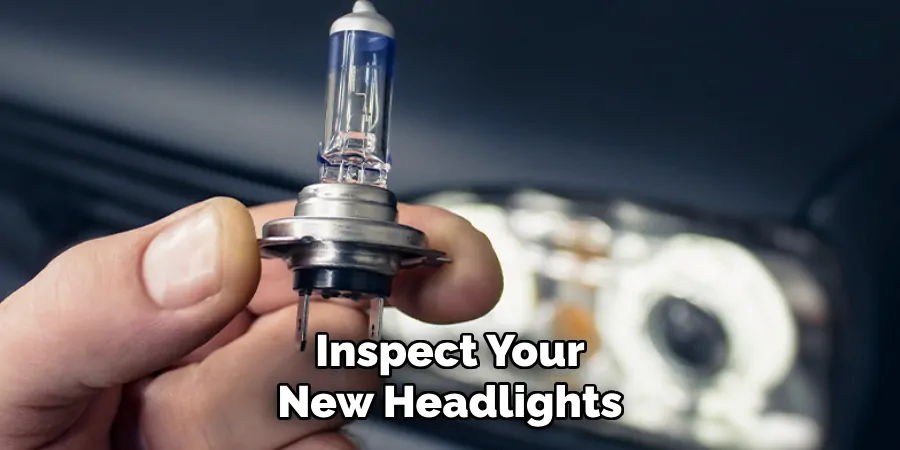
Always inspect your new headlights before installation. If there are any damages or defects, do not attempt to install them, as it may cause further issues. Contact the manufacturer for a replacement instead.
6) Over-tightening Bolts and Screws
When securing the new headlights into place, be careful not to over-tighten the bolts and screws. This could damage the housing or cause the light to become misaligned. Very tight but not over-tight is the way to go.
7) Improperly Disposing of Old Headlights
Make sure to properly dispose of your old headlights according to local regulations. This ensures they do not end up in landfills or harm the environment. You can also check with your local auto shops, as some may have recycling programs for used car parts.
8) Not Documenting the Replacement
As mentioned earlier, it’s important to document your headlight replacement for future reference and troubleshooting purposes. This can also be helpful when determining the lifespan of your headlights or if you decide to sell your car in the future. So, don’t forget to take note of any issues or concerns encountered during the replacement process.
By avoiding these common mistakes on how to change HID headlights, you can ensure a smooth and successful headlight replacement process. Remember to always refer to your car’s manual and take the necessary precautions while working on your vehicle. And if you are not comfortable with replacing headlights on your own, it’s always best to seek professional help. Now go out there and upgrade those headlights!
8 Additional Tips for Maintaining HID Headlights
1) Regularly Clean Your Headlights
Dirt, debris, and dead bugs can accumulate on your headlights over time, reducing their effectiveness. Make it a habit to clean them regularly with a soft cloth and mild soap. Avoid using harsh chemicals as they can damage the protective coating on the headlights.

2) Check for Proper Alignment
Proper alignment of your headlights is crucial for optimal visibility and to avoid blinding other drivers. You can check this by parking your car in front of a wall or garage door and adjusting the aim if necessary.
3) Replace Both Headlights at the Same Time
As mentioned earlier, it’s recommended to replace both headlights at the same time, even if only one is damaged. This ensures a balanced and uniform lighting system in your car.
4) Inspect Wiring and Connections
Regularly check the wiring and connections of your headlights for any signs of damage or corrosion. These can affect the performance of your headlights and potentially cause electrical issues in your car.
5) Don’t Ignore Warning Signs
If you notice any flickering, dimming, or strange noises coming from your headlights, it’s important to address them immediately. These could be signs of a bigger issue that needs to be resolved before it causes further damage.
6) Consider Upgrading to LED Headlights
While HID headlights are an upgrade from traditional halogen bulbs, LED headlights offer even better performance with a longer lifespan and lower energy consumption. Consider upgrading to LED headlights for an even better driving experience.
7) Opt for Professional Installation
If you are not comfortable with replacing headlights on your own, it’s always best to seek professional help. They have the necessary knowledge and tools to ensure a successful installation without causing any damage.
8) Keep Your Headlights On at Appropriate Times
It’s important to use your headlights at the appropriate times, such as during low light conditions and when it’s raining or foggy. This not only helps you see better but also makes your vehicle more visible to others on the road. Overall, proper maintenance of your HID headlights is crucial for safe and efficient driving. By following these tips, you can ensure that your headlights perform at their best and have a longer lifespan.
Remember to always prioritize safety and consult an expert if you are unsure about any aspects of maintaining or replacing your headlights. Now go out there and drive with confidence, knowing that your headlights are in top condition!
Frequently Asked Questions
How Often Should I Replace My HID Headlights?
On average, HID headlights can last anywhere from 2,000 to 10,000 hours. However, factors such as usage and environmental conditions can affect their lifespan. It’s best to consult your car’s manual or a professional mechanic for specific recommendations.

Can I Replace My HID Headlights with LED?
Yes, it is possible to replace your HID headlights with LED. However, it may require some modifications and additional components for compatibility. It’s best to consult a professional for this type of replacement.
Can I Replace My HID Headlights on My Own?
While it is possible to replace your HID headlights on your own, it requires some technical knowledge and caution. If you are not confident in doing so, it’s best to seek professional help to ensure a successful installation without any damage. Overall, proper maintenance and replacement of HID headlights can improve your driving experience and ensure safety on the road.
By avoiding common mistakes and following these tips, you can prolong the lifespan of your headlights and enjoy their benefits for a longer period of time.
Is It Safe to Install New Headlights on My Own?
While it is possible to install new headlights on your own, it is always best to seek professional help if you are not comfortable with the process. This ensures that the headlights are installed correctly and reduces the risk of damage to your car or yourself. It’s always better to be safe than sorry when it comes to working on your vehicle.
So, unless you have experience and knowledge in car maintenance, it’s best to leave it to the experts. They can also offer advice and recommendations for maintaining your headlights in the future.
Conclusion
Properly maintaining and replacing your HID headlights is crucial for safe and efficient driving. By avoiding common mistakes on how to change HID headlights, staying informed about best practices, and seeking professional help when needed, you can ensure that your headlights perform at their best.
Regular maintenance will not only improve your driving experience but also save you time and money in the long run. So, don’t neglect your headlights, and make sure to give them the care they deserve. Now, go out there, stay safe on the roads, and enjoy those bright beams of light!

