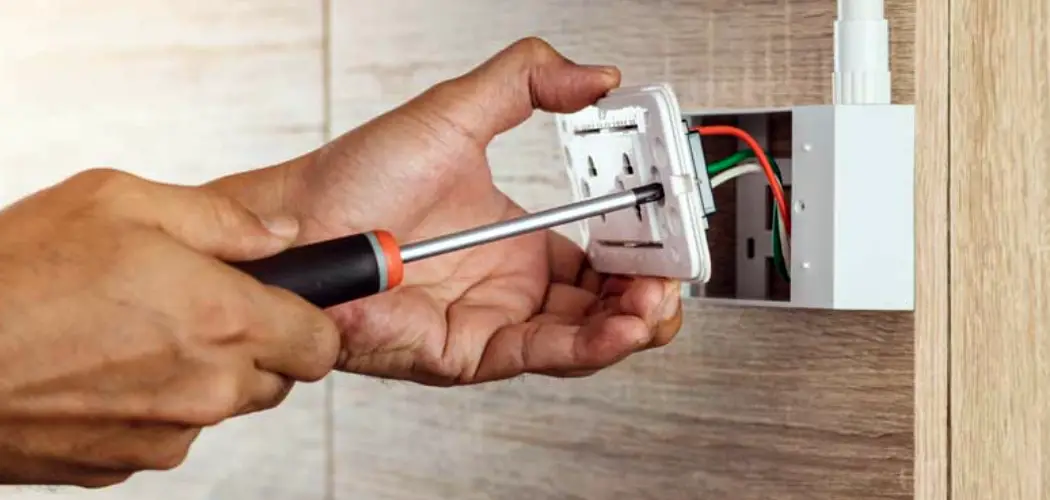
Changing a hardwired light fixture to a plug-in light can be a practical and cost-effective solution for those looking to add flexibility to their lighting setup. This process allows you to reposition your light as needed or easily take it with you when moving. While the task may seem intimidating at first, it is relatively straightforward with the right tools and a basic understanding of electrical work.
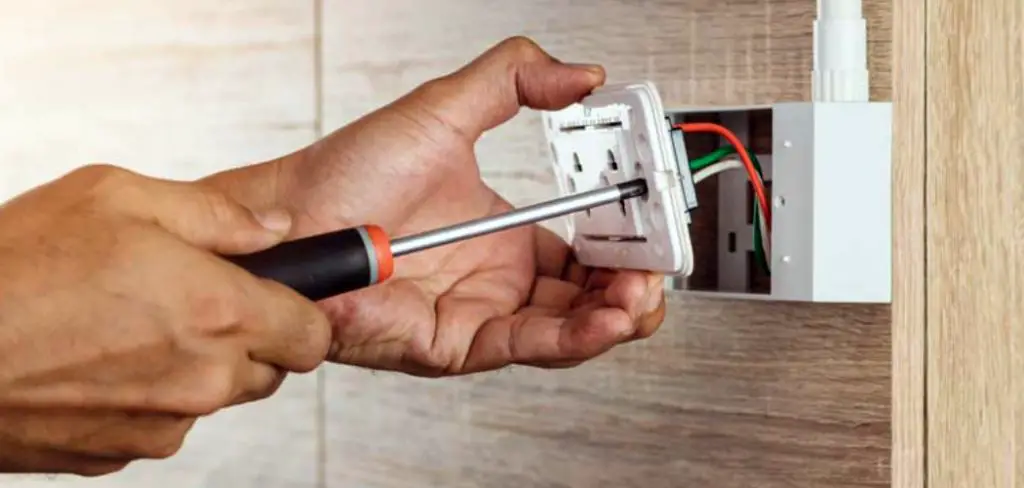
This guide on how to change hardwired light to plug in will walk you through the steps to safely and efficiently convert your hardwired light into a plug-in fixture.
Benefits of Changing Hardwired Light to Plug In
Before we dive into the steps, let’s first understand why you may want to convert your hardwired light to a plug-in fixture. Here are some of the main benefits:
Flexibility:
With a plug-in light, you can easily move it around and reposition it as needed. This is especially useful if you like to change up your home decor or frequently rearrange your furniture. You can also take the light with you when you move to a new location.
Cost-effective:
Converting your hardwired light to plug-in eliminates the need for hiring an electrician or rewiring your home, saving you money in the long run. Additionally, if you have a favorite hardwired light fixture that doesn’t come in a plug-in version, this process allows you to still use it without the added cost of purchasing a new one.
Easy Installation:
Changing a hardwired light to plug-in is a relatively simple process that does not require advanced electrical knowledge. As long as you follow the steps correctly and take necessary safety precautions, it can be done by anyone.
Materials Needed
To successfully convert your hardwired light to plug-in, you will need the following materials:
Screwdriver:
To remove the light fixture and access the wiring, you will need a flathead or Phillips screwdriver.
Wire Cutter/Stripper:
A wire cutter/stripper is necessary to trim and strip the wires for proper connection.
Plug-In Socket:
You will need a plug-in socket that matches the type of light bulb your fixture uses. They are readily available at hardware stores or online.
Electrical Tape:
Electrical tape insulates and protects wires from damage and is essential in this process.
7 Simple Steps on How to Change Hardwired Light to Plug in
Step 1: Turn off the Power
Before starting any electrical work, ensure your safety by turning off the power to the light fixture you want to convert. Locate the circuit breaker that controls the fixture and switch it off. Double-check by attempting to turn on the light to make sure no electricity is flowing.
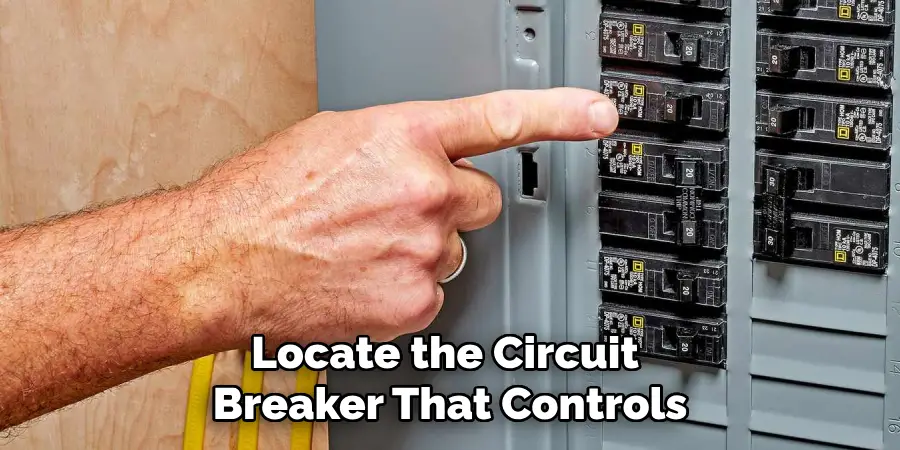
If the light doesn’t turn on, you’re ready to proceed. This step is critical to avoid the risk of electric shock while working on the wiring.
Step 2: Remove the Light Fixture
Begin by carefully removing the existing light fixture. Use a screwdriver to unscrew the fixture from the ceiling or wall, depending on its installation location. Once the fixture is detached, gently pull it away to expose the wiring behind it. Take note of how the wires are connected, as this will guide you during the conversion process.
Typically, you will see three wires: a black (hot) wire, a white (neutral) wire, and a green or bare copper (ground) wire. After observing the connections, use a screwdriver or wire nut to disconnect the wires from the fixture. Be cautious during this step to avoid damaging the wires or the fixture itself.
Step 3: Prepare the Plug-In Socket
Take the plug-in socket and inspect it to ensure it matches the specifications of your light fixture. Most plug-in sockets come with a set of wires—typically a black wire (hot) and a white wire (neutral). Using your wire cutter/stripper, carefully strip about 1/2 inch of the insulation off the ends of these wires, exposing the copper beneath. This will make it easier to connect the socket wires to the wiring from your light fixture.
Before proceeding, double-check that the socket is compatible with the type of light bulb your fixture uses. Having the right plug-in socket is essential for both safety and functionality. Keep the prepared socket handy for the following steps.
Step 4: Connect the Plug-In Socket Wires to the Light Fixture Wires
Now it’s time to connect the wires from your plug-in socket to the wires from your light fixture. Begin by twisting together the black (hot) wire from the socket and the black (hot) wire from the fixture in a clockwise direction. Use electrical tape to secure and insulate these connections thoroughly. Repeat this process with the white (neutral) wires, then do the same with any ground wires if present.
It’s essential to make sure all connections are tightly secured and insulated with electrical tape to prevent any chance of exposed wiring causing an electric shock or starting a fire.
Step 5: Secure the Socket and Reattach the Fixture
Once the wires are securely connected and insulated, carefully place the plug-in socket back inside the light fixture or in a location that doesn’t interfere with its functionality. Depending on the design of your fixture, you may need to tuck the socket and wires neatly into the base of the fixture.
Next, reattach the fixture to the ceiling or wall using the screws you removed earlier. Make sure it is firmly secured in place without pinching or damaging any wires. This ensures that the fixture is stable and reduces the risk of electrical issues. Take a moment to double-check that all connections are properly insulated and organized before moving on to testing the light.

Step 6: Test the Light
With the fixture reattached and all connections secure, turn on the power to the light fixture at the circuit breaker. Once you’ve confirmed that electricity is flowing correctly, plug in your converted light into a nearby outlet or extension cord.
If everything was done correctly, the light should turn on without any issues. Congratulations! You have successfully changed your hardwired light to a plug-in fixture.
Step 7: Finishing Touches
To complete the process, take a moment to ensure everything is neat and secure. Use additional electrical tape or zip ties to organize any loose wires, keeping them out of sight and away from heat sources. Check that the plug-in cord is positioned safely, avoiding areas where it might become a tripping hazard or be accidentally tugged.
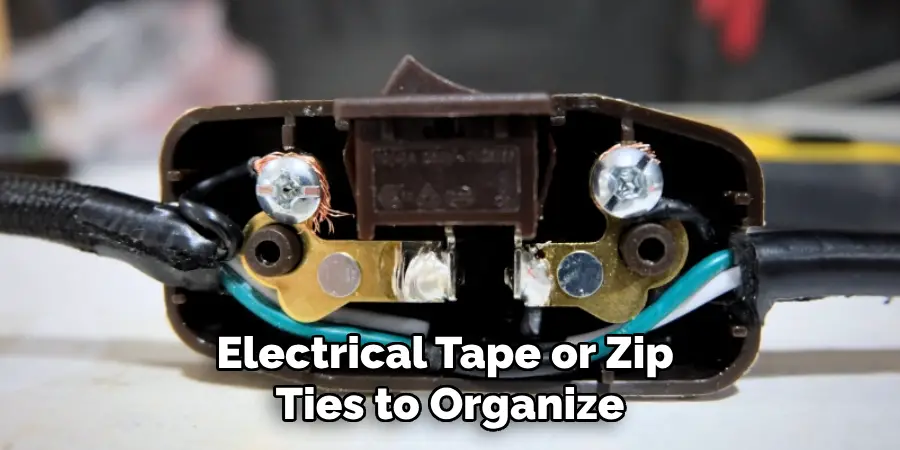
If desired, you can use a cable cover to conceal the cord for a cleaner look. Finally, test the light once more to ensure it works flawlessly, and enjoy the convenience of your newly converted plug-in light fixture.
Following these steps on how to change hardwired light to plug in, you can easily and safely convert your hardwired light to a plug-in, providing more flexibility and convenience in your lighting options. Remember always to prioritize safety and double-check your work before turning on the power. With the right materials and careful attention to detail, you can successfully complete this DIY project in no time. Happy converting!
Additional Tips for Safety
- Always remember to turn off the power before starting any electrical work.
- Make sure all connections are tightly secured and insulated with electrical tape.
- Use caution when handling wires, as they may have sharp edges or be hot from electricity flow.
- If unsure about any step in the process, consult a professional electrician for assistance.
- Keep flammable materials away from exposed wires and connections to prevent fire hazards.
- Regularly inspect your converted plug-in light fixture to ensure it is still safe and functioning correctly.
Frequently Asked Questions
Q: is It Safe to Convert a Hardwired Light to a Plug-in?
A: Yes, as long as the proper safety precautions are taken and the conversion is done correctly. It is essential to turn off the power before starting any electrical work and to make sure all connections are secure. If unsure, it is always best to consult a professional electrician for assistance.
Q: What Tools Do I Need for This Conversion?
A: You will need a screwdriver or wire nut, wire cutter/stripper, electrical tape, and possibly zip ties depending on the design of your light fixture. It is also helpful to have a voltage tester to ensure power is off before starting any work.
Q: Do I Need Special Wiring for a Plug-in Light Fixture?
A: No, you can use the same wiring that was already in place for the hardwired light. However, it is crucial to check the specifications of your plug-in socket and make sure it is compatible with the type of light bulb used in your fixture.
Conclusion
Converting a hardwired light to plug-in is a straightforward process that can be done with the right materials and tools.
By following these seven simple steps on how to change hardwired light to plug in, you can safely and easily change your hardwired light fixture to a plug-in one, providing more flexibility in lighting placement and design.
Remember to always prioritize safety by turning off the power and double-checking all connections before testing the light. Happy DIY-ing!

