Are you tired of constantly replacing the ballast in your fluorescent lights? Want to save money and energy by upgrading to a more efficient electronic ballast?
How to change fluorescent light ballast can seem like a daunting task, but with the right guidance, it can be done smoothly and safely. Ballasts are essential components that regulate the current to fluorescent lights and can wear out over time.
When a ballast fails, lights may flicker, make a humming noise, or stop working. Replacing a faulty ballast involves a few essential steps, including gathering the right tools, ensuring safety precautions, and understanding the wiring connections.
This guide will walk you through the process, offering tips and insights to help you successfully restore your lighting system’s efficiency.
What Will You Need?
Before we get started, gathering all the necessary tools and materials for the task is essential. Here’s a list of what you will need:
- New electronic ballast
- Screwdriver (flathead and Phillips)
- Wire cutters/strippers
- Voltage tester
- Electrical tape
- Wire connectors/wire nuts
It’s crucial to get a new electronic ballast that is compatible with your existing fluorescent lights. Before purchasing, check the manufacturer’s specifications. You can also consult an electrician or lighting specialist for guidance.
10 Easy Steps on How to Change Fluorescent Light Ballast
Step 1. Turn Off the Power
Before beginning any electrical work, safety should be your top priority, and the first step to ensure safety is to turn off the power. Locate the appropriate circuit breaker in your electrical panel and switch it to the “off” position.
This will reduce the power supply to the fluorescent light fixture, minimizing the risk of electrical shock during the replacement process.
Using a voltage tester to confirm that the power is indeed off is a good measure. Simply test the existing wires within the fixture to ensure they are not live.
Once you have confirmed no electrical current, you can safely proceed with the ballast replacement. Remember, double-checking can prevent accidents and ensure a smooth process.
Step 2. Remove the Light Cover and Bulbs
With the power safely turned off, the next step is to remove the light cover and bulbs from the fluorescent fixture. Depending on your fixture type, you may need to unscrew or slide the cover off.
Carefully remove the fluorescent tubes by gently twisting them to detach from their sockets. Set the bulbs aside in a safe location to prevent damage. Removing the cover and bulbs provides access to the ballast within the fixture.
This step is essential for reaching the internal components and allows you to proceed safely with further disassembly and replacement.
Step 3. Remove the Ballast Cover
After removing the light cover and bulbs, locate the ballast cover within the fixture. This cover is usually held in place by screws or clips. Using the appropriate screwdriver, carefully unscrew or unclasp the ballast cover to expose the wiring and the ballast itself.
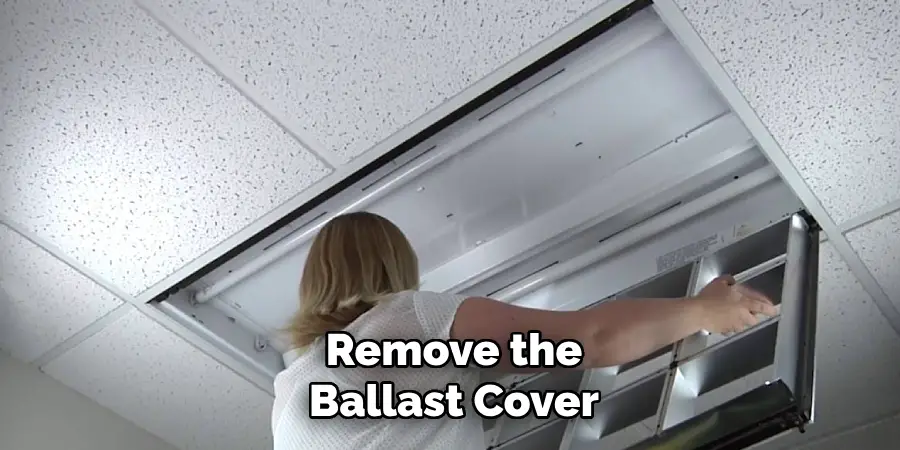
Be sure to set aside the screws or clips in a secure place to avoid losing them during the process. Once the ballast cover is removed, you will have a clear view of the wiring connections, allowing you to disconnect the old ballast.
Proceed cautiously to avoid damaging the wiring or other components within the light fixture.
Step 4. Disconnect the Old Ballast
With the ballast cover off, you can now begin disconnecting the old ballast. Carefully examine the wiring and note the connections, which typically include a set of wires leading from the ballast to the sockets and a set of wires connecting it to the power supply.
Using the wire cutters/strippers, cut or disconnect the wire connections by unclasping the wire connectors or twisting off the wire nuts. Labeling the wires with electrical tape for easy reconnection later is a good idea.
Ensure that you do not damage the cables or leave any exposed copper, which could lead to short circuits when the new ballast is in place.
Step 5. Remove the Old Ballast
Once the wires are disconnected, you can remove the old ballast from the fixture. The ballast is typically secured to the fixture with screws or clips. Use a screwdriver to carefully unscrew and remove the fasteners holding the ballast in place.
Gently lift the ballast out of the fixture, ensuring that no additional wires or components are accidentally pulled or damaged during removal.
With the old ballast out of the way, you have cleared the space to install the new electronic ballast, which will improve the efficiency and performance of your lighting system.
Step 6. Install the New Ballast
Now that the old ballast has been removed, it’s time to install the new electronic ballast. Begin by positioning the new ballast in the exact location as the old one, aligning it with the screw holes or clip positions.
Secure it in place using the screws or clips you set aside earlier. Ensure that the ballast is firmly attached and does not move around since a secure installation helps prevent future electrical issues.
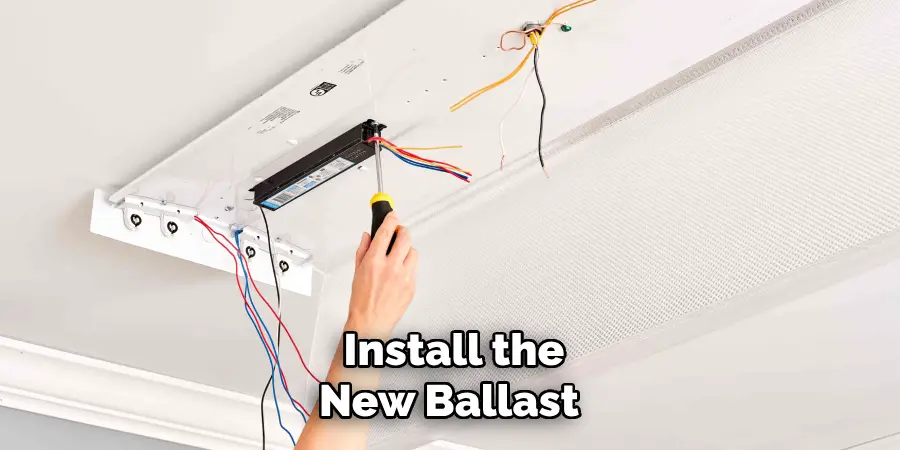
Once in place, it is ready to be wired into the fixture, marking the transition from disassembly to reassembly in this replacement process.
Step 7. Connect the Wiring
It’s time to reconnect the wiring with the new ballast that is securely in place. Begin by identifying and matching the new ballast wires to the fixture’s corresponding cables.
Typically, you’ll find color-coded wires, making it easier to match them correctly. Use wire connectors or wire nuts to join each pair of wires. Ensure that the connections are tight and secure to prevent any electrical faults.
Once all cables are connected, inspect each connection for exposed copper and wrap them with electrical tape if necessary, ensuring safety and preventing any potential short circuits in the future.
Step 8. Reattach the Ballast Cover
With the wiring securely connected and the new ballast in place, it’s time to reattach the cover. Carefully position the cover over the ballast and align it with the screw holes or clips.
Using the screwdriver, fasten the cover securely to ensure it stays in place. This step protects the internal components and wiring from dust and other external elements, helping to maintain the fixture’s efficiency and longevity.
Make sure all screws or clips are tightened appropriately to prevent any rattling or looseness in the fixture.
Step 9. Replace the Light Bulbs and Cover
With the ballast cover securely attached, proceed to reinstall the fluorescent tubes. Gently align each bulb with the socket and carefully twist it into place until snugly positioned.
Once all bulbs are installed, reattach the light cover by sliding or screwing it back onto the fixture, depending on its design. Make sure the cover is in place, securing it firmly to avoid any accidental drops or exposure to the bulbs.
This final step concludes the physical reassembly process, preparing the fixture to be tested once the power is restored.
Step 10. Restore Power and Test the Fixture
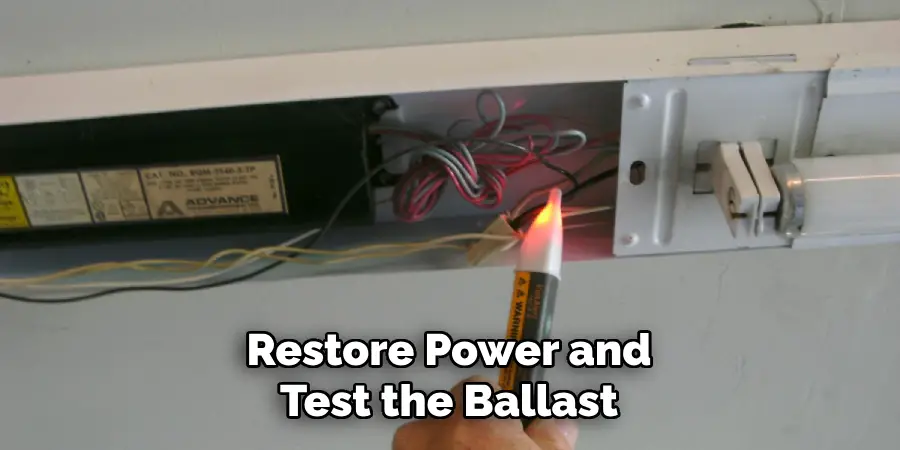
With everything reassembled, you can now safely restore power to the light fixture. Return to your circuit breaker or power switch and turn it back on. Once the power is restored, test the fixture by flipping the light switch.
The newly installed ballast should work efficiently, illuminating the fluorescent tubes without flickering or buzzing. Double-check all connections and ensure the installation was performed correctly if any issues arise.
Testing the fixture is the final step in the process, confirming that the replacement has been successful and the lighting system functions as expected.
By following these simple steps, you can easily replace a ballast in your fluorescent light fixture and enhance its efficiency and performance.
5 Things You Should Avoid
- Ignoring Safety Precautions: It’s crucial to ensure the power is completely turned off before beginning the replacement process. Ignoring this step can lead to electric shock or other injuries.
- Using the Wrong Tools: Always use the appropriate tools for electrical work, such as insulated screwdrivers and wire strippers. Using incorrect tools can damage the fixture or result in improper installation.
- Skipping the Electromagnetic Compatibility Check: Failing to check if the new ballast is compatible with the existing fixture can lead to inefficient lighting or potential damage to the system.
- Not Following Manufacturer Instructions: Each ballast may have specific installation instructions. Ignoring these instructions can result in faulty installation or voiding of the product warranty.
- Recycling and Disposal Negligence: Fluorescent ballasts often contain materials that require special handling and disposal. Failing to dispose of the old ballast properly can harm the environment and violate local regulations.
Avoiding these common mistakes can ensure a safe and efficient fluorescent ballast replacement process.
Conclusion
Replacing a fluorescent light ballast can seem daunting, but following the correct steps ensures a successful swap.
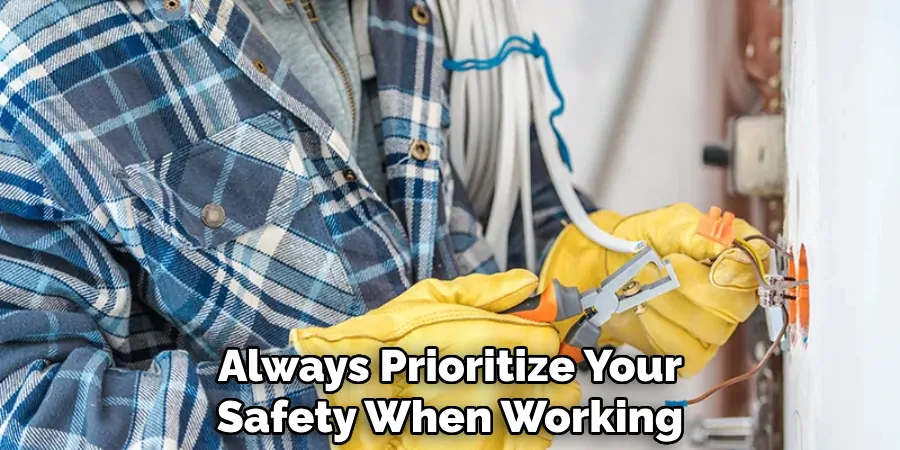
Begin by prioritizing safety—turn off the power and gather the proper tools for the job. Carefully choose a compatible ballast, and pay close attention to the manufacturer’s installation guide. Proper disposal of the old ballast is essential to protect the environment and comply with regulations.
Hopefully, the article on how to change fluorescent light ballast has provided you with the necessary knowledge and confidence to tackle this project yourself. So why wait? Go ahead and replace that old, flickering ballast and enjoy a well-lit space once again! Happy DIYing!

