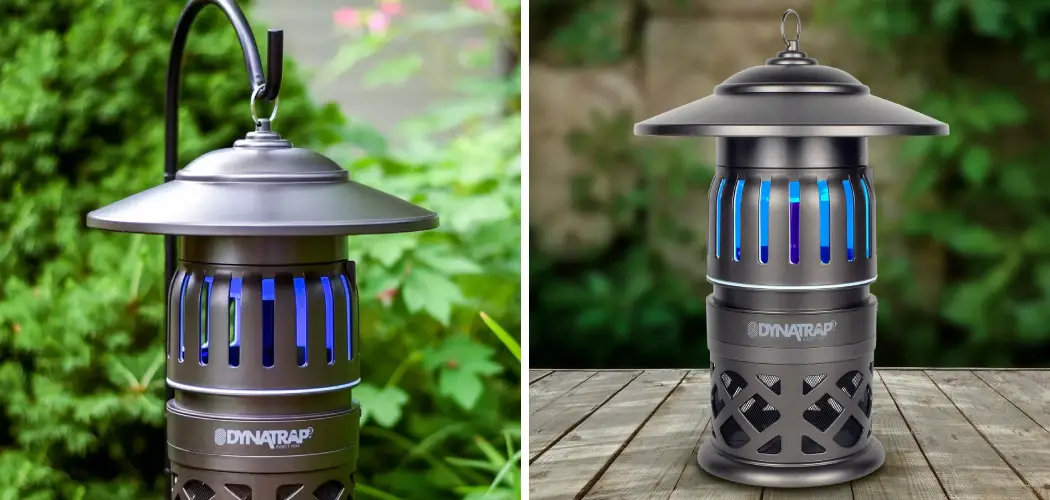
Your Dynatrap insect control device depends on a functioning UV bulb to attract and eliminate flying pests effectively. When the bulb starts to dim or stops working entirely, knowing how to change dynatrap bulb becomes essential for maintaining your outdoor comfort and pest control system. This straightforward maintenance task ensures your device continues protecting your patio, yard, or camping area from mosquitoes, flies, and other unwanted insects.
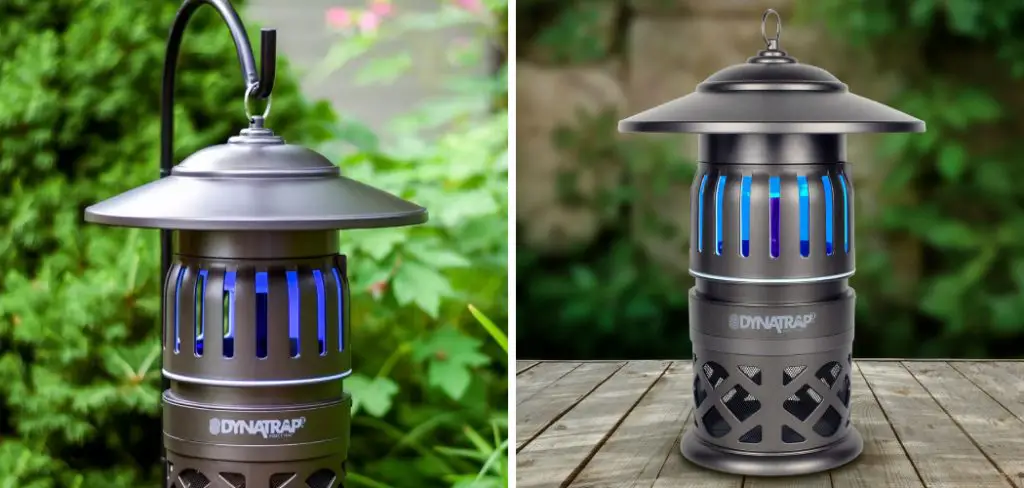
Replacing the bulb in your Dynatrap is a simple process that most homeowners can complete in just a few minutes. The UV light component is crucial for attracting insects, so a burned-out or weakened bulb significantly reduces your trap’s effectiveness. Regular bulb replacement keeps your investment working at peak performance and provides consistent protection throughout the pest season.
This comprehensive guide walks you through each step of the replacement process, from safety preparations to testing your newly installed bulb. With the right replacement bulb and basic precautions, you’ll restore your Dynatrap to full functionality quickly and safely.
Why Changing Your Dynatrap Bulb Matters
The UV bulb in your Dynatrap serves as the primary attractant for flying insects, making it the most critical component of the entire system. Over time, these specialized bulbs lose their intensity and effectiveness, even when they still appear to be glowing. Most UV bulbs designed for insect control should be replaced annually or after approximately 3,000 hours of use to maintain optimal attraction power.
A dimming or failing UV light dramatically reduces your trap’s ability to draw insects from the surrounding area. This means more mosquitoes, gnats, and flies remain active in your outdoor spaces, diminishing your comfort and potentially exposing you to insect-borne diseases. Regular bulb maintenance ensures consistent protection and maximizes your return on investment.
Additionally, using the correct replacement bulb maintains the specific wavelength and intensity engineered for your Dynatrap model. Generic or incorrect bulbs may not provide the same attraction power, potentially rendering your device less effective than intended. Proper maintenance with manufacturer-recommended bulbs keeps your pest control system operating as designed.
Step-by-Step Guide: How to Change Dynatrap Bulb
Step 1: Turn Off and Unplug the Device
Safety should always be your first priority when performing any maintenance on electrical devices. Switch off your Dynatrap using the power button if it has one, then unplug the unit from its power source completely. This eliminates any risk of electrical shock while you work o n the device. Allow the unit to cool down for at least 10-15 minutes if it has been operating recently, as the bulb and surrounding components can become quite hot during normal operation.
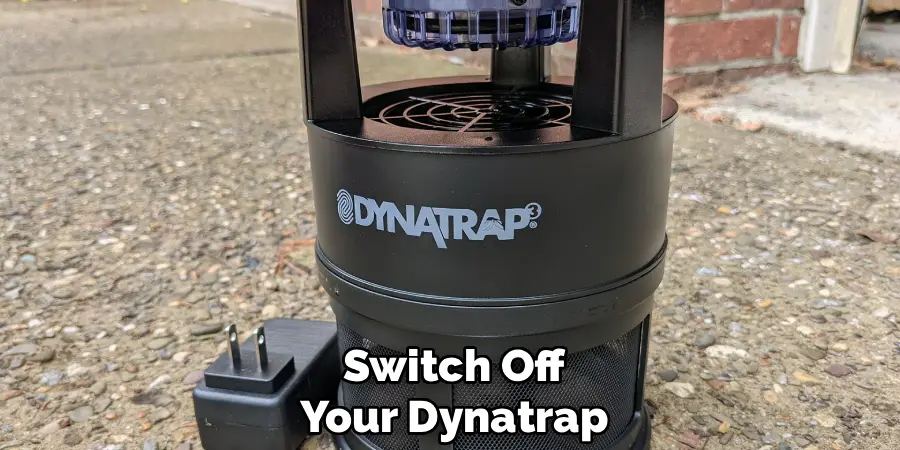
Check that the power indicator light is completely off before proceeding. Some models may have residual power even after unplugging, so patience during this cooling and power-down period ensures both your safety and the longevity of the device components.
Step 2: Locate the Bulb Access Point
Most Dynatrap models feature a removable top section or access panel that provides easy entry to the UV bulb compartment. Examine your device carefully to identify how the housing opens – some models twist apart, while others have clips, screws, or hinged sections. Consult your owner’s manual if the access method isn’t immediately obvious, as forcing the wrong mechanism could damage the housing.
The bulb is typically positioned in the upper portion of the device, surrounded by the protective cage or screen that prevents insects from escaping once trapped. Take note of how the components fit together during disassembly, as this will help during reassembly later.
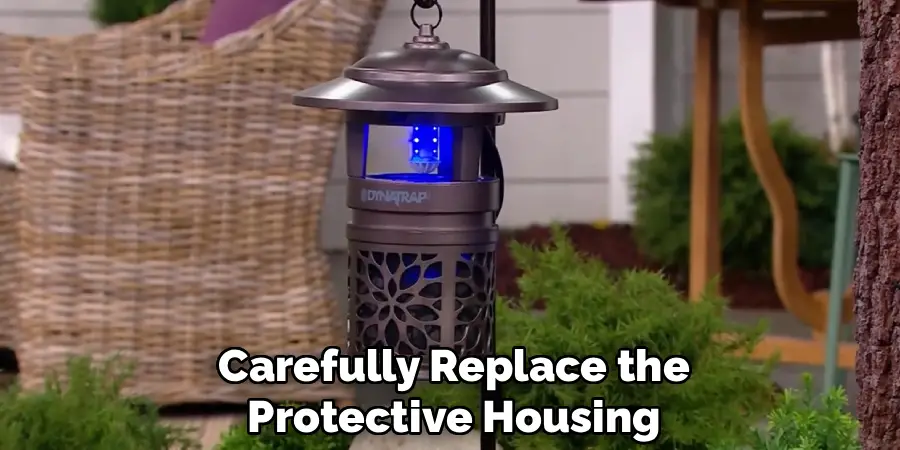
Step 3: Remove the Protective Housing
Carefully remove the top section or access panel according to your model’s design. Set these components aside in a safe location where they won’t be damaged or lost. The UV bulb should now be visible, along with its electrical connections and mounting system. Take this opportunity to inspect the internal components for any signs of damage, excessive wear, or debris buildup that might affect performance.
If you notice significant dirt or insect debris inside the housing, clean these areas gently with a soft brush or cloth before proceeding. A clean environment around the bulb ensures optimal light transmission and prevents premature failure of the new bulb.
Step 4: Disconnect the Old Bulb
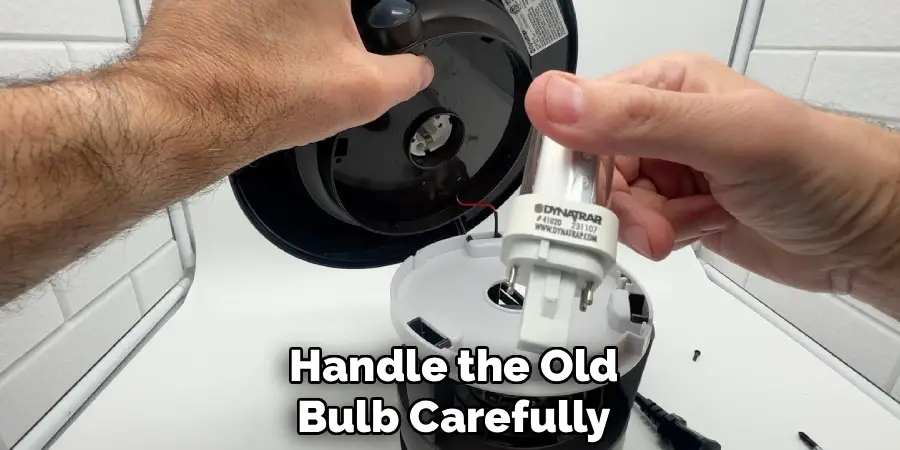
The UV bulb connects to the device through either a plug-in connector or twist-lock base, depending on your specific Dynatrap model. Handle the old bulb carefully, as it may still contain traces of mercury or other materials that require proper disposal. Gently twist counterclockwise or pull straight out, following the natural movement of the connection system without forcing it.
If the bulb seems stuck, check for any locking tabs or additional securing mechanisms that need to be released first. Never pull on the glass portion of the bulb itself, as this could cause breakage and potential injury. Focus your grip on the base or connector area where the electrical connection is made.
Step 5: Install the New Replacement Bulb
Remove your new UV bulb from its packaging, being careful not to touch the glass surface with bare hands. Oils from skin contact can reduce bulb lifespan and effectiveness. If you accidentally touch the glass, clean it gently with alcohol and a lint-free cloth before installation. Align the new bulb with the socket or connector, ensuring proper orientation if your model requires a specific positioning.
Insert the bulb firmly but gently, turning clockwise if it uses a twist-lock system or pushing straight in for plug-type connections. The connection should feel secure without excessive force. A properly seated bulb will sit flush with its mounting point and feel stable when gently tested.
Step 6: Test the Installation
Before reassembling the housing completely, plug the device back in and turn it on to verify that the new bulb functions correctly. The UV light should glow with a bright, consistent blue or purple light, depending on the specific bulb type. Listen for any unusual sounds that might indicate improper installation or electrical issues.
If the bulb doesn’t illuminate, double-check all connections and ensure the replacement bulb is the correct type for your model. A working bulb confirms that your installation was successful and the device is ready for reassembly.
Step 7: Reassemble the Housing
With the new bulb confirmed to be working properly, turn off and unplug the device again for final reassembly. Carefully replace the protective housing, access panel, or top section in the reverse order of removal. Ensure all clips, screws, or locking mechanisms are properly secured to maintain the device’s weather resistance and structural integrity.
Double-check that no gaps exist in the housing that could allow insects to escape or moisture to enter. A properly reassembled unit should look identical to its original configuration with no loose or misaligned components.
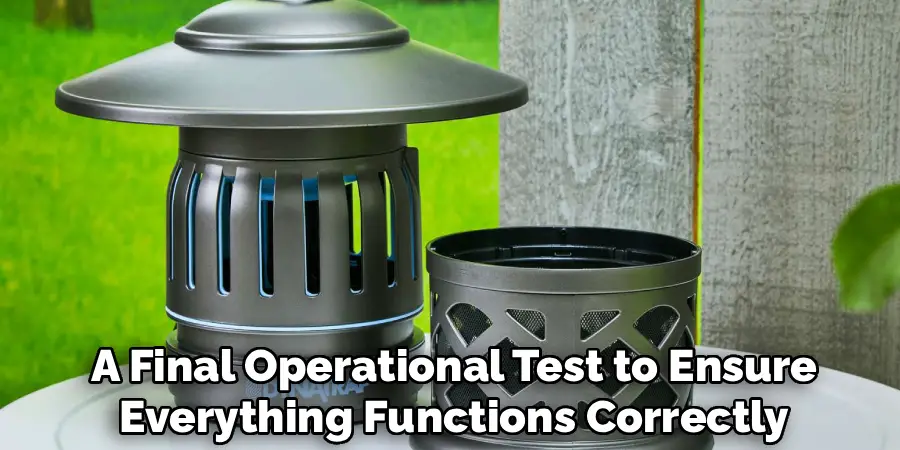
Step 8: Final Testing and Positioning
Plug the device back in and perform a final operational test to ensure everything functions correctly. The UV light should illuminate immediately, and any fans or other operational components should run normally. Position the Dynatrap in its intended location, ensuring adequate clearance around the device for proper airflow and insect access to the trap mechanism.
Your newly serviced Dynatrap is now ready to provide effective pest control with its fresh UV bulb. Regular monitoring of the bulb’s brightness and performance will help you determine when the next replacement cycle is needed.
Environmental Impact
Using the Dynatrap for pest control also brings environmental benefits compared to traditional methods like chemical sprays or pesticides. By utilizing light and airflow to attract and trap insects, the Dynatrap minimizes the introduction of harmful chemicals into the environment, helping to preserve local ecosystems.
This natural approach reduces the risk of contaminating water supplies and soil, which can occur with excessive pesticide use. Additionally, the Dynatrap targets specific flying insects without harming beneficial species, which are essential for pollination and maintaining ecological balance. Its energy-efficient design further ensures that its operation has a lower carbon footprint, making it a more sustainable option for pest management.
Frequently Asked Questions
How often should I replace my Dynatrap bulb?
Most Dynatrap UV bulbs should be replaced annually or after approximately 3,000 hours of operation. The bulb may still glow but lose effectiveness over time. Replace it at the beginning of each pest season for optimal performance.
What happens if I use the wrong type of bulb?
Using an incorrect bulb can reduce your Dynatrap’s effectiveness significantly. Different bulbs emit varying UV wavelengths and intensities. Always use manufacturer-recommended replacement bulbs to ensure proper insect attraction and device performance.
Can I clean the old bulb instead of replacing it?
While you can clean a dirty bulb to improve its appearance, UV bulbs lose their effectiveness over time regardless of cleanliness. The phosphor coating that produces UV light degrades with use, making replacement necessary for maintaining optimal performance.
Why isn’t my new bulb working after installation?
Check that the bulb is properly seated in its socket and that all electrical connections are secure. Verify you’re using the correct replacement bulb for your model. If problems persist, the issue may be with the device’s electrical system rather than the bulb itself.
How should I dispose of the old UV bulb?
UV bulbs may contain small amounts of mercury and should be disposed of properly. Many hardware stores and municipal recycling centers accept fluorescent and UV bulbs for safe disposal. Never throw them in regular household trash.
Conclusion
Learning how to change dynatrap bulb is a simple yet essential skill for maintaining your insect control system’s effectiveness. This straightforward process takes just a few minutes but makes the difference between a device that works optimally and one that fails to protect your outdoor spaces adequately.
Regular bulb replacement ensures your Dynatrap continues attracting and eliminating flying pests throughout the active season. By following these steps and replacing your UV bulb annually, you’ll maintain consistent protection and get the most value from your pest control investment.
Don’t wait until your current bulb completely fails – proactive replacement at the start of each season keeps your outdoor areas comfortable and pest-free when you need protection most.

