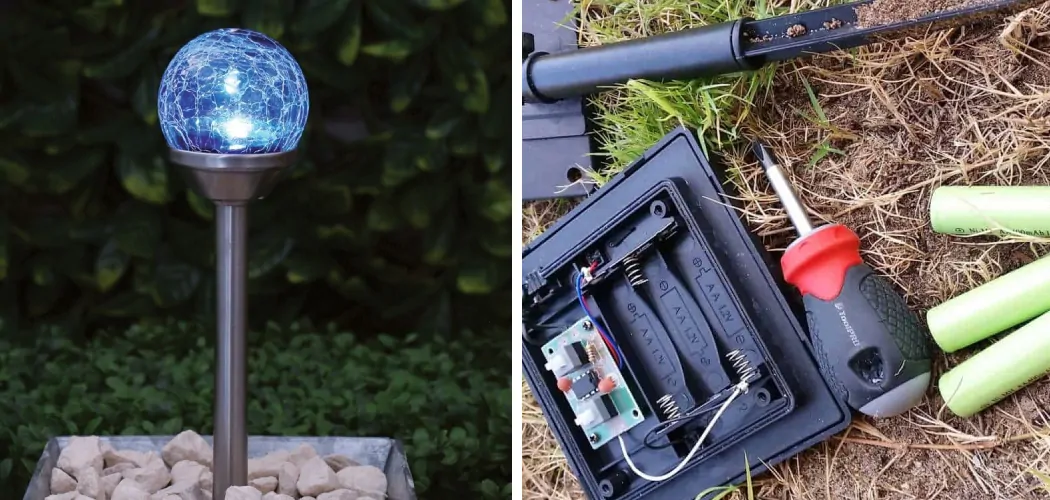
Crackle solar lights are an eco-friendly and aesthetically pleasing way to illuminate your garden or walkway, harnessing the sun’s energy by day to brighten your space by night. Over time, the rechargeable batteries inside these lights may diminish in their ability to hold a charge, leading to dimmer lights or complete darkness.
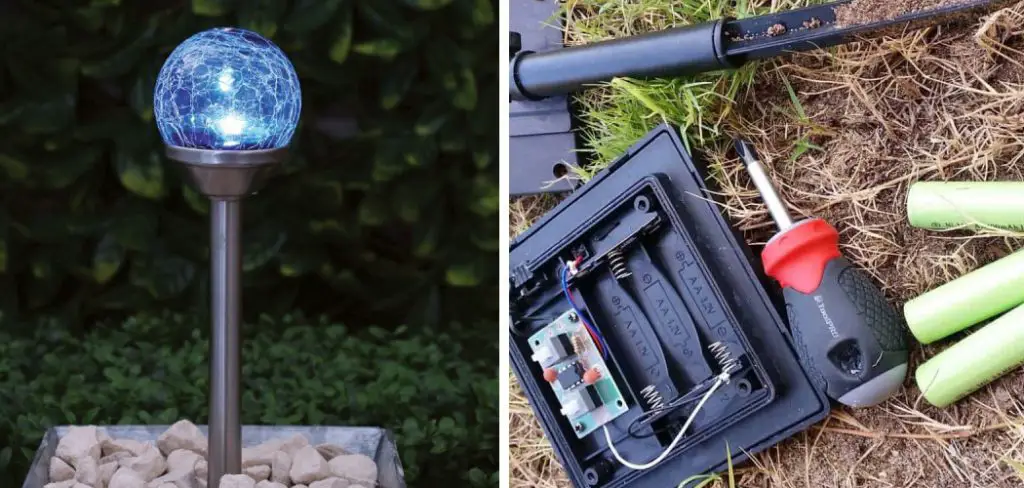
Fortunately, changing the battery in your crackle solar light is a straightforward process that doesn’t require specialized tools or extensive knowledge. This guide on how to change battery in crackle solar light will walk you through the steps to ensure your solar lights continue to provide beautiful, reliable lighting for your outdoor spaces.
Definition and Features of Crackle Solar Lights
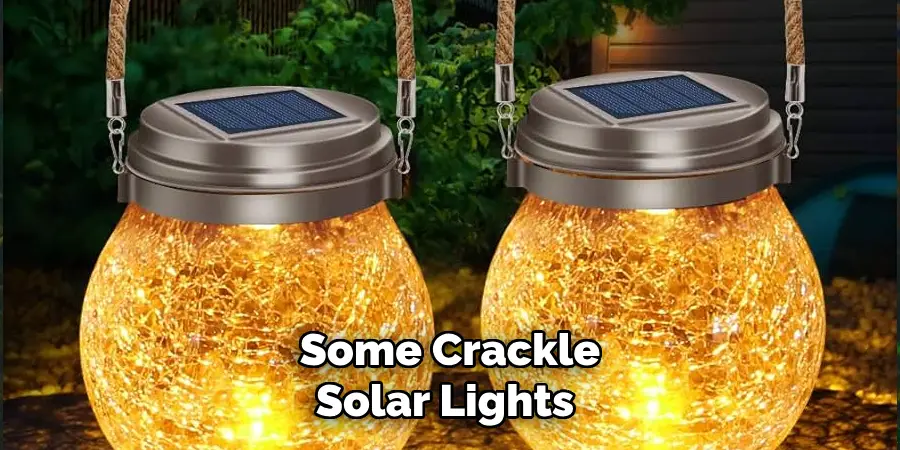
Crackle solar lights are small, decorative outdoor lights that use solar power to generate light. These lights typically consist of a plastic or metal housing with a clear or colored glass globe on top. Inside the globe is an LED light source and a rechargeable battery, which is charged by the sun during daylight hours.
As the sun sets, the LED light automatically turns on, providing a soft, ambient glow to your outdoor space. The crackle effect is achieved by the unique texture of the glass globe, creating beautiful patterns and reflections when illuminated.
Some key features of crackle solar lights include:
Eco-friendly:
These lights use renewable energy from the sun, eliminating the need for electricity or batteries.
Easy to Install:
Crackle solar lights do not require any wiring or professional installation, making them a simple and cost-effective option for outdoor lighting.
Weather-resistant:
Most crackle solar lights are designed to withstand various weather conditions, including rain and snow. However, it’s essential to check the product specifications to ensure your particular light is suitable for your climate.
Low Maintenance:
Once installed, crackle solar lights require minimal maintenance, as they are self-sufficient and do not need to be turned on or off manually.
Now that we have a better understanding of what crackle solar lights are, let’s dive into how to change the battery in these lights.
Explanation of the Solar Panel and Battery Components
Before we can change the battery in a crackle solar light, it’s essential to understand the two primary components of these lights: the solar panel and the battery.
Solar Panel:
The solar panel is responsible for converting sunlight into electricity, which is used to charge the battery. It is typically located on top of the light housing and should be angled towards direct sunlight for maximum efficiency.

Battery:
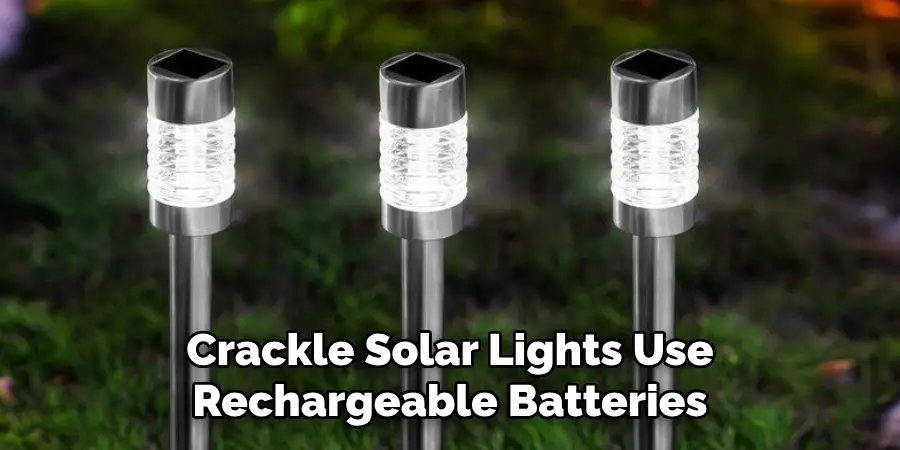
The battery is the heart of a crackle solar light, storing the energy from the solar panel to power the LED light. Most commonly, these lights use rechargeable batteries such as NiMH or Li-ion batteries. These types of batteries can be found at most hardware or electronics stores and are relatively inexpensive.
Importance of Proper Maintenance for Optimal Performance
Regular maintenance is crucial for ensuring your crackle solar lights continue to perform at their best. This includes cleaning the solar panel and replacing the battery when necessary.
Neglecting these tasks can result in decreased performance or complete failure of your lights. It’s recommended to check your solar lights every few months and perform maintenance as needed. Additionally, if you notice a significant decrease in brightness or your lights stop working altogether, it’s likely time to change the battery.
Signs of Battery Replacement
There are a few signs that indicate it’s time to change the battery in your crackle solar light. These include:
Dim or Flickering Light:
If your lights appear dimmer than usual or start flickering, it’s a sign that the battery is losing its charge.
Inconsistent Lighting:
If some of your lights work well while others do not turn on at all, it could be a sign of an issue with the battery.
Complete Darkness:
If your crackle solar lights are not turning on at all, it’s most likely due to a dead battery.
Necessary Materials
To change the battery in your crackle solar lights, you will need:
Replacement Rechargeable Battery:
As mentioned earlier, most crackle solar lights use rechargeable batteries such as NiMH or Li-ion. It’s essential to check the specifications of your light to ensure you purchase the correct type and size of the battery.
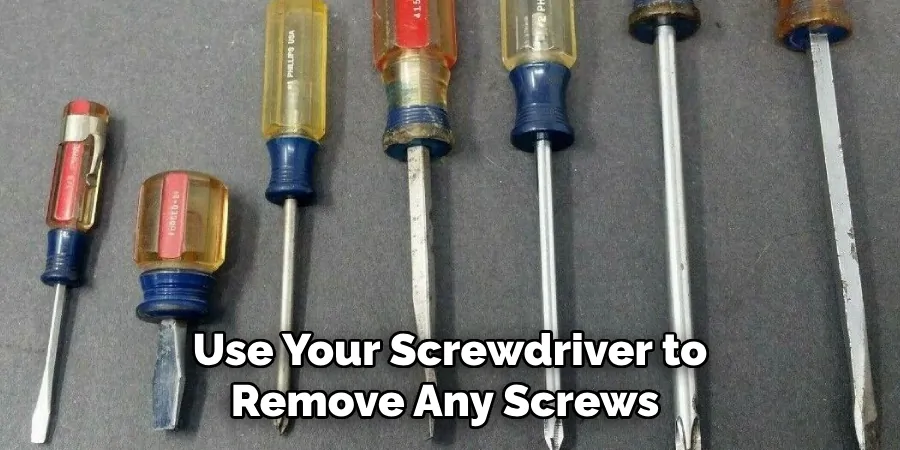
Small Screwdriver:
You will need a small screwdriver, typically a Phillips or flathead, to open the battery compartment of your crackle solar light.
Clean Cloth:
Before and after replacing the battery, it’s crucial to clean the solar panel with a soft cloth to remove any dirt or debris that may be blocking sunlight. This will help maintain the optimal performance of your lights.
Safety Measures
When handling any electronic device, it’s essential to take safety precautions. Follow these simple guidelines when changing the battery in your crackle solar light:
- Ensure the Light is Turned Off and Not Exposed to Direct Sunlight Before Opening the Battery Compartment.
- Use Caution When Removing and Inserting the Battery to Avoid Damaging Any Internal Components of the Light.
- Dispose of Batteries Properly and According to Local Regulations.
10 Step-by-step Guidelines on How to Change Battery in Crackle Solar Light
Step 1: Removing the Top or Cover
Use a small screwdriver to remove the screws or clips holding the top or cover of your crackle solar light. Set these aside in a safe place. It’s essential to be gentle and not force anything when removing the top or cover, as they can be fragile. You may also need to rotate or twist the top to release it, depending on the design of your light.
But be sure not to break the housing or damage any internal components. It’s always best to refer to the manufacturer’s instructions if available. The top or cover should come off easily, revealing the inside of your light. You should see the battery compartment and possibly other electronic components, such as the LED light or solar panel.
Step 2: Removing the Battery Compartment Cover
Once you have removed the top, you will see a separate compartment for the battery. Use your screwdriver to remove any screws or clips holding this cover in place and gently lift it off.
Again, be careful not to force anything or damage any internal components. It’s important to note that some crackle solar lights may have a one-piece housing and not require removing a separate battery compartment cover. You may need to consult the manufacturer’s instructions for specific details.
Step 3: Removing the Old Battery
Carefully remove the old battery from its compartment by gently pulling it out or using a small tool, such as a tweezer, to help pry it out. Be careful not to damage any other components in the process. But if the battery is stuck, do not force it out as this can cause harm.
It’s best to refer to the manufacturer’s instructions for assistance in this situation. The old battery can be disposed of properly according to local regulations. You may also want to take note of the orientation of the battery before removing it, as you will need to insert the new battery in the same way.
Step 4: Cleaning the Battery Compartment
Before inserting the new battery, it’s essential to clean the battery compartment with a dry cloth. This will remove any dirt or debris and ensure a proper connection for the new battery.
If there is excessive buildup, you may use a small amount of rubbing alcohol on your cloth to clean the compartment thoroughly. Be sure to let it dry completely before proceeding. It’s crucial not to get any liquid inside the battery compartment as it can damage the internal components.
Step 5: Inserting the New Battery
Take your new rechargeable battery and insert it into the compartment, making sure to follow the orientation noted before removing the old battery. It should fit snugly in place, and you may need to gently push down on it to ensure it’s secure. If your light has multiple batteries, make sure to insert the new ones in the correct order. You may also need to refer to the manufacturer’s instructions for this step.
Step 6: Replacing the Battery Compartment Cover
Place the battery compartment cover back on and secure it with any screws or clips that you removed earlier. Be sure not to over-tighten anything as this can cause damage. The cover should fit snugly in place and there should be no gaps or loose parts.
If you encounter any difficulties, refer to the manufacturer’s instructions for assistance. The battery compartment should now be closed and ready to use. However, do not place the top or cover back on yet. It’s essential to test the light first.
Step 7: Testing the Light
Turn on your crackle solar light and make sure it works by exposing it to direct sunlight. If everything is functioning correctly, you should see the LED light turn on or flicker, depending on its design. You may also notice a change in the brightness of the light if it has multiple settings.
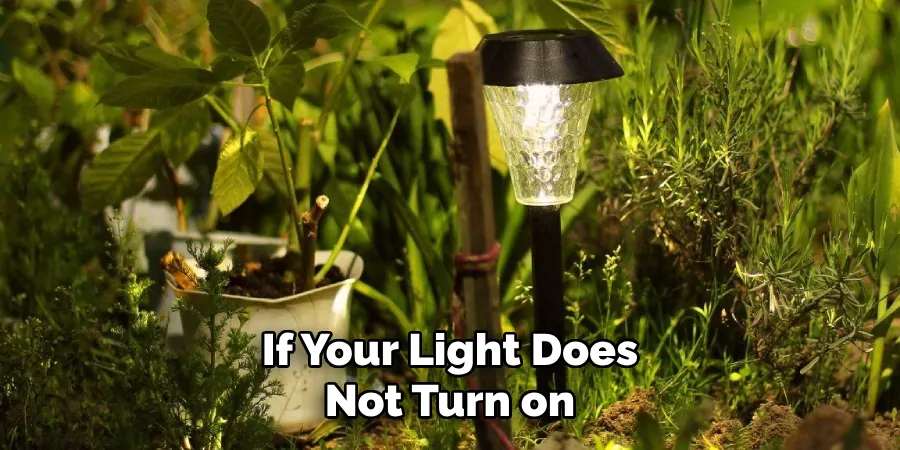
If your light does not turn on, check the battery compartment to ensure there is no loose connection or dirt blocking it. You may also need to replace the battery if it’s defective. It’s best to refer to the manufacturer’s instructions for troubleshooting or assistance.
Step 8: Cleaning the Solar Panel
If your light is working correctly, turn it off and gently clean the solar panel with a soft cloth. This will remove any dirt or debris that may be blocking sunlight from reaching the panel. Be sure not to use any harsh chemicals or abrasive materials as they can scratch or damage the panel.
Keeping your solar panel clean will ensure the optimal performance of your crackle solar light. It’s recommended to clean the panel periodically, especially if you live in an area with a lot of dust or debris. You may also want to consider installing your light in an area with more direct sunlight if it’s not performing as expected.
Step 9: Replacing the Top or Cover
Once you have cleaned the solar panel and tested your light, it’s time to replace the top or cover. Gently place it back on and secure it with any screws or clips that were removed earlier.
Again, be sure not to force anything or over-tighten the screws. The top should fit snugly in place with no gaps or loose parts. If you encounter any difficulties, refer to the manufacturer’s instructions for assistance. There may also be specific steps for replacing the top or cover, so it’s essential to follow them carefully.
Step 10: Enjoying Your Crackle Solar Light
Congratulations, you have successfully replaced the battery in your crackle solar light and it should now be working like new. Remember to periodically check and clean the battery compartment and solar panel to ensure optimal performance. You may also want to replace the battery every few years as they do have a lifespan.

With proper maintenance, your crackle solar light should provide you with beautiful and environmentally friendly outdoor lighting for years to come. Enjoy! So, now that you have successfully replaced the battery in your crackle solar light, it’s important to note some additional tips and tricks for maintaining its performance.
Following these tips on how to change battery in crackle solar light will not only improve the longevity of your light but also ensure its optimal performance. Firstly, it’s essential to clean both the battery compartment and solar panel regularly. This will prevent dirt and debris from building up and blocking the connection between the battery and solar panel, leading to a decrease in performance.
Additional Tips and Tricks
Here are a few things to keep in mind when using and maintaining your crackle solar lights:
Keep the Solar Panel Clean:
As mentioned earlier, it’s crucial to clean the solar panel regularly to ensure optimal performance. This is especially important if your light is not receiving direct sunlight or if you live in an area with a lot of dust and debris.
Replace Batteries When Needed:
Rechargeable batteries do have a lifespan, so it’s essential to replace them every few years or when they start to show signs of wear and tear. This will ensure that your crackle solar light continues to work properly.
Use the Right Batteries:
When replacing batteries, make sure to use the same type and size as recommended by the manufacturer. Using incompatible batteries can damage your light or lead to poor performance.
Store Your Light Properly:
If you plan on storing your crackle solar light for an extended period of time, make sure to remove the batteries first. This will prevent any potential damage from occurring and prolong the lifespan of your light.
Consider Upgrading to LED Bulbs:
Some crackle solar lights use traditional incandescent bulbs, which can drain the battery quickly. Consider upgrading to LED bulbs, which are more energy-efficient and can provide brighter lighting for longer periods.
By following these tips on how to change battery in crackle solar light and properly maintaining your crackle solar light, you can enjoy beautiful outdoor lighting without the hassle of constantly replacing batteries. With minimal effort, your crackle solar light will continue to add ambiance to your outdoor space for years to come.
Frequently Asked Questions
Q: What Type of Batteries Do Crackle Solar Lights Use?
A: Most crackle solar lights use rechargeable AA batteries, but it’s always best to check the manufacturer’s instructions for the recommended type and size. You can also find this information on the label or packaging of your light.
Q: How Often Should I Replace the Batteries in My Crackle Solar Light?
A: It’s recommended to replace the batteries every 2-3 years, depending on their usage and wear. However, if you notice a decrease in performance, it may be time to replace them sooner. Keep that in mind when you are replacing it.
Q: Can I Use Regular Batteries Instead of Rechargeable Ones?
A: It’s not recommended to use regular batteries in crackle solar lights as they are not designed for constant charging and can damage your light. Always use the type and size of batteries recommended by the manufacturer.
Q: Can I Leave My Crackle Solar Light Outside All Year Round?

A: Most crackle solar lights are designed for outdoor use, but it’s always best to check the manufacturer’s instructions for specific recommendations. Extreme weather conditions may affect the performance and lifespan of your light. So, it’s best to store them indoors during severe weather.
Conclusion
In conclusion, maintaining your crackle solar lights is a simple and rewarding task that ensures the longevity and performance of your outdoor lighting investment.
By following the straightforward steps to replace the batteries, you’re not only contributing to a sustainable future but also reaffirming the beauty and functionality of your outdoor spaces. Remember to periodically check and replace the batteries to keep your solar lights shining bright, year after year. Thanks for reading this article on how to change battery in crackle solar light.

