LED ceiling lights are an excellent way to bring modern design and energy efficiency into your home. They are also relatively easy to install and require little maintenance. If you have a basic understanding of electrical work, you can easily change an LED ceiling light yourself.

LED ceiling lights are a popular choice for lighting in many homes and offices due to their energy efficiency, long lifespan, and brightness. However, like all light fixtures, they may need to be changed over time. This guide on how to change a LED ceiling light will take you through the steps of changing an LED ceiling light.
Necessary Items
Before you begin, make sure you have all the necessary items ready. You will need:
- New LED ceiling light fixture
- Ladder or step stool
- Screwdriver (flathead and Phillips)
- Wire cutters/strippers
- Voltage tester (if available)
- Safety glasses
It is important to note that different LED ceiling lights may require different tools or accessories for installation. Be sure to read the manufacturer’s instructions before beginning.
8 Things to Know Before You Start
1) Familiarize yourself with the existing light fixture
Take a look at the current LED ceiling light and make a note of how it is attached to the ceiling. This will help you understand how to remove it later on. But don’t touch any wires just yet!
2) Understand the wiring
Before starting any electrical work, it is crucial to turn off the power supply. Locate the circuit breaker box and switch off the power for the room you will be working in. If you are unsure which breaker controls the lights, simply turn off the main power switch.
3) Check the voltage
If you have a voltage tester, use it to make sure there is no electricity running through the wires. You can also use a non-contact voltage detector for added safety. If there is still electricity flowing, do not proceed with the installation. Call a professional electrician for assistance.
4) Put on safety gear
Always wear safety glasses when working with electrical equipment. This will protect your eyes from any debris or sparks that may occur during the installation process. As an added precaution, wear gloves to protect your hands.

5) Have a safe and stable working environment
Make sure you have a sturdy ladder or step stool set up before beginning the installation. This will prevent any accidents or injuries while working at heights. And, if possible, have someone else present to assist you.
6) Read the manufacturer’s instructions
Every LED ceiling light fixture may have different installation requirements. Be sure to read the manual that comes with your new light before beginning the installation process. This will ensure that you install it correctly and safely.
7) Make sure the power is off!
We cannot stress this enough. Always double-check that the power is turned off before proceeding with any electrical work. While it may seem tedious, it is extremely important for your safety.
8) Properly dispose of the old light fixture
Once you have successfully installed your new LED ceiling light, make sure to dispose of the old one properly. You can recycle it if possible or dispose of it as electronic waste at a designated facility. Do not simply toss it in the trash.
Changing an LED ceiling light may seem like a daunting task, but with the right tools and knowledge, it can be done easily and safely.
Just remember to familiarize yourself with the existing fixture, turn off the power supply, wear safety gear, and read the manufacturer’s instructions before beginning. Always double-check that the power is turned off before starting any work.
12 Steps on How to Change a LED Ceiling Light
Step 1: Safety First
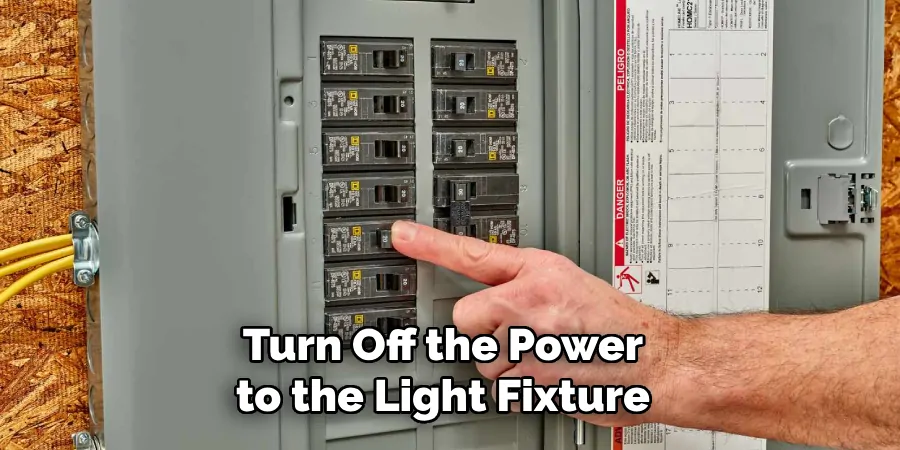
As with any electrical work, safety should be your top priority. Before starting, turn off the power to the light fixture you will be changing at the breaker box. If you are unsure which breaker controls the light, use a voltage tester to ensure there is no electricity running through the wires.
Step 2: Gather your tools
Make sure you have all the necessary tools ready before beginning. This includes a screwdriver, wire cutters/strippers, and a ladder or step stool to safely reach the ceiling. While not necessary, a non-contact voltage detector can also be helpful.
Step 3: Remove the old light fixture
Using your screwdriver, carefully remove the screws holding the old light fixture in place. Once the screws are removed, gently pull down on the fixture to disconnect it from the wiring and set it aside. If the fixture is hardwired, make sure to disconnect the wires before completely removing it.
Step 4: Inspect the wiring
Take a moment to inspect the wiring and make note of how it was connected to the old fixture. This will help you when installing the new one. If any wires appear frayed or damaged, they will need to be replaced before continuing.
Step 5: Install mounting bracket (if needed)
If your new LED ceiling light requires a mounting bracket, now is the time to install it. Follow the manufacturer’s instructions for proper installation. This bracket will hold the new fixture in place.
Step 6: Connect the wires
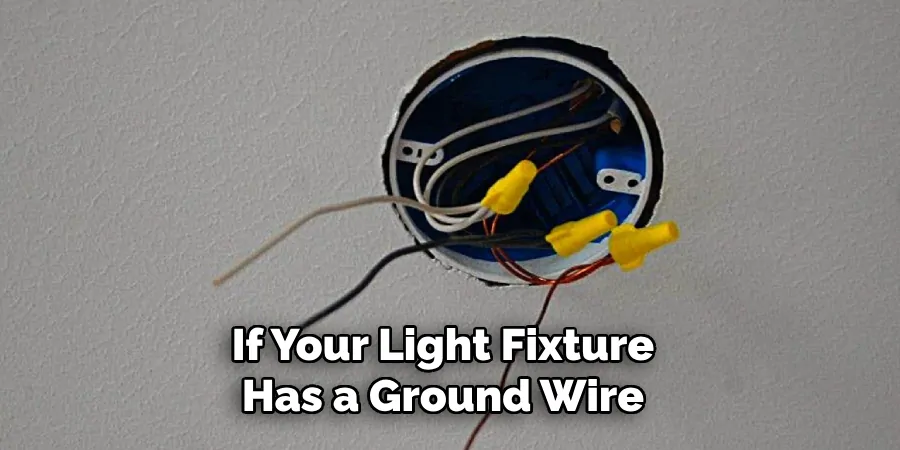
Using your wire cutters/strippers, strip about half an inch of insulation from the ends of each wire. Then, connect the corresponding wires (black to black, white to white) using wire nuts. If your light fixture has a ground wire, connect it to the grounding screw on the bracket or to the green grounding screw on the light fixture itself.
Step 7: Secure the new fixture
Carefully push the wires into the electrical box and use your screwdriver to attach the new LED ceiling light to the mounting bracket. Double-check that all screws are securely in place before moving on.
Step 8: Test it out
Turn the power back on at the breaker box and flip the light switch to test out your new LED ceiling light. If it doesn’t turn on, double-check that all wires are properly connected. Never touch any wires while the power is on.
Step 9: Adjust the height (if needed)
If your light fixture allows for adjustable height, now is the time to make any necessary adjustments. Follow the manufacturer’s instructions for proper adjustment techniques. However, if the height is not adjustable, skip to the next step.
Step 10: Cover any exposed wires
If any wires are visible after installing the new fixture, use wire nuts or electrical tape to cover them for safety and aesthetics. This will prevent accidental contact with the wires. But be sure that the wires are still easily accessible for future maintenance.
Step 11: Clean up and dispose of old fixture
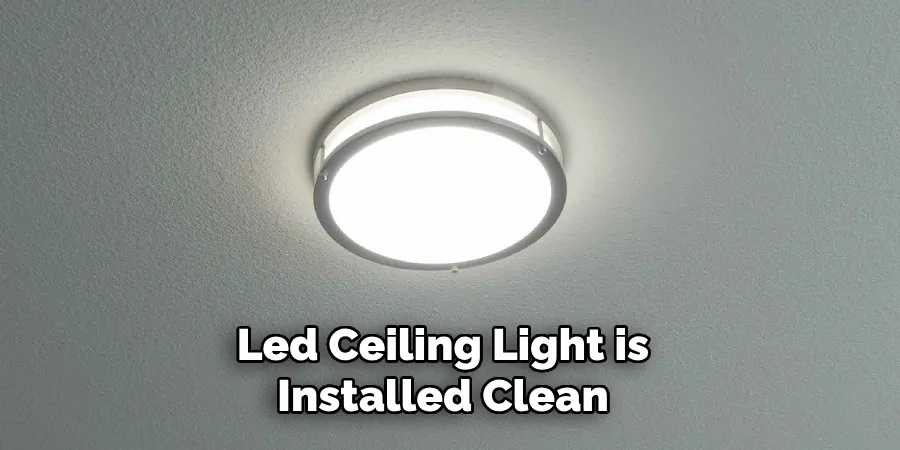
Now that your new LED ceiling light is installed clean up any debris or packaging materials from the installation process. Properly dispose of the old light fixture according to local regulations. So, either recycle it or dispose of it as electronic waste.
Step 12: Enjoy your new LED ceiling light!
Congratulations! You have successfully changed your old ceiling light to a new and energy-efficient LED one. Sit back and enjoy the bright, crisp lighting in your space. Remember to regularly clean and maintain your new light fixture for optimal performance.
And always be cautious when working with electricity. Safety first! And lastly, don’t forget to recycle the packaging materials from your new LED ceiling light to reduce waste and help protect the environment. Happy lighting! #End of document — No termination phrase needed as this is not an actual document but an instructional guide on how to change a LED ceiling light in Markdown format.
8 Things to Avoid When Changing a LED Ceiling Light
As with any DIY project, there are some common mistakes that should be avoided when changing an LED ceiling light. Here are eight things to keep in mind to ensure a successful and safe installation process:
1. Not Turning Off the Power Supply
This cannot be emphasized enough. Always make sure to turn off the power supply at the breaker box before starting any work on an electrical fixture. Even if you think you know which switch controls the light, it’s better to be safe and use a voltage tester to double-check.
2. Not Familiarizing Yourself with the Existing Fixture
Before attempting to change an LED ceiling light, take a few minutes to inspect the existing fixture and understand how it is connected. This will make the installation process smoother and reduce any potential mistakes.
3. Using the Wrong Tools
Make sure you have all the necessary tools before beginning. Using incorrect tools can not only damage the fixture but also put you at risk of injury. So save yourself the trouble and use the right tools for the job.
4. Not Checking for Compatibility
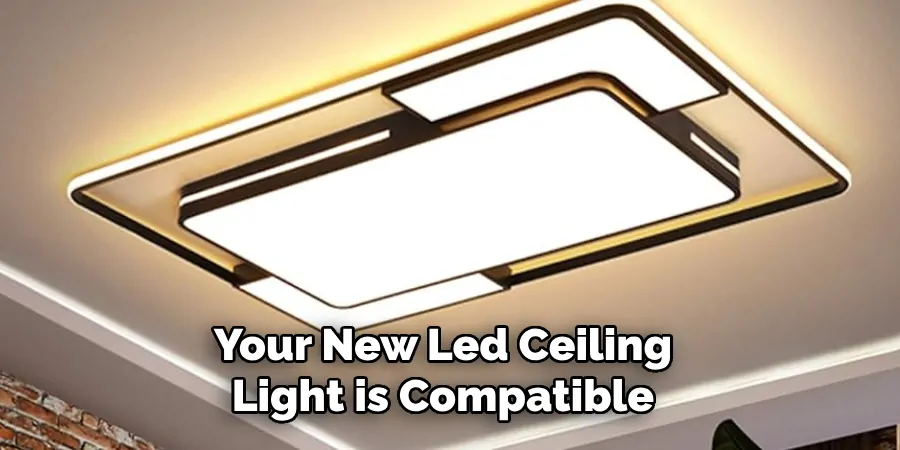
LED lights come in various sizes, shapes, and wattages. It’s essential to check if your new LED ceiling light is compatible with your existing wiring and electrical capacity. Otherwise, you may run into problems or even cause damage to your electrical system.
5. Working Alone
It’s always a good idea to have an extra set of hands when working with electrical fixtures, especially if you’re not experienced. Having someone hold the light while you connect the wires can make the process easier and safer.
6. Not Properly Securing the Fixture
Always make sure your new LED ceiling light is securely attached to the mounting bracket and that all screws are tight. A loose fixture can be a safety hazard and may cause damage to your ceiling. While you’re at it, check the height adjustment (if applicable) and make sure it’s in the correct position.
7. Rushing Through the Installation
It’s important to take your time when installing a new light fixture. Rushing through the process can lead to mistakes and even accidents. So be patient and follow all instructions carefully for a successful installation.
8. Not Properly Disposing of the Old Fixture
As mentioned earlier, it’s important to dispose of your old light fixture properly and according to local regulations. Simply throwing it in the trash can be harmful to the environment. So do your part and recycle or dispose of it as electronic waste.
Changing an LED ceiling light may seem like a daunting task, but with the right tools and knowledge on how to change a LED ceiling light, it can be done safely and successfully. Remember to always prioritize safety and take your time during the installation process. Don’t forget to properly dispose of the old fixtures and recycle packaging materials for an environmentally friendly approach.
8 Additional Tips for Installing an LED Ceiling Light
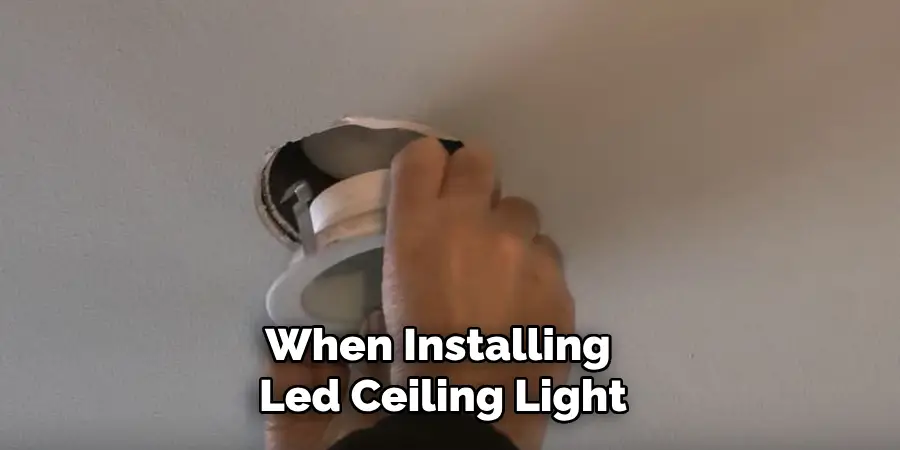
In addition to avoiding common mistakes, here are eight helpful tips to keep in mind when installing a LED ceiling light:
1. Read the Manufacturer’s Instructions
Before beginning the installation process, make sure to read and understand the manufacturer’s instructions for your specific LED ceiling light. This will ensure that you have all the necessary tools and knowledge for a successful installation.
2. Use a Voltage Tester
Always use a voltage tester to double-check that the power supply is turned off before starting any work on the light fixture. This is an important safety precaution and should not be skipped. But be sure to use a tester that is suitable for the voltage of your home’s electrical system.
3. Label Wires Before Disconnecting
If you are replacing an old light fixture, make sure to label each wire before disconnecting them from the wiring harness. This will make it easier to reconnect the new fixture and reduce confusion during installation.
4. Check the Mounting Bracket
Before attaching the new fixture, make sure the mounting bracket is securely attached to the ceiling and can support the weight of your new LED light. If not, it may be necessary to install a new bracket or reinforce the existing one.
5. Mind Your Light Bulb Wattage
LED lights are known for their energy efficiency, but it’s still important to use the correct wattage for your fixture. Using a higher-wattage bulb than recommended can cause damage or even be a fire hazard.
6. Consider Additional Lighting Options
If you feel like one LED ceiling light is not enough for your space, consider adding more lighting options, such as recessed lights or track lights. This will not only provide better overall lighting but also add an extra touch of style to your room.
7. Use a Ladder or Stool
When working with ceiling fixtures, it’s important to have a stable and sturdy platform to stand on. Use a ladder or stool that can support your weight and reach the desired height for installation. As a safety precaution, make sure someone is nearby to hold the ladder or assist if needed.
8. Test and Adjust the Light
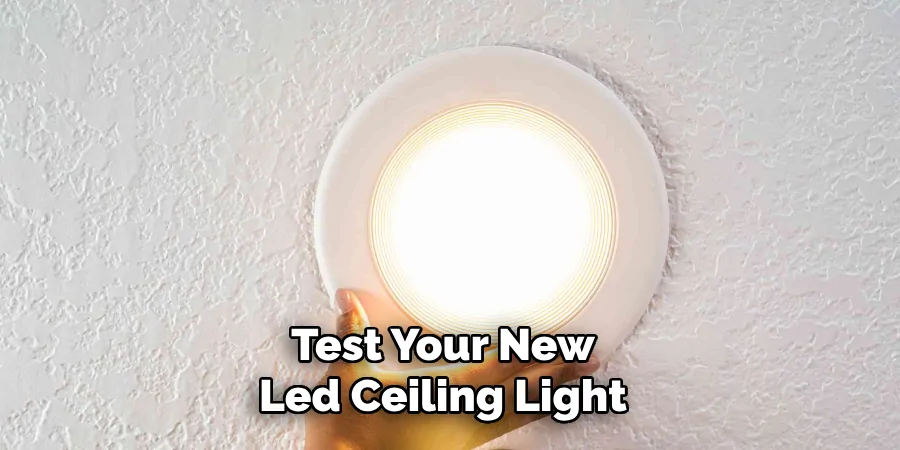
After installation, test your new LED ceiling light to ensure it’s working properly. If not, double-check all connections and troubleshoot any issues before securing the fixture. Once everything is functioning correctly, adjust the height and direction of the light to your desired preference.
With these additional tips, you’ll be well-equipped to successfully install a LED ceiling light in your home. Just remember to prioritize safety and take your time for a smooth and hassle-free installation process. So go ahead and upgrade those old fixtures with energy-efficient LED lights for a brighter and more modern space!
Frequently Asked Questions
Do I Need to Hire a Professional to Install My LED Ceiling Light?
It is not necessary to hire a professional, but it’s recommended if you have no prior experience with electrical work. Otherwise, follow all safety precautions and read the manufacturer’s instructions carefully for a successful installation.
Can I Replace My Existing Light Bulbs with LED Bulbs?
Yes, you can replace your existing light bulbs with LED bulbs as long as the wattage is compatible and the fixture is suitable for LED lighting. However, it’s recommended to install a new LED ceiling light for optimal energy efficiency.
How Long Do LED Lights Last?
LED lights have a longer lifespan compared to traditional incandescent bulbs, with an average of 25,000-50,000 hours. This means they can last up to 25 years with regular use.
Are LED Lights Environmentally Friendly?
Yes, LED lights are considered environmentally friendly because they use less energy and have a longer lifespan, resulting in fewer replacements and less waste. They also do not contain harmful substances like mercury. So go ahead and make the switch to LED lights for a more eco-friendly home!

Conclusion
Installing an LED ceiling light doesn’t have to be a daunting task. By avoiding common mistakes, following safety precautions, and keeping these additional tips on how to change a LED ceiling light in mind, you’ll be able to successfully install a new fixture and upgrade your space with modern and energy-efficient lighting.
Remember to prioritize safety, properly dispose of old fixtures, and recycle packaging materials for an environmentally friendly approach. So why wait? Upgrade your home with LED ceiling lights today! No matter the size or complexity of the installation, you’ll be able to confidently tackle the task and achieve a bright and stylish result.
Happy installing! Remember to always prioritize safety and take your time during the installation process. Don’t forget to properly dispose of the old fixtures and recycle packaging materials for an environmentally friendly approach.
With these additional tips, you’ll be well-equipped to successfully install LED ceiling lights in your home and enjoy the benefits of energy-efficient and modern lighting. So what are you waiting for? Transform your space and make the switch to LED today!

