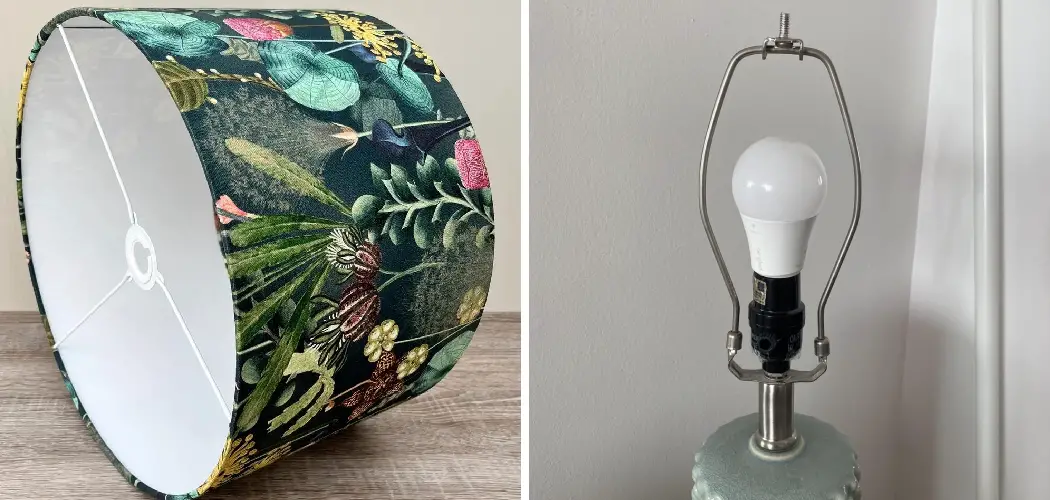
Lampshades play a pivotal role in home décor, significantly influencing a room’s ambiance, lighting, and overall aesthetic. The right shade can complement your interior design, create a warm and inviting glow, or make a bold statement.
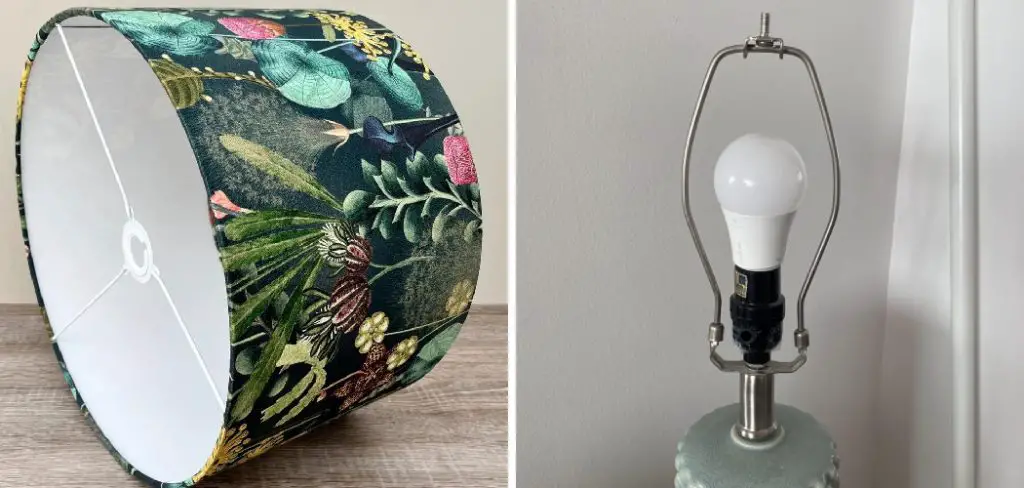
However, sometimes you might want to change a lamp shade fitting. Whether you’re looking to upgrade the style of your lamp, replace a damaged or worn shade, or adapt your lamp to a different fitting type, the process can initially seem daunting.
This article aims to guide you through how to change a lamp shade fitting, covering the various types of fittings, the tools you’ll need, a step-by-step replacement process, and essential safety tips. With the right information, changing a lamp shade fitting can be an easy and rewarding way to refresh the look of your living space.
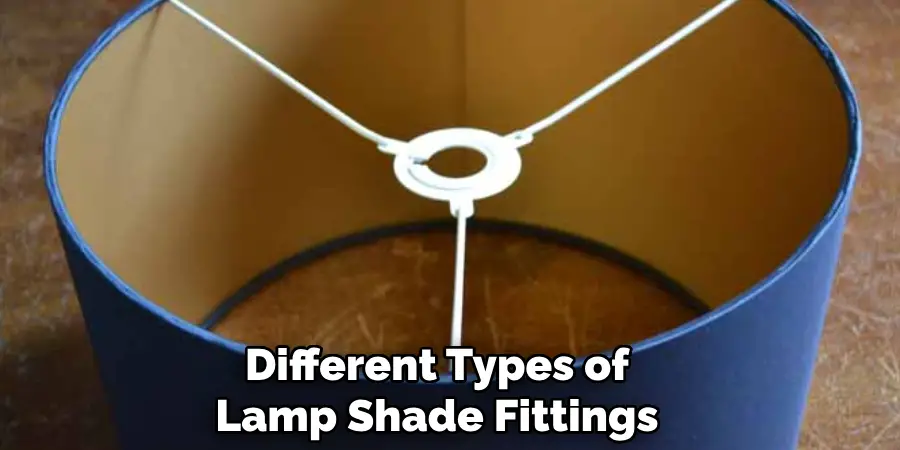
Understanding Different Types of Lamp Shade Fittings
When changing a lamp shade, understanding the different types of fittings is crucial to ensure compatibility. Here are the most common fittings:
- UNO Fitting: This fitting attaches directly to the socket and is typically found in table and floor lamps. Its design eliminates the need for additional components like harps or finials, making it practical and sleek.
- Spider Fitting: The most common type of lamp shade fitting, it requires a harp and finial to secure the shade. The spider fitting sits at the top of the lamp shade and works well for most table and floor lamps.
- Clip-On Fitting: This fitting clips directly onto the bulb, making it perfect for small shades and lamps, such as chandeliers or candle bulbs. Its simplicity is ideal for compact light fixtures.
- Euro/European Fitting: Found in many imported lamps, this fitting features a larger center ring to accommodate European-style sockets. It often appears in contemporary or designer shades.
How to Identify Your Lamp’s Fitting Type
To identify your lamp’s fitting type, inspect the current shade’s attachment style. Look at the lamp base and bulb area for clues—such as a harp for spider fittings or a socket ring for UNO fittings. Being aware of these components ensures a smooth shade replacement process.
Tools and Materials Needed
When replacing a lamp shade, having the right tools and materials ensures a smooth and damage-free process. Here is what you’ll need:
- Replacement lamp shade with the correct fitting type. Ensure it matches your lamp’s fitting style (spider, UNO, etc.).
- Screwdriver (if needed) for removing or adjusting harp or socket components.
- New harp or finial (if switching fitting types) to fit the updated shade properly.
- Soft cloth or gloves to protect both the lamp and shade from fingerprints or accidental scratches during handling.
- Measuring tape to confirm the size compatibility of the new lamp shade with your lamp base.
Having these items on hand will make the replacement process more straightforward and help maintain the appearance and functionality of your lamp.
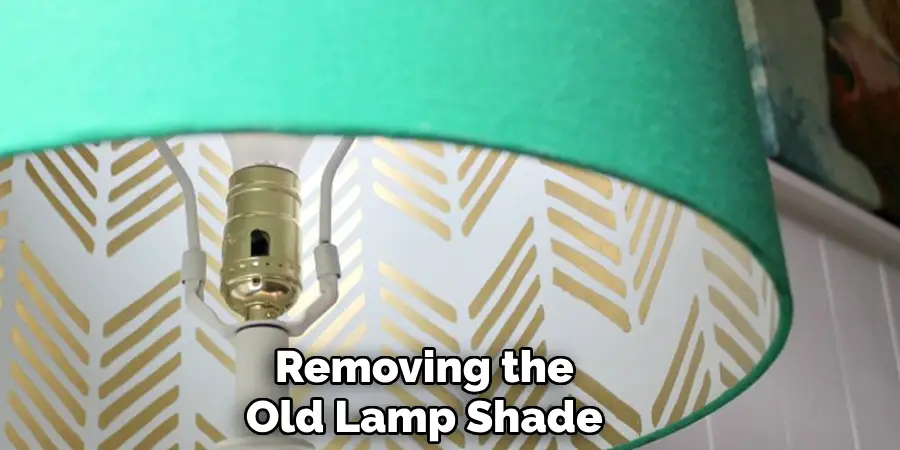
Removing the Old Lamp Shade
Replacing a lamp shade starts with safely and carefully removing the old one. Follow these steps to ensure the process is smooth and hassle-free:
Step 1: Unplug the Lamp
Always begin by unplugging the lamp from its power source. This ensures safety by eliminating any electrical shock risk while working on the lamp.
Step 2: Remove Finial or Clip
If the lamp has a spider fitting, use your hand to unscrew the finial located at the top of the shade. For UNO or clip-on shades, gently unclip or unscrew the fitting according to the specific type of attachment. Handle these parts carefully to avoid damaging them.
Step 3: Detach the Harp (if applicable)
For lamps with a harp fitting, squeeze the two sides of the harp inward to release it from the saddle. Then, lift the harp out completely. This step is necessary if you’re planning to replace or upgrade the harp to accommodate a new shade.
Step 4: Clean Lamp Base and Socket Area
Before installing the new shade, use a soft cloth to clean the lamp base and socket area. This helps remove any dust or residue, ensuring that your lamp looks tidy and functions optimally once the new shade is attached.
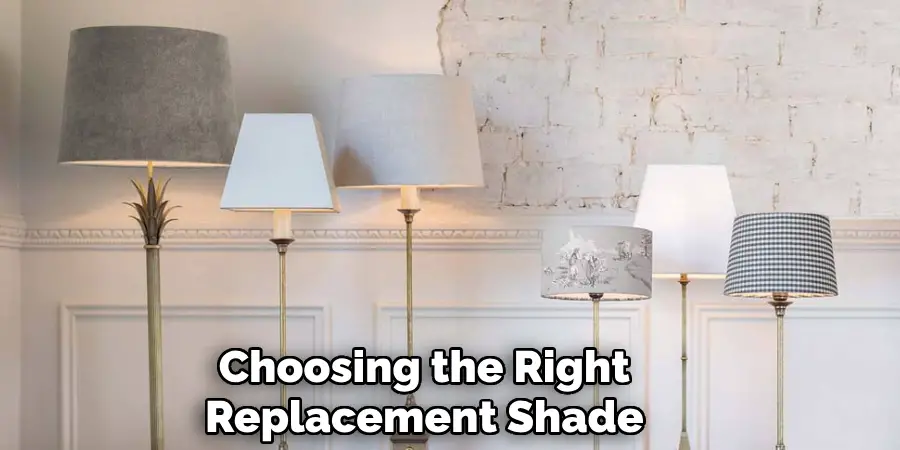
How to Change a Lamp Shade Fitting: Choosing the Right Replacement Shade
When selecting a replacement shade for your lamp, several factors should be taken into account to ensure a perfect fit and cohesive style.
Measure the Shade Size
Start by measuring the width and height of your old shade. These dimensions are crucial for choosing a new shade that fits perfectly on your lamp and maintains proper proportion. A mismatched size could affect the overall look and balance of the lamp.
Match the Fitting Type
Check the fitting type of the old shade, such as spider, clip-on, or UNO fittings. If you’re replacing the shade with one that uses a different fitting type, ensure you purchase a compatible adapter or harp for proper installation.
Consider Shape and Style
The shape of the shade has a significant impact on the lamp’s appearance. Common shapes include empire, drum, bell, and rectangular. Choose a shape that complements both the lamp base and your room’s décor. For instance, drum shades suit modern aesthetics, while bell shapes often pair well with classic interiors.
Color and Material
Select a shade color and material that matches your room’s lighting and mood. Options like fabric, paper, or glass provide varying levels of light diffusion and style flexibility. Neutral tones blend well, while bold colors or patterns can make a statement.
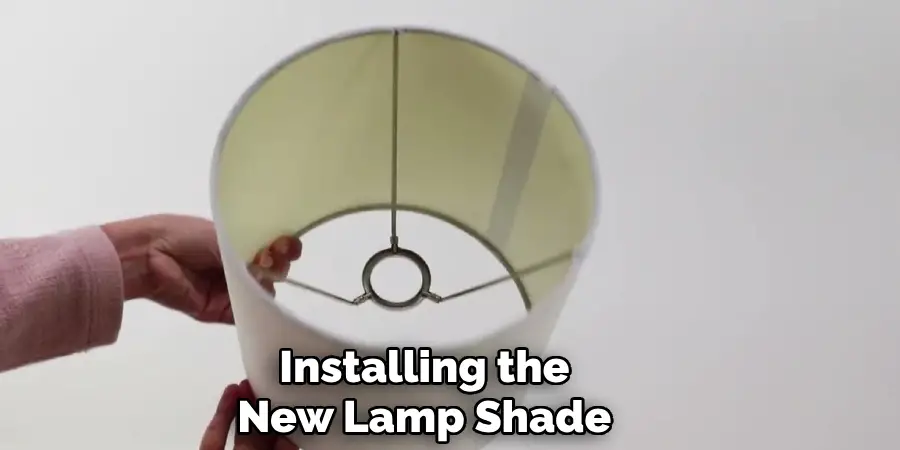
Installing the New Lamp Shade
Properly installing a lampshade is critical to achieving both functionality and aesthetic appeal. Follow these steps to ensure a secure and stylish fit:
Step 1: Attach Harp or Fitting Adapter (If Needed)
If your lamp requires a harp to support the spider fitting of the new shade, begin by installing or adjusting it. Slide the harp into its base on the lamp and ensure it locks securely. For lamps without a harp, check if a fitting adapter is needed, such as for clip-on or UNO-style fittings.
Step 2: Position the Shade
Carefully place the new shade onto the harp or fitting base. For shades with a clip-on design, gently clip the shade directly onto the bulb, ensuring it sits snugly. If your shade uses an alternative fitting, position it according to its specific design.
Step 3: Secure with Finial or Locking Ring
Once the shade is in position, secure it with the appropriate hardware. For spider fittings, screw the finial onto the top of the harp post to hold the shade in place. For UNO fittings, twist the shade securely onto the socket. Take care not to overtighten, as this may damage the shade or fitting.
Step 4: Check Alignment and Stability
Finally, ensure the lamp shade sits level and does not wobble. If necessary, adjust the harp height or reposition the shade for a proper fit. A stable and well-aligned lampshade will provide both even lighting and an attractive appearance.
Troubleshooting Common Issues
Even with careful installation, lampshades may occasionally encounter problems. Below are some common issues and tips for resolving them:
Shade Doesn’t Fit Properly
If the shade is too loose or tight, first check whether the harp size is appropriate. Harps come in various sizes, so switching to a different size may solve the problem. For UNO fittings or clip-on shades, consider whether an alternative adapter might be needed to ensure compatibility.
Shade Wobbles or Leans
A wobbling or tilted lamp shade may result from loose fittings. Tighten any screws, knobs, or finials connected to the harp or shade. Additionally, you can use small padding pieces, such as felt or rubber, around the socket or the section where the shade connects to provide a more secure fit.
Light Bulb Doesn’t Align With Shade Opening
If the light bulb sits too high or too low relative to the shade, switching to a shorter or taller harp can help adjust the alignment. If the lamp uses a fixed socket, it may be possible to reposition the socket to achieve better alignment gently.
Clip-On Shade Slides Off Bulb
Clip-on shades require proper contact with the light bulb. Ensure you are using the correct bulb type; round bulbs generally work best for this style of fitting. If the shade slips, adjust the clip tension for a tighter grip.
Addressing these common issues ensures your lamp shade functions properly while maintaining its aesthetic appeal.
Conclusion
Learning how to change a lamp shade fitting is a simple yet effective way to refresh the look of a room. Identify the fitting type, such as spider, clip-on, or uno, to ensure compatibility. Carefully remove the old shade and install the new one, ensuring proper alignment for both functionality and safety.
Selecting a shade that complements your lamp and decor adds sophistication while enhancing lighting. Don’t hesitate to experiment with different styles and colors—this easy upgrade can transform your space without purchasing an entirely new lamp.

