Replacing a hanging light fixture can seem like a daunting task, but with the right tools and guidance, it’s a manageable project for most homeowners.
Whether you want to update your home’s style, improve lighting, or replace a broken fixture, this step-by-step guide on how to change a hanging light fixture will walk you through the process safely and efficiently. Always remember to prioritize safety when working with electrical components.
Why Change a Hanging Light Fixture?
There are several reasons why you may need to change a hanging light fixture. Some common ones include:
Style Update:
Changing out an old or outdated fixture can give your space a fresh new look.
Better Lighting:
Upgrading to a more modern and efficient fixture can improve the overall lighting in your room.
Safety Concerns:
If your current fixture is damaged or not functioning properly, it’s important to replace it for safety reasons.
Tools and Materials Needed
Before getting started, gather the necessary tools and materials for this project. These may include:
- Screwdriver (Flathead or Phillips)
- Wire Strippers
- Voltage Tester
- Ladder or Step Stool
- New Light Fixture
- Wire Nuts
- Electrical Tape
- Pliers or Wire Cutters
It’s always a good idea to have all the necessary tools and materials on hand before beginning any DIY project. This will help ensure a smooth and efficient process.
7 Steps on How to Change a Hanging Light Fixture
Step 1: Turn Off the Power
Safety should always be your top priority when working with electricity. Begin by switching off the power to the light fixture you’re working on at your home’s breaker panel. Locate the circuit breaker corresponding to the fixture, and flip it to the “off” position.
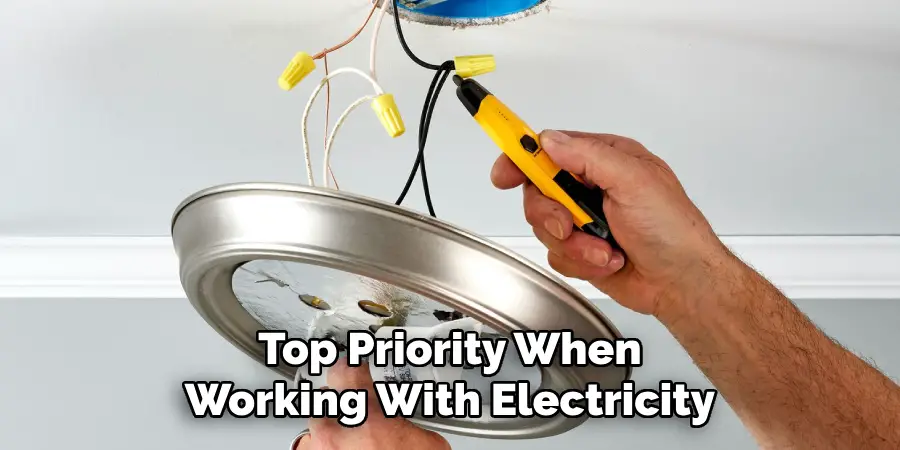
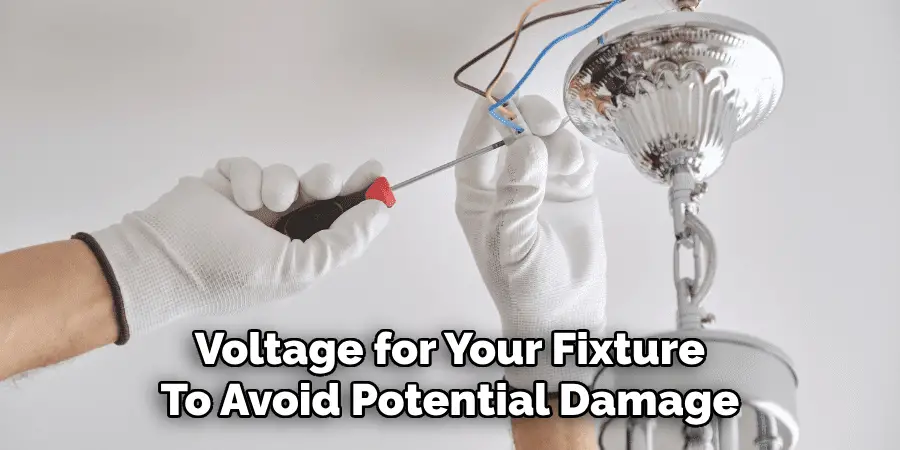
To ensure the power is completely off, use a voltage tester to check that there is no live current in the wires. This critical step helps prevent electric shocks and ensures a safe working environment.
Step 2: Remove Old Light Fixture
With the power safely turned off, the next step is to remove the old light fixture. Begin by carefully unscrewing and removing the fixture’s cover or shade, if applicable. Once removed, locate the mounting screws or bolts securing the fixture to the ceiling or wall and loosen them. While doing this, ensure you support the fixture to prevent it from falling.
After detaching the fixture, you will see the electrical wires connected to it. Use a screwdriver to disconnect the wires by loosening the wire nuts or screws holding them in place. Make a note of how the wires are connected, as this will be helpful when installing the new fixture. Once the wires are safely disconnected, gently remove the old light fixture and set it aside.
Step 3: Test Wires with Voltage Tester
Before proceeding with the installation of the new light fixture, it is crucial to ensure the wires are not live. Use a voltage tester to check each wire for any electrical current.
Carefully hold the tester near the exposed ends of the wires; if the tester lights up or makes a sound, the current is still active. If this happens, double-check that the circuit breaker is turned off. Never attempt to handle live wires, as this can result in serious injury. Once you confirm there is no current, you can safely move on to the next step.
Step 4: Install Mounting Bracket
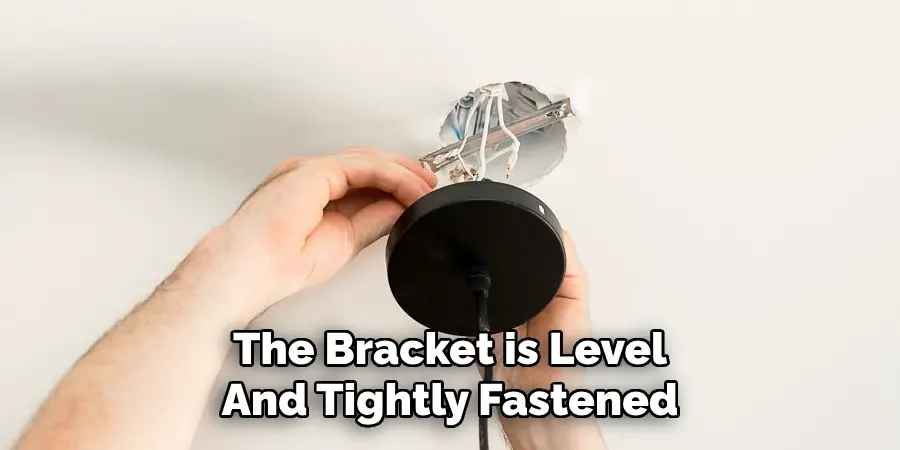
Begin by identifying the mounting bracket that came with your new light fixture. Align the bracket with the electrical box on the ceiling or wall, ensuring that the screw holes on the bracket line up with those on the box. Use the screws provided in the fixture kit to secure the mounting bracket firmly in place.
Make sure the bracket is level and tightly fastened, as it will support the weight of the light fixture. Double-check the stability of the bracket before proceeding to the next step.
Step 5: Connect Wires
Before connecting the wires, ensure the power to the electrical box is turned off at the circuit breaker to avoid any risk of electric shock. Carefully match the wires from the light fixture to the corresponding wires in the electrical box. Typically, the black wire connects to the black (or red) wire, the white wire connects to the white wire, and the green (or bare copper) wire connects to the ground wire.
Use wire nuts to securely fasten the connections, twisting them tightly to ensure a solid connection. Once all wires are connected, gently push them into the electrical box, making sure they are neatly arranged to prevent crimping or damage.
Step 6: Attach New Light Fixture
Carefully align the base of the new light fixture with the mounting bracket on the electrical box. Secure the fixture in place by fastening the screws provided with the mounting hardware. Ensure that the screws are tightened evenly to keep the fixture stable and flush against the ceiling or wall.
Once the base is secured, attach any remaining components, such as shades or decorative covers, as per the manufacturer’s instructions. Double-check all connections and ensure that the fixture is firmly installed before proceeding.
Step 7: Install Light Bulbs
Carefully screw in the appropriate light bulbs as specified by the manufacturer, ensuring they match the required wattage and type for the fixture. Avoid overtightening to prevent damage to the bulbs or sockets. If the fixture includes multiple sockets, install light bulbs in each one, ensuring secure and even placement. Once all bulbs are installed, test the fixture by turning on the power to verify proper functionality.
Following these steps on how to change a hanging light fixture will ensure a safe and successful installation of your new light fixture. Once complete, enjoy the improved lighting in your space and don’t forget to turn off the power before making any future adjustments or changes. Happy lighting!
Additional Tips for Maintenance
Regular maintenance is essential for keeping your newly installed light fixture functioning properly. Here are some additional tips to keep in mind:
- Dust and clean your light fixture regularly to prevent build-up that can affect the brightness of the bulbs.
- Check for any loose screws or connections every few month to ensure the fixture is secure and safe.
- If your light fixture has a dimmer switch, make sure to adjust it according to the recommended wattage for the bulbs. This will prevent any potential damage or flickering of the lights.
- Inspect the wiring and connections every year to identify any potential hazards or wear and tear. If you notice any issues, contact a professional electrician for repairs.
- Consider replacing old or outdated light fixtures with energy-efficient options. This can not only save you money on your electricity bill but also reduce your carbon footprint.
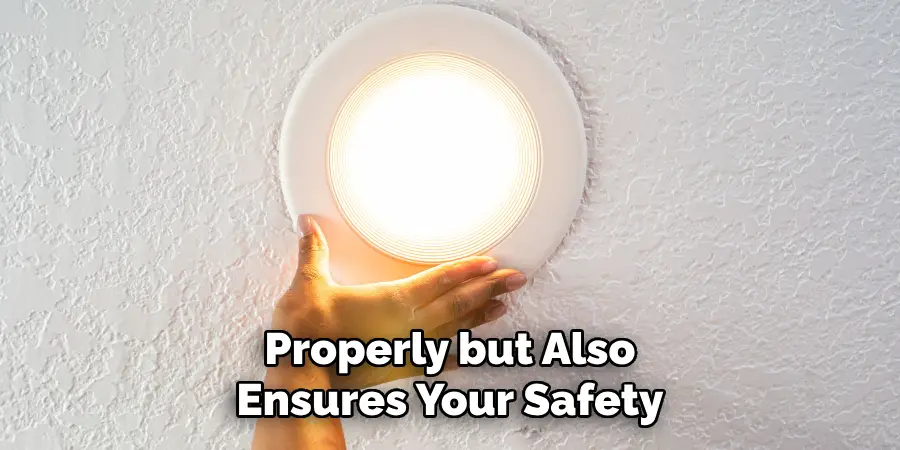
Remember, regular maintenance not only keeps your light fixture functioning properly but also ensures your safety.
Frequently Asked Questions
Q: How Often Should I Replace My Light Fixtures?
A: It is recommended to replace your light fixtures every 10-15 years, or sooner if you notice any issues such as flickering lights or damaged wiring. The lifespan of a light fixture can also depend on its quality and frequency of use.
Q: Can I Install Light Fixtures Myself?
A: It is always best to hire a licensed electrician to install light fixtures. They have the necessary skills and expertise to ensure proper installation and that safety precautions are taken. DIY installations can be dangerous, especially with electrical work.
Q: How Can I Tell If My Light Fixture Needs Maintenance?
A: Signs that your light fixture may need maintenance include flickering lights, buzzing or humming noises, loose wiring, or visible wear and tear. It is important to address these issues as soon as possible to avoid any potential hazards.
Q: Are There Any Safety Precautions I Should Take Before Attempting to Install a Light Fixture Myself?
A: Yes, it is important to turn off the power supply before attempting any installations. You should also wear protective gear and carefully follow the manufacturer’s instructions for installation. The use of a ladder or other equipment may also be necessary, so make sure to take proper precautions and have someone assist you if needed.
Q: Can I Use LED Light Bulbs in Any Type of Fixture?
A: It is important to check the specifications of your light fixture before using LED bulbs. LED bulbs may not be compatible with certain fixtures such as dimmable or enclosed fixtures, so it is best to consult the manufacturer’s recommendations. Additionally, make sure to use bulbs with the appropriate wattage and voltage for your fixture to avoid potential damage.
Conclusion
LED light bulbs offer numerous benefits, including energy efficiency, longevity, and cost savings. However, it is crucial to ensure compatibility with your fixtures and follow the manufacturer’s guidelines on how to change a hanging light fixture for safe and effective use.
By selecting the right bulbs and installing them properly, you can enjoy the many advantages that LED lighting brings to your home or workspace.

