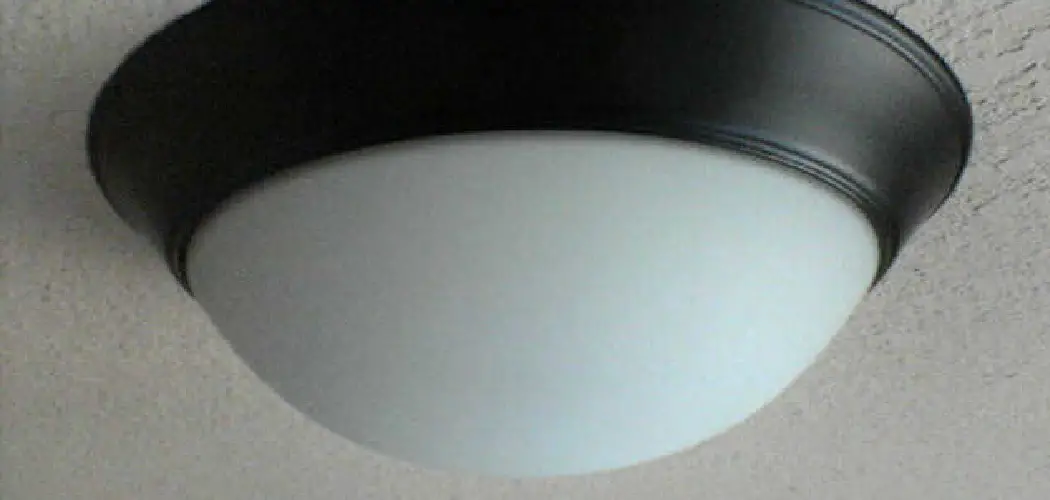
When it comes to updating your home’s decor, one of the easiest ways to make a big impact is by changing out light fixtures. And one type of fixture that tends to be ubiquitous in many homes is the infamous “boob light” – a basic, round flush mount ceiling light with a dome-shaped cover.
If you’re tired of looking at this plain and uninteresting light fixture, don’t worry – changing it out for something more stylish is a relatively easy DIY project. In this guide, we’ll walk you through the steps of how to change a boob light fixture.
Gathering Supplies
Before you begin the process of changing your boob light fixture, make sure you have all the necessary supplies on hand. You will need:
- New Light Fixture: Decide on the type of light fixture you want to replace your boob light with. This could be a more modern flush mount, a pendant light, or even a chandelier.
- Ladder: Depending on the height of your ceiling, you may need a ladder to reach the light fixture.
- Screwdriver: Most likely, you will need a Phillips head screwdriver to remove the screws holding the old fixture in place.
- Electrical Tape: This will come in handy for securing wires and preventing any potential electrical hazards.
- Wire Nuts: These small plastic connectors are used to connect and secure electrical wires together. Make sure you have an adequate amount on hand.
- Circuit Tester: It’s always important to make sure the power is turned off before working on any electrical project. Use a circuit tester to confirm that the power is off before beginning work.
8 Things to Know Before You Start
1) Preparing for Installation
Before you start taking down your old boob light fixture, make sure you have turned off the power at the breaker box and let the existing fixture cool down if it has been recently used. This will ensure your safety while working with electricity.
2) Checking Ceiling Compatibility
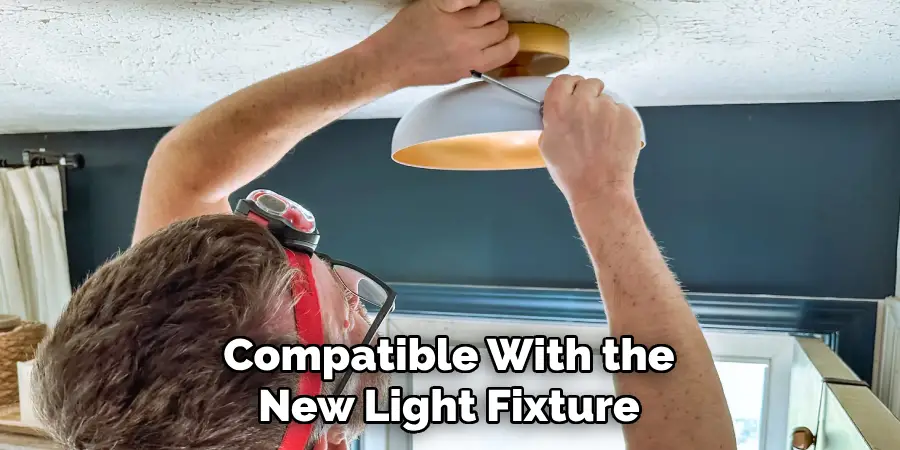
Take a look at your ceiling to see if it is compatible with the new light fixture you have chosen. Some fixtures may require additional support, such as a junction box or mounting bracket, so make sure you have the necessary equipment before proceeding.
3) Measuring and Marking
Measure the diameter of your new light fixture and transfer those measurements onto the ceiling. Use a pencil to mark where the screws will go for mounting the fixture. Also, make note of where the electrical wires are located so you can properly align them with the new fixture.
4) Removing the Old Fixture
Using a screwdriver, remove the screws holding your old boob light in place. Once it is loose, carefully disconnect any wires and set aside the old fixture. As a precaution, place a piece of electrical tape over the exposed wires to ensure they do not touch.
5) Wiring the New Fixture
Strip off about half an inch of insulation from the end of each wire. Twist the bare ends together with their corresponding colors and secure them with wire nuts. If your new fixture has a grounding wire, attach it to the grounding screw on the mounting bracket.
6) Attaching the Mounting Bracket
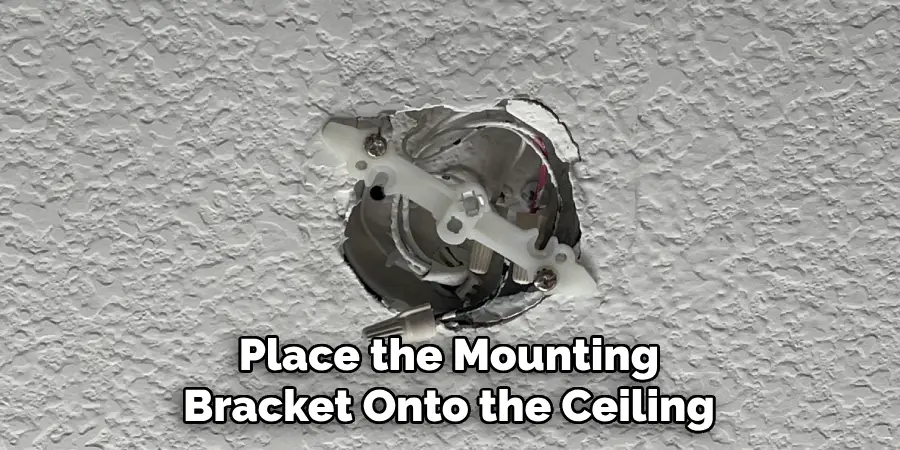
Place the mounting bracket onto the ceiling and secure it with screws. Make sure it is level before tightening all the screws. And remember to keep the wires from getting pinched between the bracket and the ceiling.
7) Installing the New Fixture
Carefully lift your new light fixture into place, making sure to properly align it with the mounting bracket. Use screws to secure it in place, and attach any additional components, such as shades or covers, according to your specific fixture’s instructions.
8) Testing and Final Adjustments
Turn the power back on at the breaker box and test your new light fixture. If it doesn’t turn on, double-check all connections and make any necessary adjustments. Once everything is working properly, step back and admire your newly updated light fixture!
As you can see, changing a boob light fixture is not as daunting of a task as it may seem. With the right tools and knowledge, you can easily update your home’s lighting and give it a fresh new look. Once you’ve mastered this project, you’ll be ready to tackle even more challenging DIY projects in the future! So go ahead and say goodbye to that old boob light – it’s time for an upgrade.
12 Steps on How to Change a Boob Light Fixture
Step 1: Choosing a Boob Light Replacement
When selecting a new light fixture, there are several factors to consider. These include the style, size, and type of light you want for your space. Take measurements of your current boob light and make sure the new fixture will fit properly in its place.
Step 2: Gather Materials
Before beginning any DIY project, it’s essential to have all the necessary tools and supplies on hand. This includes a ladder, screwdriver, electrical tape, wire nuts, circuit tester, and, of course, the new light fixture.
Step 3: Turn off the Power
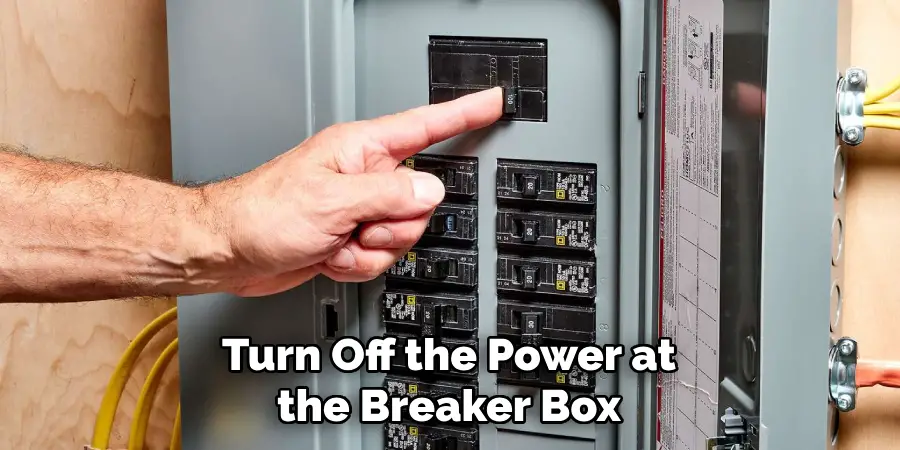
Safety should always be a top priority when working with electricity. Before starting any work on your boob light fixture, turn off the power at the breaker box and confirm that it is off using a circuit tester.
Step 4: Allow for Cooling
If your current boob light has been recently used, give it time to cool down before attempting to remove it. This will prevent any potential burns or injuries while handling the fixture. And remember to always handle the fixture with care.
Step 5: Check Ceiling Compatibility
Take a look at your ceiling to see if it is compatible with the new light fixture you have chosen. Some fixtures may require additional support, such as a junction box or mounting bracket, so make sure you have the necessary equipment before proceeding.
Step 6: Measure and Mark
Using a measuring tape, determine where the screws for mounting the new fixture will go on the ceiling. Use a pencil to mark these spots and make a note of where the electrical wires are located so you can properly align them with the new fixture.
Step 7: Remove Old Fixture
Using a screwdriver, remove the screws holding your old boob light in place. Carefully disconnect any wires and set aside the old fixture. As a precaution, place a piece of electrical tape over the exposed wires to ensure they do not touch.
Step 8: Strip Wires
Strip off about half an inch of insulation from the end of each wire that was connected to the old fixture. This will expose the bare wire for proper connection with the new fixture. So, make sure to have wire strippers on hand for this step.
Step 9: Connect Wires
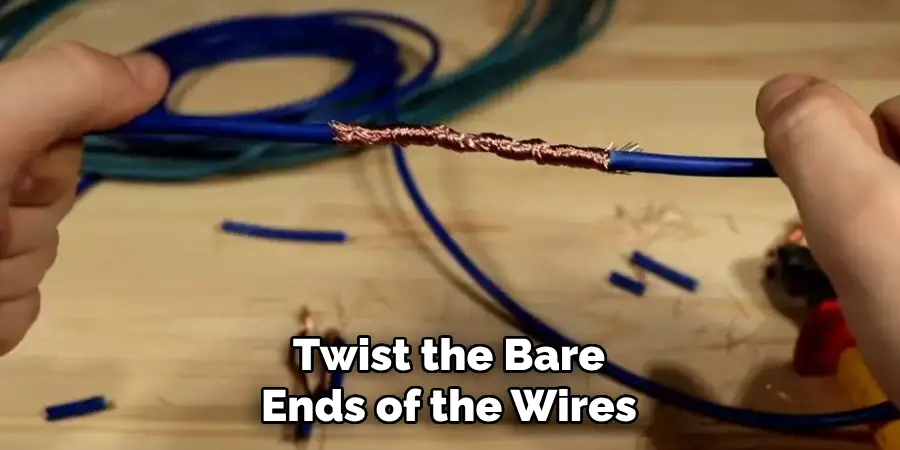
Twist the bare ends of the wires together with their corresponding colors and secure them with wire nuts. If your new fixture has a grounding wire, attach it to the grounding screw on the mounting bracket.
Step 10: Attach Mounting Bracket
Place the mounting bracket onto the ceiling and secure it with screws. Make sure it is level before tightening all the screws. And remember to keep the wires from getting pinched between the bracket and the ceiling.
Step 11: Install New Fixture
Carefully lift your new light fixture into place, making sure to properly align it with the mounting bracket. Use screws to secure it in place, and attach any additional components, such as shades or covers, according to your specific fixture’s instructions.
Step 12: Test and Make Adjustments
Turn the power back on at the breaker box and test your new light fixture. If it doesn’t turn on, double-check all connections and make any necessary adjustments. Once everything is working properly, step back and admire your newly updated light fixture! And don’t forget to properly dispose of your old boob light. Endless possibilities await with your new and improved lighting!
As you can see, changing a boob light fixture is a simple and straightforward process. With just a few tools and steps, you can transform the look of your space with a new and improved light fixture.
And by following these 12 steps on how to change a boob light fixture, you’ll have no problem completing this DIY project like a pro. So go ahead, give your room an instant upgrade by changing out that old boob light!
8 Things to Avoid When Changing a Boob Light Fixture
1) Not Turning off the Power
Safety should always be a top priority when working with electrical fixtures. Failing to turn off the power at the breaker box can result in electrocution or other serious injuries. If you need help determining which breaker controls the light fixture, it is best to turn off the main power.
2) Using the Wrong Tools
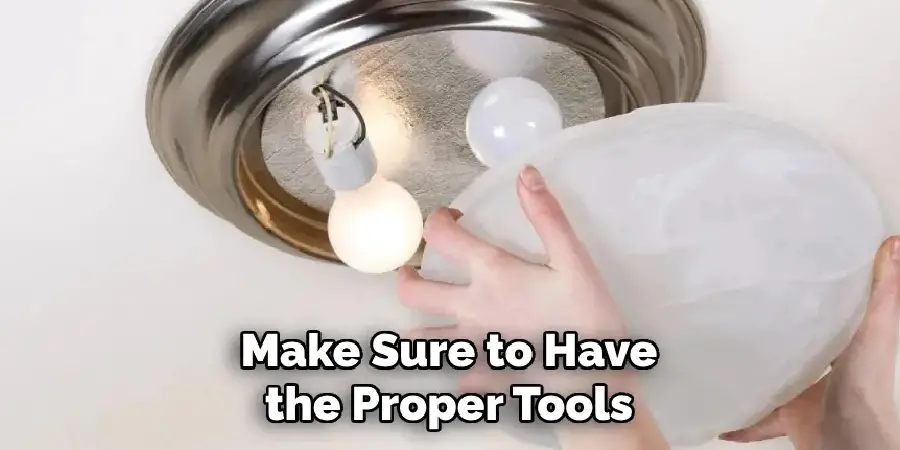
Using incorrect tools can not only make your job more difficult but also pose safety hazards. Make sure to have the proper tools on hand, such as a screwdriver and wire strippers, before starting your project.
3) Not Having a Helper
While changing a boob light fixture can be done solo, it is always helpful to have an extra set of hands. This can make the process smoother and safer, especially when handling larger or heavier fixtures.
4) Forgetting to Check Ceiling Compatibility
Before purchasing your new light fixture, make sure it is compatible with your ceiling. Some fixtures may require additional support, such as a junction box or mounting bracket, so it is important to have these on hand if needed.
5) Rushing Through the Process
Take your time when changing a light fixture, and follow each step carefully. Rushing through the process can lead to mistakes or missed connections, which could result in an unsafe electrical situation.
6) Not Measuring Properly
Measuring is a crucial step when installing any new fixture. Make sure to accurately measure the space and mark where mounting screws should go, as well as note where electrical wires are located for proper alignment with the new fixture.
7) Improperly Connecting Wires
Forgetting to properly connect wires can lead to a faulty or unsafe light fixture. Make sure to twist the bare ends of wires together and secure them with wire nuts while also tucking them neatly into the electrical box.
8) Not Testing the Fixture
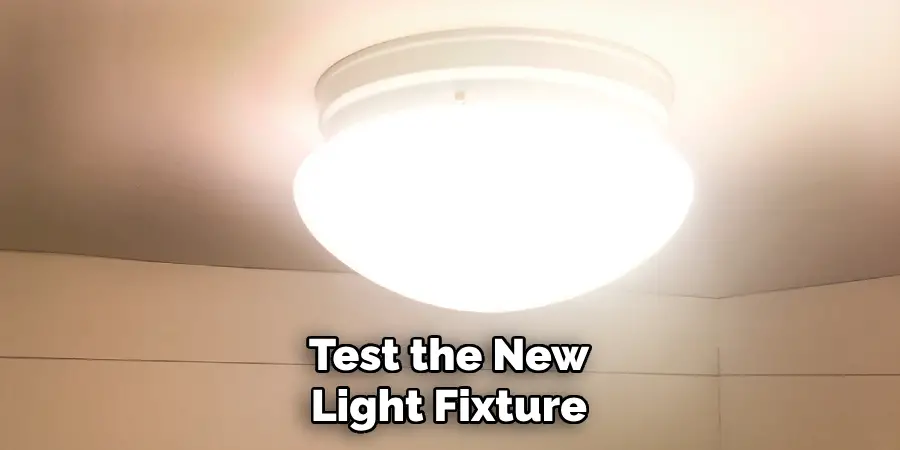
After completing all steps, it is important to turn on the power and test the new light fixture before fully securing it in place. This will allow you to make any necessary adjustments or fixes before fully installing the fixture.
Avoiding these common mistakes can ensure a successful and safe installation of your new light fixture. So go ahead, give that old boob light the boot, and welcome in a stylish and functional new fixture! Your space will thank you for it.
And who knows, this is the start of your home improvement journey. Happy DIY-ing! So don’t be afraid to tackle more projects and unleash your inner handyman/woman. The possibilities are endless when it comes to transforming your space with new fixtures and updates.
8 Additional Tips
Tip 1: Upgrade to LED Lights
LED lights are not only energy-efficient, but they also have a longer lifespan compared to traditional incandescent or fluorescent bulbs. With a variety of styles and brightness levels, you can easily find an LED light to suit your needs and enhance the look of your space.
Tip 2: Consider Dimmer Switches
Dimmer switches allow for adjustable lighting, giving you more control over the ambiance of your room. They are also a great energy-saving option when you don’t need full brightness from your light fixture.
Tip 3: Be Mindful of Light Placement
When installing a new light fixture, consider the placement and direction of the light. This can affect the overall lighting in your space and may require additional fixtures for proper illumination. However, be cautious not to create too much glare or shadows.
Tip 4: Don’t Forget About Safety
Always make safety a priority when working with electrical fixtures. Turn off the power and use caution when handling wires and tools. If you need clarification on any aspect of the installation process, consult a professional electrician for assistance.
Tip 5: Choose the Right Bulbs
The type of bulb you use in your light fixture can make a big difference in the overall look and function. Consider factors such as brightness, color temperature, and energy efficiency when selecting bulbs for your new fixture.
Tip 6: Clean Your New Fixture Before Installation
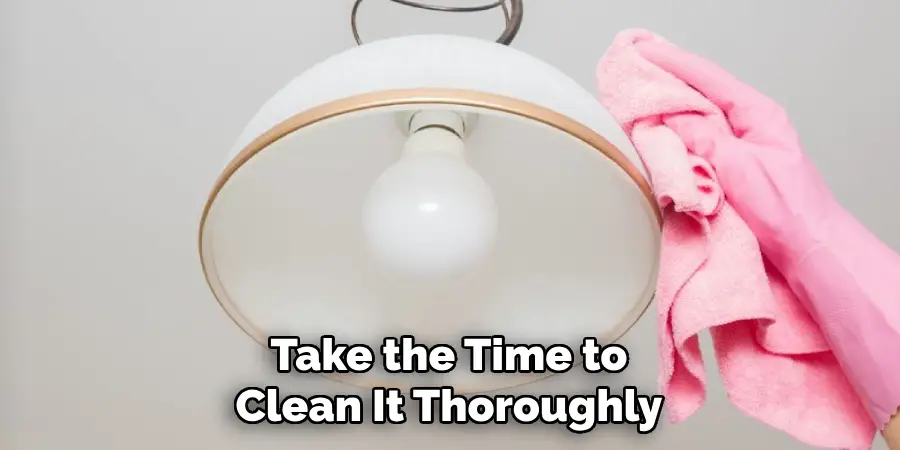
Before installing your new light fixture, take the time to clean it thoroughly to remove any dust, debris, or packaging residue. This will ensure a better-looking and longer-lasting fixture.
Tip 7: Have an Emergency Plan
While changing a light fixture is a relatively simple project, unexpected mishaps can still occur. It’s always a good idea to have an emergency plan in place, such as having a fire extinguisher nearby and knowing how to shut off the power in case of an electrical issue.
Tip 8: Don’t Be Afraid to Ask for Help
If you are unsure about any aspect of changing your light fixture, feel free to ask for help. Whether it’s from a knowledgeable friend or a professional electrician, seeking assistance can prevent mistakes and ensure a safe and successful installation.
With these tips on how to change a boob light fixture and a little bit of know-how, you can confidently change out your boob light fixture and upgrade the lighting in your space. So why wait? Start planning your next home improvement project and make those outdated fixtures a thing of the past!
Frequently Asked Questions
Can I Change a Light Fixture if I Have No Prior Experience?
While it is possible to change a light fixture without prior experience, it is important to follow safety precautions and take your time during the process. If you are unsure about any steps or uncomfortable working with electricity, it is always best to seek professional assistance.
What Tools Do I Need to Change a Light Fixture?
The tools needed to change a light fixture may vary depending on the specific fixture and installation requirements. However, some common tools that may be needed include screwdrivers, wire strippers, pliers, and a ladder. It is important to have proper equipment and tools on hand before starting the project.
How Can I Make Sure My New Light Fixture Is Safe to Use?
To ensure the safety of your new light fixture, it is important to follow all installation instructions carefully and test the fixture before fully securing it in place. It is also recommended to have a professional electrician inspect the fixture and wiring after installation for added peace of mind.
Can I Install a Dimmer Switch on Any Light Fixture?
Not all light fixtures are compatible with dimmer switches, so it is important to check the specifications of your fixture before attempting to install a dimmer switch. If you need clarification, consult a professional electrician for assistance.
Conclusion
Changing a light fixture may seem like a daunting task, but with the right tools and know-how to change a boob light fixture, it can be a simple and rewarding DIY project. You can successfully upgrade your space with a new light fixture by avoiding common mistakes and following safety precautions.
And remember to consider additional tips, such as upgrading to LED lights or installing dimmer switches for added functionality and style. So go ahead, give that old boob light the boot, and start transforming your space with a new and improved lighting fixture.

