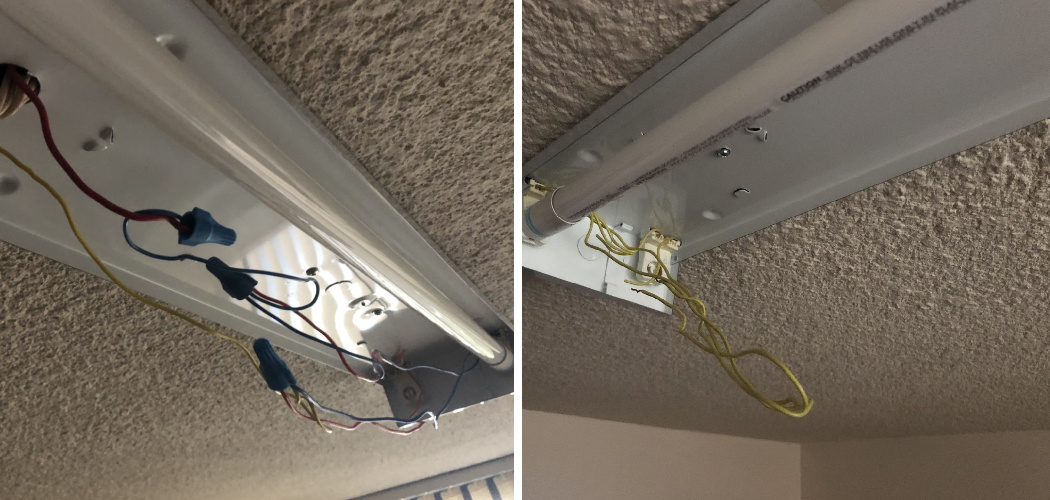
Are you looking to replace your outdated fluorescent lighting fixtures with energy-efficient LED tubes? Lighting upgrades can drastically reduce electricity bills and improve the overall quality of illumination in a space, and tackling this yourself can be an easy project.
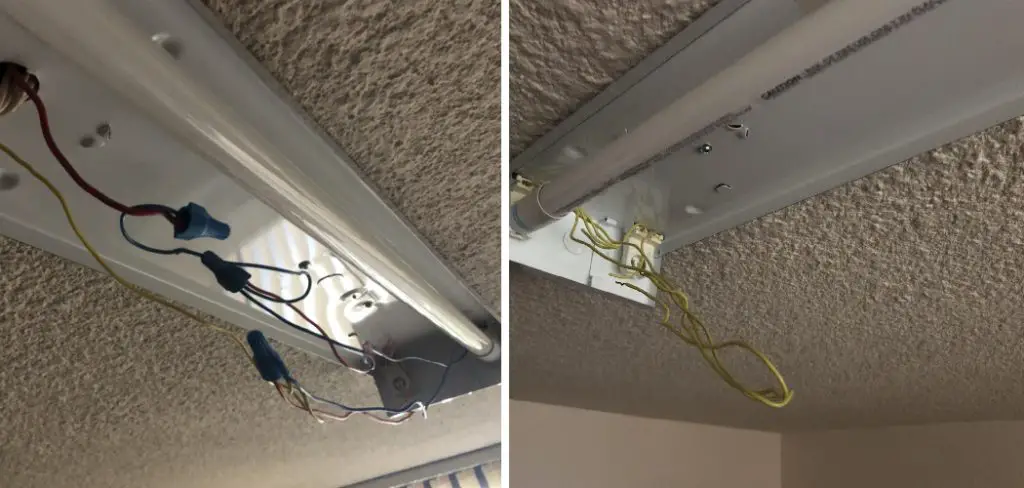
However, before installing LED lights, you must first learn to bypass the existing ballasts that control your current lighting system. Whether you’re dealing with a T12, T8, or T5 fluorescent bulb, there is an easy way to bypass the existing ballast and install LED lights successfully.
In this guide, we’ll explain step-by-step how to bypass a ballast to install led tubes for all types of commercial lighting needs – so read on if you’re interested in making your impressive DIY upgrade!
What Will You Need?
Before you begin your lighting upgrade project, ensure you have the necessary materials and tools to bypass a ballast. Here’s what you’ll need:
- Non-shunted lamp holders
- LED tubes
- Wire nuts
- Screwdrivers or other tools required to remove the light fixture cover and disconnect wires from the existing ballast
Once you have all these items, you can proceed with the installation process.
10 Easy Steps on How to Bypass a Ballast to Install Led Tubes
Step 1: Remove the Fixture Cover:
Start by cutting off the power to your existing lighting system, then remove the fixture cover. Use caution when doing this, as it may contain sharp and exposed metal edges. Always wear protective gloves and eyewear when doing any electrical work.
Step 2: Locate Ballast:
Once you have exposed the interior wires of your light fixture, locate the ballast connected to the fluorescent bulb(s). It will be a box-like component, typically mounted to the side of the fixture. Additionally, it will be connected to the hot, neutral, and ground wires of your light fixture.
Step 3: Disconnect Wires from Ballasts:
Now you’ll need to disconnect all wires from the existing ballasts. Make sure to keep track of which wire goes where to ensure proper rewiring later on. Another good tip is to photograph the wiring setup before you start so that you can refer back to it when rewiring.
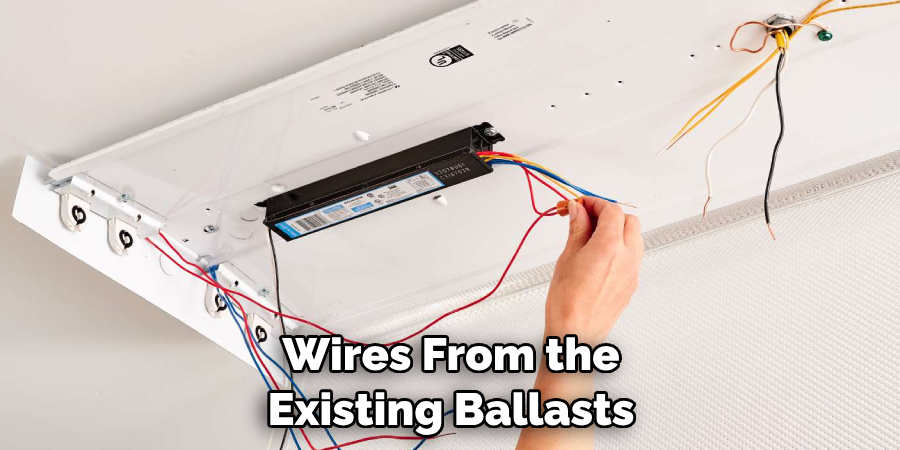
Step 4: Install Non-Shunted Lamp Holders:
This step involves installing non-shunted lamp holders onto each end of your new LED tubes. Additionally, it is important to make sure the lamp holders face in the same direction as your existing wiring setup. If your lamp holders do not fit properly, you may need to use the provided nuts and bolts to secure them in place.
Step 5: Connect Non-Shunted Lamp Holders to Wiring:
Now you need to connect the lamp holders to the existing wiring setup. Start by connecting the hot wire (typically black) from your old ballast to one of the lamp holder wires, usually marked as “Line” on the new lamp holder. Then connect the neutral wire (usually white) from your old ballast to the other lamp holder wire, usually marked as either “Neutral” or “Ground” on the new lamp holder.
Step 6: Install LED Tubes:
Once you have connected your non-shunted lamp holders and wired them accordingly, you can install your LED tubes. Ensure they fit securely in the lamp holders and that all wires are connected properly. Use the provided nuts and bolts to secure them in place if necessary.
Step 7: Secure Wires to Fixture:
Once you have installed your LED tubes and made sure they’re working correctly, it’s time to secure the wiring and mount everything back into place. Use the provided wire nuts or other tools to secure all exposed wiring to your fixture. This will help protect against any potential hazards that could occur from loose connections or exposed wires.
Step 8: Re-attach Fixture Cover:
Carefully re-attach the fixture cover back onto your light fixture, ensuring that no wiring is left exposed. Make sure all screws are firmly tightened in order to avoid any future mishaps. Otherwise, you can also use electrical tape to cover any exposed wiring.
Step 9: Test the Lights:
With everything back in place, it’s time to test the lights. Turn on your power and make sure that all LED tubes are properly illuminated and functioning correctly. If you notice any flickering or dimming of lights, immediately turn off the power and investigate further.
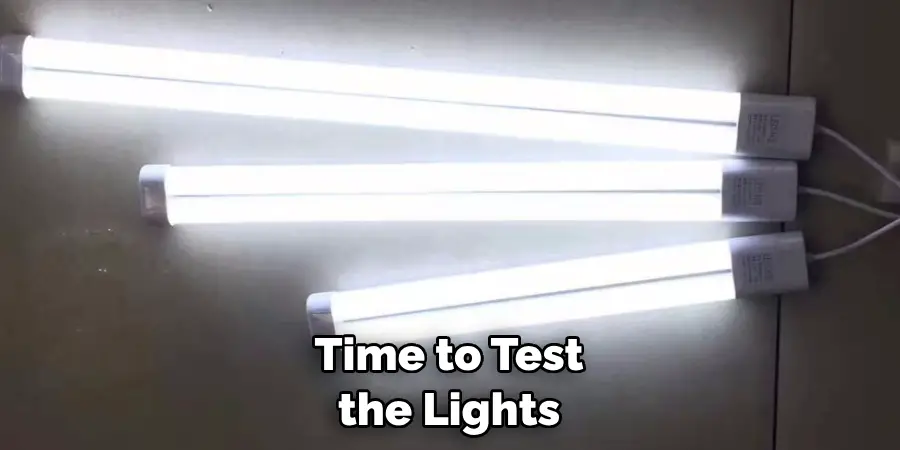
Step 10: Enjoy Your New Lighting Fixture!
Finally, enjoy your newly installed lighting system! With a few simple steps, you have bypassed your ballast and successfully upgraded to energy-saving LED lighting – congratulations! You can now enjoy improved illumination with fewer electricity costs.
We hope this guide has been helpful in teaching you how to bypass a ballast to install LED tubes. For more information, check out our commercial lighting solutions or contact one of our lighting experts today.
6 Additional Tips and Tricks
1. Make sure the LED tubes you are using are compatible with your ballast. It can cause damage and even a fire hazard if they do not match.
2. Ensure no power is running through the circuit when you bypass the ballast to install LED tubes. This can be done by turning off the breaker associated with this particular circuit or unplugging any other energy source.
3. Wear protective gear such as gloves, eye protection, and a face mask before starting work on the project. This will help protect you from any potential hazards that may arise during installation or maintenance.
4. When removing the ballast and installing LED tubes, make sure to ground all connections securely to avoid electric shock or damage to other components.
5. To ensure your LED tubes will work efficiently, ensure the wattage for both the ballast and LED tube is compatible. Doing this step before installation can save time and money in the long run.
6. Lastly, always check the compatibility between the LED tube and the ballast you are using. It can cause damage or create a fire hazard if they don’t match.
With these tips and tricks, you can successfully bypass a ballast to install LED tubes. Remember always to follow safety guidelines when working with electricity, and if unsure about any steps, contact a professional for assistance. Lastly, always double-check your work before energizing the circuit again.
6 Things You Should Avoid
- Do not overload the circuit with more LED tubes than the ballast can handle.
- Only attempt to bypass a ballast by turning off power supplies.
- Remember to wear protective gear when working on any electrical project.
- Don’t neglect to ground all connections securely and double-check them before energizing the circuit again.
- Avoid using incompatible wattage between the ballast and LED tubes, as this could cause damage or fire hazards.
- Only bypass a ballast with the proper knowledge and skills. If you need help with any steps, contact a professional for assistance.
By following these tips and tricks, you can safely bypass the ballast and install LED tubes without putting yourself or anyone else in danger of harm from electric shock or overheating of components due to incorrect wattage usage.
Is Ballast Bypass Safe?
Yes, with the proper safety guidelines, a ballast bypass is a safe and effective way to install LED tubes. When done correctly, it can help decrease energy costs while increasing the overall efficiency of our lighting systems.
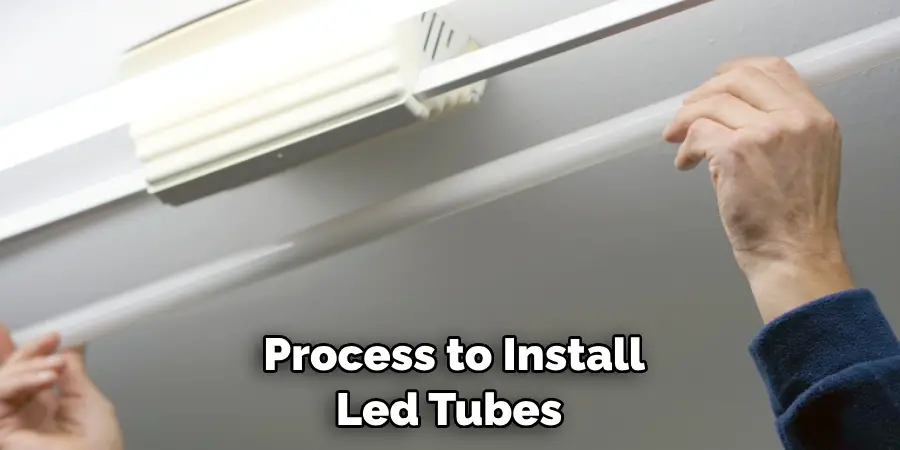
However, if you need clarification on any steps or questions, contact a professional. They will be able to walk you through the process and ensure all safety protocols are followed.
Ballast bypass is a relatively easy and safe process to install LED tubes. Following the necessary safety guidelines ensures your new lighting system works efficiently and lasts longer.
What Happens if You Need to Bypass the Ballast for Led Lights?
If you don’t bypass a ballast when installing LED lights, they will not run as efficiently as they should and may cause damage to other components. If too much wattage is used, overheating of the circuits could result in fire hazards or electric shock from exposed wiring.
Additionally, if the ballast is incompatible with your LED tubes, it will not be as bright and might flicker or buzz. It is important to ensure your LED tubes match up with the right wattage for your ballast so that everything runs smoothly and safely.
In conclusion, it is essential to follow all safety precautions when bypassing a ballast in order to install LED tubes properly without any risks. Make sure to double-check all connections and ensure the wiring is securely grounded.
Additionally, make sure to use compatible wattage between the ballast and LED tubes in order to have optimal performance without any hazards. With these tips in mind, you can bypass a ballast for LED lights easily and with peace of mind.
Conclusion
How to bypass a ballast to install led tubes is a straightforward process that can lead to significant energy savings and greater efficiency. But it is important to remember that this DIY project may require additional materials not listed here, depending on the specific setup of your lighting system. Make sure to double-check that power is turned off before beginning the process so that no one gets accidentally injured.
Even with proper preparation and care, take extra precautions when working on electrical systems and always seek help from a qualified electrician if you are still determining what supplies you need or how to complete the job correctly.
With the right preparation and execution, you can bypass the ballasts in your lighting system quickly and easily to improve its performance capabilities while enjoying all of the other benefits of LED tubes. Good luck!

