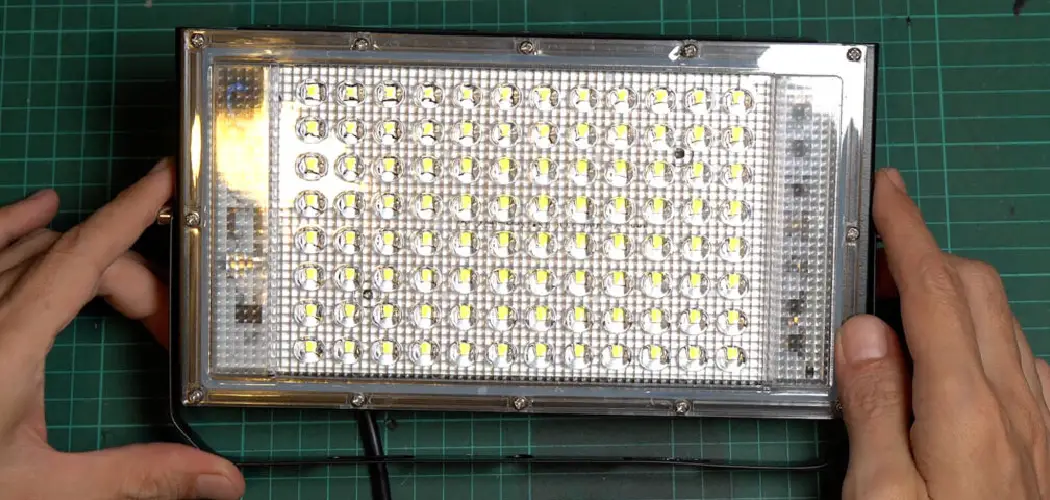
In today’s world, LED lamps have become increasingly important due to their energy efficiency and versatility. Unlike traditional incandescent bulbs, LED lamps use significantly less power, have a longer lifespan, and offer a wide range of color options. This makes them an excellent choice for everything from task lighting to decorative applications.
In this project, you will learn how to build LED lamp from scratch. Whether you’re looking to create a functional desk lamp or a unique piece of home décor, this article will guide you through each step of the process. We’ll cover everything from understanding LED technology to planning your design, selecting components, and assembling your lamp. By the end of this guide, you will have the knowledge and confidence to build your own LED lamp, tailor-made to suit your needs and preferences. Get ready to embark on an illuminating DIY journey with our comprehensive guide on how to build an LED lamp.
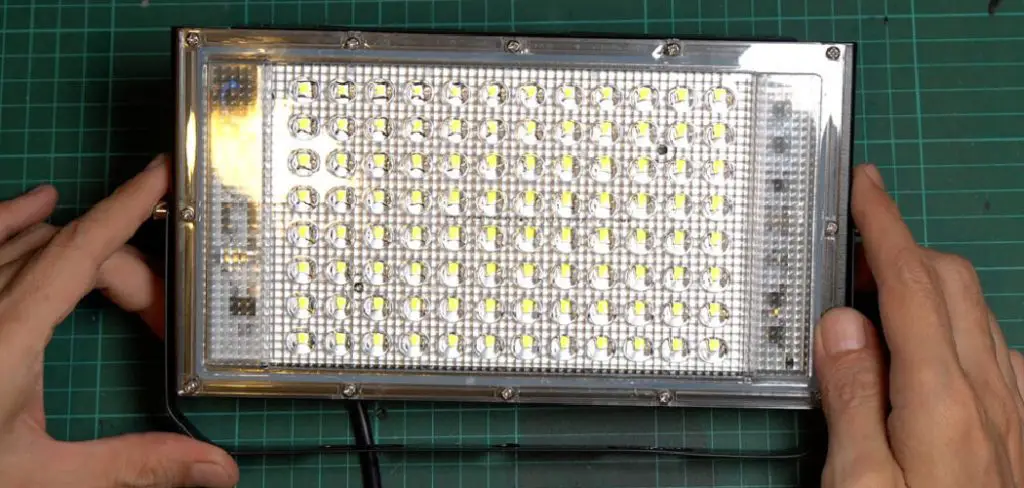
Understanding LED Technology
Introduction to LED Technology
Light Emitting Diodes (LEDs) represent a significant advancement in lighting technology compared to traditional incandescent bulbs. Unlike incandescent bulbs, which produce light by heating a filament until it glows, LEDs generate light through electroluminescence. When an electric current passes through a semiconductor material within the LED, electrons recombine with holes, releasing energy in the form of photons. This process is highly energy-efficient since minimal energy is wasted as heat.
Benefits of LEDs
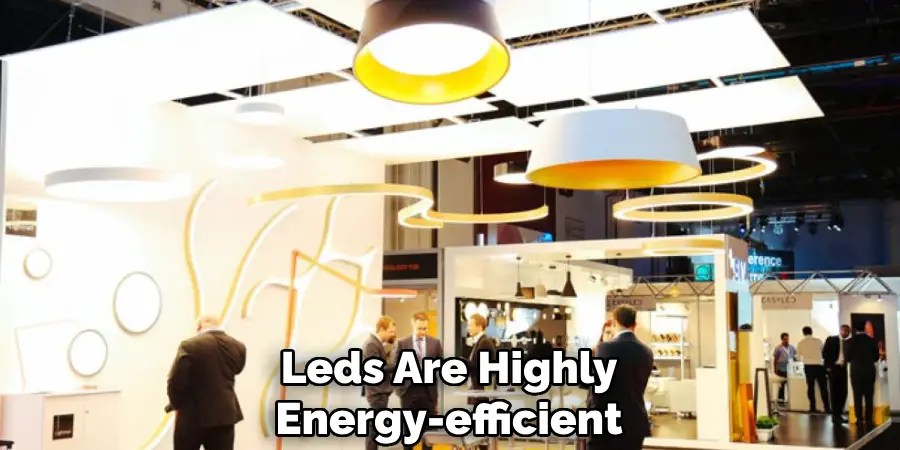
There are numerous advantages of LEDs over incandescent bulbs. First and foremost, LEDs are highly energy-efficient, consuming up to 80% less power than incandescent bulbs. This efficiency translates to lower electricity bills and reduced environmental impact. LEDs boast remarkable durability and longevity, often lasting over 25,000 hours compared to the 1,000-hour lifespan of incandescent bulbs. LEDs are also more robust and less susceptible to damage from shocks and vibrations. Another significant benefit is the diversity of color options available with LEDs, which can produce a broad spectrum of colors without the need for additional filters. This makes them ideal for various applications, from practical task lighting to vibrant decorative uses.
Components of an LED Lamp
An LED lamp consists of several key components, each playing a crucial role in its function. The primary component is the LED, which is the light source. To control the current flowing through the LED, resistors are used, ensuring the LED receives the correct amount of power and preventing overheating. Heat sinks are essential for dissipating heat away from the LEDs, prolonging their lifespan, and maintaining efficiency. Other components include power supply units to convert AC to DC power, drivers to regulate the current, and a lamp base to house and support the entire assembly. Understanding these components is fundamental to successfully building and customizing an LED lamp.
Planning Your LED Lamp Design
Setting Design Goals
Determining the purpose and style of your LED lamp is the initial and one of the most crucial steps in the planning process. Start by identifying the specific use case for your lamp—whether it will be a task-oriented desk lamp, an aesthetically pleasing floor lamp, or a unique decorative lamp for a specific room. Your design goals will influence the type of LEDs you select, their brightness, color temperature, and your lamp’s overall size and shape. Think about whether you want a flexible reading lamp, an elegant piece for your living room, or a colorful, playful lamp for a child’s bedroom.
Sketching the Design
Once you’ve set your design goals, the next step is visually conceptualizing your idea by creating a basic design sketch. Begin with a rough sketch outlining your lamp’s general shape and style. Include key dimensions, such as the height, width, and depth of the lamp base and the lamp shade if applicable. Mark the placement for critical components like the LEDs, heat sinks, power supply, and any mounting hardware. This sketch doesn’t need to be highly detailed but should provide a clear roadmap to guide your build. Utilizing graph paper or digital design tools can help maintain accuracy in your dimensions and layout.
Choosing Materials
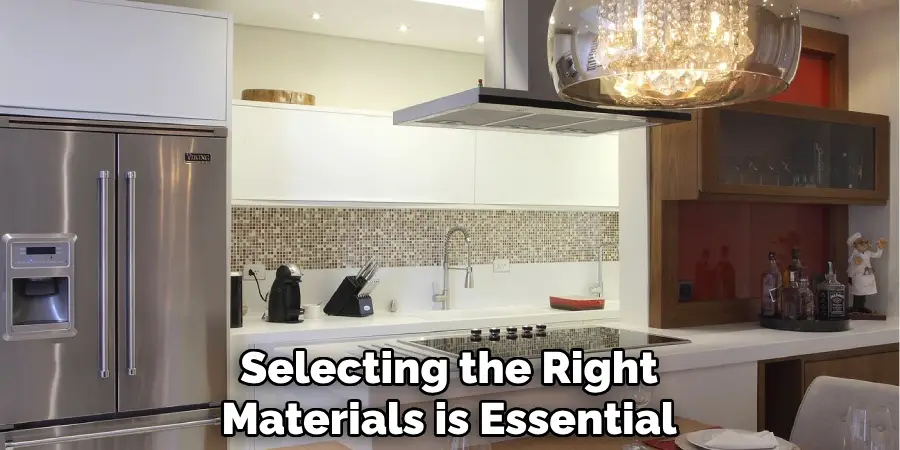
Selecting the right materials is essential for bringing your lamp design to life. You will need specific materials such as LEDs (consider the brightness and color temperature), electrical wires, a suitable power supply, and the base material (which could be wood, metal, plastic, or any desired medium). Resistors and heat sinks are also crucial for managing the LED’s current and heat. Additional items may include soldering tools, mounting brackets, and any decorative elements. Source these materials from reliable suppliers, ensuring they meet the necessary specifications for your design. Online retailers, local hardware stores, and specialty electronics shops are excellent places to start your search for materials.
How to Build LED Lamp: Selecting LED Components
Choosing LEDs
Selecting the right type of LEDs for your lamp is paramount, as it directly impacts the lamp’s performance and aesthetic appeal. Different applications call for specific LEDs. For instance, Chip on Board (COB) LEDs are ideal for high brightness needs, delivering intense, uniform light, making them perfect for task lighting and workspaces. On the other hand, RGB LEDs offer versatile color-changing effects and are suitable for creating dynamic, mood-enhancing lighting in decorative lamps.
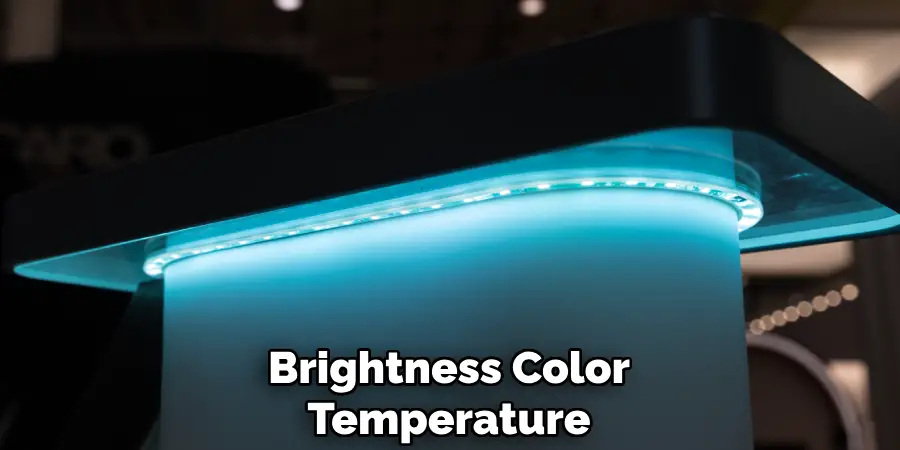
To determine the appropriate LEDs, you need to calculate the required lumens and color temperature. Lumens measure the total light output; higher lumens mean brighter light. Aim for 300-500 lumens for a desk lamp, while ambient room lighting may need 1,500-3,000 lumens. Color temperature, measured in Kelvins (K), dictates the light’s hue. Warm white (2,700K to 3,000K) creates a cozy atmosphere, whereas cool white (4,000K to 5,000K) is better for task lighting.
Other Electronic Components
You’ll need to select other vital electronic components besides LEDs like resistors, capacitors, and drivers. Resistors are crucial for controlling the current flowing through the LEDs, preventing overheating. The resistance value is based on your LED’s forward voltage and desired current. Capacitors can be used to filter and smooth power supply ripples, ensuring steady operation.
Drivers are essential for converting electrical power to match the specific requirements of your LEDs. Constant current drivers are typically used with high-power LEDs to deliver consistent brightness. Ensure the driver matches the LED’s forward voltage and current specifications to maintain optimal performance.
Tools Needed
A set of essential tools is necessary to assemble and solder your electronic components. A soldering iron with adjustable temperature control, solder wire, and a soldering stand are fundamental. Additionally, use a multimeter to measure voltage, current, and resistance and wire strippers to prepare electrical wires. Heat shrink tubing is helpful for insulation, while a small screwdriver set and pliers facilitate precision work. Finally, ensure you have a steady workspace and appropriate safety gear, such as safety glasses and heat-resistant gloves.
With these components and tools, you’ll be well-equipped to bring your LED lamp design to life, ensuring both functionality and visual appeal.
How to Build LED Lamp: Building the LED Lamp Frame
Constructing the Lamp Base
Step-by-Step Instructions for Building or Repurposing a Base
Creating a sturdy and aesthetically pleasing lamp base is essential for your LED lamp’s overall stability and appearance. Whether you choose wood, metal, plastic, or another material, follow these steps for constructing or repurposing a base:
- Measure and Cut the Material: Determine the size of your base by referring to your design sketch. Use precise measurements and cutting tools appropriate for your chosen material (e.g., a saw for wood or a metal cutter for metal).
- Shape the Base: If your design includes specific shapes or contours, sand or file the material to achieve a smooth finish. Ensure there are no sharp edges that could be hazardous.
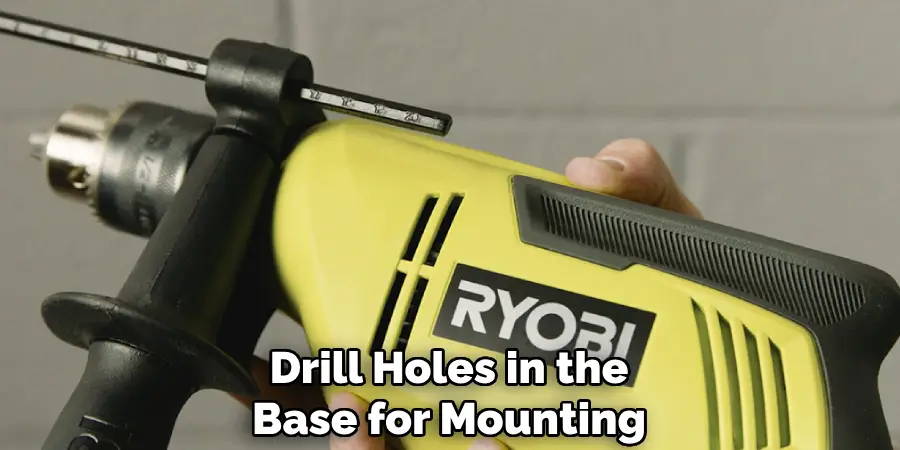
- Drill Holes for Components: Mark and drill holes in the base for mounting your LEDs, heat sinks, and other electronic components. Use a drill bit appropriate for the material to prevent cracking or damage.
- Assemble the Base: If your base consists of multiple pieces, assemble them using adhesives, screws, or bolts. Ensure all joints are tight and secure.
Integrating Heat Management
Effective heat management is critical for maintaining the efficiency and longevity of your LEDs. Here’s how to integrate heat sinks or passive cooling methods:
- Select Appropriate Heat Sinks: Choose heat sinks based on your LED’s wattage and heat output. Larger or more efficient heat sinks are necessary for high-power LEDs.
- Mount Heat Sinks: Attach the heat sinks directly to the back of the LEDs using thermal adhesives or screws. Ensure good thermal contact to maximize heat dissipation.
- Incorporate Passive Cooling: If your lamp design allows, incorporate passive cooling methods such as ventilation holes or slats in the base to enhance airflow and improve heat dissipation.
Installing Mounting Hardware
Securely installing mounting hardware is vital to keep the LEDs and other components in place. Follow these steps:
- Choose Mounting Brackets or Clamps: Select brackets or clamps that are compatible with your LEDs and base material. Consider adjustable options for flexibility.
- Position the Hardware: Place the brackets or clamps in the pre-drilled holes. Ensure they align correctly with the placement of the LEDs and other components.
- Secure the Components: Use screws, bolts, or adhesives to firmly attach the mounting hardware. Double-check that all components are stable and not prone to movement.
By following these steps, you’ll achieve a well-constructed and functional LED lamp base that efficiently manages heat and securely holds all components.
Wiring and Assembly
Wiring Diagram
Creating a wiring diagram based on your design and component selection ensures you have a clear plan before starting the assembly. Here’s how to create your wiring diagram:
- Sketch Your Layout: Draw a simplified layout of your LED lamp, including the placement of LEDs, resistors, capacitors, and drivers.
- Identify Connections: Mark all connection points and label each component. Use standard symbols for components to keep the diagram clear.
- Draw Wires: Connect lines between components, indicating where wires will be soldered. If necessary, include details about wire gauges.
- Review for Accuracy: Double-check your diagram for potential issues, such as incorrect connections or missing components.
Soldering LEDs and Resistors
A detailed guide to soldering LEDs to the circuit board or prototype board will help ensure robust and reliable connections:
- Prepare the Board: Clean your circuit board or prototype board to ensure good solder joints.
- Place LEDs and Resistors: Position the LEDs and resistors according to your wiring diagram. Ensure the polarity of LEDs is correct (anode to positive and cathode to negative).
- Heat the Soldering Iron: Set your soldering iron to the appropriate temperature, typically around 350°C (660°F) for most soldering tasks.
- Apply Solder: Touch the soldering iron’s tip to the joint area, then apply the solder to create a smooth, shiny joint. Ensure the solder flows properly to avoid cold joints.
- Trim Excess Leads: After soldering, trim any excess leads from components to prevent short circuits.
Connecting Power Supply
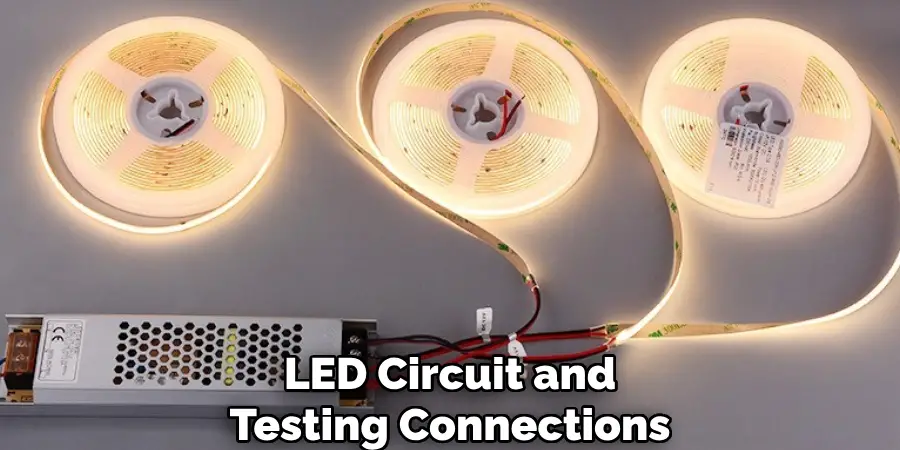
Follow these steps for connecting the power supply to the LED circuit and testing connections:
- Select Power Supply: Choose a power supply that matches your LED circuit’s voltage and current specifications.
- Prepare Wires: Strip the insulation off the ends of the power supply wires and the wires leading to your circuit.
- Connect Terminals: Attach the power supply’s positive wire to your circuit’s positive input terminal. Likewise, connect the negative wire to the negative terminal.
- Solder Connections: Secure the wires to the terminals by soldering them. Ensure the connections are solid and free of exposed wire.
- Test the Circuit: Before fully assembling the lamp, test the circuit by plugging in the power supply and turning it on. Check that all LEDs light up as expected without visible issues.
By meticulously following these steps, you’ll ensure that your LED lamp’s wiring and assembly are both functional and durable.
Testing and Troubleshooting
Initial Testing
Before finalizing your LED lamp, conducting initial testing is essential to ensure all components function correctly and the wiring is accurate. Follow these instructions:
- Power On the System: Connect your power supply and turn on the system.
- Check for Illumination: Observe if all LEDs light up uniformly without any flickering or dim areas.
- Measure Voltage and Current: Use a multimeter to verify that the voltage and current values match your design specifications. This step ensures that the LEDs are receiving appropriate power levels.
Troubleshooting Common Issues
If you encounter any problems during your initial testing, consider the following solutions:
- Flickering LEDs:
- Check Connections: Ensure all solder joints are solid and wires are securely connected.
- Power Supply Stability: Verify that your power supply provides a stable output without fluctuations.
- Component Integrity: Inspect LEDs and drivers for any defects or signs of damage.
- Overheating:
- Improve Heat Dissipation: Double-check that heat sinks are correctly installed and have adequate thermal contact.
- Enhance Ventilation: Ensure there are sufficient ventilation holes or slats to promote airflow around the LEDs.
- Reduce Power Levels: Lower the current running through the LEDs to reduce heat output.
- Improper Connections:
- Cross-Check Wiring Diagram: Ensure all wiring follows the layout as per the wiring diagram without any cross-connections.
- Verify Polarity: Confirm that the positive and negative terminals are connected correctly, especially for LEDs.
Safety Precautions
Working with electricity and soldering tools requires strict adherence to safety protocols:
- Use Insulated Tools: Always use tools with insulated handles to prevent electrical shocks.
- Work in a Ventilated Area: Solder in a well-ventilated space to avoid inhaling fumes.
- Wear Protective Gear: Use safety goggles and gloves to protect against solder splashes and accidental burns.
- Turn Off Power: Always disconnect the power supply before adjusting to avoid electric shock.
By emphasizing safety and thorough testing, you can ensure your LED lamp project is both effective and secure.
Conclusion
Building an LED lamp from scratch involves a series of detailed yet rewarding steps, from planning the design and gathering materials, to carefully wiring and assembling the components, and finally adding personal finishing touches. Throughout this guide on how to build LED lamp, we’ve emphasized the meticulous testing and troubleshooting necessary to ensure your lamp’s functionality and safety. The satisfaction gained from creating your custom lighting solution is immense, especially with the numerous benefits of LED technology, such as energy efficiency and longevity.
We encourage you to experiment with different designs and customize your LED lamps to fit various uses and aesthetic preferences. The process enhances your creative skills and empowers you to take on more DIY projects in home lighting, opening the door to endless possibilities. By exploring the nuances of how to build LED lamp, you can transform simple ideas into practical and stylish illuminative solutions.

