Pendant lamps are a popular and versatile lighting option that can enhance the aesthetic and functionality of various spaces, from cozy living rooms to contemporary kitchens. With their unique designs and ability to provide focused or ambient light, pendant lamps fit seamlessly into both modern and traditional interiors.

Building your own pendant lamp opens up endless possibilities for customization, allowing you to tailor the design to suit your personal taste and interior style. Not only is it a creative and rewarding endeavor, but it can also be a cost-effective alternative to purchasing ready-made fixtures.
This article serves as a comprehensive step-by-step guide on how to build a pendant lamp from scratch, empowering readers to craft a unique lighting piece while prioritizing safety and functionality.
Understanding Pendant Lamps
What is a Pendant Lamp?
A pendant lamp is a light fixture hanging from the ceiling, typically suspended by a chain, cord, or rod. Its design makes it a versatile lighting solution as it can serve both functional and aesthetic purposes in various interior settings. Pendant lamps are often admired for their ability to draw visual attention while effectively illuminating a specific area.
Types of Pendant Lamps
Pendant lamps come in various styles to suit different preferences and needs. Single pendant lamps feature a single light source, making them ideal for focused lighting, such as over a kitchen island or a reading nook.
On the other hand, multiple pendant lamps, often arranged in clusters or rows, are designed to create a balanced and evenly distributed light. Regarding design, pendant lamps range from modern, minimalist styles with sleek lines and finishes to more traditional designs featuring ornate details and classic materials.
Common Uses
Pendant lamps are incredibly versatile and popular in various spaces within a home. They are frequently used in kitchens to provide task lighting over countertops or islands, in dining areas to create a warm and inviting atmosphere, and in living rooms as statement pieces that enhance the room’s overall design. Their adaptability makes them a favored choice among homeowners and interior designers alike.
Materials and Tools You Will Need
List of Materials
- Pendant lamp kit (socket, wiring, and cord)
- Light bulb
- Lampshade
- Ceiling hook or mounting hardware
- Decorative elements (basket, glass, wood, etc.) for a unique design
Tools Required
- Drill
- Screwdriver
- Measuring tape
- Wire stripper
- Pliers
- Electrical tape
Safety Gear
- Insulated gloves
- Safety glasses
- Voltage tester
When gathering materials and tools for installing or customizing a pendant lamp, it’s essential to prioritize safety and accuracy. The pendant lamp kit is the core component, containing essential hardware like the socket, wiring, and cord. Adding a lampshade or decorative elements allows for personalizing the design to suit your space.
Proper tools like a drill and wire stripper ensure a smooth installation process, while safety gear, including insulated gloves and safety glasses, help prevent accidents. Lastly, using a voltage tester before starting any electrical work can verify that the power supply is safely turned off, reducing the risk of electric shocks.
Preparing the Workspace
Safety Precautions

Before beginning any electrical work, turn off the power supply at the circuit breaker to ensure maximum safety. Double-check the absence of power in the circuit using a voltage tester as an extra precaution. Make sure your workspace is well-lit to improve visibility and reduce errors. Proper ventilation is also essential to maintaining air quality and comfort while handling tools and materials, especially if you’re working in an enclosed area.
Organizing Tools and Materials
Set up your workspace by arranging all tools and materials within easy reach. This includes a drill, wire stripper, voltage tester, and insulated gloves. Keeping everything organized saves time and ensures a smoother assembly process. A stable and clutter-free surface is critical; it provides a secure base for measuring, cutting, and assembling the components without unnecessary distractions.
Measuring and Planning
Take careful measurements to determine your pendant lamp’s desired length and height. Decide the placement based on your room layout and personal preferences while ensuring it offers sufficient illumination for the space. Use a measuring tape and pencil to mark spots for drilling or installing the fixtures. Planning ahead reduces mistakes and ensures a neat and functional final installation.
How to Build a Pendant Lamp: Assembling the Pendant Lamp
Step 1: Attaching the Lamp Socket
Begin by attaching the lamp socket to the lamp cord. Ensure you have all the necessary components, which typically include the lamp socket, cord, screws, or clips. Carefully insert the end of the cord into the base of the socket until it is properly aligned.

Use the provided screws or clips to secure the cord within the socket, ensuring that it is tightly fastened to prevent any loose connections. Double-check that the socket is firmly attached before proceeding to avoid potential issues later.
Step 2: Wiring the Pendant Lamp
Next, focus on wiring the pendant lamp. Start by stripping about half an inch of insulation from the ends of the lamp cord’s wires using a wire stripper. This will expose the copper wiring underneath. Identify the live, neutral, and ground wires (typically color-coded as black, white, and green/yellow, respectively).
Carefully connect each wire to the corresponding terminal on the socket. Use a screwdriver to tighten the screws that hold the wires in place, ensuring a strong and secure connection. Once connected, wrap each connection point with electrical tape for added safety and to prevent accidental exposure. Inspect your work to ensure there are no exposed wires before moving forward.
Step 3: Attaching the Shade or Decorative Cover
The final step involves attaching a lampshade or a decorative cover to the assembled socket. Slide the shade or cover over the socket fixture and position it according to the design instructions or your preference.
Secure the shade in place using the provided clips, screws, or a locking ring to ensure it is stable and firmly attached. Ensure the shade does not obstruct the bulb and allows for proper light dispersion. Once secured, your pendant lamp is ready for installation and use.
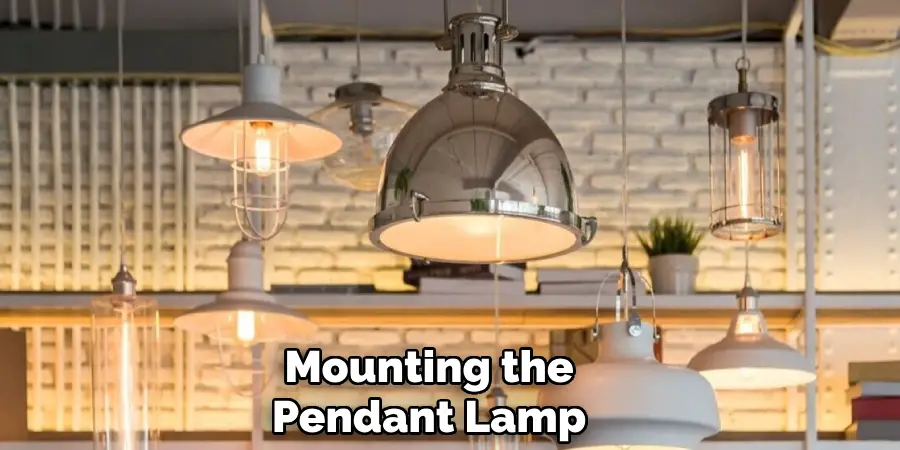
Mounting the Pendant Lamp
Step 1: Installing the Ceiling Hook or Mounting Plate
Begin by finding the ideal spot on your ceiling to mount the pendant lamp. Look for sturdy anchor points, such as studs or beams, as these support the fixture. Use appropriate ceiling anchors to secure the mounting if no stud or beam is available.
Using a drill, install the ceiling hook or mounting plate firmly. Make sure the hardware is level and properly aligned to prevent any imbalance once the lamp is hung. Double-check the stability of the hook or mounting plate before proceeding.
Step 2: Hanging the Pendant Lamp
Attach the pendant lamp to the ceiling hook or mounting plate with the mounting secured. Depending on the design, you may need to use loops, chains, or additional fixtures to hang the lamp. Ensure that the lamp’s cord is level and properly aligned for a neat and aesthetic appearance.
If the cord length needs adjustment, carefully modify it by following the instructions provided with the lamp. It’s crucial to maintain both functionality and style when adjusting the height. Ensure the lamp hangs securely and does not sway excessively.
Step 3: Connecting the Wiring
Once the lamp is securely hung, it’s time to connect the wiring. Open the ceiling’s electrical box and identify the wires. Connect the pendant lamp’s wires to the corresponding ones in the electrical box, typically matching colors (black to black, white to white, and green or copper for grounding).
Use wire connectors to secure the connections tightly. Once everything is connected, carefully tuck the wires into the box, and fasten the lamp into place using screws or other locking mechanisms. Ensure that all connections are secure and the lamp is ready for a power source before completing the installation.
Testing and Final Adjustments
Step 1: Powering Up
Once the installation is complete, return to the circuit breaker and switch the power back on. Carefully test the pendant lamp by flipping the wall switch to ensure it illuminates as expected. Double-check the wiring connections and consult a professional if the lamp doesn’t turn on.
Step 2: Adjusting the Height
For ideal lighting and aesthetics, evaluate the height of the pendant lamp. Adjust the cord length if necessary, ensuring it provides adequate light coverage while complementing the room’s decor. Follow the manufacturer’s instructions for modifying the height to avoid damaging the fixture.
Step 3: Inspecting for Safety
Conduct a thorough inspection of the installation. Confirm that all wire connections are secure and that no exposed or loose wires could pose a safety hazard. Additionally, make sure the lamp is firmly attached to the ceiling fixture and shows no signs of instability.

Step 4: Final Touches
Finally, clean the pendant lamp to remove fingerprints, dust, or debris that may have accumulated during installation. Check that the lamp is properly aligned with the space, ensuring it looks polished and visually appealing. Once satisfied, enjoy your new pendant lighting!
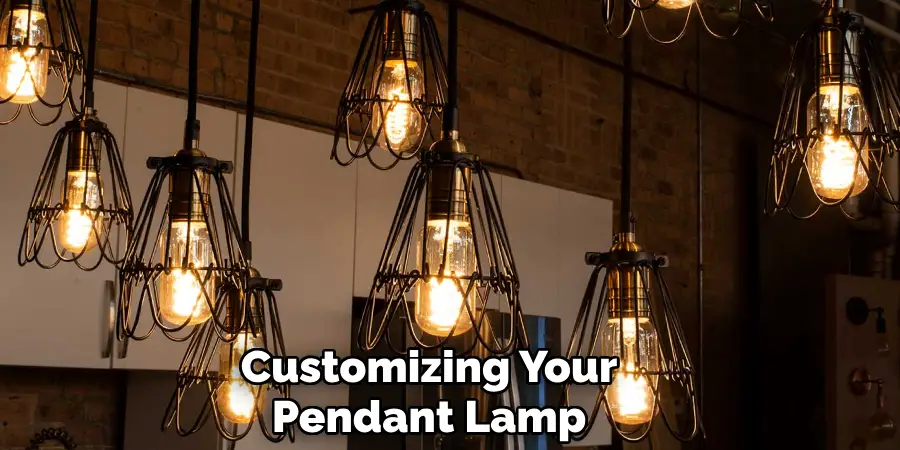
Tips for Customizing Your Pendant Lamp
Using Different Shades
The shade of your pendant lamp can dramatically influence its style and ambiance. Materials like glass provide a sleek, contemporary look, while fabric shades evoke a cozy, traditional vibe. On the other hand, metal shades are ideal for industrial or minimalist designs. Experimenting with different shapes and finishes can also add a unique touch to your lighting setup.
Adding Decorative Elements
To further personalize your pendant lamp, consider incorporating decorative elements. Twine or rope can give it a rustic charm, while beads or wood can create an eclectic or bohemian aesthetic. For a modern edge, try metallic accents or geometric designs. These small additions can make your lighting fixture stand out as a focal point of the room.
Choosing the Right Bulb
The bulb you choose for your pendant lamp plays a crucial role in both functionality and ambiance. Opt for LED bulbs for energy efficiency and longevity, and decide between warm or cool color temperatures to suit the mood of your space. Ensure the wattage complements the room’s lighting needs and the shade’s material to avoid overheating.
Conclusion
Building a pendant lamp can be a rewarding and creative project. By following the key steps—preparation, assembly, and installation—you can craft a unique lighting fixture that perfectly complements your space.
Take the opportunity to experiment with different designs and materials to personalize your lamp, adding character and style to your home. Always prioritize safety when working with electricity to ensure a successful and secure installation. With this guide on how to build a pendant lamp, you are equipped to illuminate your space with a piece that reflects your creativity and vision.

