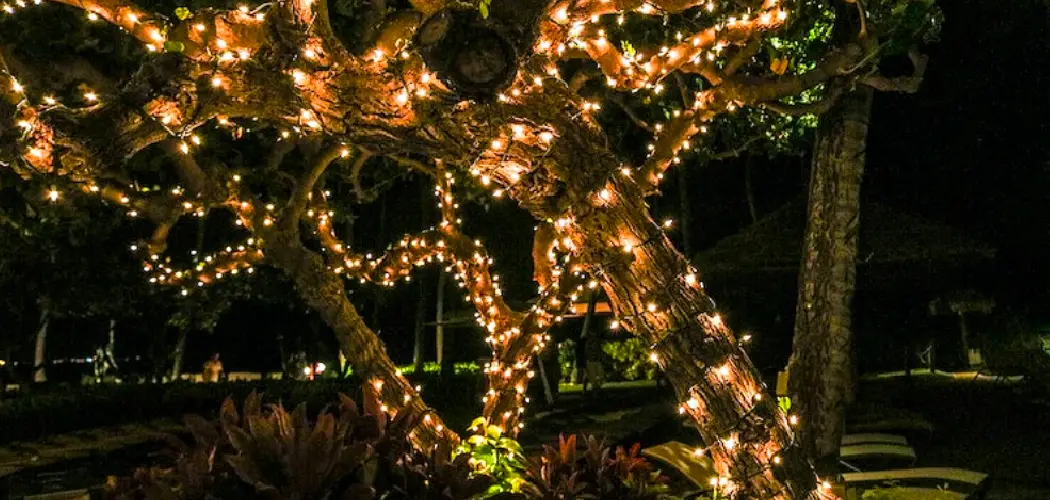
String lights are a charming and versatile way to decorate outdoor spaces, bringing a festive and magical appeal to any setting. Whether it’s for holidays, parties, or simply enhancing your yard’s ambiance, adding string lights to trees can transform an ordinary landscape into an enchanting environment. They work beautifully on trees of all shapes and sizes, casting warm illumination that enhances the natural beauty of your outdoor area.
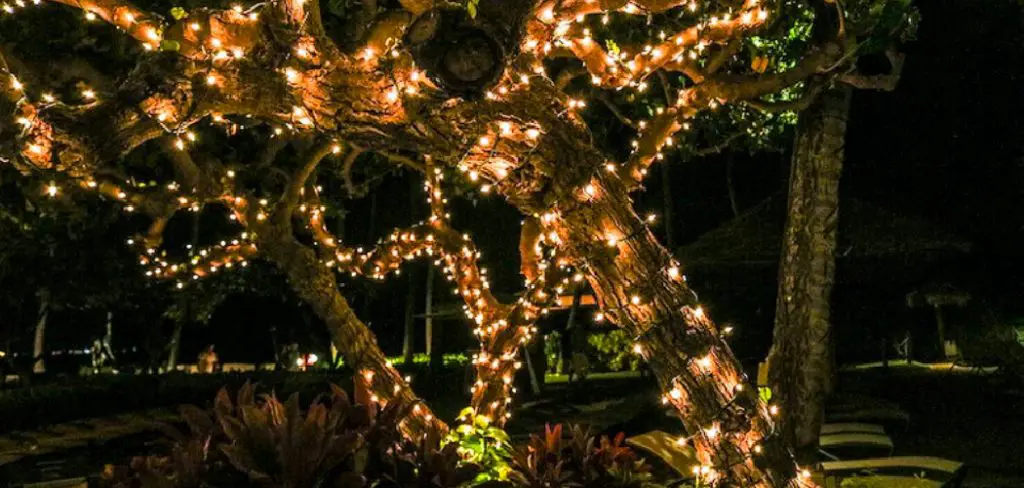
Learning how to attach string lights to tree branches safely and effectively is essential to achieving this effect. The process involves selecting the right type of lights and tools, planning your design, and carefully securing the lights to ensure safety and durability. With just a little effort, string lights can turn your outdoor space into a glowing retreat, perfect for celebrations or quiet relaxation under a beautifully lit tree.
Choosing the Right String Lights
Types of String Lights
When selecting string lights for trees, it’s essential to consider the type of lights that best suit your needs. LED string lights are an excellent choice for outdoor decorations due to their energy efficiency, brightness, and long lifespan. They consume significantly less power than traditional incandescent lights and are less likely to overheat, making them safer for prolonged use. On the other hand, incandescent lights are more affordable initially and provide a warm, classic glow that some may prefer for certain aesthetics. However, they are less durable and consume more energy, which can make them less ideal for extensive outdoor setups.
Light Length and Coverage
The length of the string lights you choose should align with the size of your tree to achieve optimal coverage. Larger trees often require multiple strands or longer lengths to effectively cover the trunk and canopy. On the other hand, smaller trees can achieve a cozy, well-lit appearance with shorter strands. To estimate the length needed, consider the tree’s height, width, and the desired density of the lights – wrapping tightly around the branches will demand more lights than a looser arrangement.
Outdoor-Rated Lights
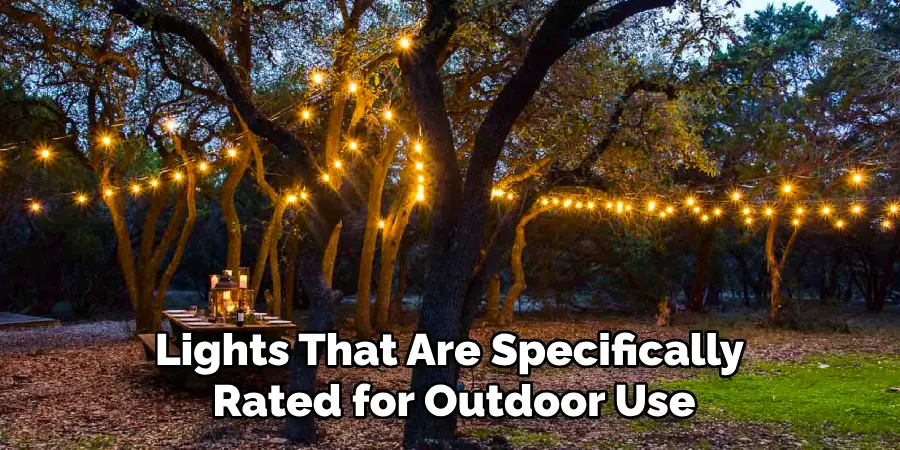
Always select string lights that are specifically rated for outdoor use. Outdoor-rated lights are constructed to withstand weather conditions like rain, wind, and temperature extremes. This ensures that your lights will last throughout the season and minimize the risk of electrical hazards. Investing in durable, weather-resistant lights is key to creating a worry-free and attractive display.
Gathering Tools and Materials
When setting up string lights for your outdoor tree, having the right tools and materials on hand is essential for a safe and efficient process.
Tools Needed
Gather essential tools such as outdoor-rated extension cords, a sturdy ladder, cable ties, clips, or hooks. If the tree is tall, ensure the ladder is sturdy and positioned on a level surface to prevent accidents. For added safety, have someone nearby to assist or stabilize the ladder as needed. Depending on your setup, a power drill may also be useful to secure hooks or clips in place, especially for tricky or large branches.
Materials
Consider using cable ties, hooks, or special tree clips to attach the lights securely to your tree. These materials help fasten the lights snugly, preventing them from slipping or tangling. Rubber-coated wire clips or hooks are especially recommended, as they provide a firm hold without causing damage to the tree’s bark. Outdoor-rated extension cords are crucial for powering the lights safely and reliably, particularly for larger displays. Having these materials ready will ensure the lights stay in place and maintain their sparkle throughout the season.

Preparing the Tree for String Lights
Selecting the Best Branches
When preparing your tree for string lights, identify sturdy branches that can comfortably support the lights without bending or snapping. Start with the thicker, more robust branches to anchor the lights, then work your way outwards to the smaller ones. Be cautious about avoiding overly fragile branches, as these may break under the weight or tension of the lights. Similarly, steer clear of branches that are too close to electrical components, such as power lines, to avoid potential safety hazards. Proper branch selection ensures the lights are secure and evenly distributed, creating the desired aesthetic.
Cleaning and Inspecting the Tree
Before installing the lights, take the time to carefully clean and inspect the tree. Remove any loose debris, such as dead leaves, twigs, or other clutter that might obstruct the lights or detract from their appearance. Cleaning the tree enhances the final look and makes the light installation process smoother. Additionally, inspect the tree for broken or damaged branches and prune them if necessary to prevent accidents. Look for any nearby power lines or obstacles that could pose a risk during setup, and always prioritize safety when working with trees and electrical elements.
How to Attach String Lights to Tree: Attaching String Lights to the Tree
Method 1: Wrapping the Lights Around the Tree (Step-by-Step)
Start by plugging in the string lights to ensure they function properly before beginning the installation process. This step helps avoid the frustration of finding faulty bulbs or wiring after the lights are already installed.
At the tree’s base, begin wrapping the lights around the trunk or bottom branches. Use consistent spacing as you wrap to avoid clumping or uneven light distribution, which could detract from the overall aesthetic. Work your way upward, wrapping the lights around the tree in a spiral motion. Alternatively, you can drape the lights across multiple branches at varying levels for a more dynamic and balanced appearance.

Use cable ties or specially designed clips every few feet to keep the lights secure. These ensure the lights stay in place and do not droop or shift over time. Be cautious not to overtighten the ties to avoid damaging the tree’s bark. Additionally, leave a small amount of slack when securing the lights, especially near connection points, to prevent tension on the wiring and make adjustments easier if needed.
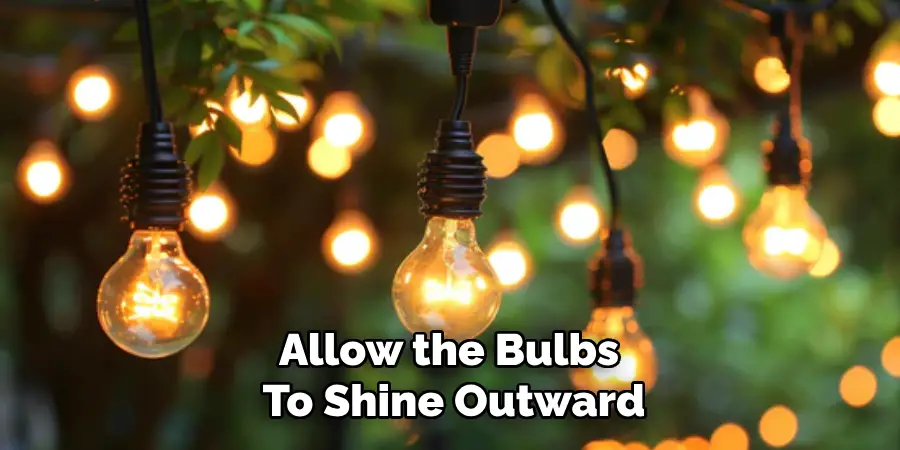
Leave enough slack at the end of the string lights to plug into an outlet or an extension cord. Check the light placement as you go to ensure the bulbs face outward, maximizing their visibility and aesthetic impact. This outward-facing alignment helps create a brighter and more appealing display, particularly when viewed from a distance. Pay close attention to the light pattern and distribution, making minor adjustments as you go to achieve the desired look.
Method 2: Using Tree Clips or Hooks
For a more uniform and polished appearance, tree clips or hooks can be useful for attaching string lights. Begin at the tree’s base, as with the wrapping method, and carefully attach the lights to clips or hooks as you move upward toward the top of the tree.
Place the lights on the hooks or secure them with clips, focusing on achieving an even spread across all visible tree areas. Position the clips near the ends of the branches to allow the bulbs to shine outward. This enhances the overall brightness and creates a more natural and seamless look.
For larger trees, consider using multiple strands of light to ensure full coverage of the entire tree. Connect the light strands strategically, ensuring there are no gaps or over-concentrated areas. Spread out each strand evenly to maintain balance and keep the display attractive from all angles.
Securing the Lights (Final Steps)
Once all the lights are wrapped or clipped into place, take a moment to inspect the installation. Ensure each section is firmly secured to prevent movement or detachment due to wind or other elements. Use additional cable ties, clips, or hooks as needed for loose or unstable sections.
Be careful not to overtighten the ties or fasteners, as this could harm the tree’s bark or restrict its natural growth. Test the entire display by turning the lights on to confirm everything works properly and looks as intended. Make final adjustments if necessary to ensure even lighting and alignment.
By prioritizing consistency, security, and care, you can achieve a beautifully lit tree that is both visually appealing and safe to enjoy.
Testing and Adjusting the Lights
Testing the Lights
Once the lights are in place, plug them in and evaluate the overall effect. Carefully observe the display for any dark spots or uneven areas where additional lights might be necessary. Ensure all bulbs function correctly and the strands remain securely attached to maintain a cohesive look. If any sections have shifted during installation, take the time to reposition them for a balanced and polished appearance. This step is crucial to achieving a professional and visually stunning result.
Adjusting Light Settings
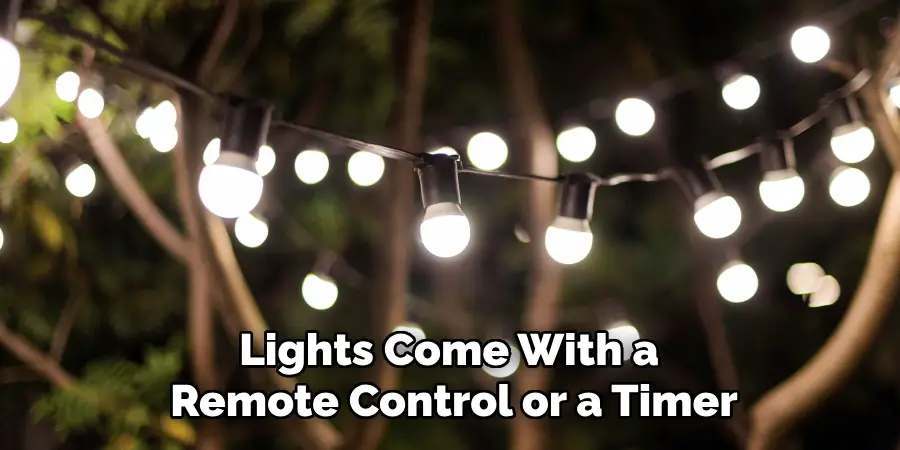
Many modern light strands offer customizable settings, such as twinkling, fading, or steady illumination. Adjust these settings to match the desired aesthetic and theme of your display. If your lights come with a remote control or a timer, set them up for convenience, allowing you to manage the display effortlessly without manual input each day. This feature saves time and ensures consistent lighting throughout the season.
Fixing Malfunctions
Inspect the wiring for loose connections or breaks if you notice any malfunctions, such as a dim section or lights not illuminating. Replace any faulty bulbs promptly to restore the display’s full brilliance. Addressing issues immediately will safeguard against further problems and keep your lighting arrangement flawless.
Safety Tips for Installing Tree Lights
Using Proper Extension Cords
Only use outdoor-rated extension cords with a grounded plug to avoid electrical hazards. These cords are designed to withstand outdoor conditions, such as moisture and temperature changes. Additionally, ensure the cord is rated for the wattage of the lights you’re using to prevent overheating or damage.
Avoid Overloading Circuits
Overloading circuits can lead to power outages or even electrical fires. Avoid plugging too many strands of lights into a single outlet. Instead, distribute the load across multiple outlets or use power strips with built-in circuit breakers. This provides an added layer of protection and ensures a safer setup.
Handling Lights Safely
Always unplug the lights before adjusting or moving them to reduce the risk of electric shock or injury. Ensure all connections are properly insulated, as exposed wires or poor insulation may lead to short-circuiting or water exposure, especially in outdoor environments. Prioritize safety at every step to enjoy a worry-free display.
Conclusion
Learning how to attach string lights to tree decor can transform any outdoor space into a festive and captivating ambiance. Please start by selecting weather-resistant lights suited for outdoor use and test them before installation. Secure the lights firmly around the tree trunk and branches, evenly spacing them for an enchanting effect. Properly manage power sources by using grounded extension cords and avoiding circuit overloading for a safe setup. By prioritizing careful planning and safety, your outdoor string light display will create a welcoming, magical environment perfect for celebrations or relaxing evenings. Regular maintenance ensures long-lasting beauty and functionality.

