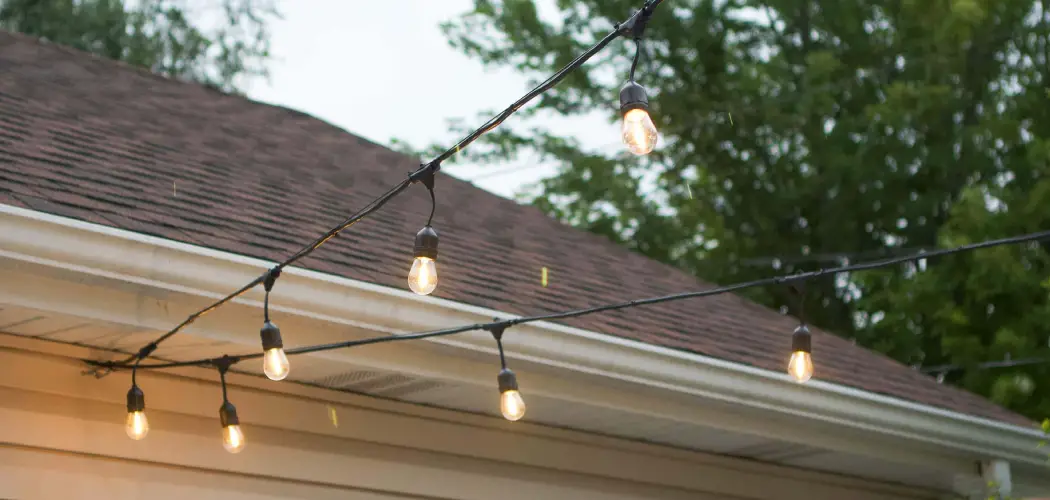
String lights can transform the appearance of a home, adding warmth and charm to both interior and exterior spaces. When installed correctly, they create an inviting ambiance perfect for gatherings, festive occasions, or simply enhancing the daily atmosphere. Although attaching string lights to your house might seem challenging at first, the process is straightforward and uses the right materials and techniques.
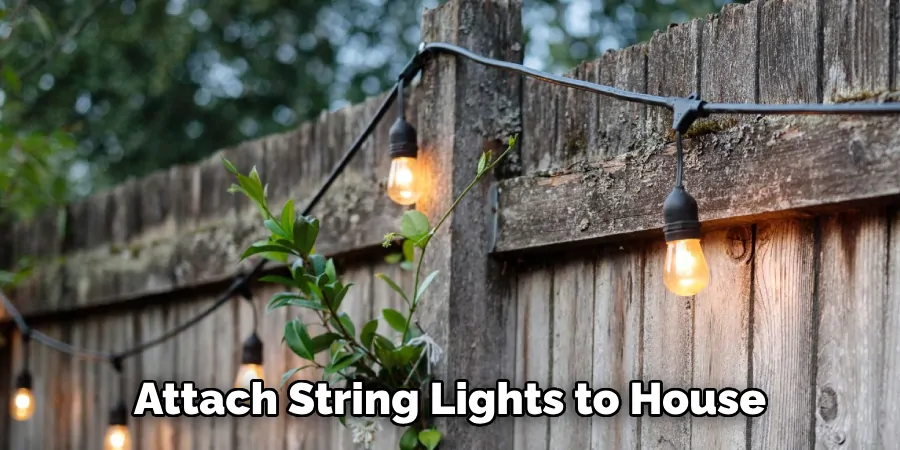
This guide on how to attach string lights to house will walk you through practical steps to securely and aesthetically attach string lights to your house, ensuring they not only illuminate your home beautifully but also remain safely in place.
Why Attach String Lights to Your House?
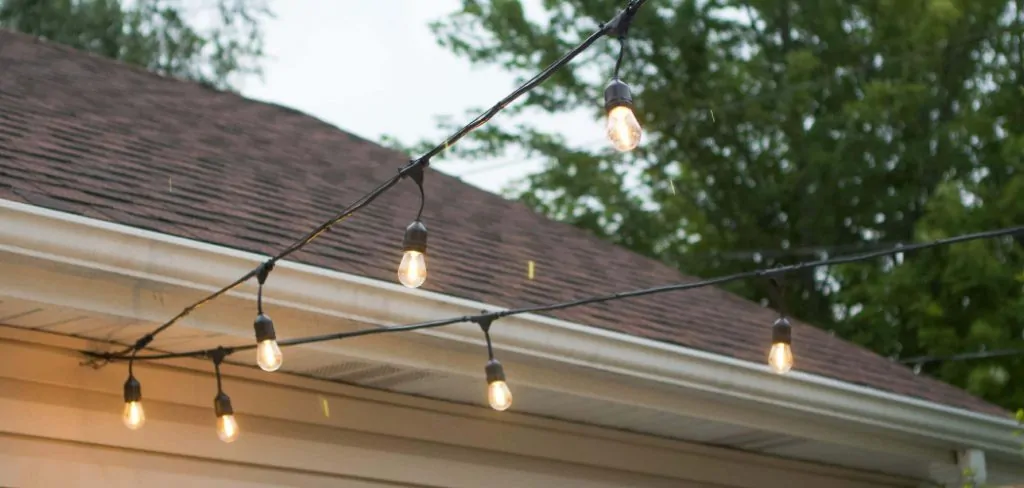
Whether you’re hosting a summer BBQ, decorating for the holidays, or just looking to add some charm to your outdoor space, attaching string lights to your house offers numerous benefits. These include:
Instantly Elevating the Appearance of Your Home:
String lights create a warm and welcoming ambiance that makes your home look more inviting. They add a touch of charm and whimsy, instantly elevating the overall appearance of your house.
Adding Versatility to Your Lighting Options:
String lights offer flexibility when it comes to lighting options. You can choose from a range of colors, styles, and bulb sizes to suit your preferences and home decor. Additionally, you can easily adjust the placement of the lights to create different moods or highlight specific areas of your home.
Creating an Outdoor Entertaining Space:
Attaching string lights to your house allows you to create a cozy outdoor space perfect for entertaining guests or spending time with family. Whether you have a patio, deck, or backyard area, string lights provide the perfect amount of illumination for an enjoyable evening outdoors.
Enhancing Safety and Security:
String lights can also serve as a safety and security feature for your home. By illuminating the exterior of your house, they can deter potential intruders or provide visibility for navigating around outdoor spaces at night.
Materials Needed
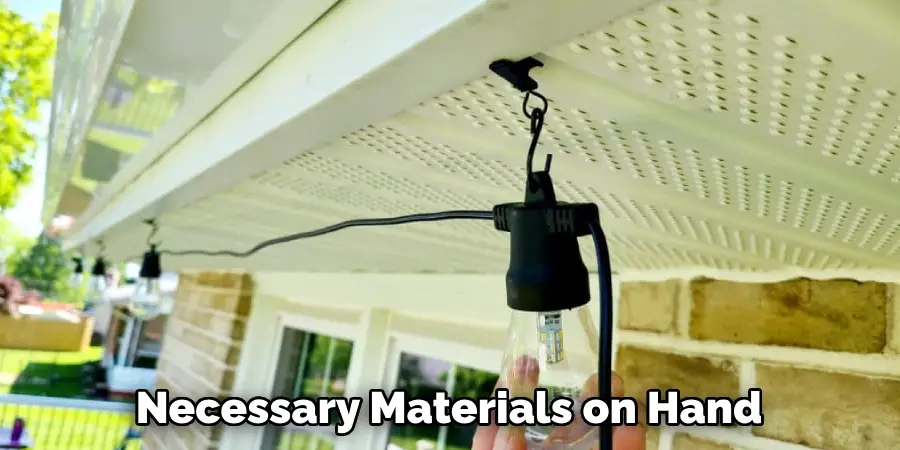
Before you begin attaching string lights to your house, make sure you have all the necessary materials on hand. These include:
String Lights:
Choose lights that are suitable for outdoor use with weather-resistant wiring and sockets. LED bulbs are a great option as they consume less energy, produce little heat, and have a longer lifespan.
Mounting Hardware:
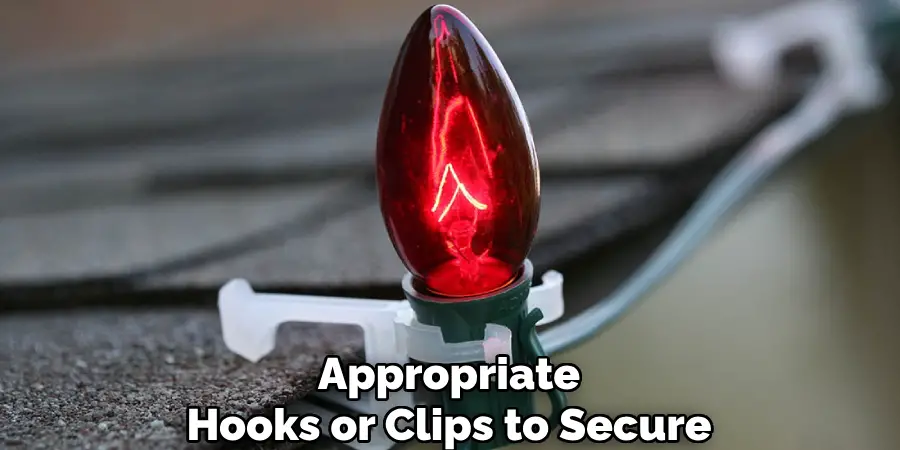
Depending on the type of surface to which you will be attaching the string lights, you may need different mounting hardware such as hooks, nails, or clips. Make sure to select the hardware app that is appropriate for your specific surface material.
Extension Cords:
If your outlet is not located near where you want to hang your string lights, you will need extension cords to connect them.
Ladder:
A ladder will come in handy when attaching string lights to higher areas of your house.
8 Step-by-step Instructions on How to Attach String Lights to House
Step 1: Plan Your Lighting Design
Before you begin attaching string lights to your house, it’s essential to plan your lighting design. Start by determining the areas you want to illuminate, such as the patio, front porch, or garden. Consider the power sources and ensure that you have access to electrical outlets where necessary. Visualize the patterns in which you might hang the lights—whether in straight lines, zigzags, or draped curtains.
Decide on the mood you wish to create; for a relaxed, intimate vibe, opt for soft white lights, while multicolored strands can add a festive touch. Sketching a rough design or taking a walk around your outdoor space can help solidify your plan and prevent potential obstacles during installation.
Step 3: Test Lights Before Installation
Before proceeding with the installation, it’s crucial to test your string lights to ensure they are functioning correctly. Unroll the string lights completely and plug them into a power source. Check each bulb to confirm there are no defects or malfunctions, as replacing broken or faulty bulbs after installation can be more challenging.
Additionally, testing the lights while they are on allows you to visualize how they’ll look once they’re hung, giving you an opportunity to make any necessary adjustments to your plan. If you encounter any issues, refer to the light manufacturer’s instructions for troubleshooting or replacing bulbs before moving on to the next steps.
Step 4: Clean the Surfaces
Cleaning the surfaces where you intend to attach the string lights is a vital step for ensuring secure and lasting installation. Begin by removing any dirt, dust, or debris from these areas using a gentle detergent or soapy water, especially if the surfaces are exposed to outdoor elements. Use a cloth or sponge to wipe down the surfaces and allow them to dry fully before proceeding with the attachment.
This process not only provides a clean slate for better adhesion but also helps prevent any potential damage to the mounting hardware or the lights themselves. A clean surface ensures that the hooks, nails, or clips will adhere properly, securing your string lights in place and maintaining their position throughout use.
Step 5: Install Hooks or Clips
With your lighting design plan in mind, install the appropriate hooks or clips to secure your string lights. Start by placing the hooks at equal intervals along the target surface, ensuring they are firmly attached and able to support the weight of the lights. Alternatively, you can use clips specifically designed for hanging string lights, which are often more durable and provide added stability.
Depending on the size of your lights and their spacing, determine whether you will need additional cables to hold them in place. Use cables with adjustable tension to tighten any slack between light strands and keep them from sagging over time.
Step 6: Hang String Lights
Once you have installed the hooks or clips, it’s time to hang your string lights. Begin by connecting them to their power source, whether an outlet or extension cord. Carefully attach one end of the light strand to the first hook or clip, and then secure it along the rest of the hardware until you reach the last hook. If using multiple strands, repeat this process for each new light set, ensuring they are all connected correctly before moving on.
If you are draping the lights in a curtain-like pattern, use a ladder to reach higher points and secure them in place. Ensure that all your string lights are hanging at equal intervals and use the appropriate tension to avoid any sagging or drooping.
Step 7: Conceal Excess Cords
If you have exposed cords from extension cables or extra length of string lights, consider concealing them with cord covers or creatively hiding them behind plants, furniture, or other decorative items. This step will not only improve the overall aesthetic but also prevent tripping hazards or damage to your lighting setup.
The most efficient way to hide cords is by using cord covers that blend in with your house’s exterior and provide a seamless appearance. You can also use outdoor-approved tape or clips to secure the cords against walls and surfaces, making them less noticeable.
Step 8: Enjoy Your New Outdoor Lighting!
With all the steps completed, you can now sit back, relax, and enjoy your beautifully lit outdoor space! Whether it’s for a cozy evening outdoors or hosting a gathering with friends and family, string lights are an easy and effective way to enhance the ambiance of any outdoor setting. With proper installation and maintenance, your string lights can continue illuminating your evenings for seasons to come.
Following these step-by-step instructions on how to attach string lights to house will ensure a safe and secure attachment of string lights to your house, creating a warm and inviting atmosphere perfect for any occasion. Don’t forget to share your newly decorated outdoor space with friends and family and inspire them to do the same! So, get creative with your lighting arrangements, have fun, and cheers to many more evenings under the beautiful glow of string lights. Happy decorating!
Additional Tips
- Use weather-resistant and outdoor-rated string lights for long-lasting durability.
- Consider using timers or smart plugs to easily control when your string lights turn on and off.
- Regularly inspect the lights and connections for any damage or wear, replacing any faulty bulbs or hardware as needed.
- When storing your string lights, make sure they are dry and untangled to avoid any maintenance issues in the future. Additionally, consider wrapping them around a cardboard cylinder to prevent tangling. You can also invest in storage bags specifically designed for string lights.
- Get creative with different lighting styles such as mixing warm white and colored lights or incorporating hanging lanterns or other decorative elements into your design. The possibilities are endless!
- Don’t limit yourself to just attaching string lights to your house. You can also create beautiful lighting effects by wrapping them around trees, bushes, or other outdoor structures.
- Remember to always prioritize safety when working with electricity and ensure that all connections and installations are done correctly to avoid any accidents.
- Have fun and experiment with different lighting designs until you find the perfect one for your outdoor space!
Frequently Asked Questions
Q: Can I Use Indoor String Lights for Outdoor Decoration?
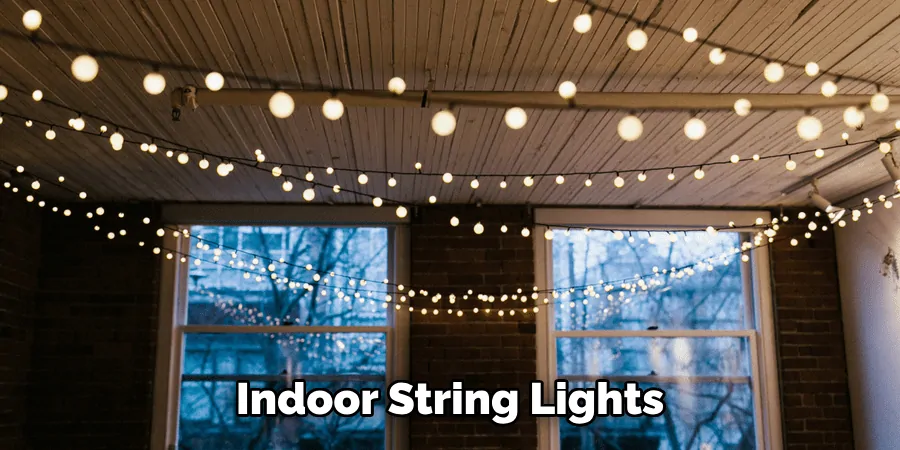
A: It is not recommended to use indoor string lights for outdoor decoration as they are not designed to withstand harsh weather conditions and may pose a safety hazard. Make sure to use outdoor-rated string lights for a secure and long-lasting installation.
Q: How Should I Clean My Outdoor String Lights?
A: To clean your outdoor string lights, gently wipe them with a damp cloth or use compressed air to remove any dirt or debris. Do not submerge the lights in water and make sure they are completely dry before using them again. Additionally, regularly check for any damage and replace any faulty bulbs or hardware as needed.
Q: Can I Leave My String Lights Out All Year Round?
A: It is recommended to take down and store your string lights during extreme weather conditions such as heavy rain, snow, or strong winds. This will help prolong their lifespan and prevent any potential safety hazards. However, if you have outdoor-rated and durable string lights, you can leave them up year-round for regular use. Just make sure to regularly inspect them for any damage and perform necessary maintenance as needed.
Q: How Long Do String Lights Last?
A: The lifespan of your string lights will depend on various factors such as the quality of the lights, weather conditions, and maintenance. On average, outdoor-rated string lights can last anywhere from 2-5 years with proper care and storage. However, it is recommended to replace them if you notice any frayed wires or other signs of wear for safety reasons.
Conclusion
Installing string lights can transform any outdoor area into a magical and inviting space, perfect for relaxation or entertaining guests. By following the steps on how to attach string lights to house outlined above, you can ensure a safe and secure setup that enhances the beauty of your home. Remember to choose quality, weather-resistant lights, and employ creative designs to suit your personal style.
With proper maintenance, your string lights will provide a charming ambiance and illuminate your evenings for years. So, ready your decorations, let your imagination run wild, and enjoy the myriad of possibilities that string lighting adds to your outdoor experiences. Happy decorating and here’s to countless nights under the shimmering glow of your beautifully lit sanctuary!

