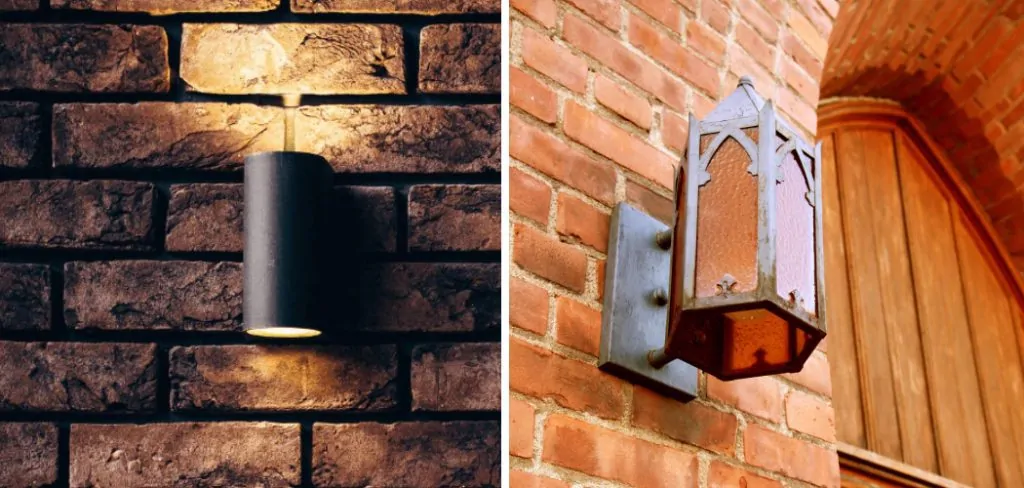
Are you looking for a way to light up your outdoor space without the hassle and cost of electrical wiring? If you’re looking for a way to light up your outdoor space, solar lights are a great option. Consider installing solar lights on your brick wall! With solar lights, you can brighten up any backyard, patio, or garden with ease. Not only are they energy-efficient and cost-effective, but they also provide the perfect ambiance both day and night.

While attaching them to brick walls may seem intimidating at first glance, it’s actually quite simple – just follow these easy steps! Here we’ll cover everything you need to know about how to attach solar lights to brick walls, so that you can enjoy your illuminated outdoor oasis in no time. Read on for more information about adding beautiful lighting touches to your outdoor oasis!
The Benefits of Attaching Solar Lights to Brick Wall
Solar lights are an excellent choice when it comes to lighting up your outdoor space. Here are some of the benefits of attaching solar lights to brick walls:
- They provide beautiful, energy-efficient illumination day and night.
- A single set of solar lights can cover a large area with minimal effort, making them a great cost-effective option.
- They provide plenty of light without needing to be hardwired into existing electrical systems.
- They are easy to install and require no complex tools or materials.
- Solar lights can last for years with minimal maintenance required.
Tools & Materials Needed
Before you begin attaching your solar lights to the brick wall, make sure that you have all the necessary tools and materials. Here is a list of what you will need:
- Solar lights
- Brick wall (preferably one without existing wiring)
- Masonry drill and masonry drill bits (in different sizes depending on the size of your solar light screws)
- Spade bit for pilot holes
- Drill adapter for masonry drilling
- Tape measure or ruler
- Level
- Masonry anchors and screws
- Screwdriver
10 Instructions on How to Attach Solar Lights to Brick Wall
1. Measurement
Start by measuring the area you want to install the solar lights in and use a level to make sure it’s even. The right measurement is essential as it will ensure that your lights are even and straight when you install them.

2. Mark the Holes for the Anchors
Next, using a marker, pencil or tape measure, mark the hole locations where your anchors will go on the brick wall. This will help you to get an accurate measurement of where to drill in each anchor. Marking would also help you to line up the lights when they’re installed.
3. Drill Pilot Holes
Using a spade bit and drill, create pilot holes in your marked spots. This is necessary to ensure that the masonry anchors fit perfectly into each hole. Make sure to clear away any debris or dust before inserting your anchors.
4. Insert the Masonry Anchors
Once your pilot holes have been drilled, you can now insert the masonry anchors into each hole. Make sure they fit snugly and that there are no gaps around them. Anchors should be placed at least 3 inches apart from each other.
5. Connect the Light Holder to the Anchors
Attach the light holder (the part of the solar light that will attach to your wall) to the masonry anchors using the screws provided with your light set. Make sure that everything is secure and tight before proceeding to the next step.
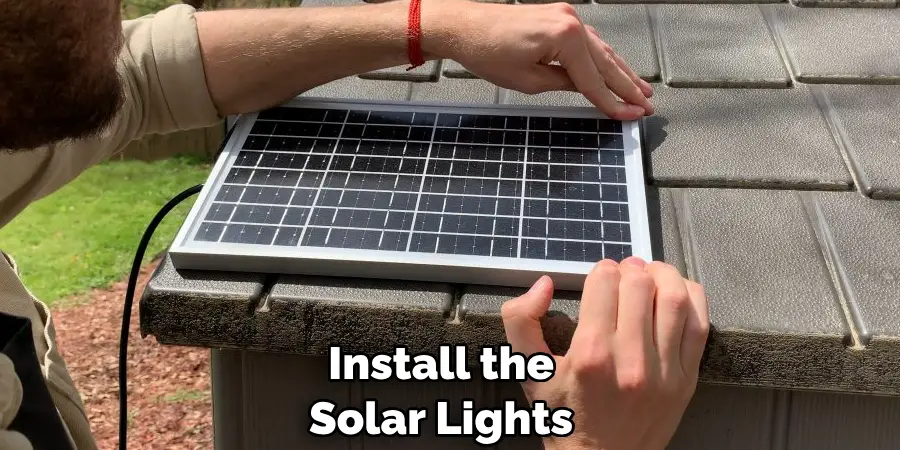
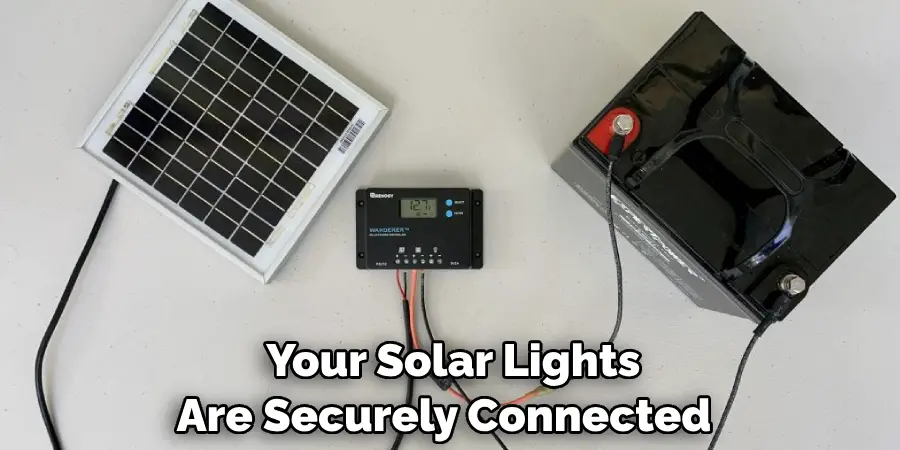
6. Connect the Solar Lights
Once the light holder is securely attached, you can now attach the solar lights to it. Depending on your particular model of solar light, this may involve connecting wires or using a snap-in connector. Make sure the wiring is secure and tight before proceeding to the next step.
7. Test Your Lights
Once your solar lights are securely connected to the wall and holder, you can now test them. Turn on the power switch and make sure that all of the lights turn on properly. If everything seems to be working correctly, then you can proceed with the installation.

8. Close Up Any Loose Ends
Now that your solar lights have been tested and are working properly, you can now close up any loose ends. Make sure that all of the screws are secure and tighten them if necessary. You should also check the wiring to make sure that it’s not exposed or frayed in any area.
9. Securely Mount Your Lights
Now that all of the wires, holders, and anchors are secure, you can now mount your solar lights to the wall. Make sure that they’re securely fastened and won’t come undone when exposed to wind or other elements.
10. Enjoy Your Solar Lights!
You did it! Now you can sit back and enjoy your beautiful outdoor space illuminated by your solar lights. You can also take comfort in knowing that you have saved both energy and money by installing these lights on your own.
8 Safety Measures to Follow When Attaching Solar Lights to Brick Wall
1. Make sure you have the right materials. A drill, a masonry drill bit, screws, anchors or toggle bolts, and of course the solar lights themselves. The right materials would ensure the installation process is safe, secure, and successful.
2. Wear protective goggles when drilling into brick walls to protect your eyes from any debris or dust that may come out while drilling. Protective wear is essential when dealing with any power drills.
3. Make sure that the solar lights are attached to a secure base and not just resting on top of the brick wall. Secure bases ensure that your solar lights will stay in place and won’t come loose or fall off.
4. Ensure you’ve chosen the right drill bit for the material you’re drilling into. A masonry drill bit is the most suitable option when it comes to brick walls.
5. Double-check the measurements of where you are drilling and ensure that there are no electrical wires or pipes behind the wall before starting any drilling. Also, check if the wall is structurally sound so that it can support the weight of your solar lights once installed.
6. Once you’re ready to drill, start off at a low speed and gradually increase the speed as you go deeper into the brick wall. This will help reduce any vibration and protect your drill from becoming overworked or overheated.
7. Mark the area where you will be attaching your solar lights before drilling to ensure that everything lines up correctly. Also, make sure you’re using the correct anchors or toggle bolts for brick walls.
8. After attaching your solar lights, test them out to make sure they are secured correctly and working properly before leaving the area. This step is important to check that all your hard work hasn’t gone in vain.

These are just some of the safety measures that you should follow when attaching solar lights to a brick wall. Following these tips will help ensure that your installation process is safe, secure, and successful!
Frequently Asked Questions
How Long Will It Take to Finish the Project?
The time it takes to complete the project of attaching solar lights to a brick wall depends on the size and complexity of the installation. For smaller projects, you should allow a few hours for completion. For larger installations, such as those involving multiple panels or multiple types of lighting fixtures, you may need to set aside several days in order to ensure that everything is securely installed and working correctly.
Do I Need a Professional to Install Solar Lights on My Brick Wall?
It is possible to install solar lights on a brick wall without the help of a professional, although it is often recommended that you seek assistance from an experienced installer if you are unfamiliar with the process or concerned about damaging the structure of the brick wall. Professional installers will have the necessary tools and expertise to ensure that your solar lights are attached securely and properly.
Are Solar Lights Effective on Brick Walls?
Yes, solar lights can be effective on brick walls as long as they are installed correctly. The key is to choose a location with plenty of direct sunlight so that the panels can absorb enough energy to power the lights. The location should also be sheltered from strong winds, rain, and other elements that could damage the fixtures or disrupt their performance.

Conclusion
Now you’re an expert on attaching solar lights to bricks! Give it a shot and enjoy some light in your yard or garden. Remember, though, whatever method you choose, make sure the lights are secured tightly against the surface. Doing so can prevent them from becoming dislodged during wind storms or from other outdoor elements.
Of course, there are other ways of securing lights to brick walls that don’t include drilling – another option is to use adhesive hooks designed for masonry walls. Whatever option you use, you can now securely attach your solar lights without worrying about them blowing away or falling off!
So take the time to try one or more of these options and see which one works best for you – soon enough, your garden will be lit up by beautiful solar lighting! Follow these tips on how to attach solar lights to brick wall for a safe and successful installation.

