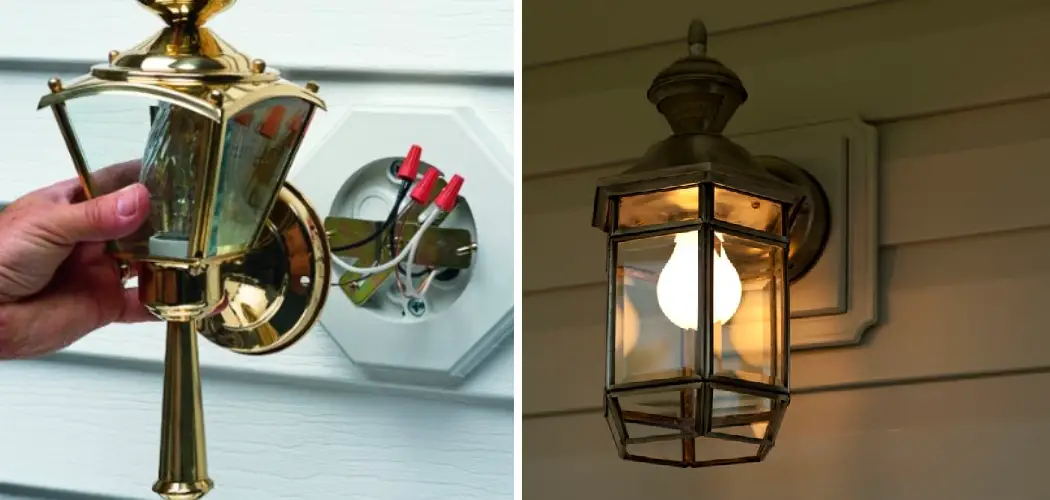
Attaching outdoor lights to vinyl siding may not seem difficult, but the process can be tricky. Vinyl siding is a delicate material and must be handled carefully to avoid damaging it. To ensure that your lighting fixtures are securely attached, you must use the correct tools and techniques for installation.

One of the main advantages of attaching outdoor lights to vinyl siding is that it offers a neat, durable, and attractive solution. Vinyl siding provides a secure foundation for mounting these lights, making them less likely to be damaged by inclement weather or strong winds.
Additionally, when installed correctly, they blend in seamlessly with the existing siding offering a neat and professional look. In this blog post, You will learn in detail how to attach outdoor lights to vinyl siding.
Step by Step Processes for How to Attach Outdoor Lights to Vinyl Siding
Step 1: Inspect the Area
Before you start attaching outdoor lights to vinyl siding, inspect the area first. Look for any signs of wear and tear or other damage that may affect the installation process. Make sure to consider potential obstacles, such as roofing materials, trees, and other structures, that could get in the way of securely attaching your fixture.
Step 2: Choose the Right Fixture
After you have inspected the area and determined that it is safe for installation, choose a suitable outdoor light fixture. It should be the right size and shape to fit onto your vinyl siding without causing any damage. Consider choosing a weather-resistant model that will stand up better against outdoor elements such as wind, rain, and sun.
Before attaching outdoor lights to vinyl siding, you must gather all the necessary materials. This includes a drill with a bit that is suitable for drilling into vinyl siding, screws or nails for attaching the fixture, and appropriate brackets for mounting the fixture.
Step 3: Measure and Mark the Area
Next, measure and mark the area on your vinyl siding where you would like to install the outdoor light fixture. Consider any obstacles, such as roofing materials or trees, that could interfere with attaching the fixture securely.
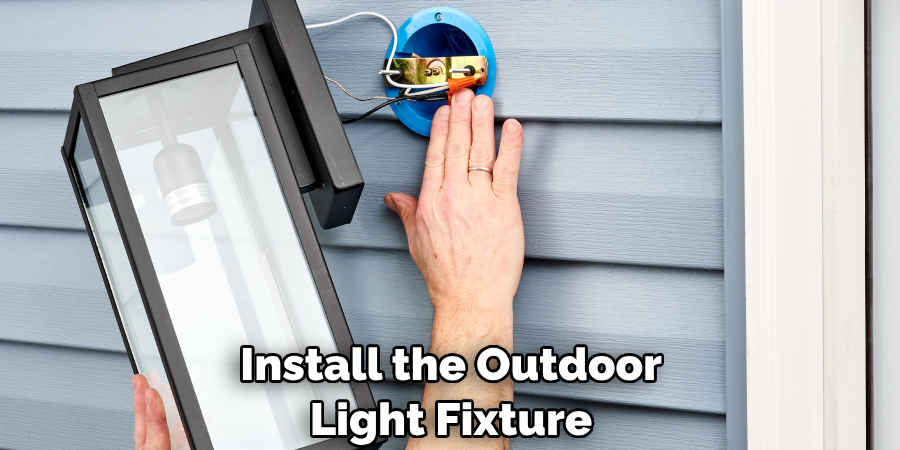
Once you have marked the area, use your drill to make pilot holes for attaching the mounting brackets. Securely attach the brackets to your vinyl siding using screws or nails. Ensure they are firmly in place and can support the weight of your chosen outdoor light fixture.
Step 4: Attach Fixture to Brackets
Next, attach the fixture to the brackets and make sure it is securely mounted. Depending on how you have chosen to mount your fixture (i.e., with screws or nails), use whatever hardware is necessary to ensure that the fixture is firmly attached to the brackets.
After the fixture is securely mounted, you must connect the wires. Carefully follow any instructions that come with your fixture for wiring, and make sure to connect them correctly for the outdoor lights to work properly.
Step 5: Test Fixture
Once all of the wiring is complete, it’s time to test your outdoor light fixture. Ensure the switch is in the “on” position and turn it on to test that it works correctly. Cover any exposed wires with electrical tape or conduit once you have tested the fixture and it works properly. This will ensure that the wires are safely contained to prevent any potential accidents or injuries.
Step 6: Clean Up
Once everything is installed and tested properly, it’s time to clean up your work area. Put away any tools and materials you used to install the outdoor light fixtures, and dispose of any debris or waste properly. This will ensure that your installation is complete and safe for use.
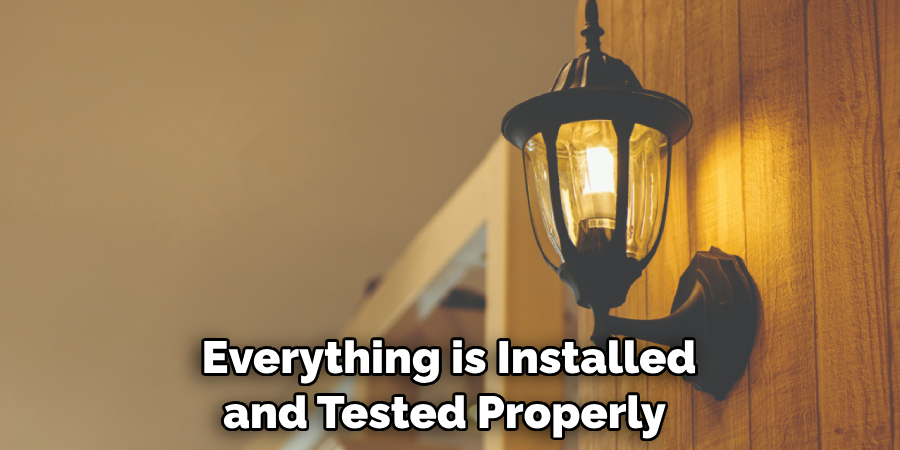
By following these steps, you can easily attach outdoor lights to vinyl siding. With a little patience and the right materials, you can safely and securely install your outdoor lighting fixtures quickly.
Precautions for How to Attach Outdoor Lights to Vinyl Siding
- Ensure the outdoor light you use is UL listed and approved for use on vinyl siding. This ensures that the product is safe to use with your home’s exterior material.
- Read all instructions provided by the manufacturer of the outdoor light before installation, including any safety warnings.
- Wear protective safety glasses and gloves when drilling into the vinyl siding to avoid any debris or sharp edges.
- Use a screw that is long enough to penetrate through the siding but not so long that it damages the material behind it.
- Ensure your outdoor light is securely fastened and does not move when pushed, ensuring there are no gaps around the fixture.
- Do not overload the outlets by connecting too many lights or other electronic devices to a single outlet. Overloading can cause electric shock or fire hazards, so take extra precautions to avoid this danger.
By following these precautions, you can safely install outdoor lights on your vinyl siding without risking any damage to your home. Additionally, if you have any doubts or questions about the installation process, it’s best to contact a professional electrician for assistance.
What is the Best Way to Attach Outdoor Lights to Vinyl Siding?
The best way to attach outdoor lights to vinyl siding is with a specialized mounting kit designed for the purpose. These types of kits include all the necessary hardware and brackets needed for installation, such as screws, anchors, or adhesive strips. Depending on the light fixture’s weight and size, different types of mounting systems may be required. When mounting the outdoor light fixture, it is important to use a level and ensure that it is firmly secured.
Be sure to pre-drill holes for the screws before driving them into the vinyl siding to avoid cracking or splitting. If using an adhesive strip, you will need to clean and dry the surface of the siding before affixing the strip. For heavier outdoor lights, it may be best to use a mounting system with toggle bolts or masonry anchors for additional support.
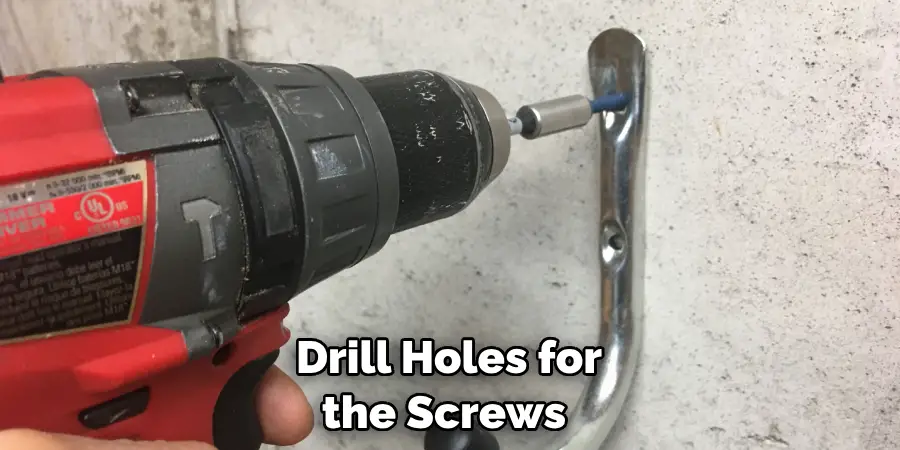
This type of system will require drilling into the siding and sometimes even into the wall behind it. Be sure to read all instructions carefully before proceeding with any installation process, and use a professional if you are unsure.
How Can You Make Sure That My Outdoor Lights Are Secure and Safe?
When attaching outdoor lights to vinyl siding, you can take a few steps to ensure that the lights remain securely and safely attached. The first step is to ensure that your mounting hardware is properly rated for exterior use. This means that it should be made of stainless steel or another type of weatherproof material that will not rust or corrode when exposed to the elements.
It’s also important to ensure that the mounting hardware is properly sized for the lights you are attaching and can handle the amount of weight and stress they will be exposed to.
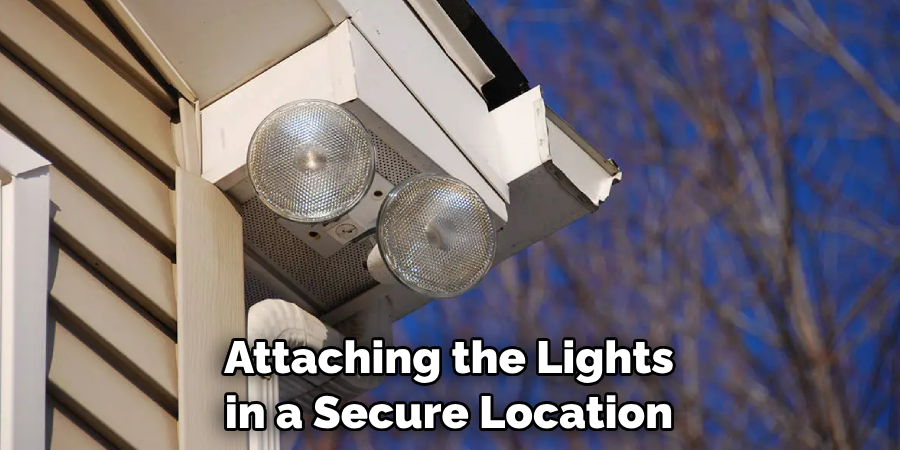
Next, it’s important to ensure you are attaching the lights in a secure location on the vinyl siding. You should never attach them to the siding directly as this could cause damage, instead, it’s best to use mounting clips or other appropriate hardware that is designed for outdoor use. Additionally, ensure that each light is securely attached to its own mounting clip and not shared between multiple lights, which could weaken the connection.
How Can You Minimize Damage to the Siding When Attaching Outdoor Lights?
When attaching outdoor lights to vinyl siding, choosing the right hardware is the most important thing you can do. Look for screws and nails designed specifically for use with vinyl siding, as these will be less likely to cause damage than standard wood screws or nails. Ensure your chosen hardware has a broad head that won’t gouge into the siding or split it. Use clips or hangers to attach outdoor lights rather than drilling holes through the siding when possible.
This will reduce the risk of damage and make it easier to move your lights if needed in the future. Ensure that any clips you use provide a secure grip on both the light fixture and the vinyl siding. Apply adhesive foam or rubber padding to the back of each light fixture before attaching it to the siding.
This will create a cushion between the fixture and the siding, reducing the force applied and helping minimize damage. Finally, make sure your outdoor lights are securely mounted in place. They may shift with strong winds or vibrations from nearby sources if not properly secured.
What Types of Mounting Hardware Should You Use to Attach Outdoor Lights?
When it comes to attaching outdoor lights to vinyl siding, you must use mounting hardware specifically designed for that purpose. These types of mounting hardware vary in size and shape depending on the type of light fixture being mounted. Generally, they are made of either metal or plastic and will have a lip or flange that wraps behind the siding. Some have a hanger that can be used to anchor the light fixture more securely.
The types of mounting hardware that you should choose for attaching outdoor lights to vinyl siding will depend on the size and weight of the light fixture and the type and thickness of your vinyl siding. Additionally, you’ll want to ensure that your mounting hardware is compatible with the type of light fixture you’re installing.
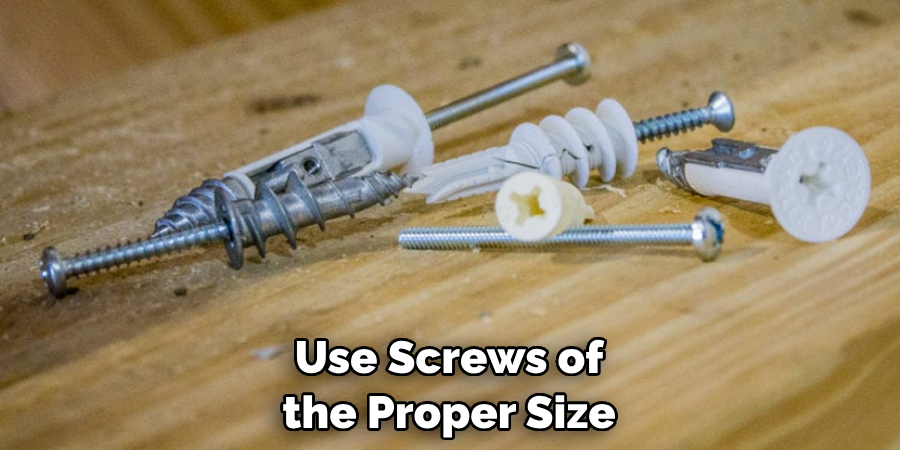
When using metal or plastic mounting hardware, ensure that it has been rated for outdoor use and is rust-resistant for maximum durability. To attach outdoor lights to vinyl siding, make sure to use screws of the proper size and length so that they can securely hold the mounting hardware in place.
Conclusion
In conclusion, attaching outdoor lights to vinyl siding is an easy and affordable way to bring some extra illumination to your property. With the right tools, hardware, and a few tips from this article, you can securely and confidently attach outdoor lighting fixtures to your vinyl siding without worry or hassle. While there may be a few challenges along the way, take it one step at a time, and you’ll be sure to get the job done right.
Be sure to check local regulations and obtain any necessary permits before beginning work on your property. With this article as your guide, you can now confidently attach outdoor lighting fixtures to vinyl siding without worry or hassle. I hope this article has been beneficial for learning how to attach outdoor lights to vinyl siding. Make Sure the precautionary measures are followed chronologically.

