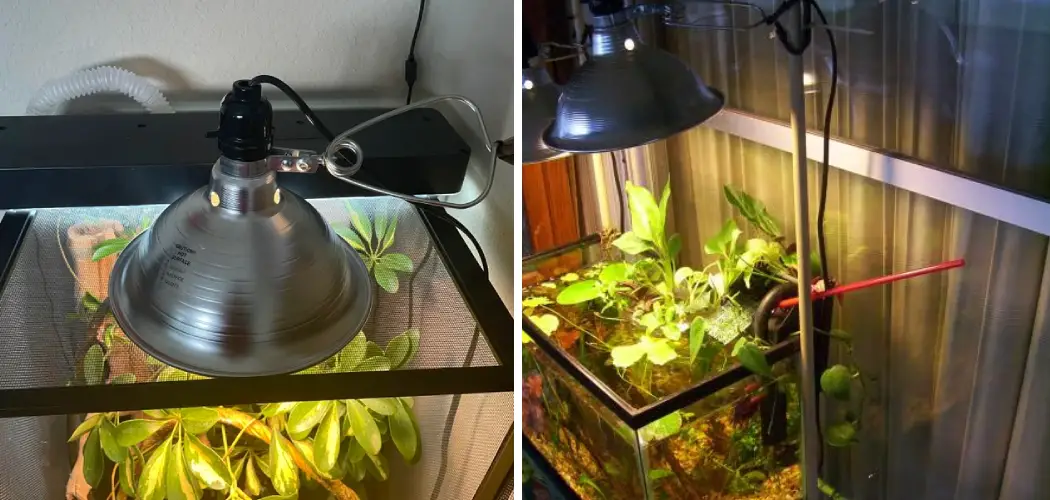
When it comes to setting up a tank for your pet reptile or fish, providing adequate lighting is crucial for their well-being. One popular lighting option is a clamp lamp, which offers versatility and ease of use.
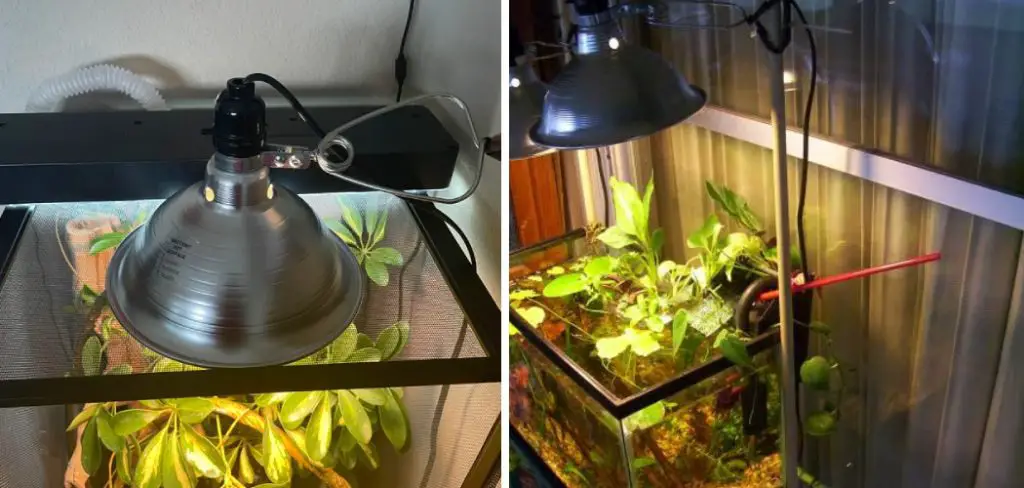
However, attaching a clamp lamp to your tank may seem daunting if you’re new to the hobby. Fear not! In this article, we will guide you through the step-by-step process of how to attach clamp lamp to tank, ensuring optimal lighting conditions for your aquatic or reptilian companion.
From selecting the right clamp lamp to positioning it correctly, we’ll cover all the essential aspects to consider. By following these instructions, you’ll be able to provide the proper lighting your pet needs while ensuring the safety of both your animal and the tank. So, let’s dive in and learn how to attach a clamp lamp to your tank like a pro!
What Is a Clamp Lamp?
A clamp lamp is a type of light fixture that attaches to the edge of a tank or other surface via a clamp. This allows for easy adjustment and positioning of the light source. Clamp lamps can range from plain utilitarian fixtures to decorative designs, providing both functional and aesthetic benefits.
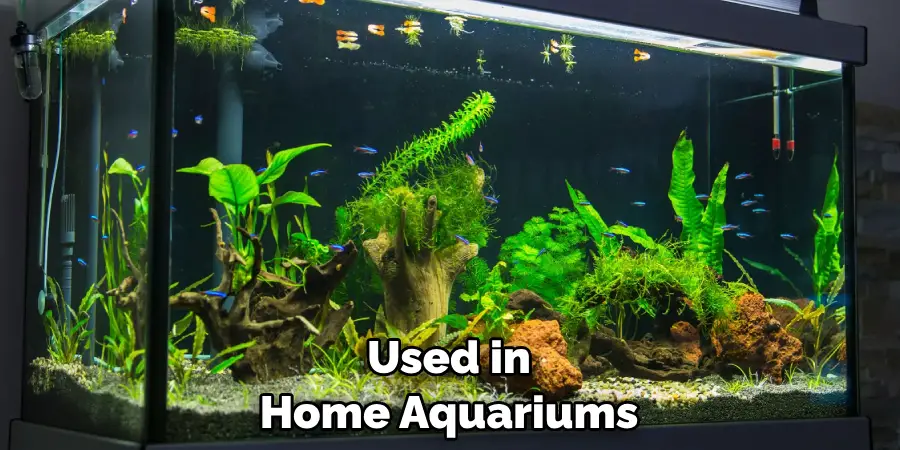
They are often used in home aquariums, as well as in industrial settings such as workshops and laboratories. Clamp lamps are available in a variety of sizes, wattages, and styles to suit different needs.
When shopping for a clamp lamp, it is important to consider the size of the tank or surface you plan on attaching it to, as well as the type of light required. For example, a bright white light may be needed for viewing fish or coral, while a softer yellow light may be better suited for viewing plants.
The wattage of the bulb should also be considered – too high can lead to overheating, and too low won’t provide enough illumination. In addition, some clamp lamps may require extra accessories such as mounting brackets or extensions in order to attach them properly. Once you have chosen the right lamp for your needs, you can begin the process of attaching it to the tank.
The Importance of Proper Lighting in Tanks
Having the right kind of lighting for your tank is essential to maintaining a healthy aquatic environment. Proper lighting helps promote photosynthesis and provides the necessary light intensity to support healthy plant growth and reproduction. It also allows you to observe fish, coral, and other inhabitants. In addition, the right kind of lighting can help reduce stress levels in fish by providing them with a safe and predictable environment.
When setting up a tank, it is important to make sure that the lighting you choose is suitable for the type of aquatic life you plan on keeping in the tank. Different types of fish and other aquatic creatures require different levels of light intensity and spectrum. For instance, some fish require high-intensity lights while others need lower intensity lighting. It is important to choose a light based on the requirements of the species in your tank.
Once you have chosen a suitable lighting system for your tank, it is essential to ensure that the lamp is securely attached. Using a clamp lamp will help ensure that the light remains secure and is not moved around or knocked off. Attaching a clamp lamp correctly will also help prevent any potential damage to the tank due to the lamp being knocked over.
The Significance of Using Clamp Lamps for Tank Lighting
Clamp lamps are widely used for tank lighting, as they provide a safe and secure way of attaching lighting fixtures to an aquarium. They are extremely versatile and can be used to fit a variety of tank sizes and shapes. The clamp lamp also provides the flexibility to mount lighting fixtures at various angles, allowing for better aquatic plant growth in tanks with varying depths.
By using clamp lamps, aquarium owners have greater control over the intensity of light that reaches their plants. This is especially useful for tanks with deep water levels, where adequate lighting can sometimes be hard to achieve without being too bright or burning out sensitive organisms.
Clamp lamps also offer the advantage of being able to adjust the angle and position of the light fixture as needed, ensuring that it always illuminates areas within the tank correctly.
Clamp lamps are particularly beneficial when it comes to controlling algae growth in tanks. By positioning the lights at different angles, aquarium owners can direct light towards areas where algae are growing and reduce its spread. The increased control that clamp lamps provide also helps to ensure more even lighting throughout the tank, which is essential for plant growth.

10 Methods How to Attach Clamp Lamp to Tank
Method 1: Gather the Necessary Supplies
To begin, gather all the supplies you’ll need for the task. These include a clamp lamp, a bulb suitable for your pet’s lighting requirements, a tank with a secure lid, a measuring tape, a pencil or marker, a drill, appropriate screws, a screwdriver or drill bit, and a safety mat or a soft cloth.
Method 2: Choose the Right Clamp Lamp
Select a clamp lamp that is suitable for your tank size and the specific needs of your pet. Consider factors such as the lamp’s size, adjustability, and heat output. It’s crucial to choose a lamp that will not generate excessive heat or pose any safety hazards to your pet.
Once you have chosen the right clamp lamp, you can begin to attach it to your tank. Make sure that the clamp is securely fastened to the tank, and that it does not obstruct your pet’s access to their food or hideaway.
Method 3: Determine the Lamp Placement
Decide on the optimal location for the clamp lamp. Assess your tank’s dimensions, the type of animals or plants inside, and the desired lighting coverage. The lamp should provide the necessary heat and light while considering the natural behavior and preferences of your pet.
Method 4: Measure and Mark the Placement
Using a measuring tape, measure the distance from the edge of the tank to the desired location for the clamp lamp. Mark this spot with a pencil or marker. Ensure that the marked point is easily accessible and allows for secure attachment without causing any damage to the tank.
Method 5: Prepare the Tank Lid
If your tank has a lid, it’s important to modify it to accommodate the clamp lamp. Measure the width of the lamp’s clamp and mark the corresponding spot on the lid. Use a drill with an appropriate drill bit to create a hole that matches the size of the clamp’s screw or bolt.

Method 6: Attach the Clamp Lamp to the Tank
Place a safety mat or a soft cloth beneath the tank to protect its surface. Align the marked spot on the tank with the clamp’s screw or bolt, and secure it in place using a screwdriver or drill. Ensure that the clamp is tightly attached and will not move or slip.
Attach the lamp to the clamp. Make sure that the cord is long enough and can reach a power source. Finally, plug in the lamp and you are ready to enjoy the beauty of your aquarium.
Method 7: Position the Lamp Correctly
Adjust the angle and position of the clamp lamp to achieve the desired lighting effect. For basking reptiles, position the lamp slightly to one side of the tank to create a temperature gradient. Experiment with different angles to find the most suitable setup for your pet’s needs.
Make sure that the lamp is not too close to the tank and never leave it on for more than 10-12 hours a day. If you are using a ceramic heat emitter (CHE), ensure that the bulb is securely fastened to the clamp and not too close to any combustible materials.
Method 8: Install the Bulb
After attaching the clamp lamp, screw in the appropriate bulb based on the lighting requirements of your pet. Ensure that the bulb is securely in place and properly aligned with the lamp. Avoid touching the bulb directly to prevent oil or residue from affecting its lifespan.
Once the bulb has been installed, plug in your lamp and turn it on to test if its working properly. Make sure that you keep an eye out for any signs of malfunction and turn off the lamp should it overheat or otherwise become unsafe.
Method 9: Test the Setup
Before leaving the lamp unattended, plug it in and test its functionality. Ensure that the bulb lights up without flickering and emits the desired level of heat and light. Monitor the temperature inside the tank to ensure it remains within the optimal range for your pet.
Method 10: Monitor and Adjust as Needed
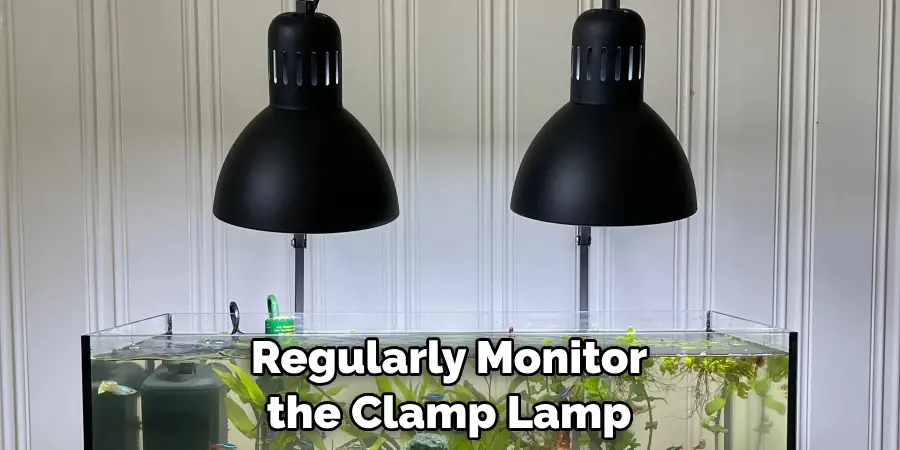
Regularly monitor the clamp lamp, bulb, and tank conditions to ensure everything is functioning correctly. Check for any signs of damage or wear on the lamp and replace the bulb as needed. Make adjustments to the lamp’s position or angle if you observe any issues with lighting or temperature distribution.
Conclusion
It is essential to make sure that you have properly attached the clamp lamp securely and safely to the tank. Be aware of any extra-long cords as they can cause a risk for electrocution and be wary of any areas which could create a dangerous fire hazard. Taking the necessary precautions, will help ensure that all occupants in your home are safe from harm.
In conclusion, attaching a clamp lamp to a tank is a relatively easy process, provided that you understand the instructions. As long as you use the correct steps outlined in this article, your clamp lamp should be secure and ready for use in no time! Follow these simple instructions outlined in this blog post about how to attach clamp lamp to tank, and you’ll be able to get the job done with ease.

