Decorating with Christmas lights is a cherished tradition that transforms homes and gardens into festive wonderlands. However, when dealing with concrete surfaces, such as driveways, patios, or retaining walls, securing lights can pose a unique challenge.
Unlike wood or vinyl where staples or hooks can be easily used, concrete requires specific techniques and tools to ensure that your display remains securely in place throughout the holiday season. This guide will walk you through how to attach christmas lights to concrete, ensuring a hassle-free and enchanting decoration experience.
Why Attach Christmas Lights to Concrete
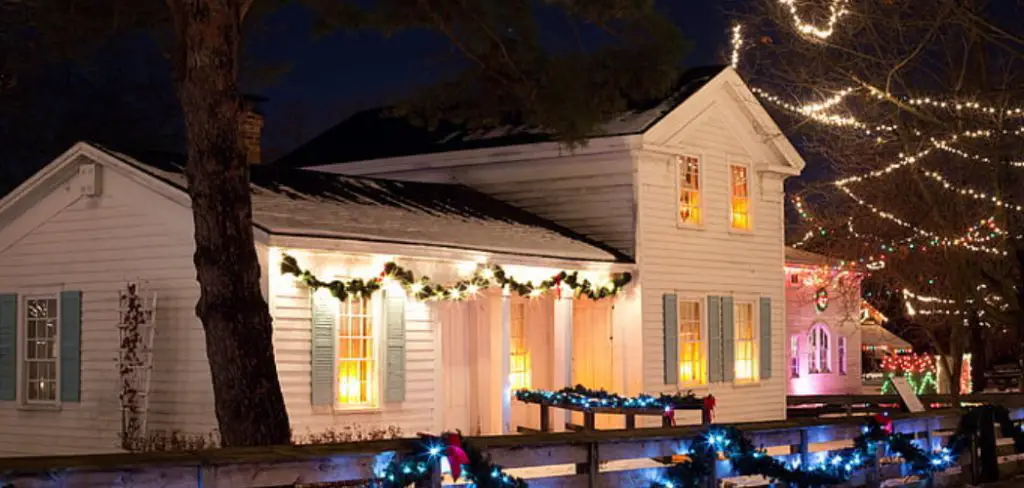
Attaching Christmas lights to concrete surfaces can significantly enhance your holiday décor, providing a unique opportunity to illuminate areas often overlooked during festive preparations. Concrete structures such as patios, driveways, and retaining walls offer expansive canvases for creative light displays that can transform the exterior of a home into a winter wonderland.
By securely attaching lights to these surfaces, you can highlight architectural features, guide guests with illuminated pathways, and even create dazzling focal points in your garden or yard. Doing so not only maximizes the festive atmosphere but also spreads holiday cheer beyond the confines of indoor spaces, extending the warm and inviting holiday ambiance outdoors.
Safety Precautions Before Starting
Before embarking on the task of attaching Christmas lights to concrete surfaces, it’s essential to prioritize safety to prevent accidents and ensure a smooth decoration process. Start by inspecting all your lighting equipment; check for any frayed wires, broken bulbs, or loose connections, and replace or repair as necessary. It’s advisable to use outdoor-rated extension cords and lights specifically designed to withstand harsh weather conditions.
Always turn off the power supply before working with lights and avoid overloading circuits, which can cause electrical hazards. When using tools like drills or adhesive products, wear appropriate safety gear such as gloves and safety goggles to protect your hands and eyes. Additionally, ensure that ladders are stable and positioned on a flat surface if you need to reach high areas. By following these safety measures, you’ll create a secure and joyful environment to enjoy your holiday decorations.
10 Methods How to Attach Christmas Lights to Concrete
1. Select the Right Type of Christmas Lights
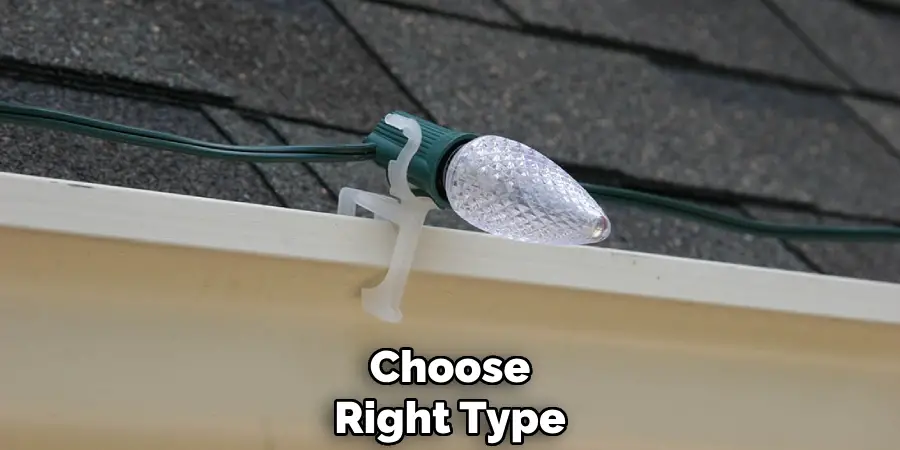
Before you begin attaching lights to concrete, it’s essential to choose the right type of Christmas lights for your project. Consider using LED lights, as they are energy-efficient, long-lasting, and less likely to overheat, making them ideal for outdoor use. Additionally, select lights with weather-resistant features, such as waterproof bulbs and connectors, to withstand rain, snow, and temperature fluctuations. Depending on your design, you can choose from various options, including string lights, icicle lights, or even net lights, ensuring that the lights you select will complement your intended display.
2. Plan Your Design
Planning your design is a crucial first step in ensuring a successful installation. Determine where you want to hang your Christmas lights, whether along pathways, around doorways, or across patios. Sketch out your intended layout, noting how many strands of lights you will need and how they will be secured. A well-thought-out design will help you avoid running out of lights mid-project and allow for a more organized installation process. Additionally, consider the spacing between light bulbs, as this can affect the overall appearance of your display.
3. Gather the Necessary Tools and Materials
Before beginning the installation, gather all necessary tools and materials. Essential items may include outdoor-rated extension cords, light clips or hooks designed for concrete surfaces, a hammer or masonry drill, adhesive, and a measuring tape. Light clips come in various forms, such as those designed for easy attachment to gutters, shingles, or direct application on concrete. Make sure to choose clips that can withstand outdoor conditions and provide a secure grip for your lights. Additionally, having a ladder handy will help you reach higher areas safely.

4. Use Concrete Clips for Easy Attachment
Concrete clips are specifically designed to secure Christmas lights to concrete surfaces effectively. To use them, first, position the clip along your planned path, ensuring it is properly aligned. Use a hammer to gently drive the clip into the concrete, ensuring that it is firmly attached. The clip should hold the lights snugly in place while allowing for easy removal when the holiday season is over. These clips are particularly useful for creating clean, organized lines of lights without causing damage to the concrete surface.
5. Opt for Adhesive Hooks for Versatile Placement
Adhesive hooks provide a flexible option for attaching Christmas lights to concrete, especially in areas where clips may not be suitable. Choose heavy-duty outdoor adhesive hooks that can withstand varying weather conditions. Before applying the hooks, clean the concrete surface thoroughly to remove any dust or debris. Peel off the backing of the adhesive and firmly press the hook against the concrete, holding it in place for a few seconds to ensure a strong bond. Once the hooks are securely attached, string your lights through them, creating a tidy and festive appearance.
6. Utilize Command Strips for Temporary Installations
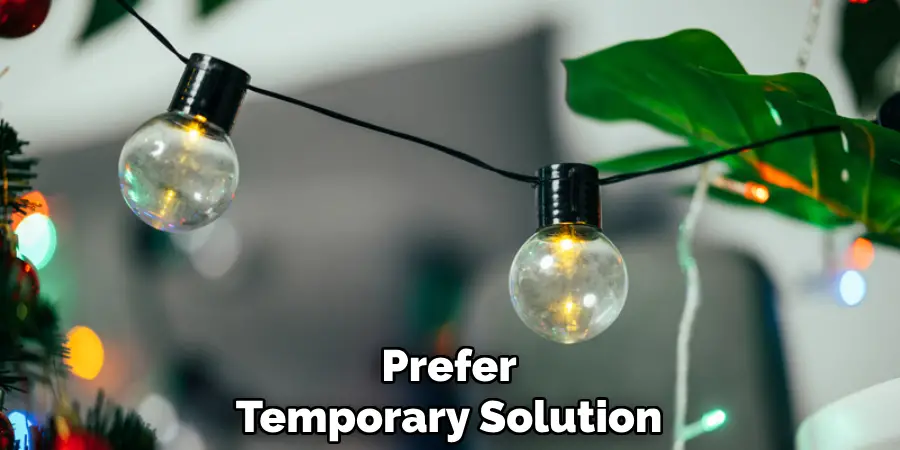
If you prefer a temporary solution for your Christmas lights, Command strips can be a great option. These removable adhesive strips can hold lightweight string lights without causing damage to the concrete when removed. To use Command strips, select the appropriate size for your lights and clean the concrete surface before application. Stick the Command strips to the back of the lights, ensuring even spacing, and then press them firmly against the concrete surface. This method is especially ideal for those who may want to change their display from year to year without leaving permanent marks.
7. Drill and Anchor for a Permanent Installation
For a more permanent installation, consider drilling holes into the concrete and using anchors to secure your lights. First, mark the locations where you want to install the lights, ensuring they align with your design. Use a masonry drill bit to create holes in the concrete, then insert wall anchors suitable for outdoor use. Once the anchors are in place, use screws to attach the light clips or hooks directly to the anchors. This method ensures a robust and long-lasting attachment, making it an excellent choice for homeowners who plan to use lights year after year.
8. Run Lights Along Pathways Using Stakes
If you want to illuminate pathways with Christmas lights, consider using landscape stakes to attach the lights securely. Place the stakes into the ground along the edges of your pathway, ensuring they are spaced evenly apart. String the lights along the stakes, securing them with clips or ties to keep them in place. This method not only keeps the lights visible and well-positioned but also protects them from potential damage by keeping them elevated and clear of foot traffic.
9. Consider Using Zip Ties for Added Security
For an additional layer of security, zip ties can be used in conjunction with other attachment methods. After securing your lights with clips, hooks, or adhesive, use zip ties to further fasten the lights along the concrete surface. This is especially useful in high-wind areas where lights may be more susceptible to movement. Simply wrap the zip ties around the lights and secure them to any nearby anchors or structures. This method ensures that your lights remain firmly in place throughout the holiday season.
10. Test the Lights and Ensure Safety
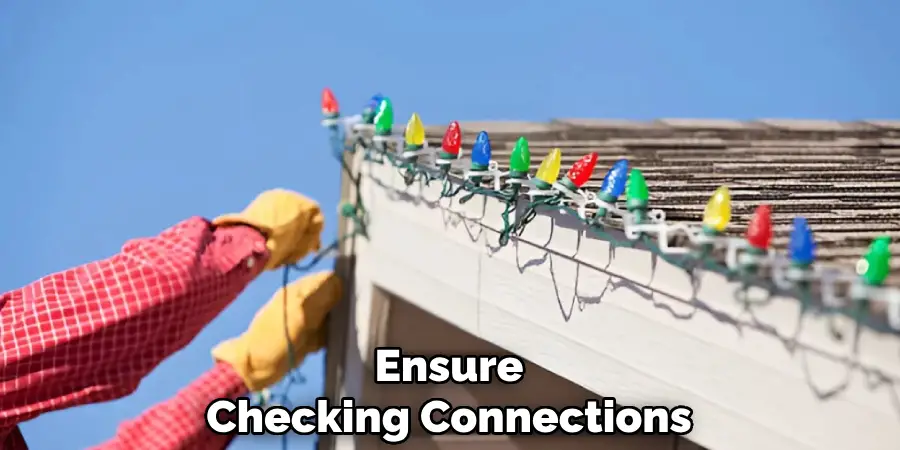
Once all your lights are attached, it’s essential to test them before finishing up. Plug in the lights to ensure they illuminate properly and check for any sections that may not be functioning correctly. If you encounter any issues, troubleshoot by checking connections and ensuring that no bulbs are burnt out. Additionally, ensure that all electrical connections are secure and that extension cords are rated for outdoor use to prevent any hazards. Once everything is in order, step back to admire your beautifully lit concrete surfaces, creating a festive atmosphere that can be enjoyed throughout the holiday season.
Things to Consider When Planning Your Holiday Lighting Display
When planning your holiday lighting display, several factors should be taken into account to ensure a successful and visually appealing setup. Firstly, consider the overall theme and design you want to achieve, as this will influence the types of lights and decorations you choose.
Secondly, be mindful of your budget, as costs can quickly add up when purchasing lights, tools, and other materials. Safety is also paramount; ensure that all lights and electrical components are rated for outdoor use and inspect them for any damage before installation. Additionally, consider the ease of installation and removal, particularly if you intend to change your display from year to year.
Conclusion
Decorating concrete surfaces with Christmas lights can transform your outdoor space into a dazzling winter wonderland. By selecting the appropriate tools and methods, such as concrete clips, adhesive hooks, and Command strips, you can secure your lights safely and effectively. Whether opting for a temporary or permanent installation, ensuring proper spacing and attachment contributes to both the aesthetics and longevity of your display. Thanks for reading, and we hope this has given you some inspiration on how to attach christmas lights to concrete!
