Are you tired of driving at night with only your headlights to guide you? Or do you find driving difficult in harsh weather conditions when the visibility is low? If so, installing driving lights on your vehicle can significantly improve your driving experience.
Driving lights are a crucial component of nighttime driving safety, allowing for improved visibility on the road. Proper alignment of these lights is essential to maximize illumination while minimizing glare for oncoming traffic. This guide will walk you through the step-by-step process of how to aim driving lights. You’ll learn about the necessary tools, safety precautions, and techniques to ensure that your lights are positioned for the best possible visibility during your nighttime travels.

Whether you’re an experienced mechanic or a weekend DIY enthusiast, the following instructions will help you achieve precise alignment for a safer driving experience.
What are the Benefits of Aiming Driving Lights?
Aside from improved visibility, there are several other benefits to properly aiming your driving lights. These include reducing driver fatigue and increasing reaction time in unexpected situations. With the proper positioning of your lights, you can detect potential hazards on the road much earlier than if you only relied on your headlights.
Moreover, having properly aimed driving lights can also enhance the overall appearance of your vehicle. It adds a touch of style and functionality, making your car stand out from the rest.
Overall, aiming your driving lights is a simple yet effective way to enhance your driving experience and increase safety on the road.
What Will You Need?
Before you begin, ensure you have all the necessary tools and equipment. You will need:
- A screwdriver
- Measuring tape
- Masking tape
- Level
- Chalk or pencil
- Flat, open space to work on your vehicle
Once you have all the necessary tools, ensure your vehicle is parked on a flat surface in front of a wall or garage door. The surface should be level and perpendicular to the ground.

10 Easy Steps on How to Aim Driving Lights
Step 1. Measure the Height of the Lights:
Use the measuring tape to determine the height from the ground to the center of your driving lights. Write this measurement down as you must use it to mark the wall or garage door. If you have multiple lights, measure each one separately. Be careful not to scratch or damage the lights while taking measurements.
Step 2. Mark the Center Height on the Wall:
Using the measurement from Step 1, apply a piece of masking tape horizontally across the wall or garage door at the corresponding height. With your chalk or pencil, mark the exact height in the center of the tape to represent the center of your driving lights. If you have multiple driving lights, ensure each light’s center height is clearly marked. This will serve as a target for alignment in the subsequent steps.
Step 3. Prepare Your Vehicle:
Position your vehicle directly in front of the wall or garage door on a flat surface, ensuring it’s about 25 feet away from it. Ensure the car faces straight ahead with the headlights directed towards the wall. Engage the parking brake, turn off the engine, and ensure that the fuel tank is at least half full, as the weight can affect the level of the lights. Remove heavy items from the trunk or rear seats that may unbalance the car’s posture.
Step 4. Level Your Vehicle and Lights:
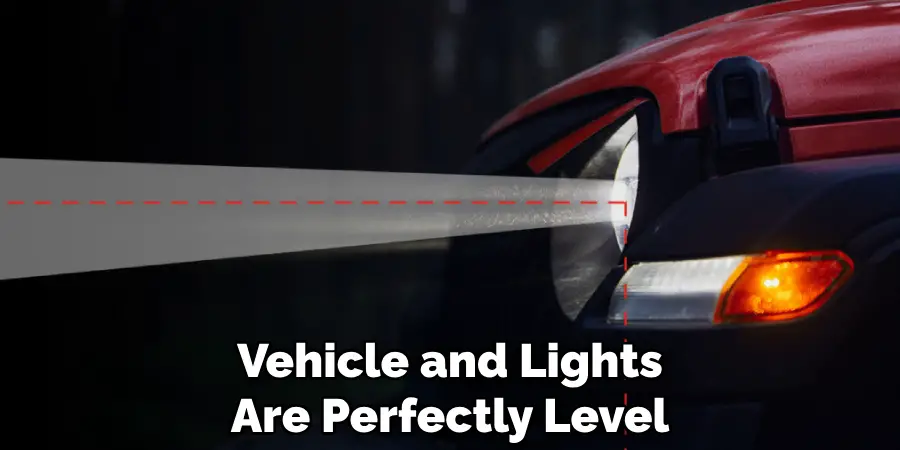
Check if your vehicle is level by using a level on the hood or roof of your vehicle. Any tilt can throw off the light alignment significantly. Adjust if necessary, and ensure that the driving lights are level. This can be done by adjusting the brackets or mountings that hold the lights in place. Once your vehicle and lights are perfectly level, you can begin the aiming process.
Step 5. Turn on the Driving Lights:
Now, turn on your driving lights without turning on the headlights. The lights should be the only illumination you are using to align them. Position yourself in front of the vehicle, at the same height as the lights, and check if the beams are both level and pointing straight forward. The light beams should be concentrated on the wall, with the brightest spot corresponding to the marks you’ve made with the chalk or pencil. If the rays are not in alignment, you’ll need to adjust the lights.
Step 6. Adjust the Lights:
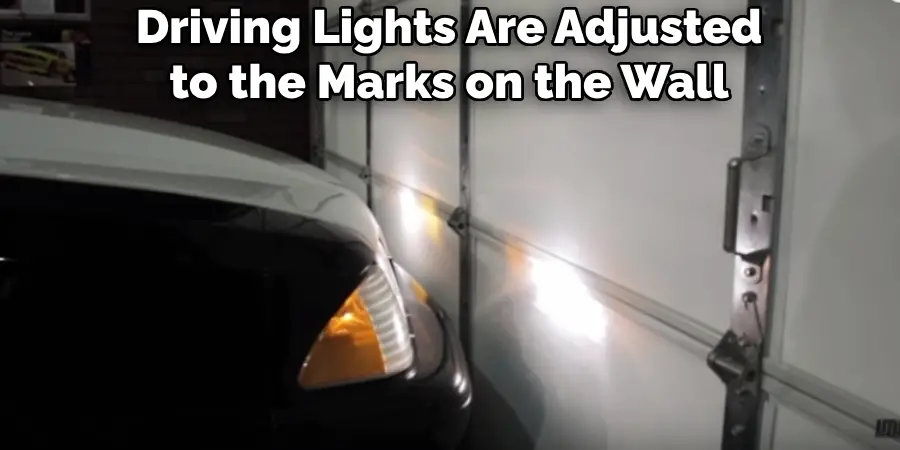
Locate the adjustment screws or knobs on the back or side of the driving lights. These controls allow you to move the light beams vertically and horizontally. While watching the beam’s position on the wall, carefully adjust the screws to align the lights. The top of the most intense part of the light beam should correspond with the line marked on the wall. The goal is to have the light rays hit the marks without rising above or falling below them, providing the optimal angle for visibility and safety.
Step 7. Check for Evenness:
Once the driving lights are adjusted to the marks on the wall, it’s essential to ensure they are evenly aligned. Both lights should be pointing at the same angle and height. If one light is higher or more to the side than the other, it can cause uneven illumination on the road, which can be both distracting and dangerous. Re-check the measurements and use the level to confirm that the setup is even before moving on to the final checks.
Step 8. Test Drive Your Adjustments:
Once the driving lights are aligned and even, it’s time for a test drive. Choose a safe area to drive at night to assess the effectiveness of your adjustments realistically. Pay attention to how the driving lights illuminate your path, checking for any shadows or dark spots on the road. Be mindful of how your lights interact with oncoming traffic. If the lights are too high, they can dazzle other drivers. Adjust them as necessary to ensure you’re not impairing the vision of other road users while maintaining optimal visibility for yourself.
Step 9. Refine Your Adjustments:
After your initial test drive, minor tweaks may be needed to perfect your driving lights’ aim. Factors like uneven road surfaces or your vehicle’s load can impact light direction. If you’ve observed areas that need improvement, make the necessary refinements. Adjust the beams slightly downward or to the side to fill gaps or reduce glare for oncoming vehicles. Remember, the optimum setting for your lights will provide a clear view of the road ahead without blinding other drivers. Repeat the test drive as needed to confirm that your adjustments are precise and effective.
Step 10. Finalize and Document Your Settings:
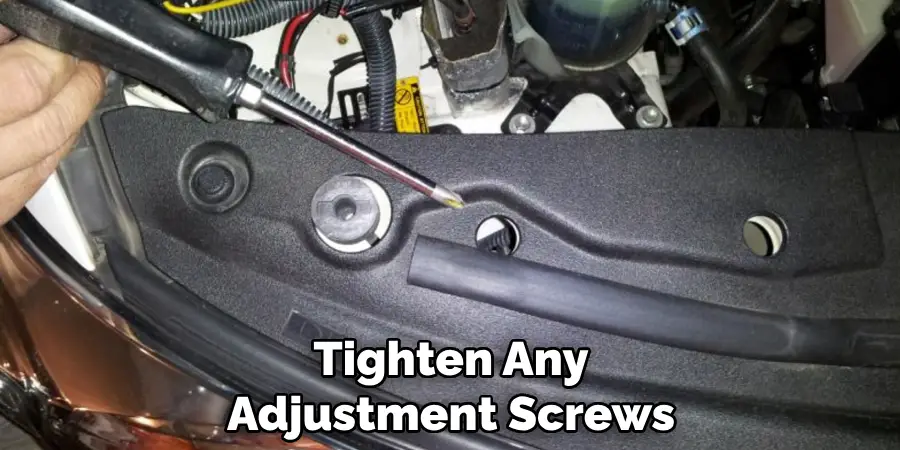
After you’re satisfied with the placement of your driving lights following the test drives and refinements, it’s essential to finalize your settings. Tighten any adjustment screws or bolts to secure the lights in their correct position, ensuring they won’t move or vibrate out of alignment during your travels.
Lastly, note the final settings or positions for future reference or in case you need to replace a bulb or the entire light. This documentation will help you maintain consistency in your lighting system and speed up the realignment process if needed. With your driving lights now optimally aimed, your nighttime driving experience will be safer and more enjoyable.
Following these steps, you can easily aim your vehicle’s driving lights and achieve the best visibility on dark roads.
5 Additional Tips and Tricks
- Start with the Basics: Before you begin aiming your driving lights, ensure that your vehicle is parked on a level surface and that the lights are at the correct starting position, which is often detailed in your vehicle’s owner manual.
- Measure Twice, Aim Once: Measure the height of your driving lights from the ground and mark the same height on a wall or aiming board. This will serve as your reference point for proper alignment.
- Utilize the 25-Foot Rule: Park your vehicle 25 feet away from the wall or aiming board. This distance is generally accepted for aiming because it accurately represents how the lights will perform on the road.
- Adjust in a Dim Environment: Aim your lights after dusk or in a dimly lit garage. This ensures your eyes are more sensitive to light adjustments, and you can better perceive the beam pattern against the target surface.
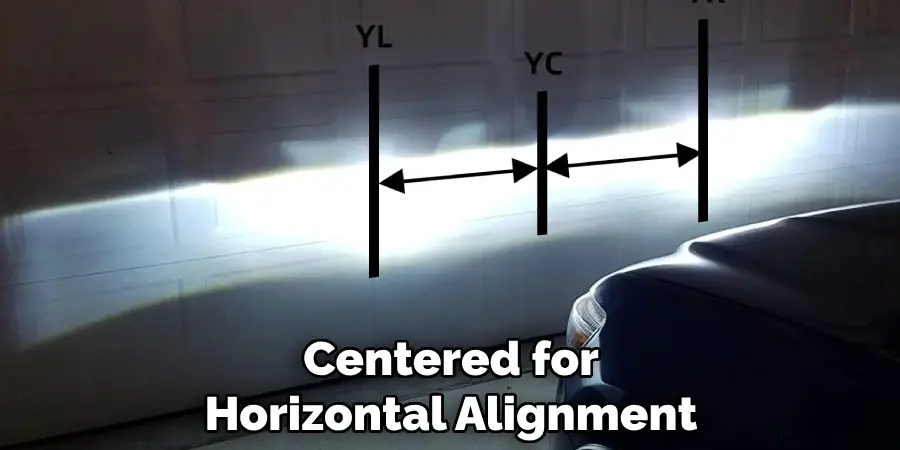
- Check for Horizontal and Vertical Alignment: Make sure that the brightest part of the light’s beam is positioned just below your mark on the wall for vertical alignment, and it should be centered for horizontal alignment. Too high and you’ll blind oncoming traffic; too low and you won’t see far enough down the road.
With these additional tips, you can ensure that your driving lights are adequately aimed for optimal performance and safety.
6 Things You Should Avoid on How to Aim Driving Lights
- Ignoring Manufacturer’s Specifications: Pay attention to the guidance provided by your vehicle and light manufacturers. These specifications are designed to ensure the best performance and to maintain safety standards.
- Forgetting to Consider Weight: The load your vehicle carries can significantly affect the angle of your beams. Always aim your driving lights with the typical weight you carry during your drives.
- Neglecting Regular Maintenance Checks: Once set, the alignment of the lights should be periodically checked, especially after off-road driving, to ensure they remain in the optimal position.
- Aiming Too High or Too Low: It’s crucial not to eyeball the alignment simply. Be precise. Improperly aimed driving lights can result in poor visibility or blinding other drivers, leading to dangerous driving conditions.
- Skipping on Testing in Real Conditions: After aiming your lights, testing them in real driving conditions is essential to ensure they are aimed correctly. What looks good in the garage may not function well on the road.
- Overlooking Local Regulations: Always be aware of local vehicle modification regulations, including light aiming. Different regions have specific requirements that are legally binding.
By avoiding these common mistakes and following proper aiming techniques, you can ensure that your driving lights are functional, safe, and compliant with regulations.
Some Frequently Asked Questions
1. Where Do You Aim Driving Lights?:
The aim of driving lights is to provide additional illumination on dark roads, especially in rural areas with limited street lighting. Ideally, the aim should light up approximately 100 feet in front of your vehicle and extend outward toward the sides of the road. This range allows you to see potential hazards and obstacles ahead while also providing visibility for other drivers.
It’s essential to note that the aim may vary depending on your vehicle type and driving conditions. For example, if you have a taller truck or SUV, you may need to aim the lights slightly lower to avoid blinding other drivers. Similarly, if you frequently drive on winding roads, adjusting the horizontal aim of your lights towards the direction of travel can provide better visibility.
Ultimately, aiming your driving lights in a way that provides safe and efficient lighting for your specific driving needs is essential. This may require some trial and error, but you can achieve optimal aiming results with proper techniques and precautions. Always refer to manufacturer specifications and local regulations when adjusting your driving lights’ aim. Overall, well-aimed driving lights can significantly improve your driving experience and promote safety on the road. So take the time to properly aim your lights and enjoy enhanced visibility during your nighttime drives.
2. What Are Driving Lights vs. Headlights?
Driving lights and headlights both serve the purpose of providing visibility while driving in low-light conditions. However, there are some critical differences between the two.
- Purpose: Headlights are designed to provide basic illumination for driving, while driving lights are intended to enhance visibility in specific situations, such as on dark rural roads or off-roading.
- Light Output: Driving lights typically produce a brighter and more focused beam than headlights, which can help to see further ahead.
- Mounting Location: Headlights are usually mounted on the front of the vehicle, while driving lights may be positioned on the roof or bumper for optimal performance.
- Regulations: In many regions, specific regulations regarding the use of driving lights exist. Unlike headlights, which are mandatory for all vehicles, driving lights may be prohibited or restricted in certain areas due to their intense beam.
- Use: While headlights are typically used during everyday driving, driving lights are often turned on only when necessary, such as when visibility is reduced or additional lighting is required.
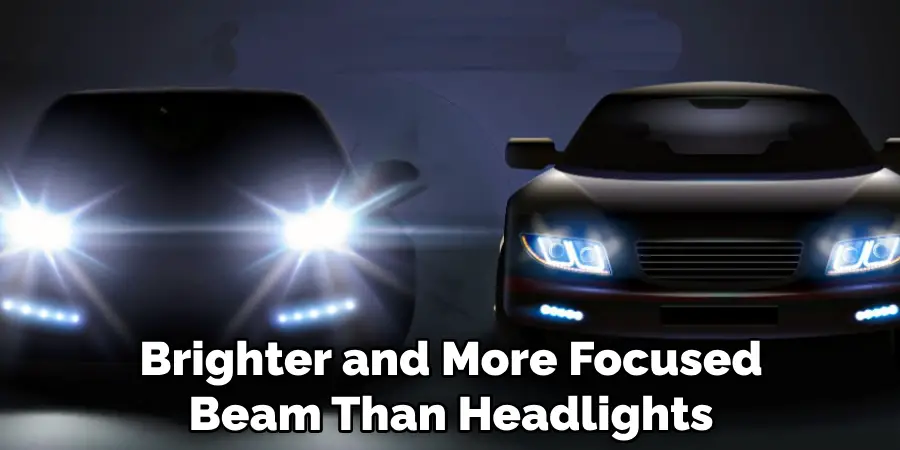
In summary, headlights and driving lights have distinct purposes and functions while serving the common goal of providing visibility while driving.
3. What Lights to Use in the Rain?
When driving in heavy rain, it’s crucial to have proper lighting to maintain visibility and promote safety. Here are the recommended lights to use when driving in the rain:
- Low Beam Headlights: During heavy rain, visibility is often reduced due to glare and reflections from the water on the road surface. Low-beam headlights can minimize these effects while providing enough light for you to see ahead.
- Fog Lights: In dense fog, low-beam headlights may not be sufficient to provide adequate lighting. In this case, fog lights can help cut through the fog and improve visibility.
- Hazard Lights: In hefty rain or when pulled over on the side of the road, turning on your hazard lights can make your vehicle more visible to other drivers.
It’s important to note that high-beam headlights should not be used in heavy rain as they can cause glare and reduce visibility for both you and other drivers. Additionally, it’s crucial to drive at a safe speed and increase the following distance when driving in the rain, regardless of your lighting choices. Overall, using the correct lights during heavy rain can significantly improve safety while on the road.
4. Is White Light Good for Driving?
Yes, white light is considered the best color for driving. This is because white light offers a balance of contrast and color recognition, making it easier to see objects and obstacles on the road.
Some other factors that make white light suitable for driving are:
- Sharpness: White light has a higher level of sharpness than other colors, providing better visibility in low-light conditions.
- Contrast: White light creates a stark contrast against other dark objects, making it easier to identify potential hazards on the road.
- Color Recognition: With white light, colors appear more natural and accurate, allowing for better recognition of road signs and other traffic signals.
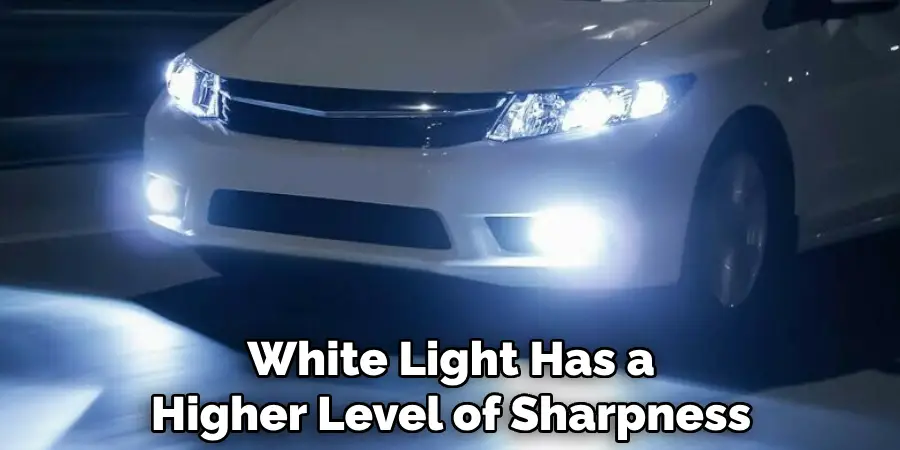
Although white light is considered the optimal color for driving, it’s important to note that different driving situations may require different types of lighting, such as yellow or blue light for foggy and snowy conditions, respectively. Ultimately, following local regulations and using the appropriate lights for your specific driving needs is crucial.
Conclusion
In conclusion, the proper aiming of driving lights is an essential aspect of road safety that often goes overlooked. Ensuring that your vehicle’s lights are positioned to cast an ideal beam pattern enhances your visibility and contributes to the safety of all road users. The process requires attentiveness to vehicle type, road conditions, and consideration for other drivers to avoid glare.
By following manufacturer guidelines and local regulations and applying a thoughtful, customized approach to the aim of your driving lights, you can significantly improve nighttime driving conditions. Remember, the goal is clear and compelling illumination, so take the time to aim your driving lights correctly—it’s a small effort that makes a big difference.
Hopefully, this guide has provided helpful information and tips on how to aim driving lights. Stay safe, stay visible, and enjoy your nighttime drives with well-aimed driving lights!

