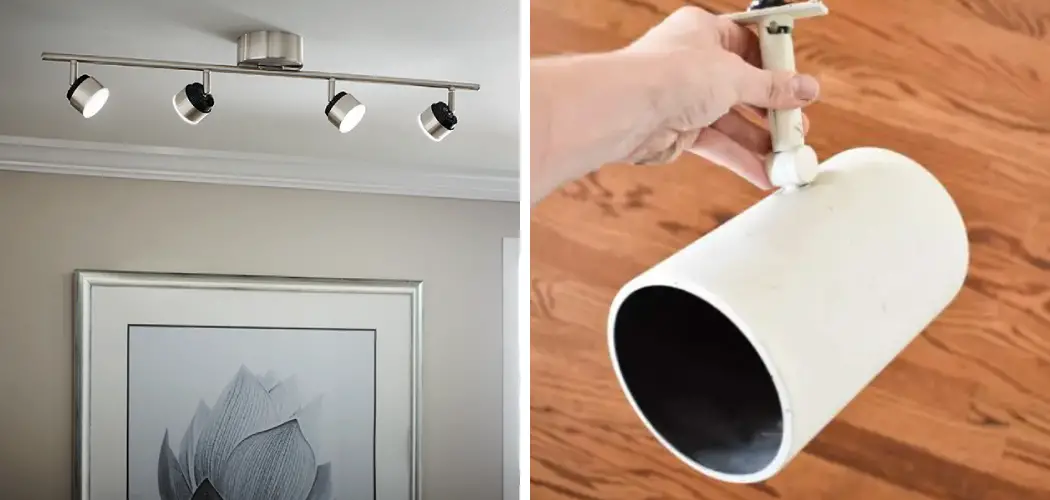
Are you looking to add some light to your home or change up your current lighting? Track lighting is an excellent option for those who want adjustable, versatile, and stylish lighting.
Track lighting systems offer versatile and strategic lighting solutions perfect for both home and commercial settings. They consist of a series of lights, or ‘heads,’ attached to a continuous track containing electrical conductors. Despite their versatility, adjusting track lighting can seem daunting to those unfamiliar with its components and design. This guide will introduce you to the basic steps involved in adjusting track lighting, encompassing everything from alignment and focusing to changing the ambiance of a space.
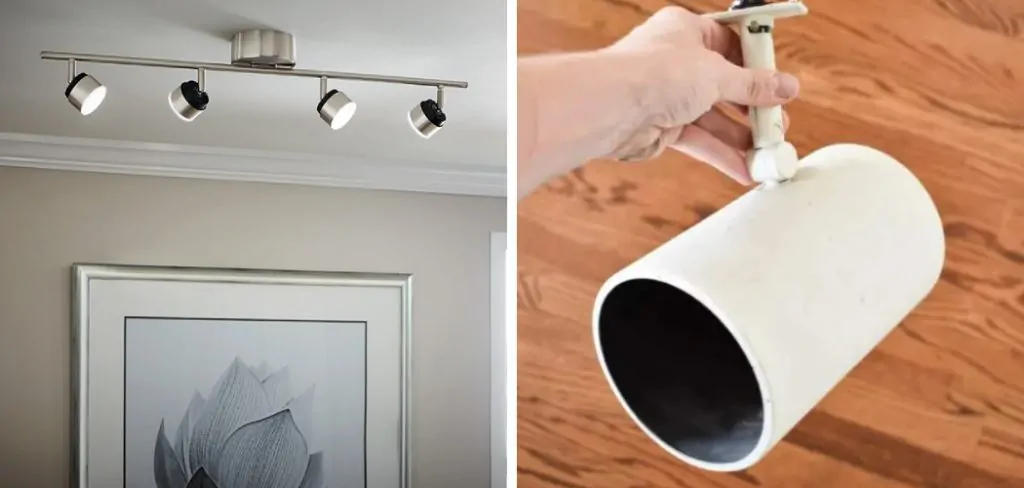
Whether you’re aiming to highlight artwork, create task lighting in a kitchen, or add depth to your living room, learning how to adjust track lighting will allow you to enhance the functionality and aesthetic appeal of any room.
What is the Importance of Adjusting Track Lighting?
Adjusting track lighting is vital for a variety of reasons. Firstly, it allows you to direct light where it’s most needed. This is particularly useful for task lighting in areas like the kitchen or study, where focused and precise light is crucial. By adjusting the direction of the track heads, you can ensure that your workspace is well-lit and shadow-free.
Secondly, adjusting track lighting can create a specific ambiance in a room. By angling the lights towards walls or objects, you can add depth and dimension to your space. Adjusting the light levels can also change the mood of a room, whether you want it bright and energetic or warm and cozy.
Additionally, regularly adjusting track lighting can help prevent uneven wear on the light bulbs. By rotating and shifting the heads, you can distribute the light evenly and avoid potential burnout.
What Will You Need?
Before beginning to adjust track lighting, it’s essential to gather all necessary tools and materials. These may include:
- Ladder or step stool (depending on the height of your track lighting)
- Screwdriver
- Pliers
- Cleaning cloth (optional)
Once you have everything you need, you can begin the adjustment process.
10 Easy Steps on How to Adjust Track Lighting
Step 1. Turn Off the Electricity:
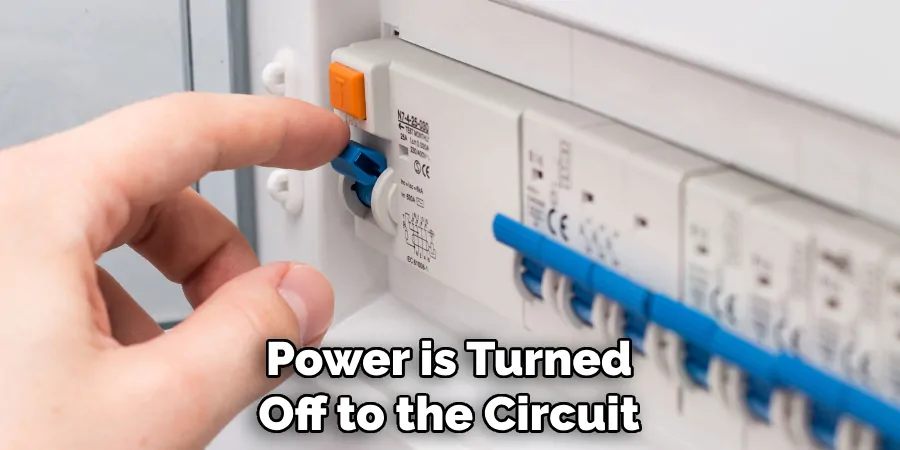
Safety should always be your priority. Before adjusting your track lighting, ensure the power is turned off to the circuit you’ll work on. This will help prevent any accidental shocks. Use a circuit tester to ensure the power is indeed off.
Step 2. Set Up Your Ladder or Step Stool:
Position your ladder or step stool securely under the track lighting system you will be adjusting. Always ensure it is stable and positioned on a flat surface to avoid accidents. Have someone assist you by holding the ladder steady while you work. Be careful not to lean too far or reach out too much while on the ladder.
Step 3. Loosen the Track Heads:
Carefully ascend the ladder until you reach a comfortable height to adjust the track heads. Using your screwdriver, gently loosen the locking mechanism on each track head you want to adjust. This is typically done by turning the screw or knob counterclockwise. Do not fully detach the heads; just loosen them enough to move them along the track or to rotate them to your desired position.
Step 4. Adjust the Position of the Track Heads:
Once the track heads are loosened, slide them along the track to the desired position. You can move them closer for a concentrated light beam or spread them further apart for a more dispersed lighting effect. Also, rotate the heads to direct the light exactly where needed. This could be downwards for general lighting, upwards to accentuate architectural features, or toward artwork to serve as spotlights. After positioning the lights, tighten the locking mechanism clockwise to secure them in place.
Step 5. Adjust the Angle of the Track Heads:
After you’ve positioned the track heads along the track, it’s important to fine-tune the angle. This will ensure that the light hits the right spot and provides the desired effect. Carefully pivot the head of each light to adjust the beam angle. Some track heads will have a hinge that allows for tilting; change this to narrow or broaden the beam as needed. Remember that the goal is to aim the light to achieve the desired lighting design without causing glare or harsh shadows. Once satisfied with the angle, securely tighten any adjustment knobs or screws to fix the head in its new position.

Step 6. Test and Fine-Tune the Lighting:
It’s time to test the lighting after all track heads have been adjusted to their new positions and angles. Return to the circuit breaker and turn the power back on. Observe how the light falls in the room and ensure it illuminates the intended areas. If further adjustments are needed, turn the electricity back off before ascending the ladder again. Repeat the fine-tuning process to achieve the perfect lighting setup for your space. Always prioritize safety by ensuring the power is off when making additional adjustments.
Step 7. Clean the Track Heads and Bulbs:
Over time, dust and dirt can accumulate on your track heads and bulbs, which may diminish light output quality. With the electricity still off, take this opportunity to gently clean each track head with a soft, dry cloth. If the bulbs are dirty, carefully unscrew them and wipe them clean with a slightly damp cloth, then dry them before reinserting. This step will help maintain optimal lighting and extend the life of the bulbs and fixtures.
Step 8. Check for Any Electrical Issues:
While adjustments to the direction and position of track lighting are often the main focus, it’s essential to be mindful of any potential electrical issues. Look for signs of damage or wear, such as frayed wires or loose connections. If any irregularities are noticed, consult a professional electrician to resolve these issues. Ensuring that the electrical components of your track lighting system are in good condition is essential for both safety and performance.
Step 9. Reattach and Secure Any Removed Parts:
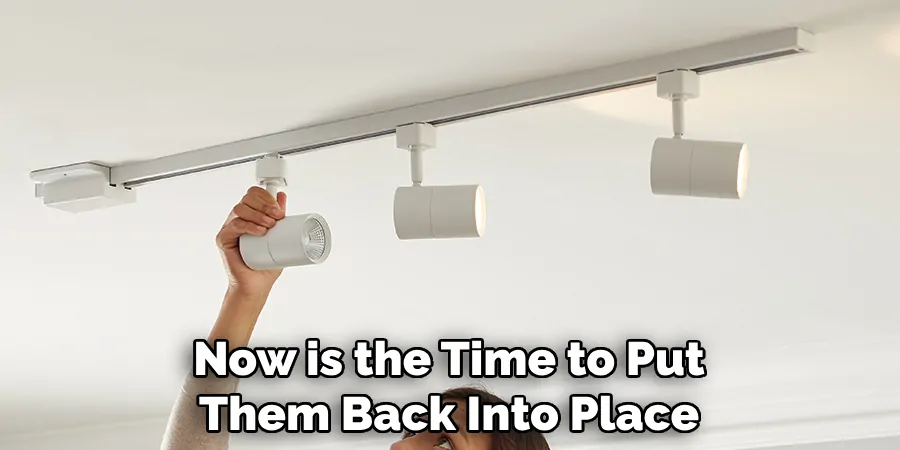
Once you’ve completed cleaning and inspecting the track heads and bulbs, carefully reattach any parts that were removed during the process. Make sure that all components are securely fastened to prevent any movement that could lead to misalignment or a potential hazard. If you previously detached any of the lighting fixtures or covers, now is the time to put them back into place, ensuring they fit snugly and are adequately secured with the appropriate screws or clips.
Step 10. Final Inspection and Testing:
Once all components are back in place, conduct a final inspection to ensure everything is aligned correctly and securely. Turn the power back on once more and test the functionality of each track head. Verify that the adjustments have held and the lights continue to shine in their intended directions without any issues.
As you look around, ensure the lighting effect complements the room and meets your needs. If everything looks good, your track lighting adjustment is complete, and you can enjoy the new ambiance of your space. Remember, safety is paramount—so if you’re ever unsure about any aspect of the process, don’t hesitate to seek out a professional electrician.
Following these simple steps, you can easily adjust your track lighting to achieve optimal functionality and aesthetics.
5 Additional Tips and Tricks
- Aim with Precision: Before making any adjustments, sketch out what you want to illuminate and plan the direction of each light. Use a laser pointer to help visualize the trajectory and ensure precise aiming.
- Consider the Beam Spread: Adjust the angle of the lights based on the beam spread. Spotlights have a narrow beam and are great for highlighting, while floodlights have a wider beam, suitable for general illumination.
- Check for Glare: After positioning the lights, walk around the space to check for any glare that might have been created. Glare can be reduced by slightly tilting the angle of the light or using accessories like a glare shield.
- Balance the Load: Ensure that the track lighting load is balanced across the circuit to prevent tripping the breaker. This might involve evenly spacing out the fixtures or consulting an electrician for more complex setups.
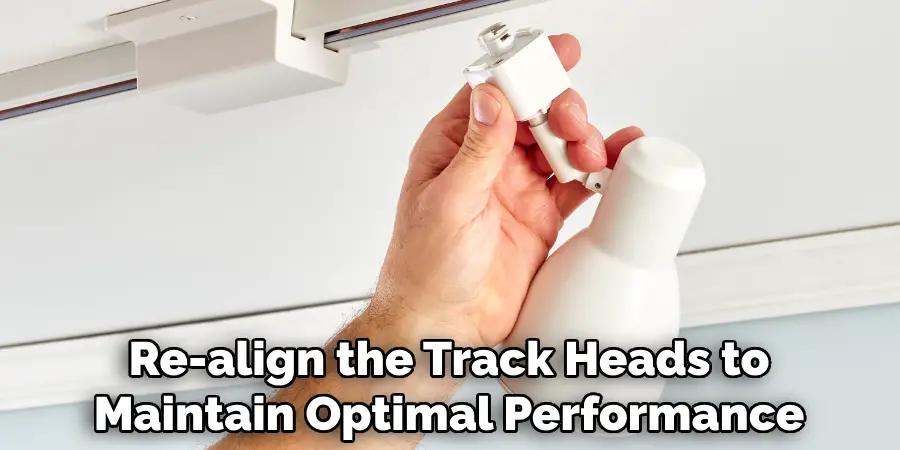
- Regular Maintenance: Occasionally dust and re-align the track heads to maintain optimal performance. Dust can accumulate inside the track and on the lights over time, affecting lighting quality and efficiency.
With these additional tips and tricks, you can further enhance the functionality and aesthetic appeal of your track lighting.
6 Things You Should Avoid
- Ignoring Safety Precautions: Avoid adjusting your track lighting without first ensuring the power is turned off. Working with live circuits can lead to electrical shocks or accidents.
- Overloading the Circuit: Do not connect too many fixtures to a single track. Exceeding the recommended electrical load can cause overheating and potential fire hazards.
- Using Incompatible Bulbs: Never use bulbs that exceed the wattage limit of the track lighting fixtures. This can damage the system and void warranties.
- Forgetting Aesthetics: While functionality is essential, pay attention to the visual balance of the room. Do not place lights too close together or in a manner that creates uneven shadows, as this can detract from the ambiance you’re aiming to achieve.
- Lack of Planning: Only immediate installation with a proper plan. Without a lighting design plan, you may end up with poorly placed lights that don’t properly illuminate the area or fail to highlight the room’s key features.
- Discounting Floor and Wall Colors: Remember the color of your floors and walls when selecting bulbs for your track lighting. Warm colors can enhance warm-toned décor, while more incredible colors can complement cool-toned rooms. Choosing the right bulb color temperature can also affect how objects appear under the light.

By avoiding these common mistakes, you can ensure that your track lighting not only provides practical lighting solutions but also enhances the overall design of your space.
Some Frequently Asked Questions
1. What are the Three Types of Track Lighting?
There are three main types of track lighting:
- H-shaped: The H-shaped track lighting features two parallel tracks connected at each end by a horizontal piece, forming an “H” shape. This type of track lighting is versatile and can accommodate different fixtures and bulbs.
- J-shaped: The J-shaped track lighting consists of a single curved track with a hook at one end, resembling the letter “J.” This type of track lighting is ideal for providing focused illumination and works well in smaller spaces.
- L-shaped: The L-shaped track lighting comprises a single straight track that makes a 90-degree angle, forming an “L” shape. This type of track lighting is suitable for corner spaces or areas where overhead lighting is impossible.
Overall, the type of track lighting you choose will depend on your specific lighting needs and the layout of your space. Each type has its advantages and can be customized with different fixtures, making them versatile options for any room.
2. What is Standard Track Lighting?
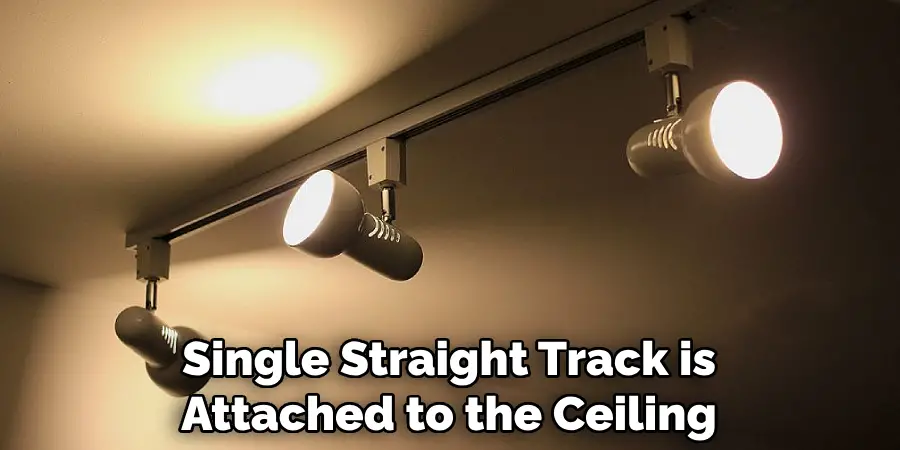
Standard track lighting refers to the traditional track lighting design where a single straight track is attached to the ceiling, and multiple fixtures can be placed along it. This type of track lighting is often used in commercial spaces but can also be found in residential settings. Standard track lighting typically has adjustable fixtures that can be moved and rotated along the track to direct light where needed. It is a cost-effective and easily customizable option for providing general or accent lighting.
Overall, standard track lighting is popular due to its versatility, ease of installation, and functionality.
3. How Do You Balance Lighting in a Room?
Balancing lighting in a room is essential to avoid over or under-lighting certain areas. Here are some tips to help you achieve balanced lighting with track lighting:
- Use Multiple Light Sources: Instead of relying on one prominent fixture, strategically place multiple track lights throughout the room. This will help distribute the light more evenly and eliminate dark spots.
- Vary the Placement and Angle: Experiment with different angles and placements of your track lights to find the best positioning for balanced lighting. Avoid placing lights too close together or aiming them all in one direction.
- Consider the Use of the Space: The purpose of a room can also play a role in balancing lighting. For example, a workspace may require brighter light than a living room.
- Use Dimmers: Installing dimmer switches can give you more control over the intensity of the light, allowing you to adjust it according to your needs and create a balanced ambiance.
By implementing these techniques, you can achieve a well-balanced and visually appealing lighting design in any room with track lighting. However, finding the perfect balance that suits your specific space and needs may take some trial and error.
4. Is Track Lighting Safe to Touch?
Track lighting is generally safe to touch if the power is turned off. However, it is always essential to take necessary precautions when working with electrical fixtures. If you need to adjust or replace bulbs, ensure the track is not connected to a live circuit. Wearing protective gear and using insulated tools when handling track lighting are also good ideas.
Additionally, regularly inspecting and maintaining your track lighting can help prevent potential hazards. Check for loose connections or damaged wires, and replace any faulty parts immediately to ensure the safety of your track lighting system.
5. How Do You Clean Track Lighting?
Cleaning your track lighting is essential not only for its appearance but also for its functionality. Here are some tips on how to safely clean your track lighting:
- Turn Off the Power: Ensure the track is not connected to a live circuit before cleaning. This will prevent any potential electrical accidents.
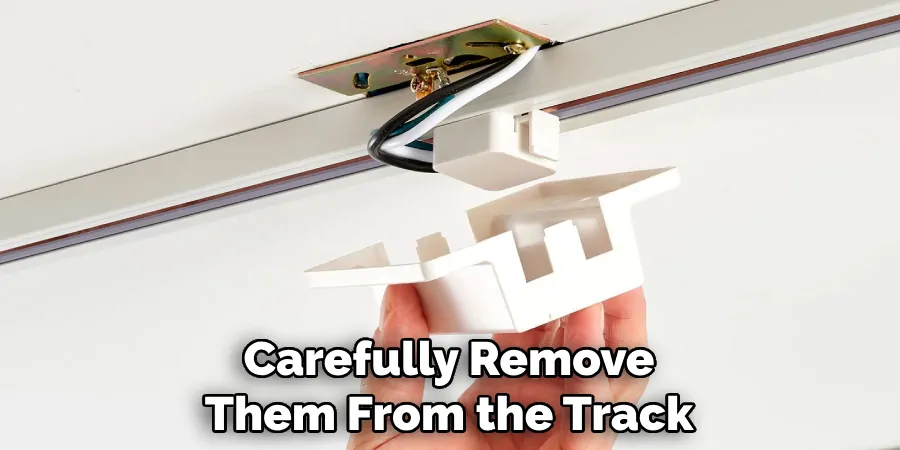
- Remove Fixtures and Bulbs: Carefully remove them from the track to avoid damaging them during cleaning.
- Use a Soft Cloth or Brush: Gently wipe down the track and fixtures with a smooth, dry cloth, or use a small brush to remove dust or debris.
- Avoid Harsh Chemicals: Do not use harsh chemicals or abrasive materials on your track lighting, as they can cause damage to the surface.
- Dry Thoroughly: After cleaning, make sure all parts are arid before reattaching them to the track and turning the power back on.
Regularly cleaning your track lighting can help prolong its lifespan and maintain its appearance. It is recommended to clean track lighting at least once a month or more frequently if located in areas prone to dust or dirt buildup.
Conclusion
How to adjust track lighting is a straightforward process that allows you to create the perfect ambiance and functionality for any space. When modifying your setup, always turn off the power to ensure safety. Position your fixtures at various angles and distances to find a harmonious balance and cover all room areas.
Utilize dimmers for adjustable intensity and consider the room’s specific requirements to cater to its unique lighting needs. With patience and experimentation, you can easily tailor your track lighting to achieve optimal, practical, and aesthetically pleasing illumination.
Regular maintenance and cleaning will keep your track lighting in top shape, ensuring a well-lit space for any occasion.

