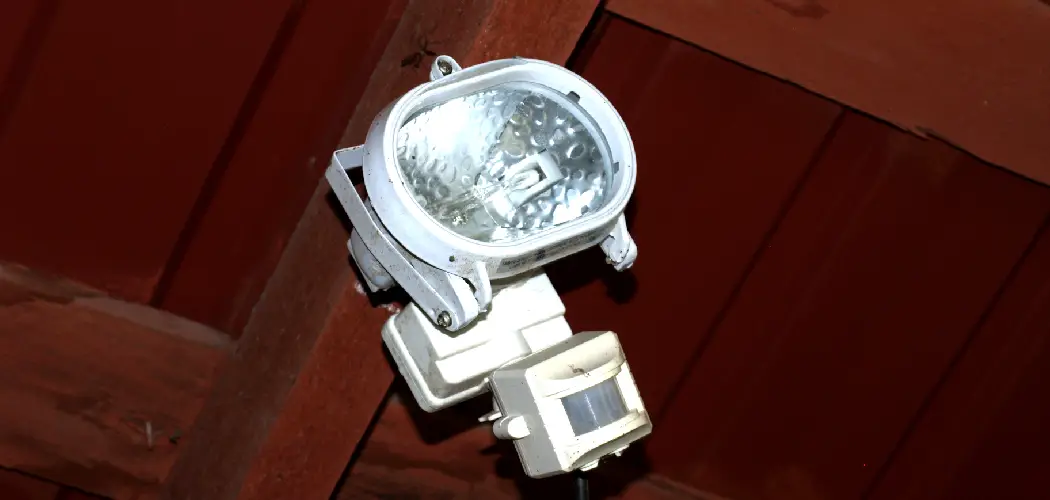
Are you frustrated by the inconvenience of your motion-sensor lights not turning on or off when you need them to? Motion sensor lights are a great security measure that can help optimize outdoor lighting around your home. However, if the settings are not adjusted properly, they may be more trouble than they’re worth.
In this blog post on how to adjust time on motion sensor lights, we’ll give you helpful tips and provide helpful instructions so that you can adjust the time on motion sensor lights for optimal performance and convenience. Keep reading to learn more about how easy it is to take control of these essential safety features!
What Are Motion Sensor Lights?
Motion sensor lights are outdoor lighting fixtures that are triggered to turn on when they detect movement. These lights use a built-in infrared sensor and timer to automatically switch the light on and off, depending on how long it has been since motion was detected. This helps to conserve energy and save electricity costs while also providing added security for your property.
Why Adjust the Time on Motion Sensor Lights?
Adjusting the time on motion sensor lights is an important part of ensuring they work properly. If you have your motion sensor lights set to turn off too quickly, it could be a security risk since the lights won’t stay on long enough for someone passing by to notice. Conversely, if the lights stay on too long, they could be wasting energy and increasing your electricity bill unnecessarily.
Step-by-step Guidelines on How to Adjust Time on Motion Sensor Lights
Step 1: Locate the Switch
Motion sensor lights come with a built-in switch. This is usually located at the bottom of the light fixture, but it may be on the side or back depending on the model. If you can’t find the switch, check the manufacturer’s manual for more information.
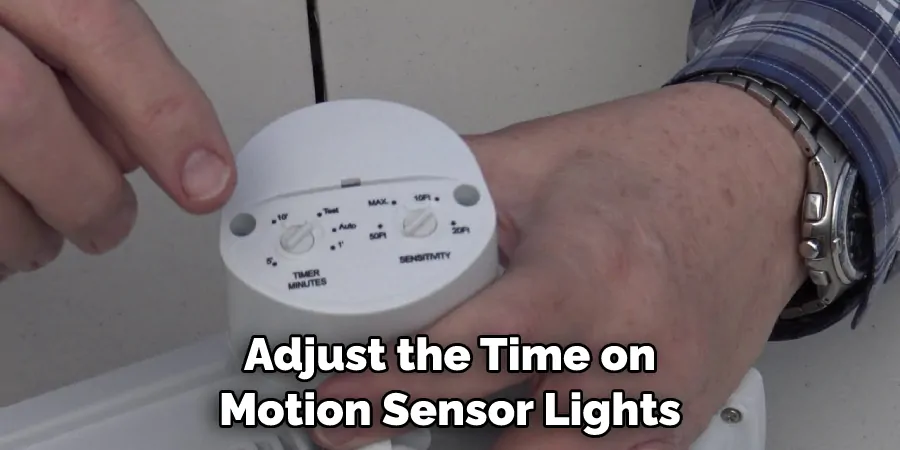
This switch will allow you to adjust the time on motion sensor lights. But before you start adjusting the time, make sure that the switch is set to “On”. Otherwise, the changes you make won’t be applied. This switch may look like a small knob, or it can be a button.
Step 2: Turn Off the Power
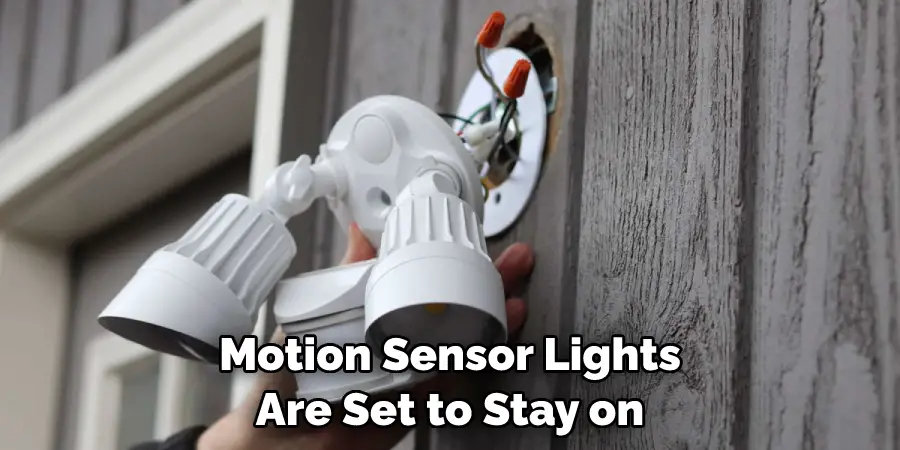
Before you can adjust the settings on your motion sensor lights, you’ll need to turn off power to them. To do this, locate and flip the breaker switch for your outdoor lighting.
It is usually located in your home’s main breaker box and will be labeled “Outdoor Lighting” or something similar. This will ensure that you can safely make adjustments to the time on your motion sensor lights. If the lights are controlled by a separate switch, you will need to turn this off as well.
Step 3: Remove the Cover Plate
Most motion sensor lights have a removable cover plate that will give you access to their settings and adjustments. Use a screwdriver to remove this plate and set it aside for now.
It is important that you remember to replace the cover plate after adjusting your motion sensor lights. If the cover plate is not replaced, it could lead to water damage and other problems. But if it is replaced properly, you can be sure that your motion sensor lights will remain in proper working order.
Step 4: Find the Time Setting
After removing the cover plate, you should see several different switches, including one labeled “Time”. This is the switch you’ll use to adjust how long the lights stay on after they detect motion.
This setting can usually be adjusted from 10 seconds to 20 minutes, depending on the model. If you’re not sure how long you want the lights to stay on, it’s best to start with a shorter time and adjust as needed.
Step 5: Adjust the Time Setting
If your motion sensor lights are set to stay on for too short or too long a time, you can make adjustments accordingly. To extend the amount of time that the lights stay on, turn this switch clockwise; to shorten the amount of time, turn it counterclockwise.
Some models may have an additional ‘range’ setting, which allows you to adjust how far away from the lamp motion must be detected in order for them to activate. This will typically be located near or adjacent to the main time setting switch.
Step 6: Test the Lights
After you have finished making adjustments to the time on your motion sensor lights, it’s important to test them to make sure that they are working correctly. To do this, walk in front of the light and wait for it to turn on.
If it does, then you have successfully adjusted the time setting. If not, you may have to make further adjustments. But once you have the settings just right, your motion sensor lights will turn on and off with no issues.
Step 7: Replace the Cover Plate
Once you’re satisfied with the performance of your motion sensor lights, you can put the cover plate back on by reversing Step 3. Make sure all screws are securely fastened before moving on.
However, if you find that the lights are still not working correctly after replacing the cover plate, it’s best to contact a professional electrician for assistance. It could be an issue with the wiring or another problem that is beyond your expertise.
Step 8: Turn On the Power
Flip the breaker switch for your outdoor lighting back “On” so that power is restored to your motion sensor lights. This will ensure that the changes you made can take effect and the lights will now operate according to your settings.
It is important to remember that you should never adjust or work on your motion sensor lights without first turning off the power. If you do, you could be putting yourself and your home at risk.
Step 9: Test the Lights Again
Finally, you’ll want to test your lights one last time before using them. Walk in front of the light and make sure that it turns on appropriately. If so, then you have successfully adjusted the time on your motion sensor lights.
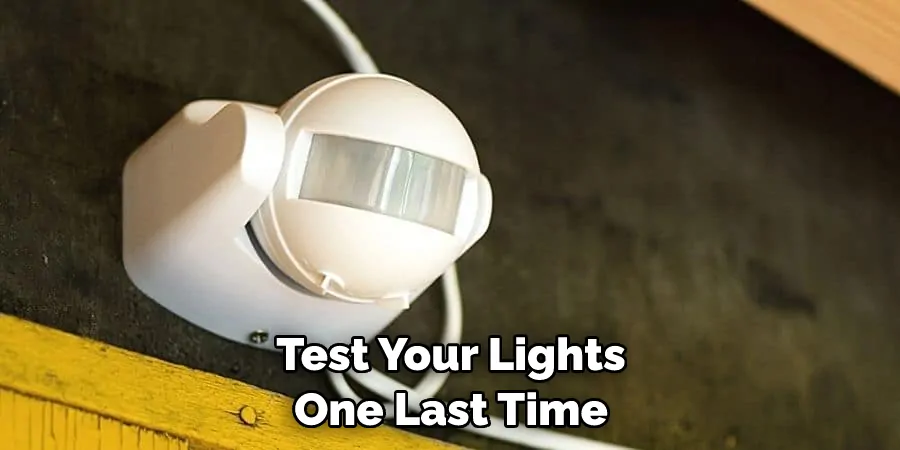
You can now be confident that they will operate correctly and provide you with the security and convenience you need. This will help to ensure that the lights stay on for the right amount of time and provide you with peace of mind no matter where you are.
Step 10: Adjust as Needed
If necessary, you may need to make additional adjustments to the time set for optimal performance. You can do this by repeating Steps 2-9 until you are satisfied with how long the lights stay on after detecting motion.
If at any point you run into problems or have questions, it is best to contact an electrician for assistance. They will be able to help troubleshoot any issues and ensure that your motion sensor lights are working correctly.
Step 11: Enjoy Your Motion Sensor Lights!
Once the settings are correctly adjusted, it’s time to enjoy your motion sensor lights! With a little bit of trial and error, you can make sure that your outdoor lights turn on exactly when you need them to.
Always remember to keep safety in mind when making adjustments and never work on the lights without turning off the power first. Following these steps will help you make sure that your motion sensor lights give you the convenience and security that you need.
Do You Need to Use Professionals?
In most cases, you can adjust the time on motion sensor lights without professional help. As long as you follow these steps and exercise caution when handling electrical components, adjusting the time should be easy.
However, if you’re feeling unsure or need extra help with this process, it’s always best to hire a certified electrician in your area. They will be able to adjust the settings quickly and correctly, so you can get back to enjoying your outdoor lighting.

By following these steps on how to adjust time on motion sensor lights, you’ll be able to adjust the time on your motion sensor lights quickly and easily. With a little bit of patience and attention to detail, you can make sure that your outdoor lighting system is always working properly. Enjoy your motion sensor lights!
How Much Will It Cost?
Adjusting the time on motion sensor lights is a relatively simple job that you can do yourself at home. Therefore, the cost should be minimal. However, if you require professional help, then expenses will vary from electrician to electrician and may include additional costs such as parts or labor.
Be sure to ask for an estimate before committing to using a professional. It could cost around $100 or more to adjust the time on motion sensor lights with a professional’s help.
Frequently Asked Questions
Q: How Do I Adjust the Time on Motion Sensor Lights?
A: To adjust the time on motion sensor lights, you’ll need to locate the main time setting switch. This switch will typically be located near or adjacent to the light itself and will allow you to adjust how long the lights stay on after detecting motion.
You’ll then need to turn off the power, remove the cover plate, access the switch, and adjust the time accordingly. Finally, test your lights one last time before using them.
Q: How Often Should I Adjust the Time on Motion Sensor Lights?
A: You should adjust the time on motion sensor lights whenever they are not working as expected, or when you need to change their performance. Additionally, if you notice that your lights are staying on even after motion has stopped, then it is likely time for an adjustment.
Q: What Is the Purpose of Motion Sensor Lights?
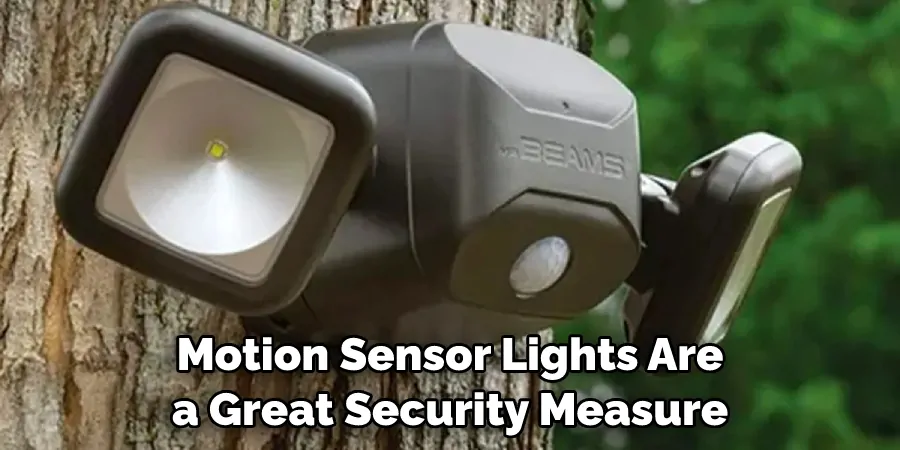
A: Motion sensor lights are a great security measure for both homes and businesses. They can help to deter potential intruders and provide additional safety at night or in dark areas. Additionally, they can be used to light pathways or other outdoor areas when people are nearby.
Q: Are Motion Sensor Lights Expensive?
A: Motion sensor lights can vary in price depending on the type and quality of the lights. However, most motion sensor lights are relatively inexpensive and can be found for a reasonable cost. Additionally, they are often more energy efficient than traditional lighting systems, making them an economical choice in the long run.
Conclusion
Adjusting the motion sensor lights in any home is an easy job that anyone can do with simple tools and a bit of technical know-how. Many people underestimate just how much it costs to hire someone to handle this sort of task, so feel free to take comfort in knowing that you can adjust your own motion sensor lights on your own.
Doing this will save money and time compared to having a professional come in and do it for you – plus, it’s always satisfying to know that you accomplished something yourself.
Not only that, but motion sensor lights are great for safety purposes, so be sure they’re properly adjusted if they’re part of your home security strategy. Remember, all it takes is a few simple steps on how to adjust time on motion sensor lights to correctly set the time on any motion sensor lights!

