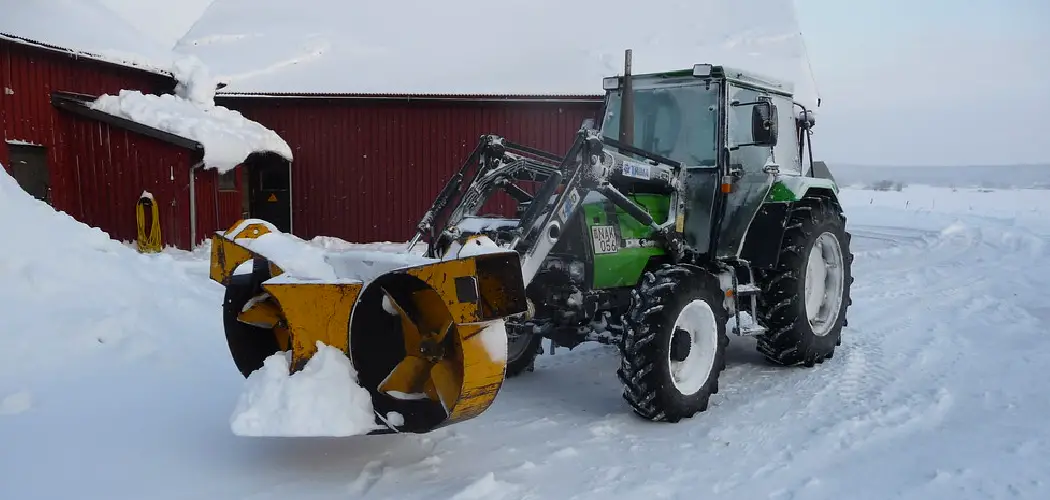
Adding light to your snowblower can significantly enhance your snow removal experience, especially under the cloak of darkness or during shorter winter days. Proper illumination is convenient and a critical safety measure—ensuring you can clearly see the area you’re working on and any potential obstacles. This practical addition mitigates the risk of accidents and makes for a more efficient clearing path.
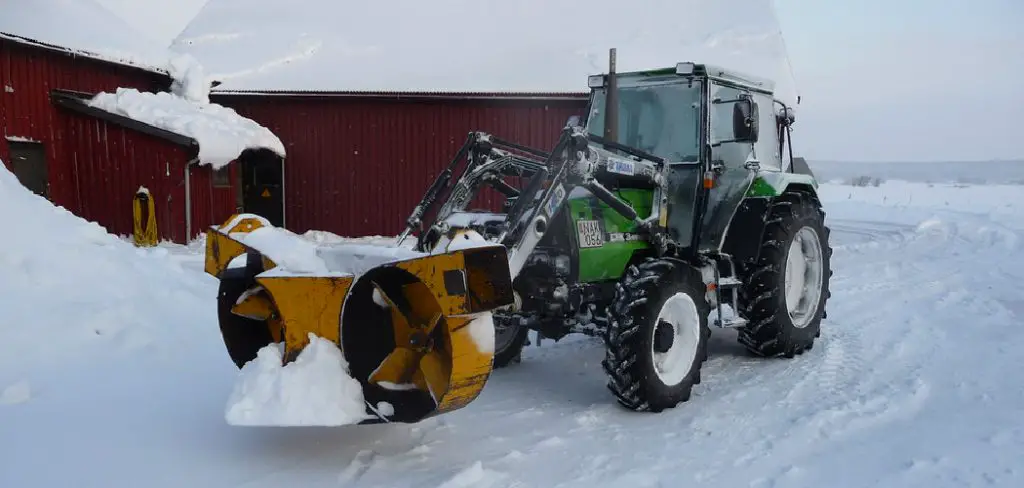
This guide will explore the steps on how to add a light to a snowblower, detailing everything from the initial selection of the light that best fits your needs to the process of securing and powering it. Whether you’re a seasoned DIY enthusiast or a newcomer to equipment modification, these instructions will illuminate your path to a brighter, safer, snow-clearing journey.
Assessing Your Needs and Options
When considering how to add a light to your snowblower, the first step is to assess which type of light will suit your needs best. Options range from LED bars, which afford a wide, even spread of light, to compact pod lights that are easy to install on tighter surfaces or robust work lights for their strong and focused beams.
The right choice largely depends on your desired beam pattern: flood, spot, or a combination for different snow-blowing conditions.
Brightness is measured in lumens, and the ideal light should offer sufficient luminosity without dazzling. Durability is another crucial factor — look for lights with a high Ingress Protection (IP) weatherproof rating to ensure they withstand extreme winter weather. Mounting options will vary; your snowblower design will dictate whether you need adjustable mounts or fixed brackets.
Powering your light can be done in a few ways: a battery-powered unit provides ease of installation with the concern of charging or replacing batteries, whereas wiring your light to the snowblower’s electrical system ensures constant power but might require more intricate installation. Alternatively, a generator-powered light could be an option for snowblowers without electrical systems, although this adds extra weight and complexity.
Features like motion sensors add convenience by automating the light’s operation, and remote controls allow for easy adjustments from a distance. When selecting a light, balance these aspects with your specific requirements and how they’ll integrate into your snow-blowing routine.
Gathering Tools and Materials
Before you begin the installation, compiling the right tools and materials is essential for a smooth process. Here’s a checklist to help you get started:

- Hand Tools: Make sure you have a set of wrenches to tighten bolts and nuts, screwdrivers for various screws, and a drill for making mounting holes.
- Electrical Tools: A pair of wire strippers are necessary for insulation removal, crimpers are necessary for joining wires with connectors, and a multimeter is necessary for testing electrical connections.
- Supplies: Keep electrical tape for insulating connections, zip ties for securing wires along the snowblower’s body, and mounting hardware to attach the light securely.
- Wiring Materials: Depending on your light type and power source, you might need wire extensions to reach the power source, fuses to protect the circuit, and relays for switching if your chosen light is high-powered.
- Power Sources: A compatible battery pack is crucial if you opt for a battery-powered light. Ensure that you also have a means to recharge it, such as a charging port.
- Protective Measures: Dielectric grease helps prevent corrosion on your electrical connections, which is vital for maintenance and longevity, especially in wintry conditions.
These components will prepare you for a successful installation tailored to your snowblower’s lighting and power requirements.
Safety Precautions and Considerations
Safety is paramount during any installation, and adding a light to a snowblower is no exception. Always disconnect the snowblower from its power source before beginning work to eliminate electrical risks. Grounding the electrical system is crucial to prevent shocks.
Avoid any moving parts within the snowblower to safeguard against injury. Personal protective equipment such as gloves and eye protection should always be worn. Additionally, be aware that modifying your snowblower may affect its warranty; review your manufacturer’s terms to understand any implications before proceeding.
How to Add a Light to A Snowblower: A Comprehensive Guide
1. Planning and Placement

- Identify the Best Location: Survey your snowblower to find the most suitable spot for the light. Consider areas that offer the best visibility, ensuring that any machine parts will not obstruct the light beam. Check for clearance from any moving parts or hot surfaces to avoid damage to the light. Additionally, you want an area that’s easily accessible for both mounting and future maintenance.
- Mark the Mounting Points: Once the location is set, mark the specific points where the light will be mounted. Check these points with a level to ensure your light is aligned correctly. Use a marker or a piece of tape to indicate where to drill.
2. Mounting the Light
- Drill Mounting Holes: With your mounting points marked, carefully drill holes for the mounting hardware. Always wear protective goggles while drilling to protect your eyes from any metal shavings or debris.
- Secure the Light: Place the light against the mounting area and affix it using the bolts and nuts provided or recommended for the installation. When choosing the hardware, consider using anti-seize on the bolts to prevent corrosion or a thread locker to prevent the hardware from loosening due to vibrations.
3. Wiring (if applicable)
- Battery-Powered Light Installations: For battery-powered lights, plan the route for your wires to reach the charging port or switch. Make sure this path is clear of moving parts or areas that could pinch or wear the wiring over time.
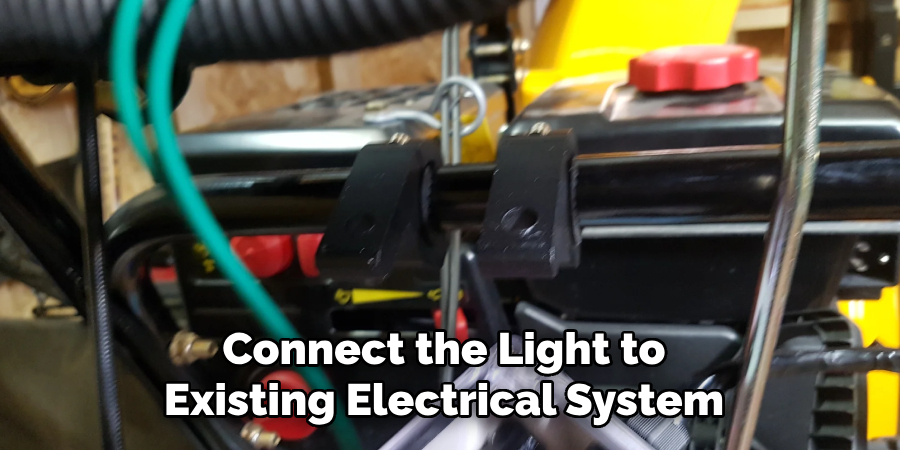
- Wiring to the Snowblower’s Electrical System: If you connect the light to your snowblower’s existing electrical system, follow the wiring diagram specific to your model and light kit. Attach any necessary relays and ensure you install a fuse to protect the circuit.
- Wire Routing: Avoid high-heat areas and anything that moves when routing your wires. Use zip ties to organize your wiring along the body of the snowblower, ensuring it’s snug but not tight enough to pinch.
- Connection and Insulation: Connect your wires as per the wiring diagram, paying special attention to positive and negative leads. Insulate all connections with electrical tape and use heat shrink tubing for extra weatherproofing.
4. Final Touches
- Secure and Organize: Take time to secure all loose wires with zip ties, ensuring they do not interfere with the operation of the snowblower. The goal is to have a clean and organized wiring path that doesn’t distract from the functionality or appearance of the machine.
- Dielectric Grease Application: Apply dielectric grease to all the electrical connections to prevent corrosion. This is particularly important for machines used in wet, icy, or salty conditions.
- Double-Check Your Work: After the installation is complete, review every connection to ensure they are tight and secure. Re-connect your snowblower’s power source and test your new light to make sure it operates as expected.
This comprehensive guide will aid you in adding light to your snowblower. Remember to adapt these steps as necessary to suit the particularities of your model and the light kit being installed. Safety should remain your top priority, and if at any point you feel uncertain, consult with a professional before proceeding.
Testing and Adjustments
After the meticulous installation of your snowblower light, testing is essential to confirm everything is in working order. Begin by starting your snowblower and activating the newly installed light. Check each mode of the light (if applicable), including various brightness levels, to ensure they toggle correctly.
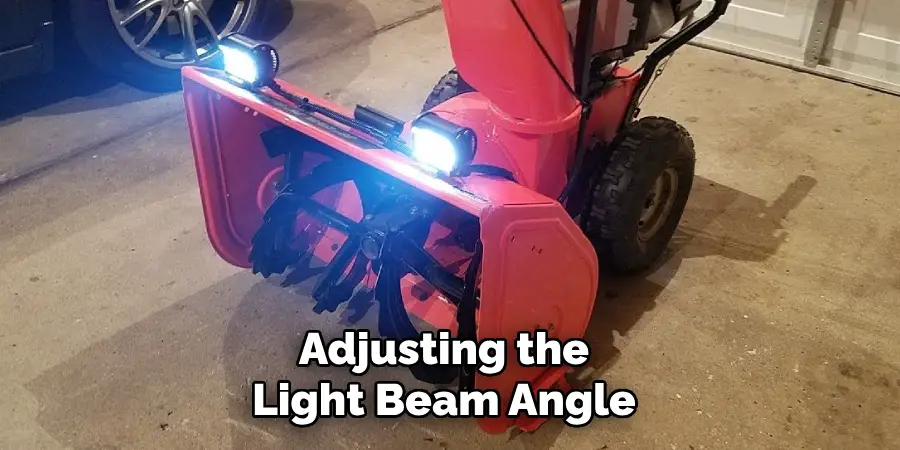
Adjusting the light beam angle is vital for optimal illumination; this might require loosening the mounting hardware slightly to tilt or rotate the light to your desired position. Once set, tighten the hardware to secure the light in place.
If you encounter common issues such as flickering lights, inspect the connections for any loose wires or corroded terminals—these can often be the culprit.
For persistent dimness, ensure that the light receives the correct voltage by using a multimeter; it may be necessary to check the condition of your snowblower’s charging system and its compatibility with it. If the light fails to turn on, verify the function of each component in the system: the power source, switches, relays, and the light fixture itself.
It’s also wise to check the fuse for any signs of having blown and always have spares on hand to replace it if necessary. You can identify and rectify most issues tied to the light installation by systematically troubleshooting.
That’s it! You’ve now learned how to add a light to a snowblower. With a little planning, proper installation, and post-installation testing, you can confidently illuminate your snow-blowing experience for safer and more efficient snow clearing in low-light conditions. Remember to adhere to all safety precautions when working with electrical components and consult a professional if unsure about any installation process.
Tips for Maintenance and Storage
Routine maintenance of your snowblower light is key to its longevity and performance. Regularly clean the lens with a soft cloth to prevent the buildup of ice and snow, which can obscure the light’s output.
Periodic checks of the electrical connections for signs of wear or damage can prevent failures during operation. After use, and particularly at the end of the season, apply a protective cover to shield the light from dust and moisture.
For battery-powered lights, winterize the battery by fully charging it and then disconnecting it before storing it in a cool, dry place to prevent discharge and extend battery life. Lastly, when placing your snowblower in storage, ensure that the light is positioned away from heavy objects or surfaces that could cause damage during the off-season.
Frequently Asked Questions (FAQs)
Q: Can I Install Any Type of Light on My Snowblower, or Does It Need to Be Specific to The Model?
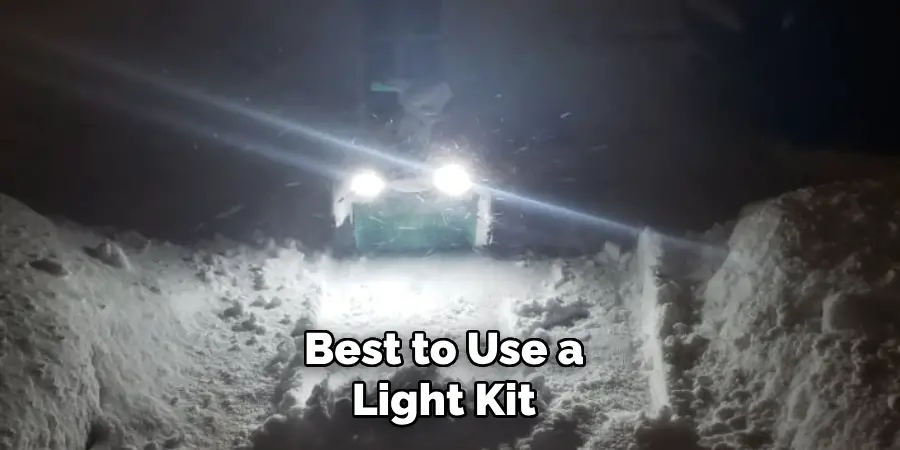
A: It’s best to use a light kit that is compatible with your model for ease of installation and optimal performance. However, universal lights can be fitted with the right mounting brackets and wiring adaptations.
Q: How Do I Choose the Right Brightness for My Snowblower Light?
A: The brightness should be sufficient to illuminate the area in front of your snowblower without causing glare. Look for lights with lumens ratings that are suitable for operating in dark conditions and provide a comfortable brightness level.
Q: What Tools Will I Need to Install A Snowblower Light?
A: Basic hand tools such as screwdrivers, wrenches, pliers, and a drill may be required for installation. Additionally, wire strippers, electrical tape, and a multimeter are useful for electrical connections and troubleshooting.
Q: Is Disconnecting the Snowblower’s Power Source Necessary Before Installation?
A: Yes, always disconnect the power source before beginning installation to prevent accidental starting of the snowblower or electric shock.
Q: How Often Should I Perform Maintenance Checks on My Snowblower Light?
A: A visual inspection is recommended before each use, with a more thorough check-up at the start and end of the snowblowing season or annually if the machine is used less frequently.
5 Benefits of Adding a Light to Your Snowblower
When winter casts its long, dark shadows, one invaluable garden tool is a snowblower. However, just like you wouldn’t want to drive a car at night without headlights, clearing snow in the dark can also be treacherous without proper lighting. So, here’s why illuminating your snowblower is a bright idea!
1. Improved Visibility
The top advantage of adding light to your snowblower is undoubtedly its enhanced visibility. As the evening descends or snow falls at dusk, the particulars of your surroundings often vanish. However, with a focused beam on the path ahead, you can navigate your snowblower more effectively and spot dangerous obstacles like ice patches and debris that could harm your machine or anyone nearby.
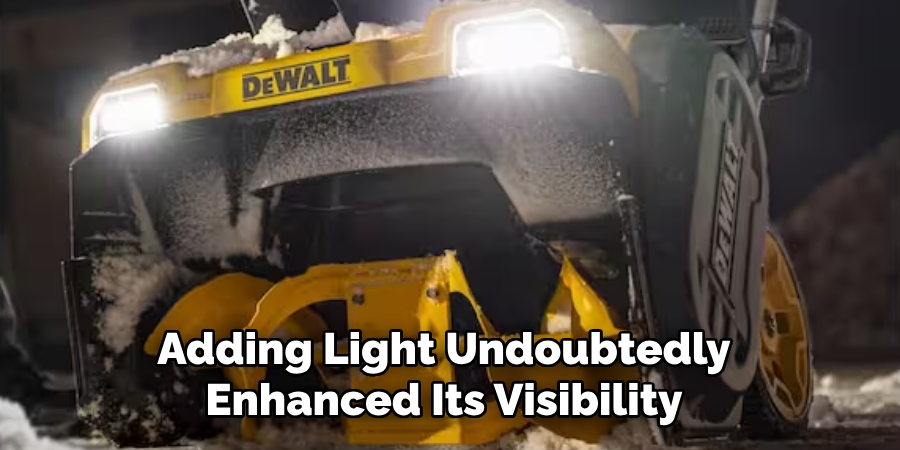
A bright LED or halogen light mounted on your snowblower’s handlebars or housing can significantly improve your field of vision and increase your ability to operate safely and efficiently. It’s not just about plowing through the snow; it’s about doing so with clarity until the job is done.
2. Enhanced Safety Features
Modern snowblowers come with various safety features designed to protect their operators. But once dusk settles in, these features alone cannot alert you to potential risks. A snowblower light acts as a proactive safety measure for the person operating the machine and anyone walking by.
A well-lit work area can prevent accidents that might occur if you or someone else inadvertently step in its path. Visibility is paramount, and your snowblower’s light ensures that you can see and be seen, avoiding unnecessary dangers that could lead to serious injury.
3. Extended Work Hours
In the dead of winter, daylight hours are limited, and sometimes, it’s a race against the clock to clear the snow before nightfall. By mounting a light, you grant yourself the ability to work longer hours, ensuring that your pathways are navigable, your driveways are cleared, and your outdoor spaces are safe.
The longer you can operate your snowblower safely, the more time you have to remove the snow, which is especially important during heavy snowfalls when drifts can pile up quickly. You don’t have to rush, and you don’t have to leave a job half-done just because the sun is setting.
4. Easy Snow Removal in Low Light Conditions
Visibility doesn’t just become a challenge after sunset. Overcast days, flurries, and heavy snowfall can all contribute to low-light environments that make snow removal a guessing game without proper illumination.
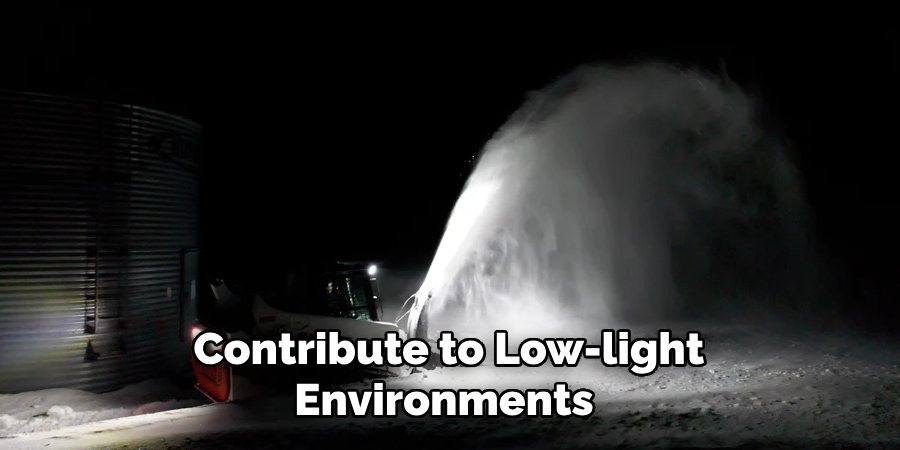
The right placement of a snowblower light mitigates this concern, providing ample brightness to not only guide the blower itself but also to help you see where the snow is being dispersed, ensuring it’s not landing where it shouldn’t be. This precision in low-light conditions can save time and prevent you from re-clearing areas already tended to.
5. Increased Overall Efficiency
A snowblower light may seem like a minor addition, but its impact on your overall snow-clearing efficiency is anything but small. With more time to operate, less chance for error, and a broader visibility reach, you are better equipped to tackle snow swiftly and accurately.
The light allows you to keep a consistent pace, reducing the likelihood of missing areas or leaving behind chunks of snow. It’s all about providing the energy and seeing the path to a finished, professional-looking job that only proper lighting can ensure.
Overall, investing in a snowblower light isn’t just about convenience — it’s a practical enhancement that offers essential benefits, from safety to efficiency. It takes the strain out of winter chores and illuminates a better way to handle the season’s challenges.
Conclusion
Adding a light to your snowblower enhances visibility during those early morning or late evening snow-clearing sessions. The satisfaction of completing this installation yourself not only saves you the cost of professional service but also familiarizes you with the intricacies of your machine.
While this guide outlines how to add a light to a snowblower, it’s important to tailor the approach to your model’s specific requirements. Remember, every snowblower is unique, and some steps might differ. For those who face more complex electrical system modifications, or if you hit an impasse, don’t hesitate to consult professionals to avoid any safety hazards.
With this knowledge and a can-do attitude, you’re ready to tackle winter’s challenges with improved safety and efficiency.

